|
-
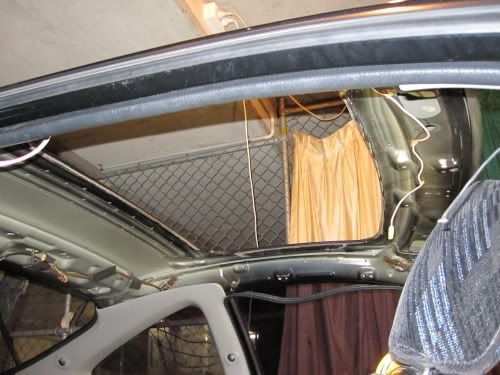
sunroof delete
Disclaimer: The following is provided as a GUIDE ONLY, and neither myself nor Ozhonda take any responsibility for the outcomes of someone else doing the following. You follow these steps at your own risk!
step 1: obtain 1mm aluminium sheet (I got 90mm by 60mm)
step 2: obtain 20 x M3x20mm countersunk hex screws and 20 x M3 x 10mm button head hex screws
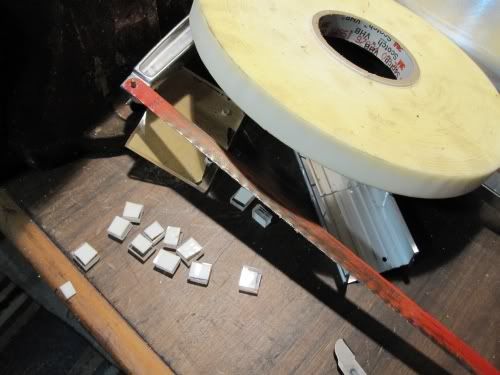
step 3: obtain 10mm x 10mm x 1000mm of aluminium angle
step 4: obtain some 6mm thick Perspex
step 5: obtain some seriously good double sided tape (I had some 3M stuff)
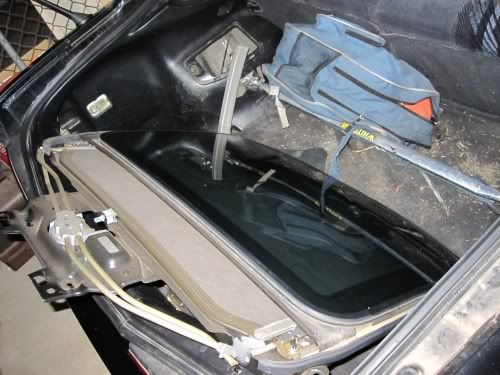
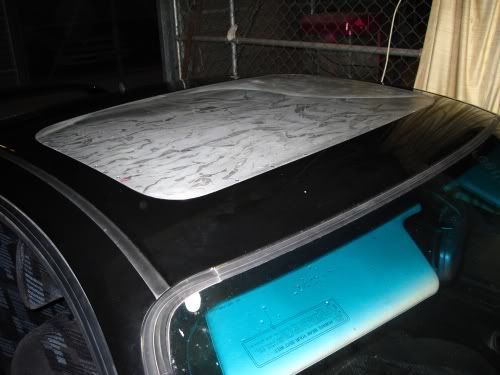
step 6: remove sunroof
it weighs 15.3kg all up
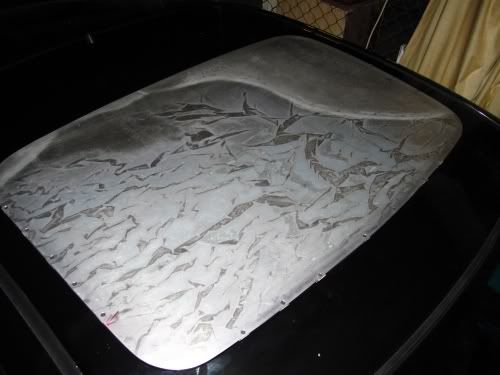
step 7: place aluminium sheet over sunroof hole and using a marker pen, trace an outline of the hole on the underside of the aluminium sheet
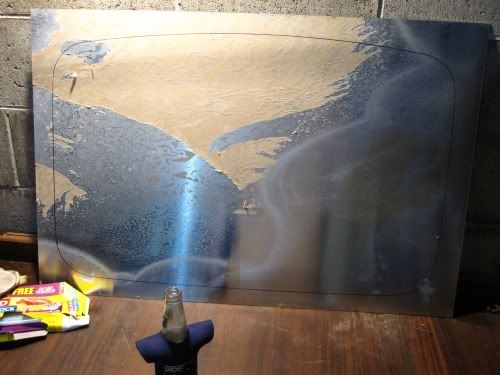
step 8: using a jigsaw, cut the aluminium sheet to size and dress edges (this takes a while to get perfect, I used a metal file and several grades of sandpaper)
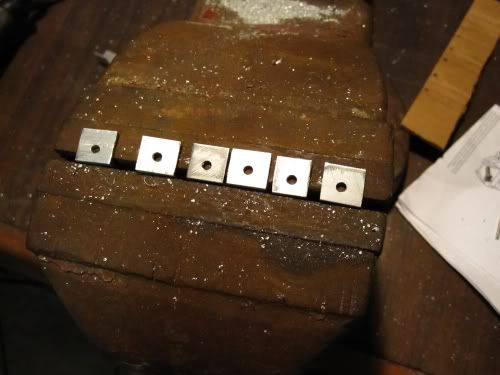
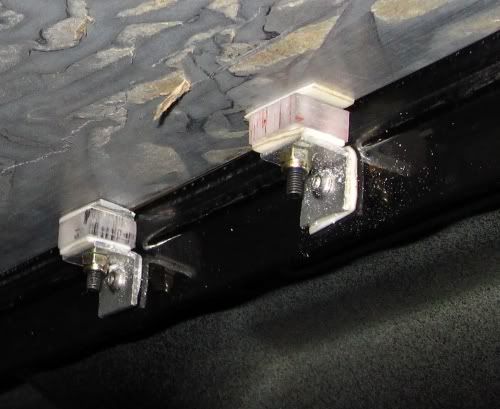
step 9: cut aluminium angle into 10mm sections (called L-tabs):
[IMG]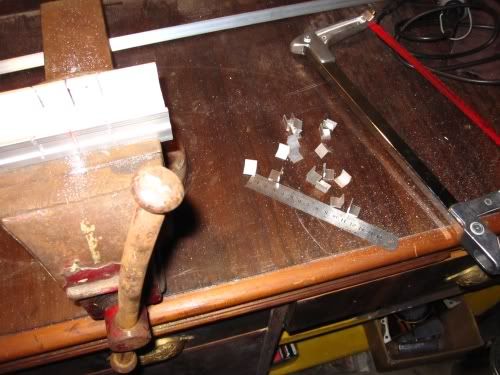 [/IMG] [/IMG]
drill 3mm hole in each L-tab:
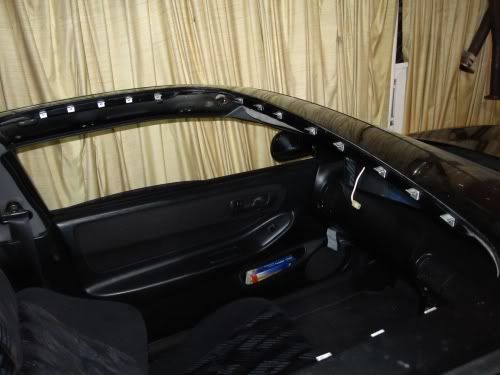
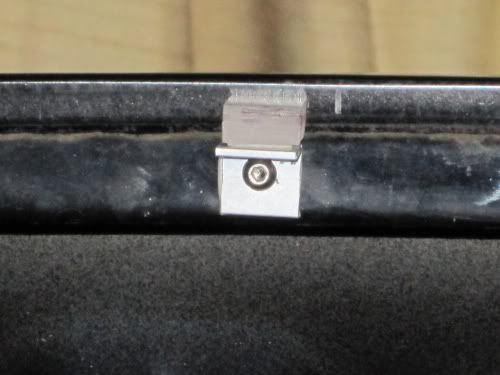
line up the each L-tab with the groove around the sunroof hole, kinda where the spot welds are, and drill 3mm holes in the steel drapes around the sunroof hole, 5 on each side and 8 on the leading edge:

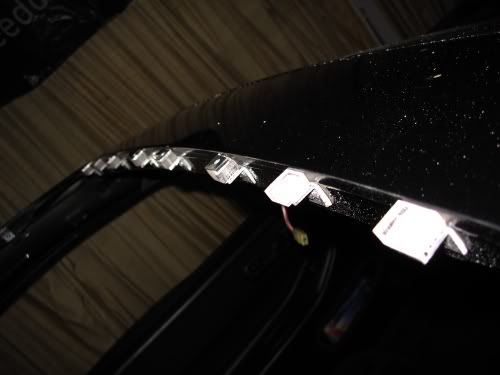
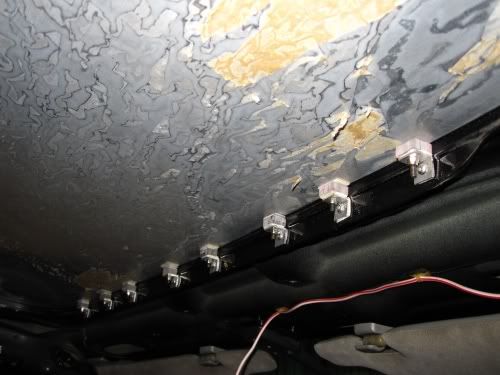
install the L-tabs
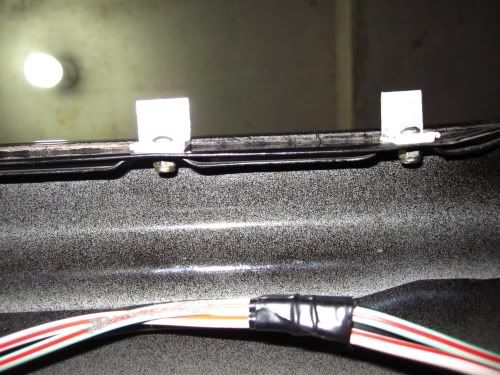
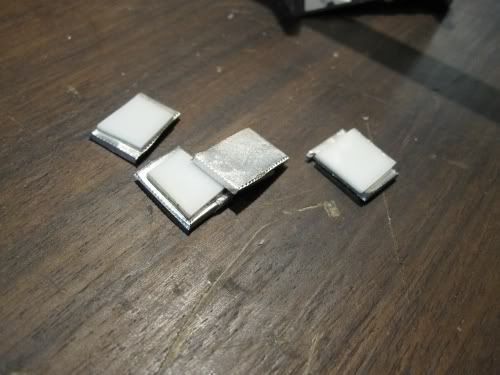
cut up the Perspex into 10mm sections
and add the double sided tape
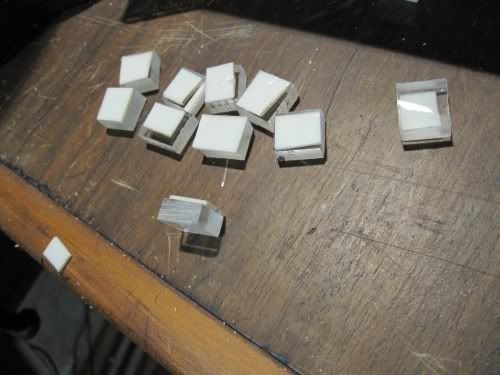
then add the Perspex spacers to each L-tab
trial fit the aluminium cut out, then shave edges to fit,
trial fit the aluminium cut out, then shave edges to fit,
trial fit the aluminium cut out, then shave edges to fit,
trial fit the aluminium cut out, then shave edges to fit,
trial fit the aluminium cut out, then shave edges to fit,
a maximum of 0.5mm gap should exist between the sunroof hole and the cut out.
then determine which L-tabs will need further vertical spacing and make up some aluminium spacers from the off cut aluminium and d/sided tape
add the aluminium spacers
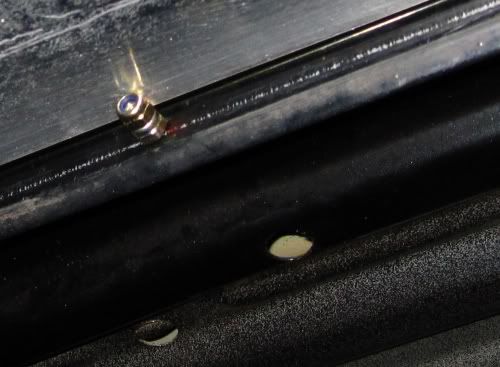
then drill from the top through the spacers into the L-tabs about 3-5mm in from the sunroof hole edge.
next, place the aluminium cut-out in the hole, put a object that weighs around 1.5kg on one side of the cut-out and align as well as you can, and from underneath drill one of the centre L-tabs on one side and install a screw. then check alignment and then when happy, drill the centre L-tab on the other side, install a screw and check alignment and when happy drill one of the centres L-tabs on the leading edge.
check alignment and when happy drill the other 15 holes.
remove the cut-out and the countersink each hole to suit the screws.
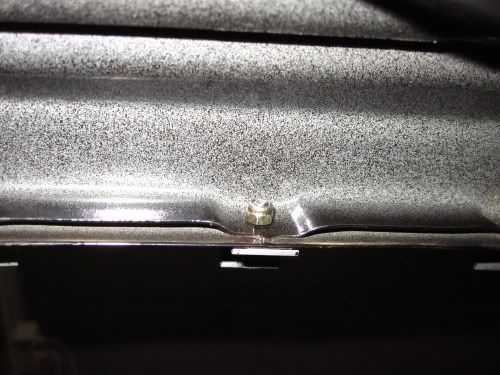
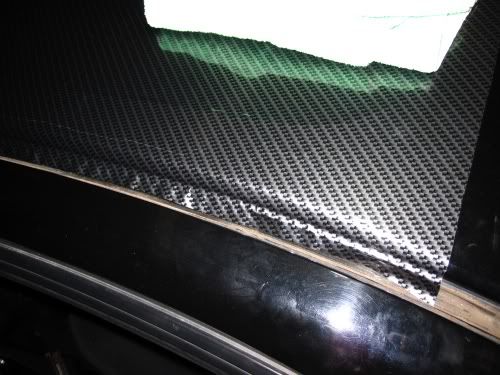
in the rear edge, drill a set of holes (I used two, but might add some) so that when a screw and nut is installed the nut sits exactly the width of the aluminium cut-out below the top of the roof.
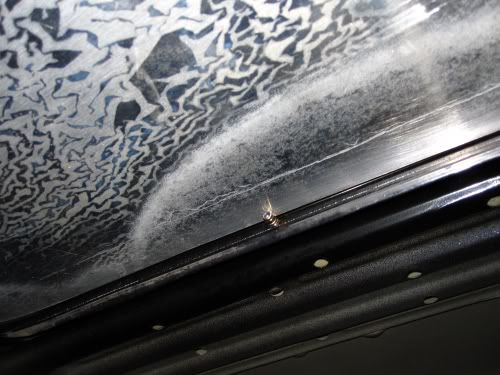
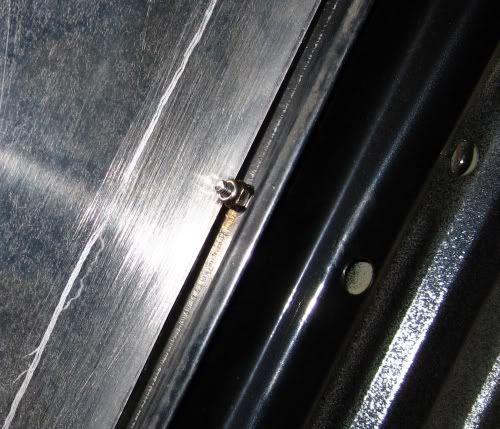
[I might add to these, depending how well the vinyl holds the rear edge down]
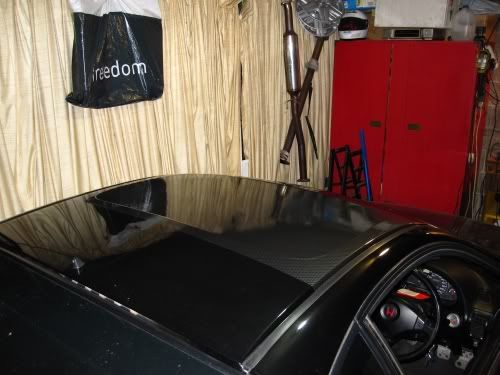
tidy up all the swarf and install the cut-out
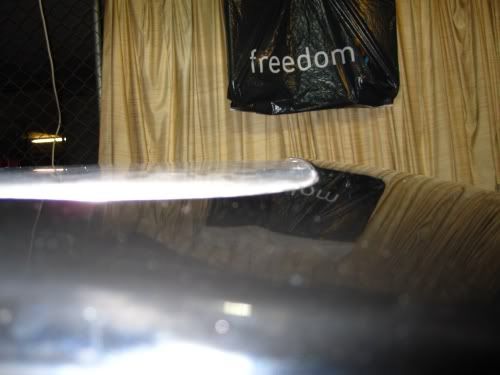
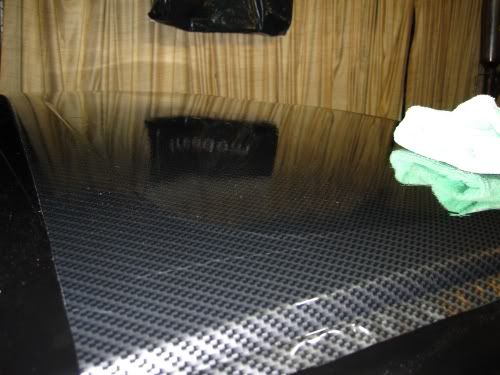
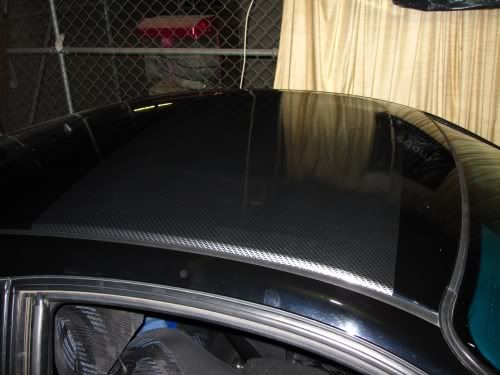
last step is not completed, but it is to add a vinyl sticker over the cut-out to make it waterproof... I have chosen a CF style print, but it could be body colour etc...
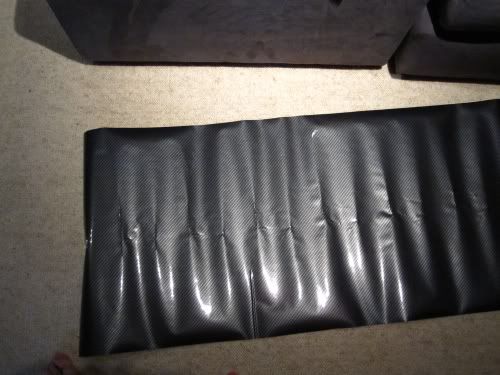
as you can see the vinyl was damaged in transit, so still deciding what to do...
more to come....
Last edited by tinkerbell; 28-02-2010 at 07:59 PM.
Reason: Added Disclaimer
 B20VTEC - since 2002 B20VTEC - since 2002
-
Nice work Tinkerbell. Added Disclaimer to top of post. 
Deano. 
-
other steps:
going to spray some fish oil up where i have drilled to prevent rust,
may have to add a screw at each corner to pull the corner down... might have to use a bit of wire here, as there is nothing to drill into at the corners...
probably going to add the head liner back in too...
Last edited by tinkerbell; 28-02-2010 at 08:00 PM.
B20VTEC - since 2002
-
This is wayyyyy sick, for the hardcore people!
-
-
-
Great write up
May i ask why u decided to get rid of your sunroof?
-
Coup De Grace / Rachel  Built by Backyard Performance
JDMyard / Autobarn Bankstown / Accurate Brake and Clutch Lidcombe / Performance Exhaust Northmead
-
also make center of gravity lower...
B20VTEC - since 2002
-
still at it tinkerbell..
any new diy mods to the dc2 ?
Club EM1 Represents - member 01 of 01
-
-
no offence but why would you delete your sunroof???
"SEX" Should Be Like V-TEC, The Whole Street Should Hear You Coming!
Tags for this Thread
 Posting Permissions
- You may not post new threads
- You may not post replies
- You may not post attachments
- You may not edit your posts
-
Forum Rules
|


 Reply With Quote
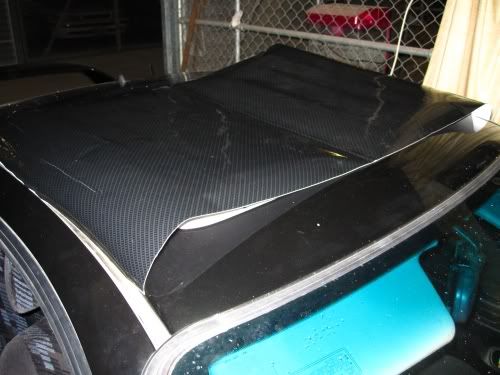


Bookmarks