

Disclaimer: The following is provided as a GUIDE ONLY, and neither myself nor Ozhonda take any responsibility for the outcomes of someone else doing the following. You follow these steps at your own risk!
Aim: Replacing broken recaro bolster foam
So my fat ass has ruined my recaro bolster and i thought that was the end of it's life. Nope! i purhcased one driver side recaro bolster off ebay for around $70AU shipped.
so here it is..
Things you will need:
- SR3 recaro with broken bolster
- flat head screw driver
- long nose pliers
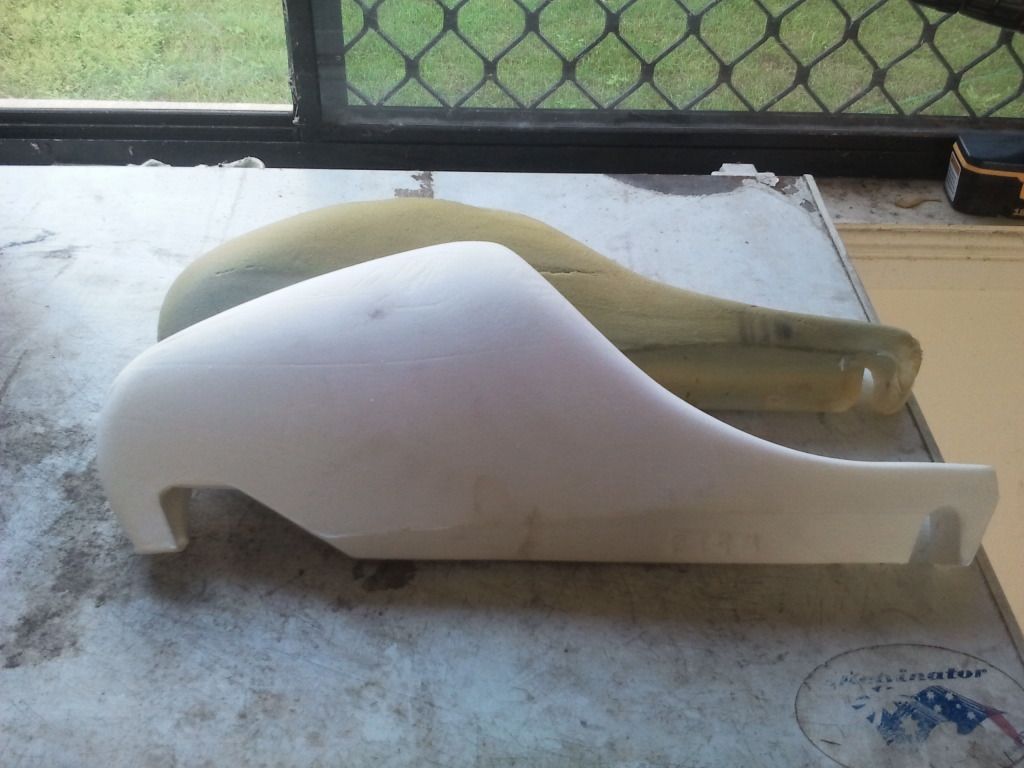
- new bolster foam (capital seating on ebay if i remembered correctly..)
Method
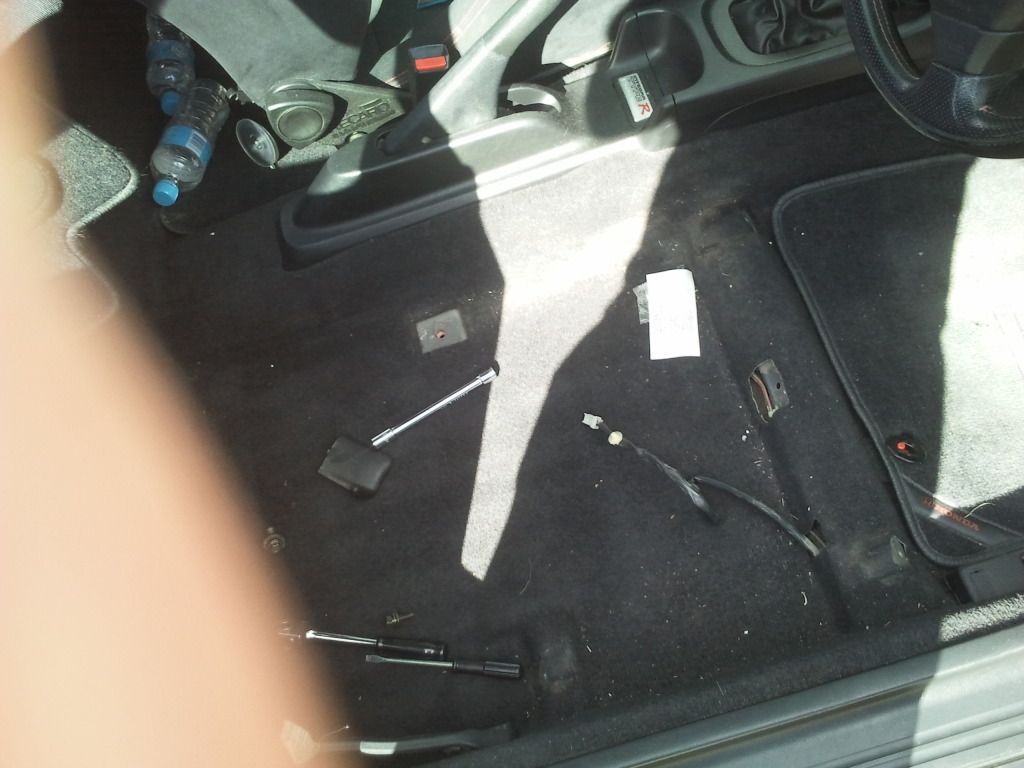
step 1: remove recaro from the car
step 2: remove the rail of the side which you are going to fix, you do not need to remove both rails
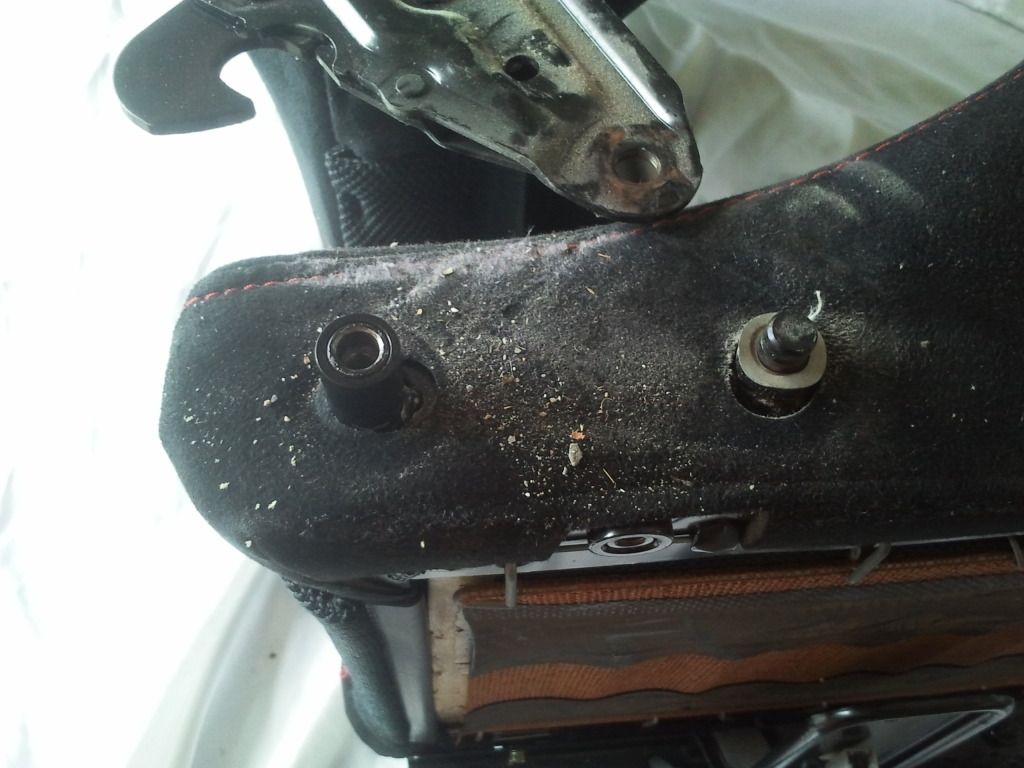
step 3: remove the back rest frame from the seat of the bolster you want to replace ONLY 1 if you're doing one side!
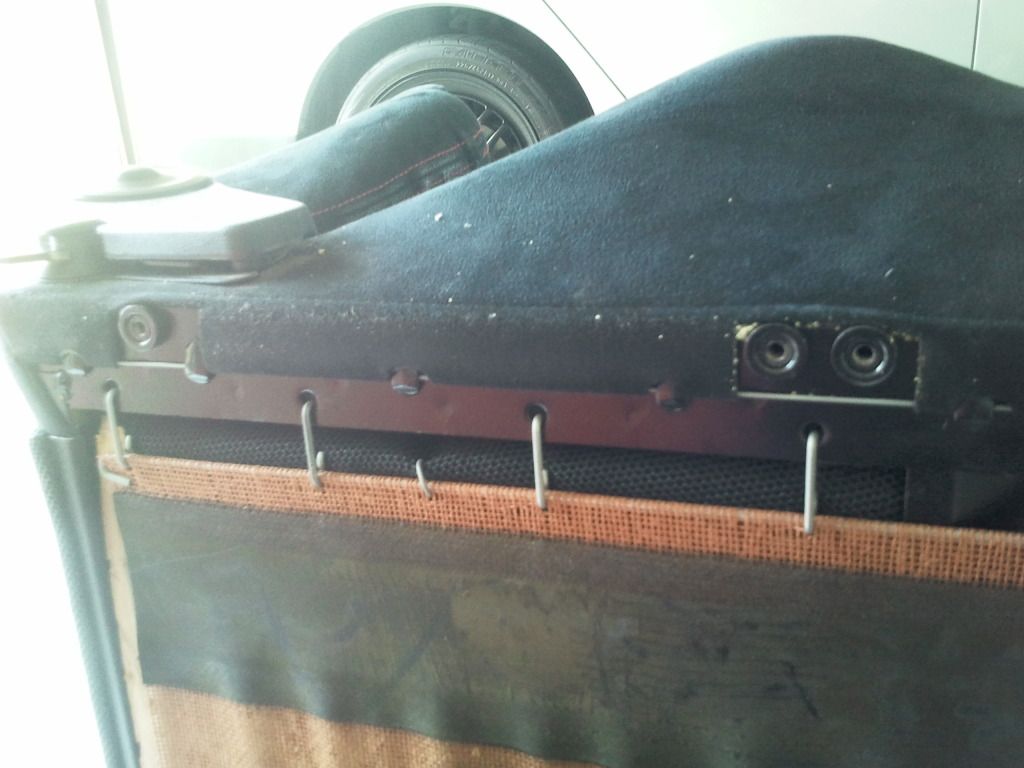
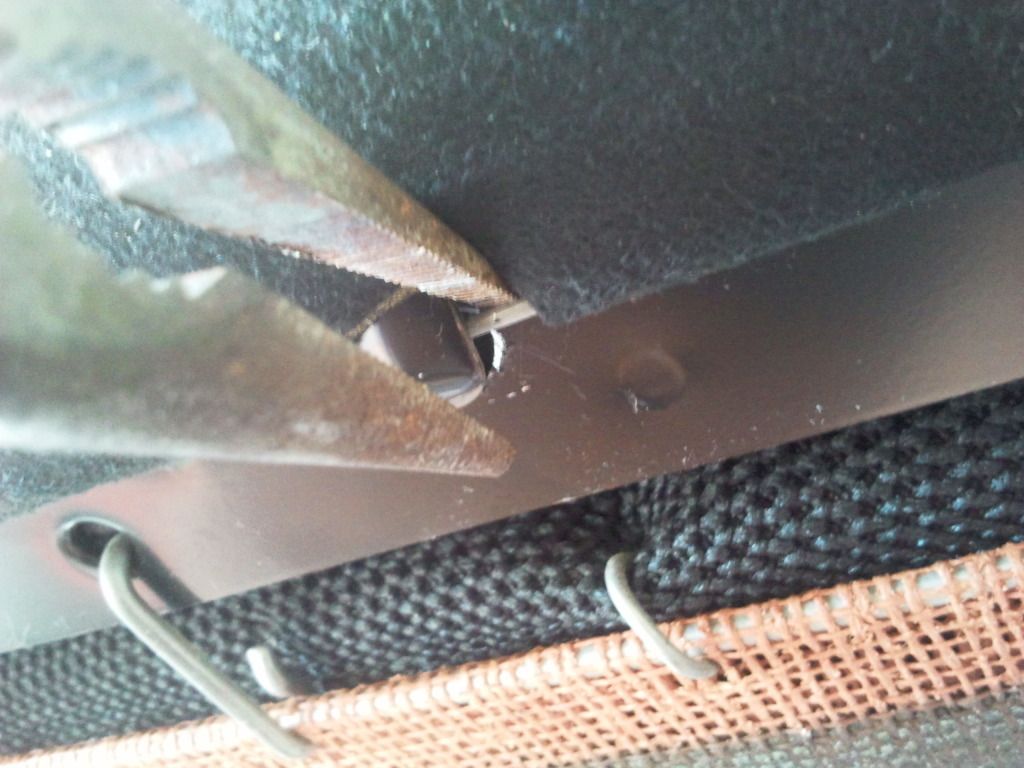
step 4: you will see metal tabs which hold down the wire that pulls the cover over the bolster foam giving it that "tight" feel lols. pry those up using a flat head screw driver. this step is optional but made life a lot easier for me
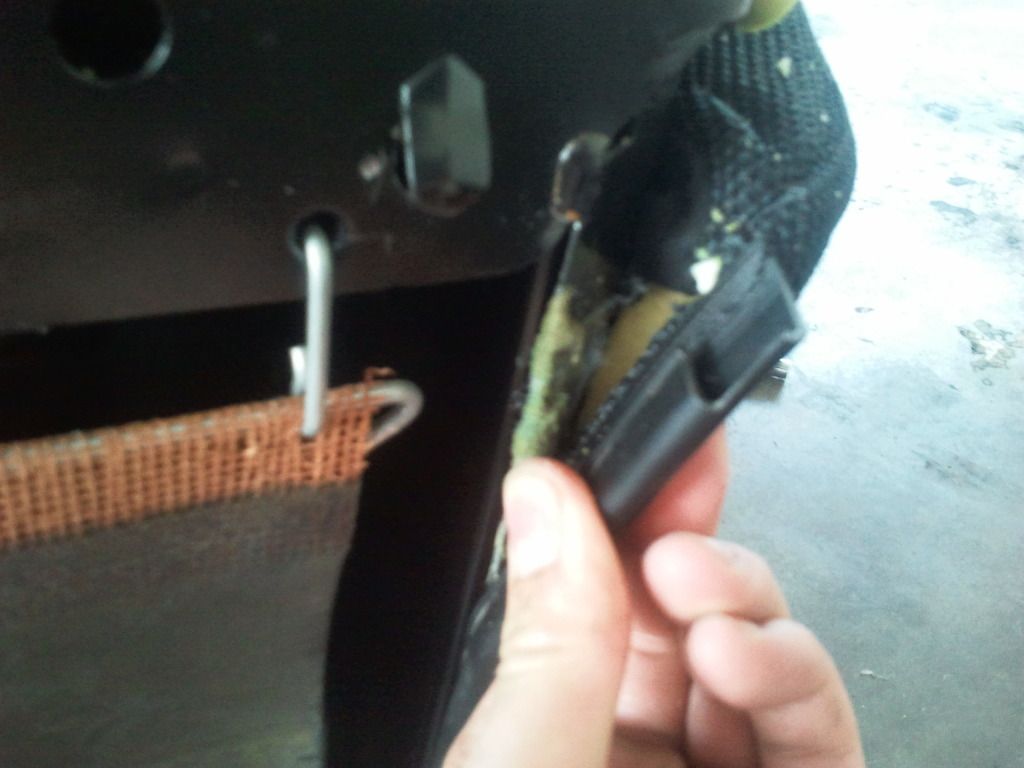
step 5: remove the cover at the ends. they are held down by glue. i used a long nose pliers to lift it off until there was sufficient amount till i can get grip with my fingers
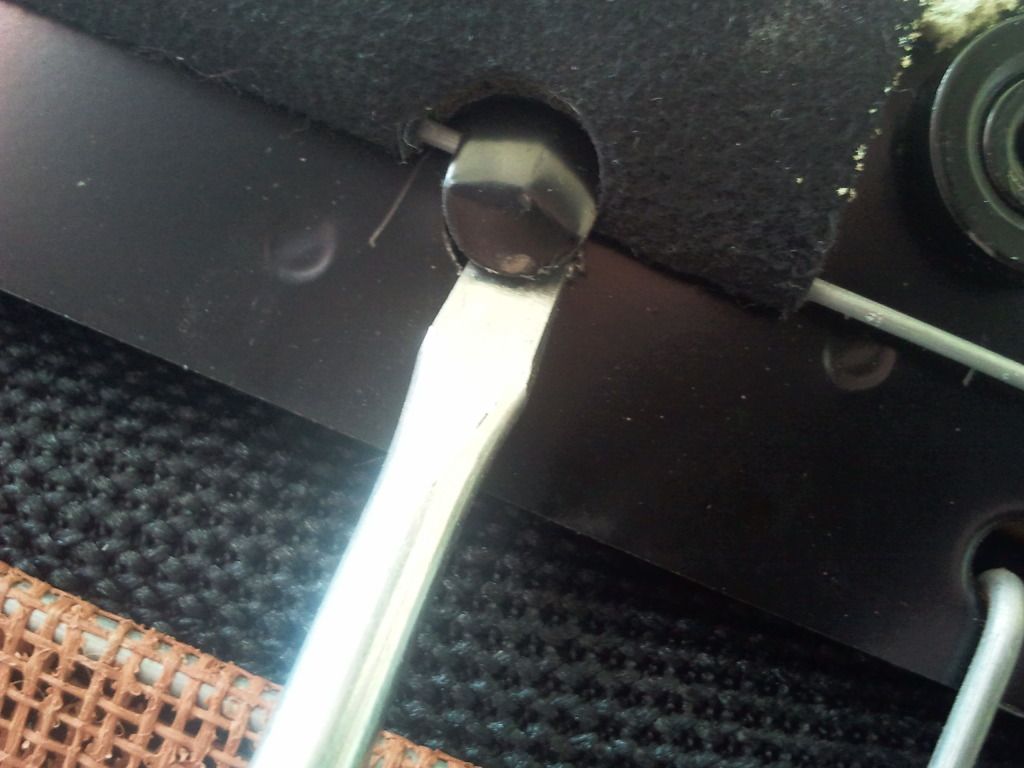
step 6: using pliers, grab the wire and pull it down like the one in the picture
step 7: have a break! (yes, i'm asian!)
Sorry i got lazy taking pictures after this stage so i'll try descibe best as possible..
step 8: roll the cover over from the outside of the seat to the inside. the cover shouldn't detach from the seat but should be easy enough to remove the bolster. now work backwards putting the sat back together. remember to massage the cover and new bolster so it aligns up correctly.
hope this helps someone out there!
im aware that they also sell covers and the boslter for the back rest. so you might consider purchasing those too if they're on their way out (to save shipping costs!)
Before and After
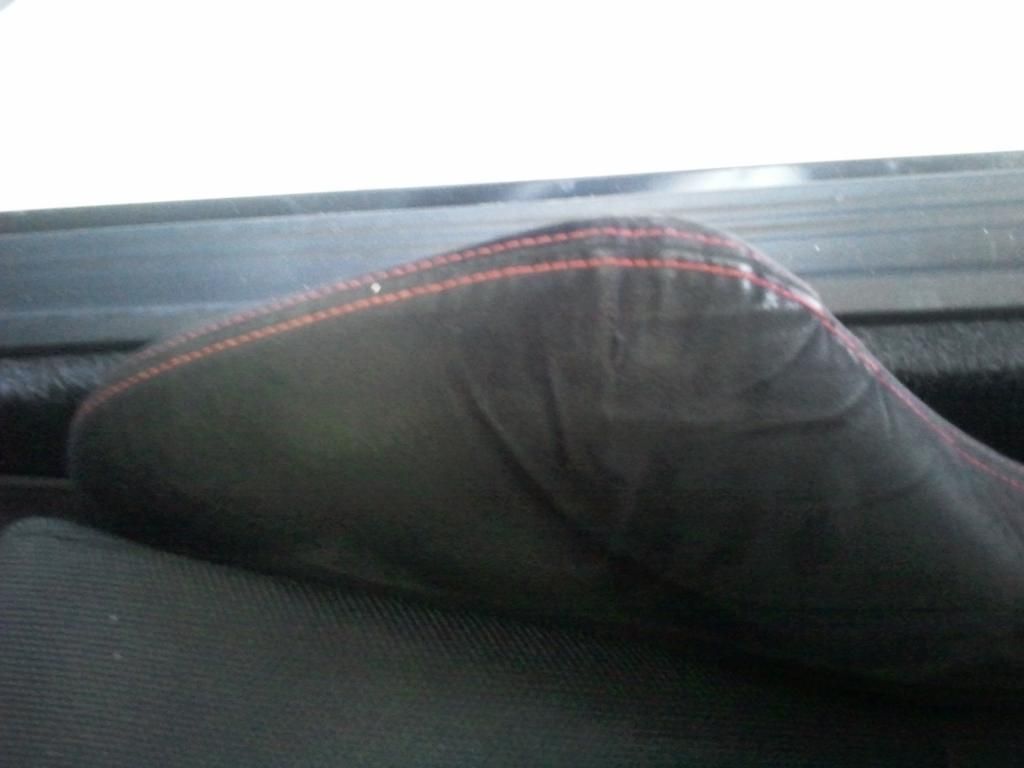
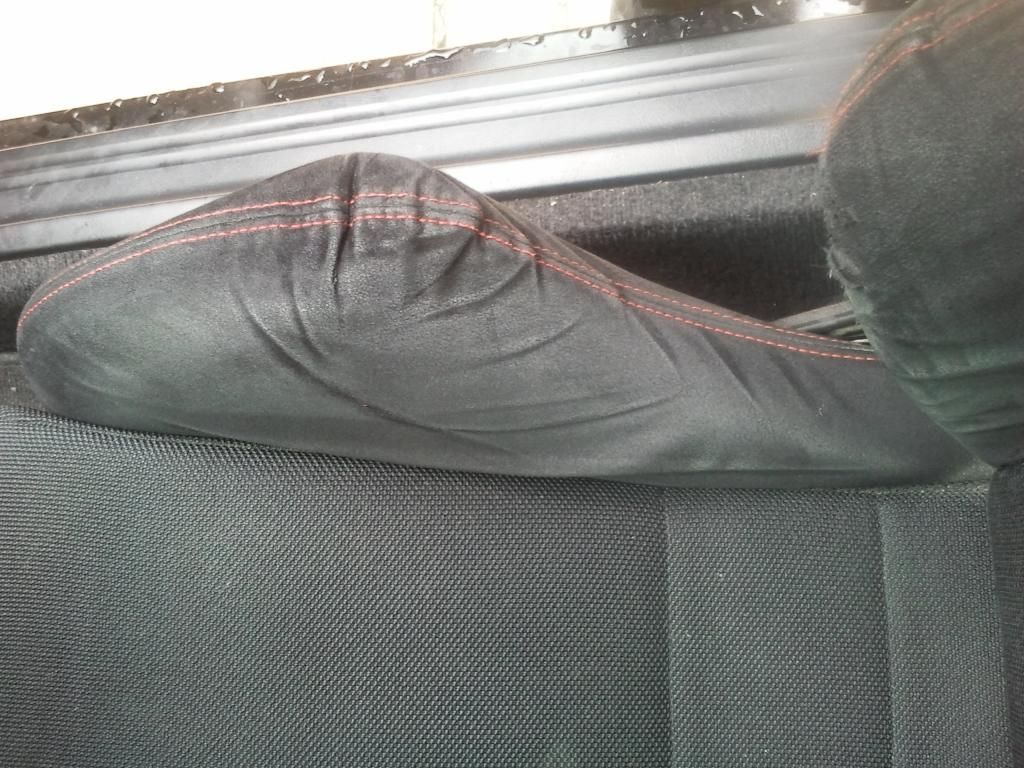
Before:
After:


 Reply With Quote


Bookmarks