Page 1 of 3 123 LastLast
Results 1 to 12 of 34
  1. #1
    Member Array
    Join Date
    Apr 2008
    Location
    Treasury Casino
    Car:
    fd1

    DIY: FD Civic front parker + low beam bulb change =D

    Disclaimer: The following is provided as a GUIDE ONLY, and neither myself nor Ozhonda take any responsibility for the outcomes of someone else doing the following. You follow these steps at your own risk!

    Aim: Change your front parkers + low beams =D

    Required:

    * T10 (leds) x 2 [ i chose white]
    * Flat head screwdriver
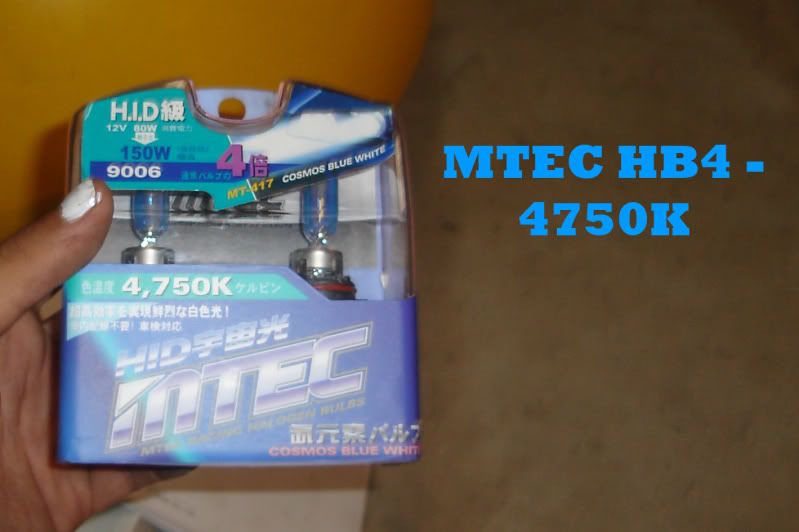
    * HB4 bulbs for the low beam
    * Tissue/cloth - don't touch the bulbs with your bare hands
    * Gloves if ur a wuss =P
    * Patience with the rad overflow bottle..

    Steps:

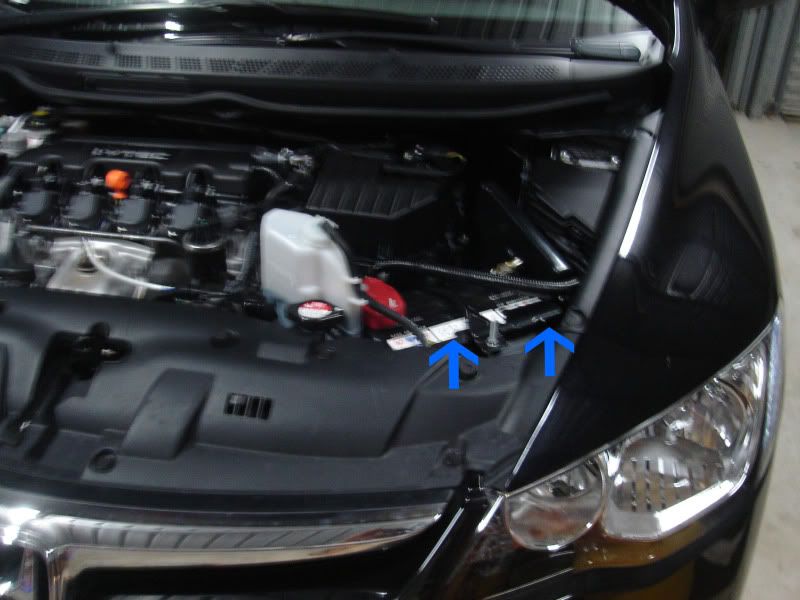
    1. To do the left hand side lights - full-lock the car to the right.

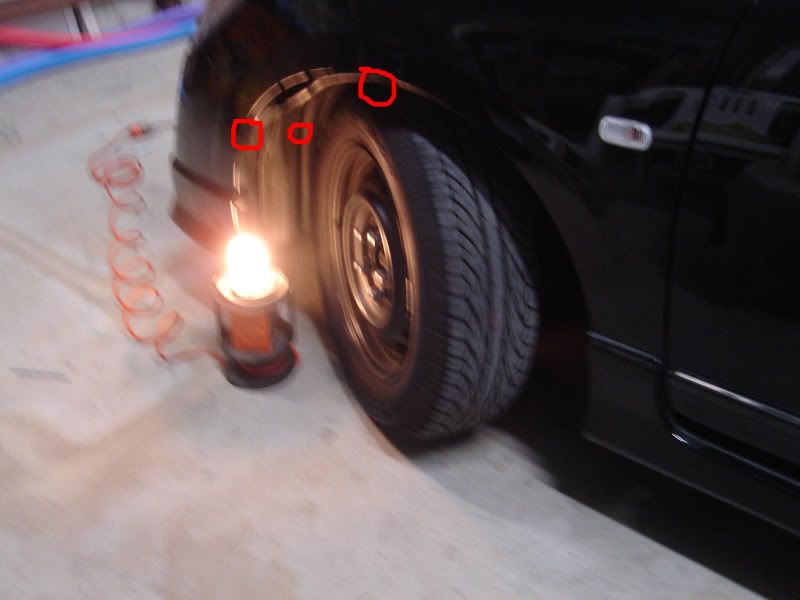
    2. Damn dunno what happened this pics focus is =\ .. anyhoo, use your flathead and take off the 3 circled screws


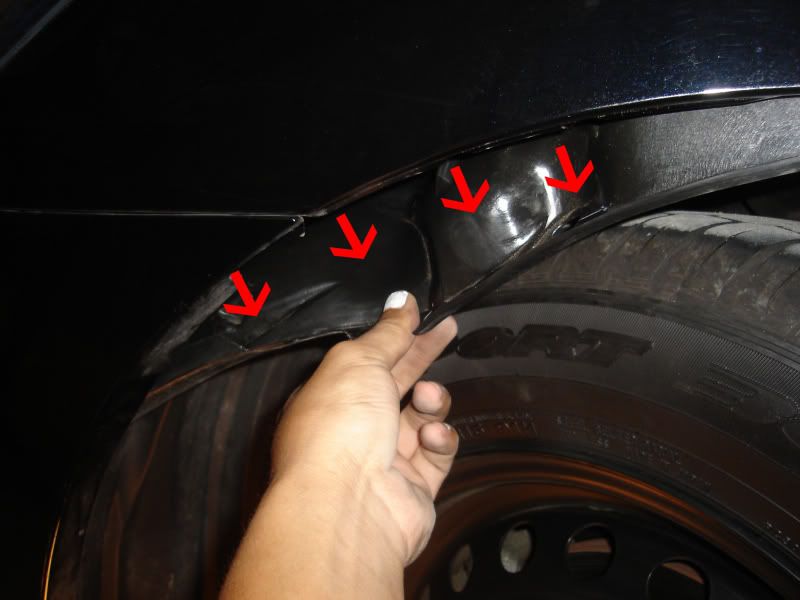
    3. After you've removed the screw/clip like things holding the weather guard in. Place them somewhere you won't forget/lose and then pull the lining down.


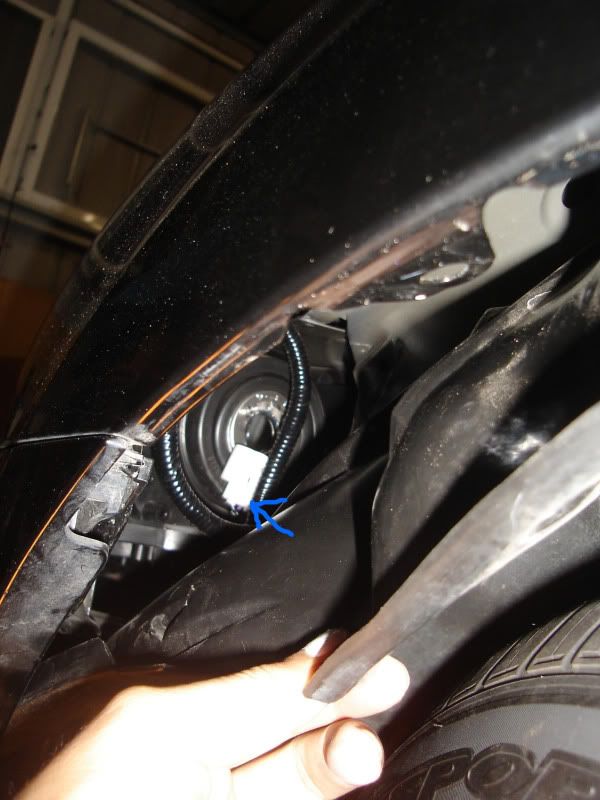
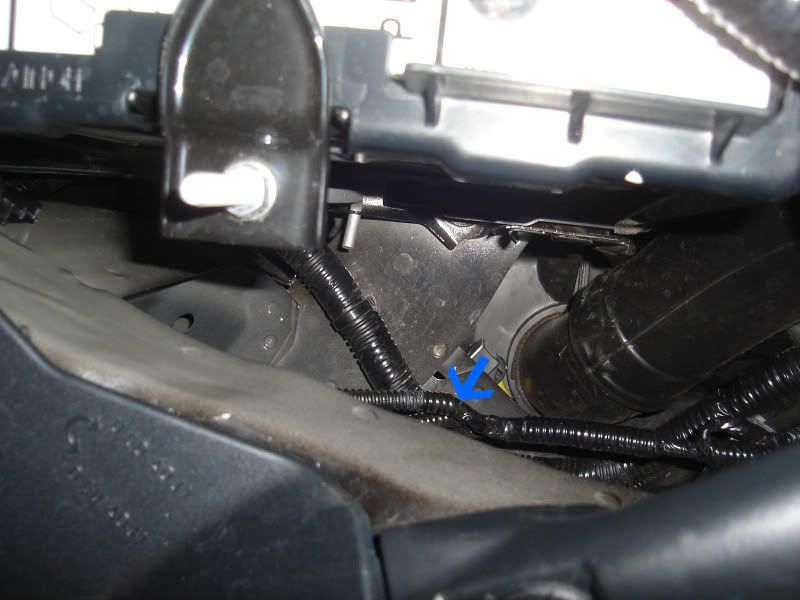
    4. Look in and you will see the bulb with connector at the bottom. To remove the stock bulb, push the tab in the middle down (blue arrow) and pull the connector down at the same time. Turn the bulb anti-clockwise to looses it and pull it out. - Be careful not to touch the actual 'bulb' part with your bare hands, use a tissue if your scrared.


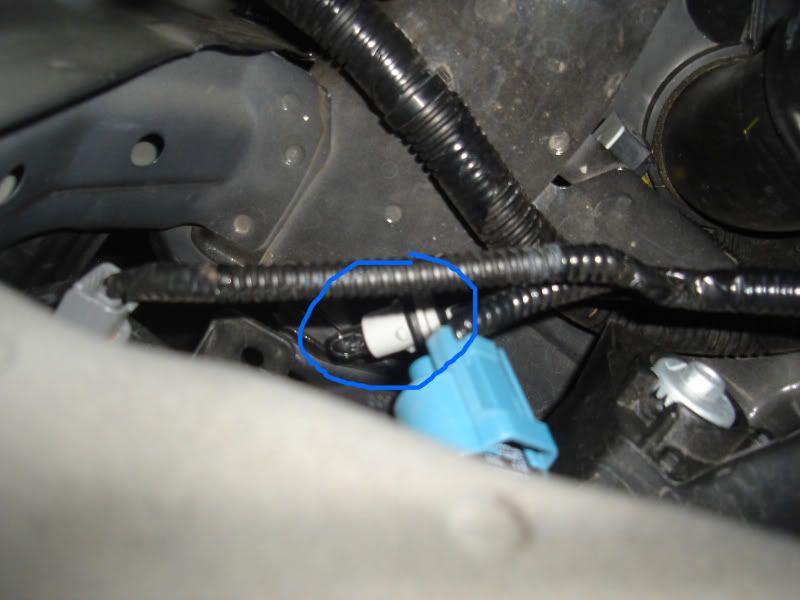
    5. Take out your new hb4 bulb and put it in + turn 1/4 clockwise - you will feel it go hard (teheheeheheheh) dunno how to explain but you'll feel it go into its thread and sit tight. Push connector onto it and turn the headlights on to see if they are working.


    6. Ok now onto the left hand side parker - be warned this is a b!atch because of the overflow rad bottle haha.

    7. The overflow bottle will slide directly up, reach down to the bottom-most wire and wriggle it if you are unsure its the parker. Turn it 1/4 turn anti-clockwise and then use a tissue/cloth to pull out the stock bulb.


    8. Push your new parker in until it bottoms and turn the parkers on to see if it works. If everythings ok then you now have to wriggle the rad overflow bottle back into the clip holding it.


    Put the clips/screw like things back in to hold the weather guard in place and then hop into the car, turn it on and full-lock it to the left to do the right hand side.

    9. Repeat the steps previously listed. Right hand side is so much easier because no overflow rad to fiddle with so shouldn't take long.

    10. Once you're done sit back and enjoy haha!

    P.S - pics to come 2moro, camera died and needs charging + off to work soon

    there's only a few which i had saved..
    Last edited by .k.; 08-05-2009 at 01:14 PM.

  2. #2
    Member Array
    Join Date
    Nov 2008
    Location
    North Shore, Sydney
    Car:
    '03 BB AP1
    wow looks sexy haha. what bulbs u using for low beam and what u using for parkers? =D. get some pics asap!!1

  3. #3
    Newcomer Array
    Join Date
    Jan 2009
    Location
    Brisbane
    Car:
    EK Civic VTi-R
    He's using MTEC halogen bulbs 4750K extended wattage for the low beams and some $15 parkers we picked up from autobarn

  4. #4
    Member Array
    Join Date
    Apr 2008
    Location
    Treasury Casino
    Car:
    fd1
    updated with pics now.

  5. #5
    Member Array
    Join Date
    Jan 2008
    Location
    brisbane - carindale
    Car:
    2003 JAZZ
    nice khoi.

  6. #6
    Member Array
    Join Date
    Apr 2008
    Location
    Treasury Casino
    Car:
    fd1
    thanks george

  7. #7
    Member Array
    Join Date
    Feb 2009
    Location
    Perth
    Car:
    FN2R
    Just a question about removing the 3 circle screws to remove the weather guard. Do you just kinda use the flathead to pull it off or do you actually have to turn it like a normal screw? I figured I better ask this question incase I accidently broke them

  8. #8
    Member Array
    Join Date
    Nov 2008
    Location
    North Shore, Sydney
    Car:
    '03 BB AP1
    Quote Originally Posted by ganj3 View Post
    Just a question about removing the 3 circle screws to remove the weather guard. Do you just kinda use the flathead to pull it off or do you actually have to turn it like a normal screw? I figured I better ask this question incase I accidently broke them
    yeah use the flathead to pry it out, but do it slowly and carefully i almost snapped mine off.. they break pretty easily i think.

  9. #9
    Member Array
    Join Date
    Apr 2008
    Location
    Treasury Casino
    Car:
    fd1
    soz for the late reply, Ryan (i think) got it right - just use a flathead to pry it out but dont push too hard =D

  10. #10
    Member Array
    Join Date
    Nov 2008
    Location
    North Shore, Sydney
    Car:
    '03 BB AP1
    haha yeah got my name right =D. Khoi right? sorry if im mistaken =D.

  11. #11
    Member Array
    Join Date
    Apr 2008
    Location
    Treasury Casino
    Car:
    fd1
    lol we're telekenetic =] haha.. anyone else need help changing their low beams or front parkers?

  12. #12
    Member Array
    Join Date
    Jun 2007
    Location
    Brisbane
    Car:
    2004 Euro Luxury
    I got bombed by a cop for using them bulbs in my last car, had them in for 3 weeks the MTEC's. They look really nice though, but super blinding if your driving the car infront.

Posting Permissions

  • You may not post new threads
  • You may not post replies
  • You may not post attachments
  • You may not edit your posts
  •  
Powered by vBadvanced CMPS v4.1.3


Terms and Conditions
Ozhonda.com is in no way affiliated with the Honda motor company or Honda Australia in anyway whatsoever.