|
-
DIY: DC2 /DC4 Integra interior door trim lifting? Here's the fix.
Disclaimer: The following is provided as a GUIDE ONLY, and neither myself nor Ozhonda take any responsibility for the outcomes of someone else doing the following. You follow these steps at your own risk!
Aim: Fixing lifting interior trim
Required:
philips screwdriver
a flathead screwdriver for prying trim off
A tube of contact glue with a small nozzle (Bostik Contact Grip works)
A pair of soft gloves
Steps:
All right mates, along with the saggy rear bumper, the interior door trim of many third gen Integras are notorious for lifting away at the armrest.
It looks like this:
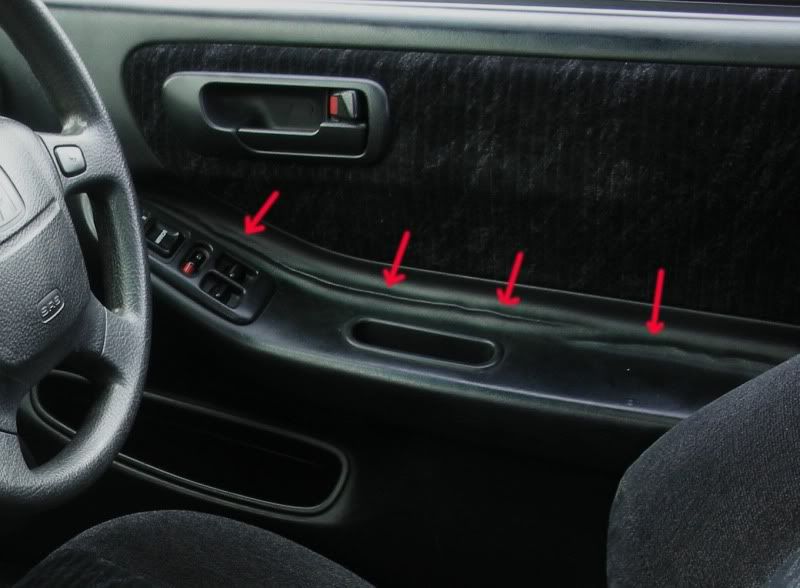
There are all sorts of theories on why it happens, the most common is that there just isn't enough glue in the area.
Suggested fixes have included:
a) Buying another complete door card with no signs of lifting laminate. Not a good idea, because there's a chance that three months after you paid for them and installed them, they too can start lifting as the factory glue bond weakens.
b) Drenching it in vinyl protectant and hope for the best. Quite useless as the glue behind is already not bonding.
So here's the simple solution to the problem. All you need to do is re-glue it. I'm just going to assume that the reader has no experience with this, so I'll be explaining even the most obvious things.
1. You'll need to remove the entire door card. It's not difficult at all. team-integra.net has a complete article on it, so I suggest you look there. Basically, it involves two screws, one scrivet (those pesky plastic trim fastener things), and a lot of tugging.
One screw is in the bit that you pull to close the door. Unscrew and remove the little plastic 'bin'.
One more screw is hidden behind a small cover, in the door lock/opening lever area. Pry up the lid with a small flathead, undo the screw, then pull the door lever and slide the whole plastic surround backwards and off.
One plastic scrivet is at the front of the door, under the wing mirror and visible only when the door is open. Be careful with this. Scrivets are very delicate. Unscrew the centre bit gently, then once the centre plastic screw is out, ease out the plastic rivet.
Now tug at the lower edges of the door until the plastic clips snapping the door card to the metal pop and release, lift the whole piece upwards, disconnect the power window connectors and that's it.
TOP TIP: if it's hard to unpop the plastic clips, remove the speaker grille first. Pry it out from this angle at the bottom:
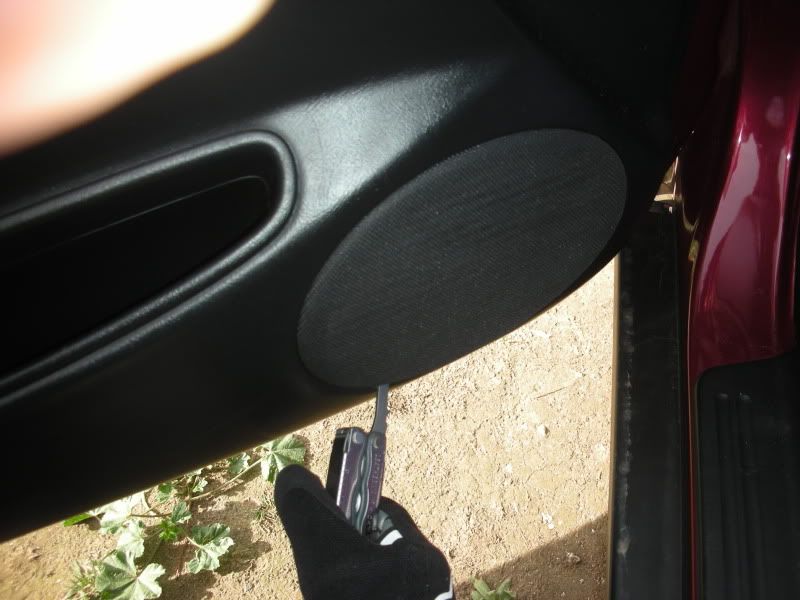
Don't pry from the top. You'll break the plastic clips.
Then get your fingers in there, and pull to unpop the door. You get better leverage this way. Wear gloves so that any sharp bits inside don't cut your fingers.
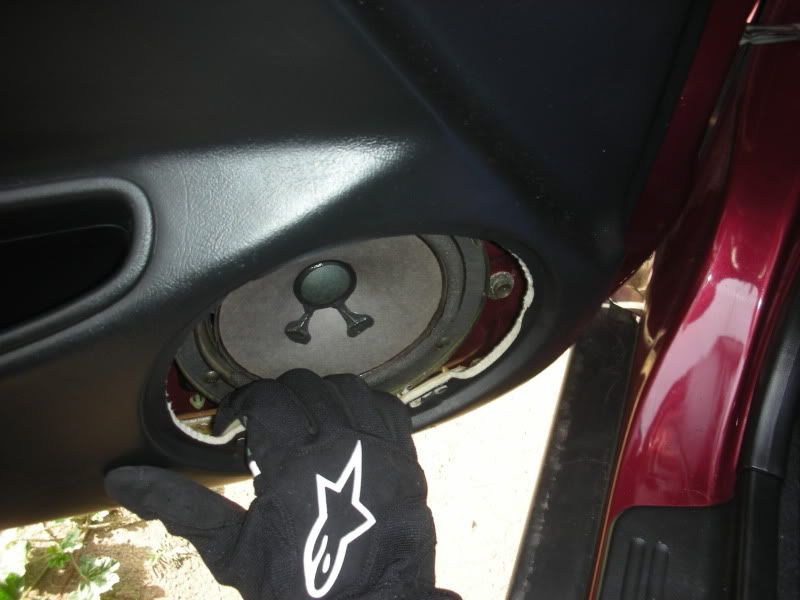
You'll notice that the speaker in my car is craptastically stuffed. They work but the foam surround has disintegrated. I'm jobless now and can't afford to replace them. If you have a pair of stock speakers in usable condition and want to bin them, don't. Give them to me! Anything is better than the dried up, rotting thing in there.
Last edited by dinorider; 29-07-2009 at 11:59 AM.
Tags for this Thread
 Posting Permissions
- You may not post new threads
- You may not post replies
- You may not post attachments
- You may not edit your posts
-
Forum Rules
|


 Reply With Quote
Bookmarks