

Hi Guys just want to post this up great info at last some one done it for years.
Taken from http://tsxclub.com/forums/1st-gen-su...n-install.html
PLEASE WORK AT YOUR OWN RISK. I AM NOT RESPONSIBLE FOR ANYTHING. THIS IS JUST A GUIDE
u need the following tools
3/4 Drive ratchet
10mm socket
12mm socket
14mm socket
17mm socket
17mm wrench
Allen Keys
Jack and Jack Stands
Front, I did one side, both sides are the same. You should have no problems doing the other side
Loosen the wheel while the car is still on the ground. Chalk the rear wheels. Jack the car up using proper jacking points and place on jack stands.
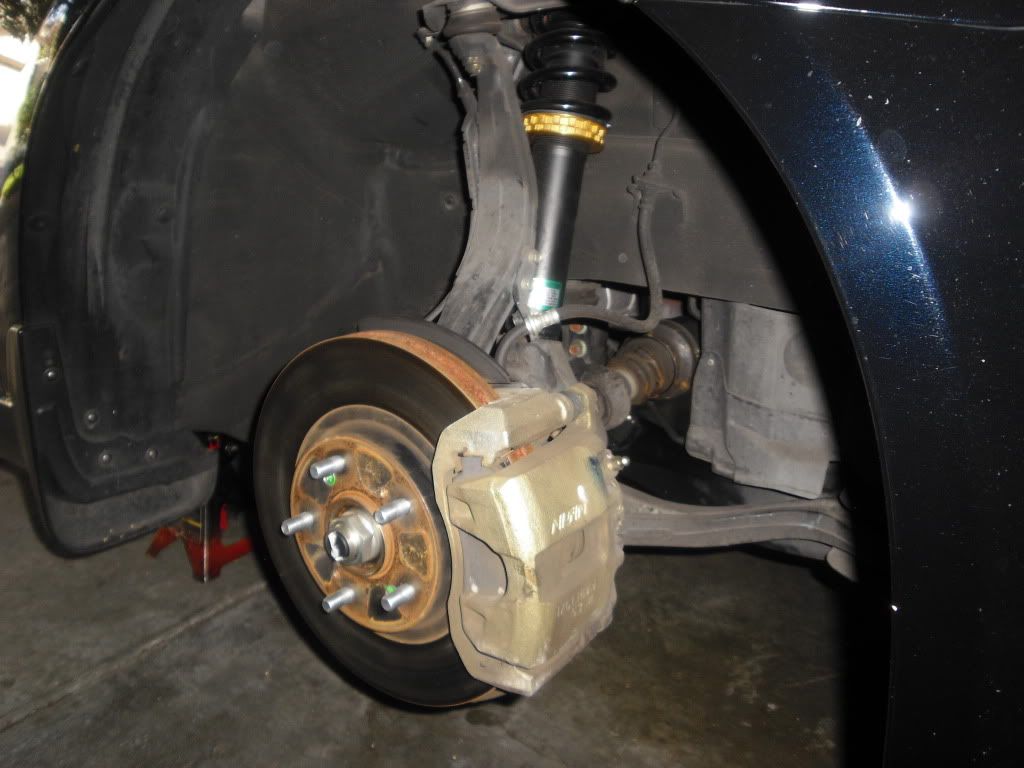
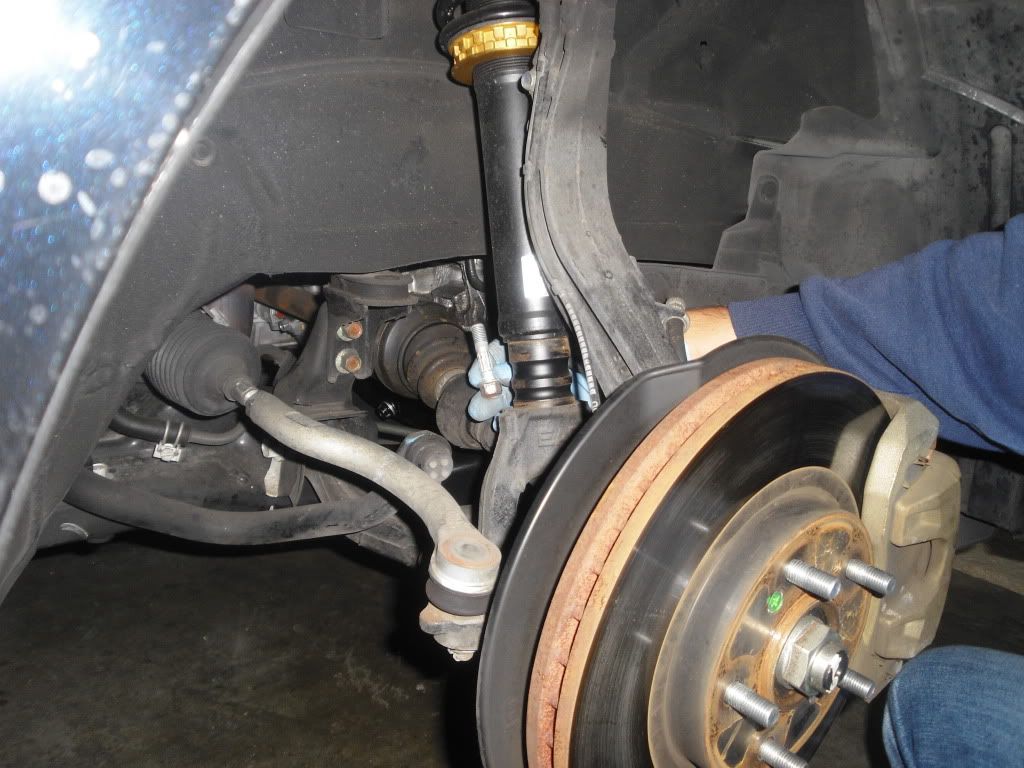
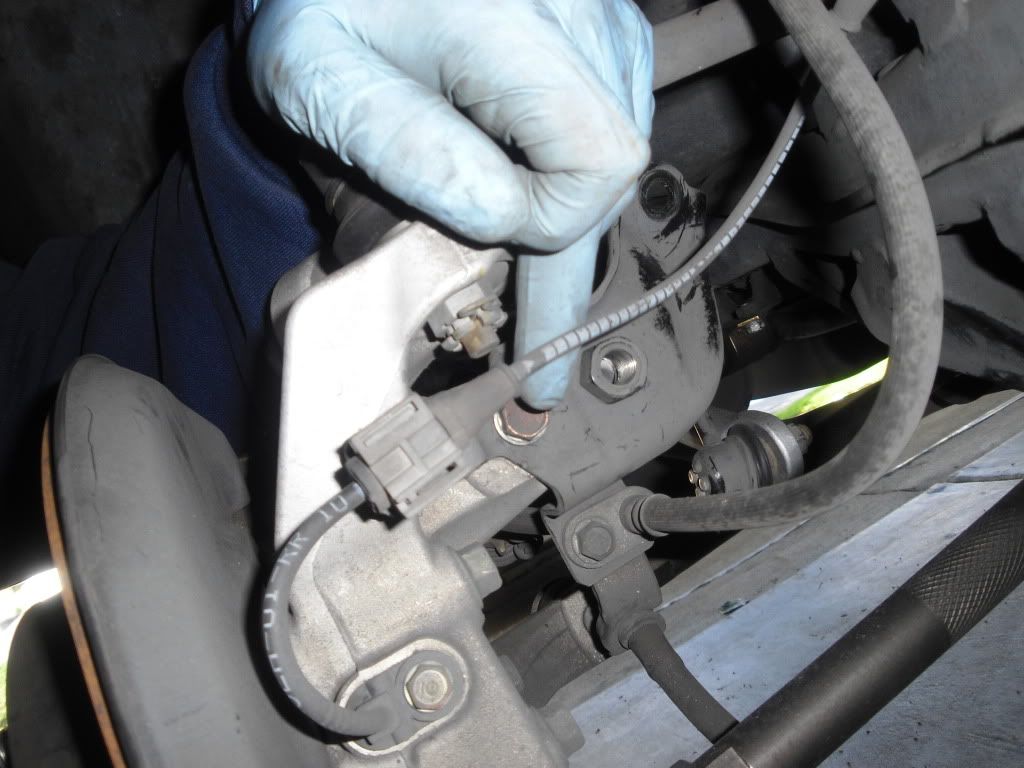
This is what you will see.
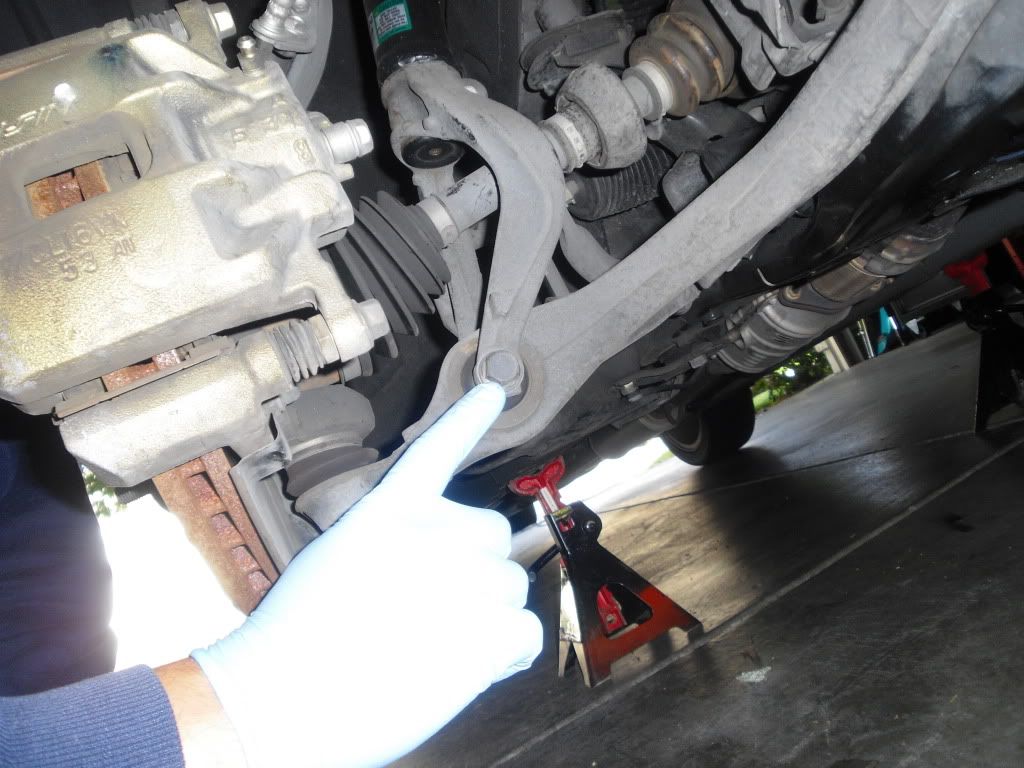
Next, Grab the 17mm socket/ratchet and the 17mm wrench. Place the wrench on the 17mm nut and the socket on the bolt and remove, Lower part of the fork
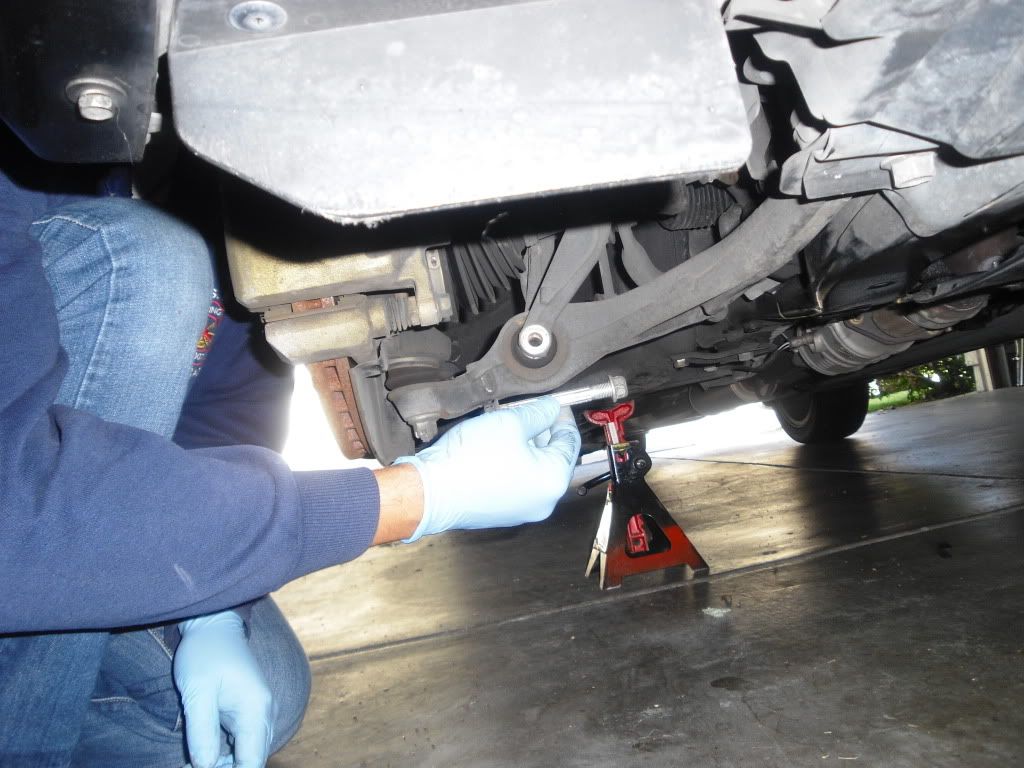
Next remove the top bolt of the fork, 14mm socket. Rest the fork gently on the axle or you can take it out and put it aside.
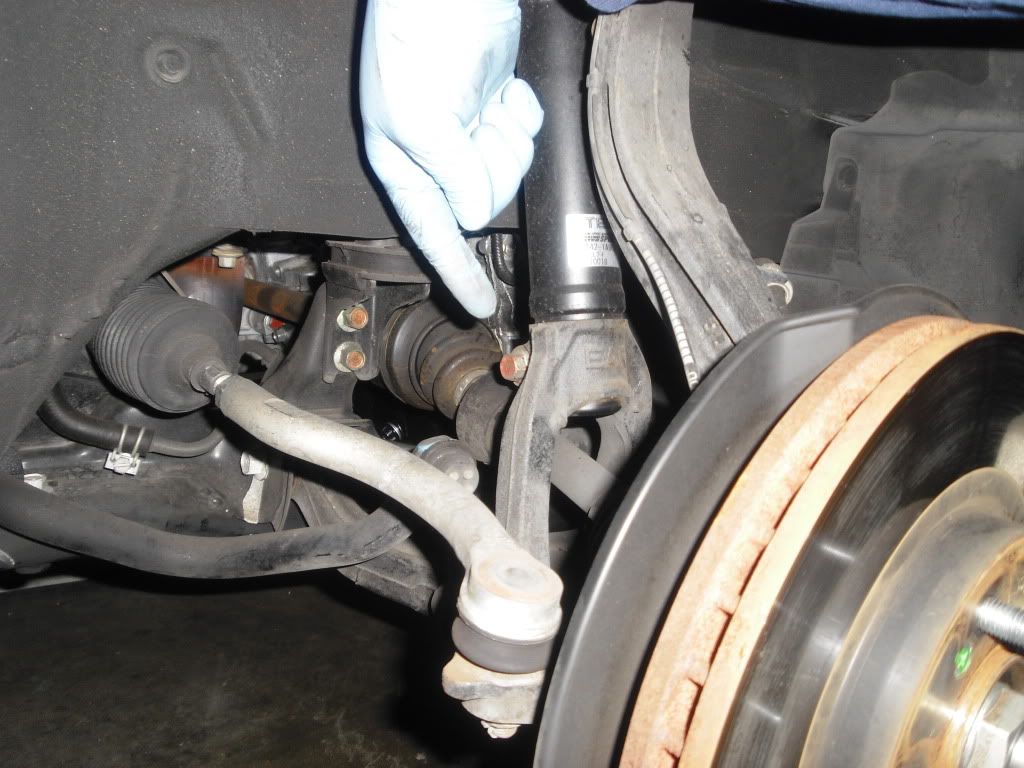
Almost done with the front. See how easy it is.
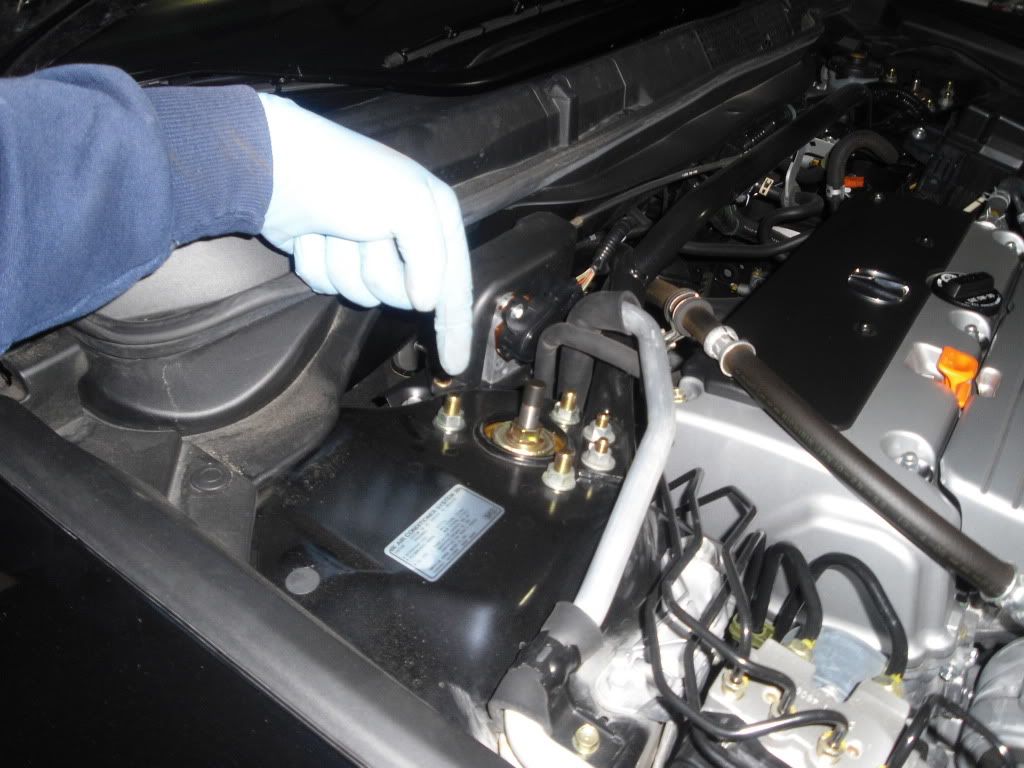
Now remove the top bolts. 3 14mm nuts and 2 12mm nuts. While you are doing this have a friend hold onto the shocks so it doesn't fall.
After this step you can pull everything out. If you are doing springs, this is were you use your spring compressor and install them. If you have coilovers, just fallow the steps backwards. Please double check all you bolt/nuts. I didn't use a torque wrench, you can if you want to.
Now for the Rear. A little more of PITA but still very easy. Loosen the wheels while the car is still on the ground. Chalk the front wheels. Jack the car up using proper jacking points and place on jack stands.
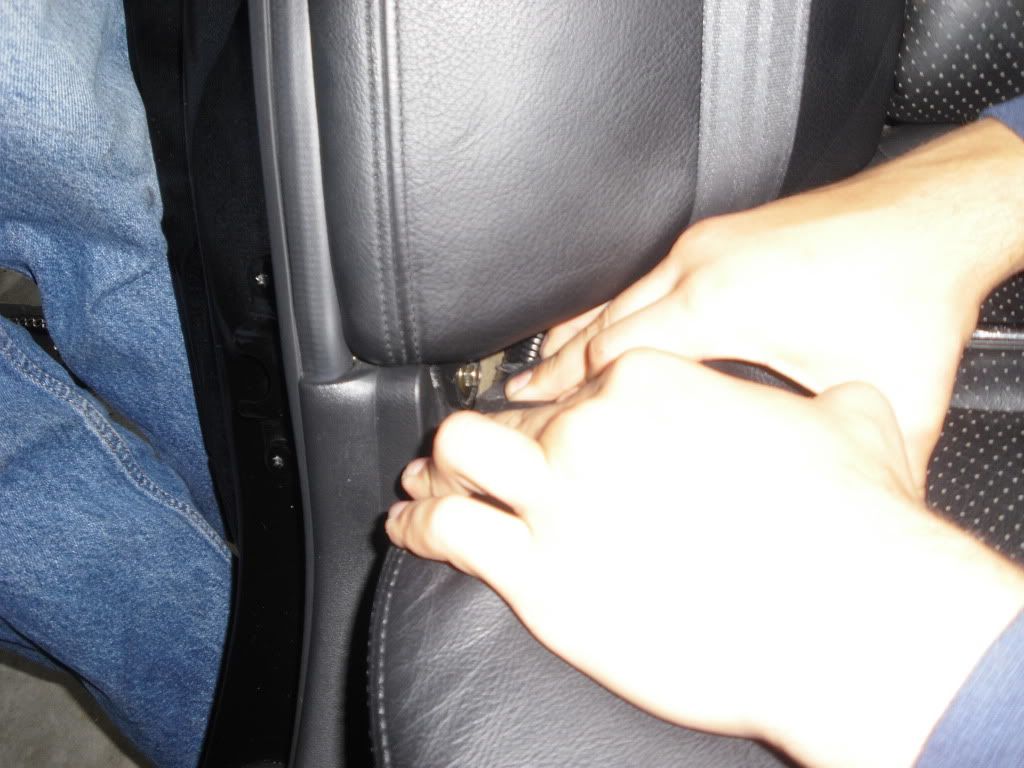
Start by removing the rear seat bolsters. This Is a PITA, please be gentle not to brake the hooks on the back of the bolster.
After you remove the 10mm bolt, slide the bolsters upward. After they unhook you can pull them towards you. This will expose the Top bolts of the shock
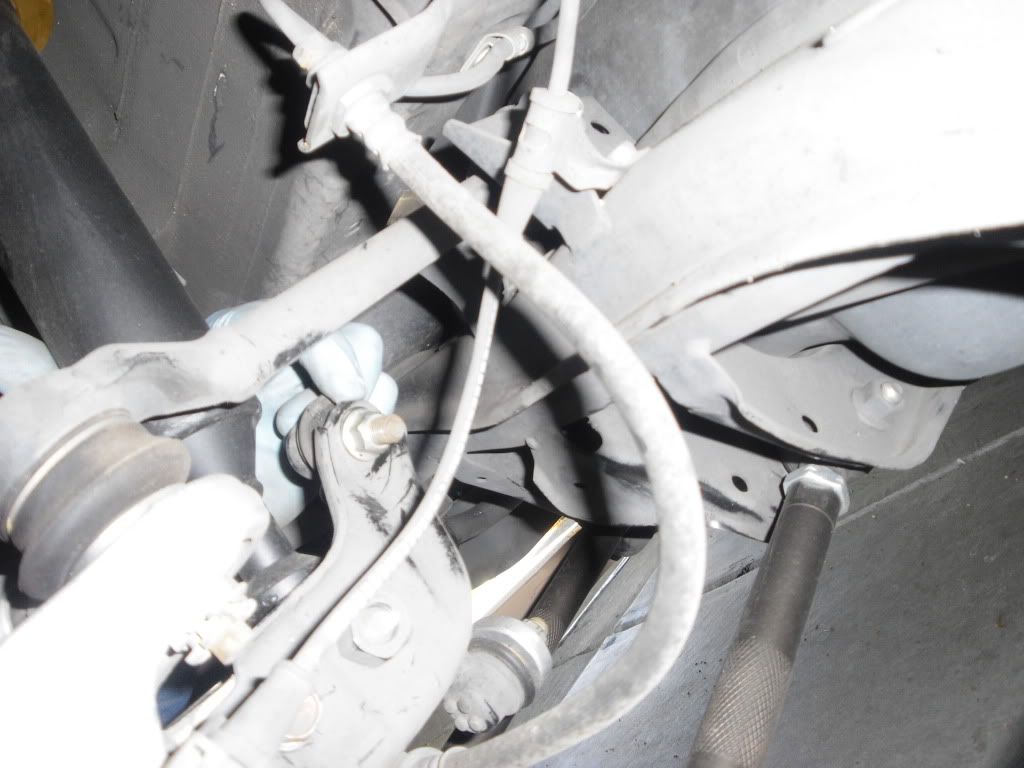
Next take off the sway bar end link. This will be a PITA if you are from the east coast. If you are from the West coast you are lucky. WD-40 the nut and stem of the End link, let it sit for a min. Take a 14mm socket and ratchet and try to remove it. If it doesn't get loose you will need a 14mm wrench and a metric allen key to remove the nut. Be very careful not to strip the allen.
After removing the endlink take the 17mm bolt out from the bottom of the shock.
Next remove the 14mm bolt on the back braket
Lastly have a friend hold on to the shock while you remove the top 2 14mm nuts.
Play with it a little and the rear shock/spring should come out. At this point you can install your springs with a compressor. If you have coilovers just do the opisite of the removal and your done. Please double check everything.
Your all done. Just make sure everything is tight and go enjoy your car.


Bookmarks