|
-
///Honda R - Featuring Vision N1 Muffler review and DIY muffler installation
Dear fellow oz-honda members,
Description:
Vision is a well known Japanese Honda Tuning company. They make some of the products for Spoon Sports and hence you find some similarities in some of the products.
They are very quiet compared to spoon n1 muffler even without putting the silencer on.
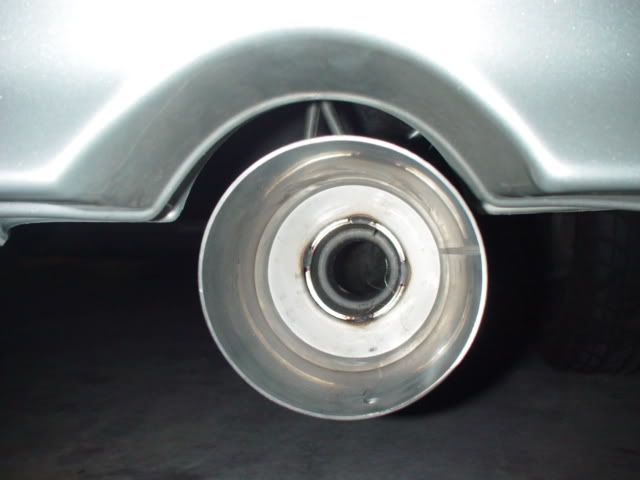
A 100mm (90mm for jazz) angled type exhaust tip is used to best match the stock bumper. It has good clearance between the muffler and the rear bar even with oem rear lips installed
The silencer body is 135mm (120mm for jazz), and the whole muffler is made in stainless steel for durability.
A 60mm (inner diameter) (50mm for jazz) main exhaust pipe provides the engine with enhanced torque characteristics at low to medium revs.
The entire exhaust system is made as straight as possible to best match Honda engine characteristics, providing a refined, light and sporty four cylinder sound.
Connecting portion ensure smooth gas flow through Honda's genuine exhaust. Vision's development policy is to exploit the strength of original components as much as possible.
The exhaust uses a proper mandrel bending. To save cost, your stock Honda exhaust is made with small-diameter crush-bent pipe. Crush bends are easy and inexpensive to make, which ideal for mass production. However crush bends can reduce the flow of a pipe by up to 50%.
Mandrel bending is done with a special machine that uses non-crushable insert, called a mandrel that goes into a pipe while bending to prevent it from becoming crushed. The bend is smooth, which helps with exhaust flow.
If you want find out more about vision, please go to this page.
Vision Technica Website
REVIEW AND VISION MUFFLER DIY INSTALLATION
Finally i have a bit of time today and did a DIY Vision N1 muffler installation in my garage. I thought it will be good as well to share with fellow oz-honda members how i do it. Maybe it is helpful to you.
*** Disclaimer: The following is intended as a GUIDE ONLY, and neither I nor Ozhonda take any responsibility for any outcomes of someone else doing the following. You do it at your own risk! ***
The Vision N1 Muffler is easy to install as it direct bolt on to your existing oem b-pipe or vision b-pipe.
It took me about 30 mins to install them and they are very quiet exhaust system even without the silencer on.
I was surprised at how quiet they are compared Spoon N1 is very loud even with the silencer on.
Yet they provide the engine with a straight thru system that is definitely much much better system than the current baffled system found on oem exhaust.
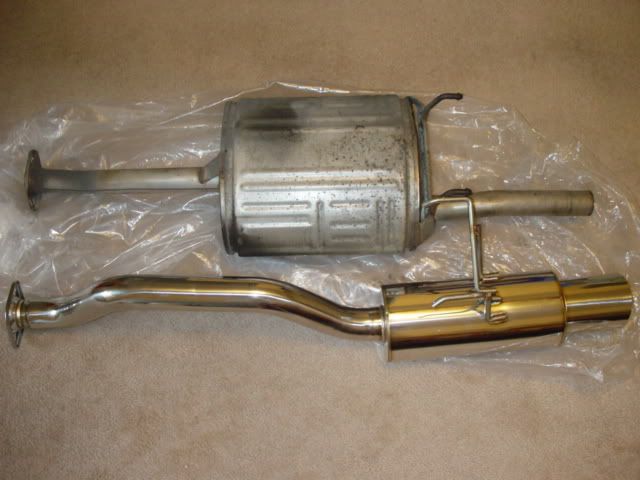
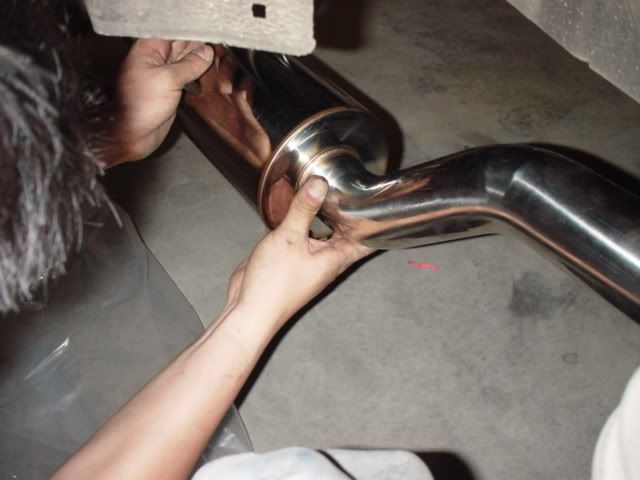
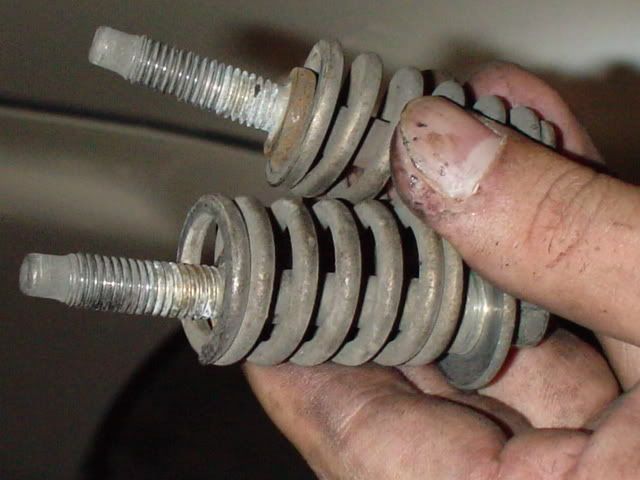
Vision N1 muffler VS stock muffler (EK CIVIC)
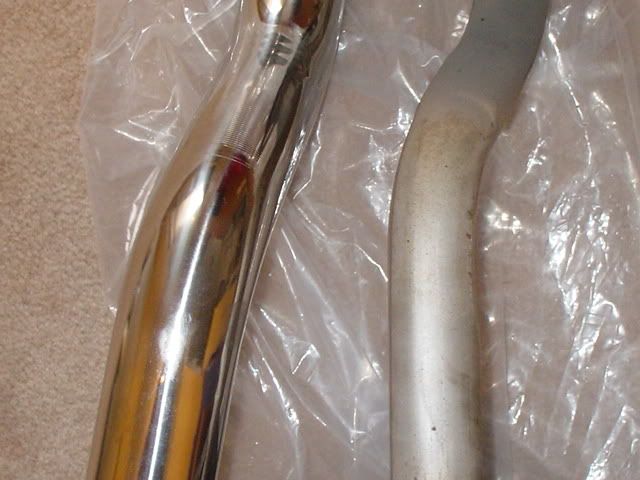
The pipe thickness and mandrel and non-mandrel bend
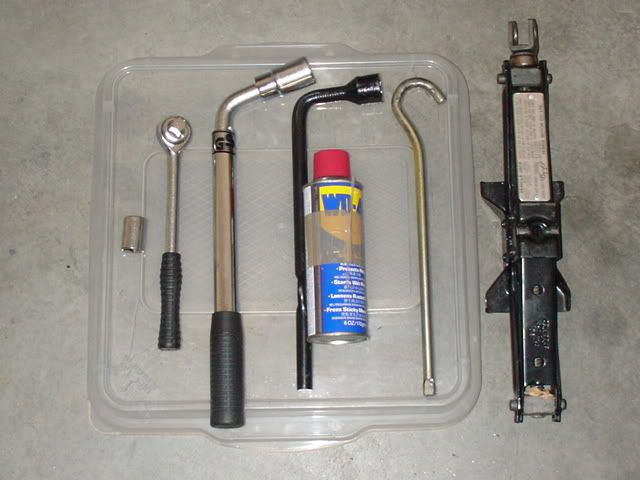
I have used the followings tools
1. Standard Honda jack
2. WD40 (act as lubricants)
3. Wheel nuts wrench
4. Wrench with 12mm socket
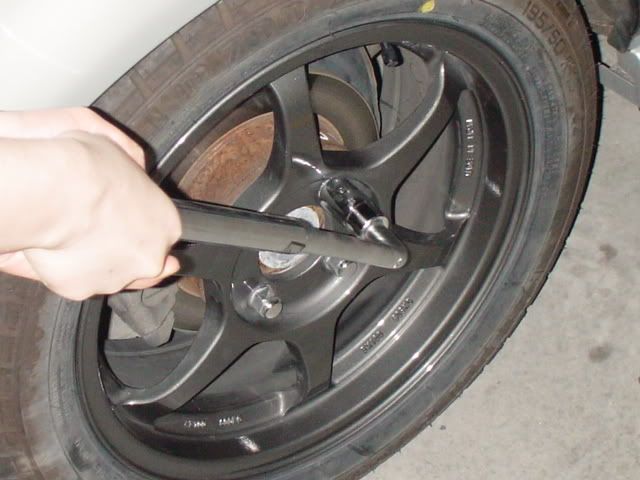
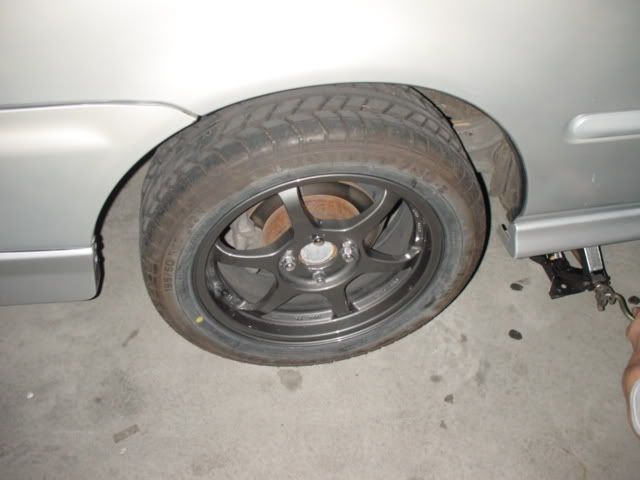
first, loosen the wheel nuts before jacking up the car. You only need to remove the rear wheel where your exhaust is located.
Find the jacking point in your car, in a civic EK and integra DC2 there should be the marking that look something like this
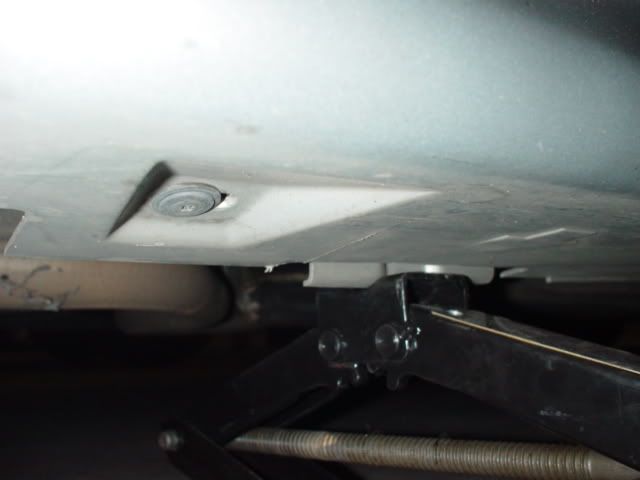
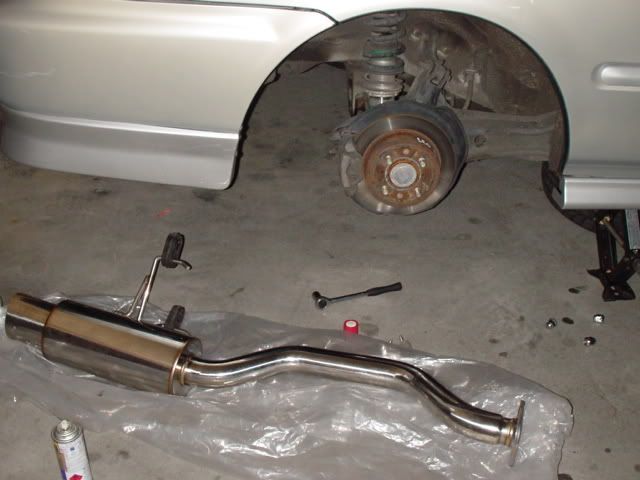
Lift up the car high enough to be able to remove the rim
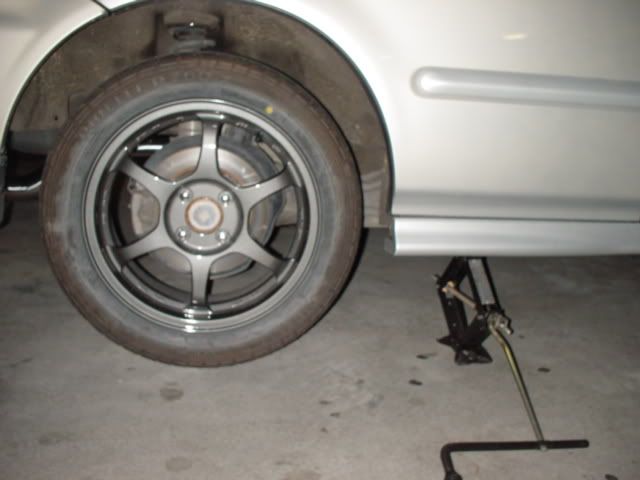
Remove the rim and placed underneath the car. If you cant put the rim in, try jacking up the car higher so that your can placed your rim underneath the car to support the bpipe from falling when u removed the muffler. You can use anything to support the b-pipe but the most convenient for me at that time is to use the rim. PLEASE USE PROPER JACK! MINE IS REALLY BAD EXAMPLE! DONT DO IT PLEASE
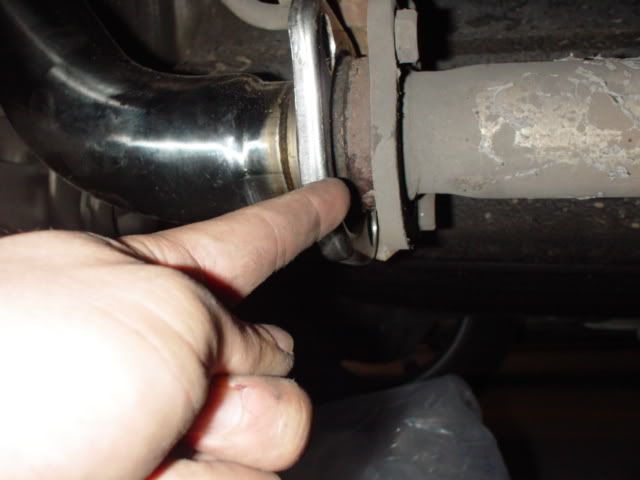
Use the wrench and the 12mm socket (other car may varies in the socket size), unscrew the 2 bolts shown. If it is hard to remove, use some lubricant to loosen it.
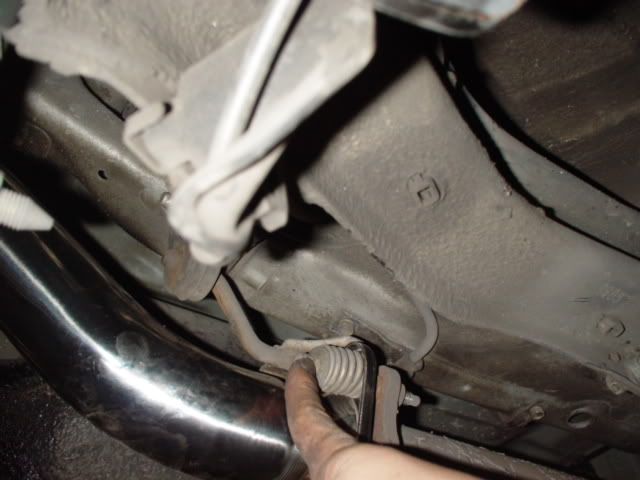

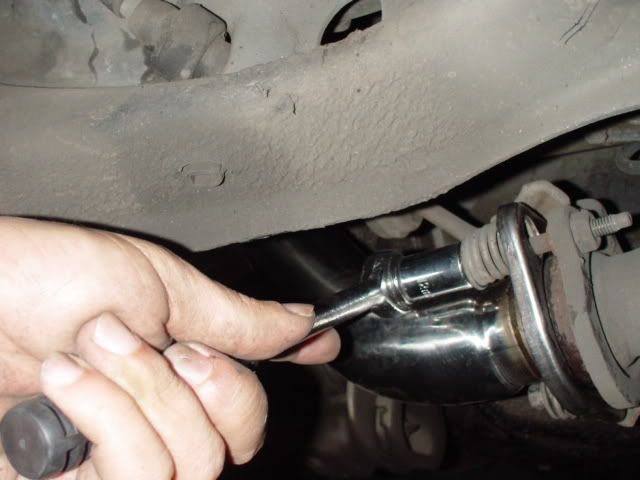
Once all bolts are removed, leave it there and do not remove the muffler yet.
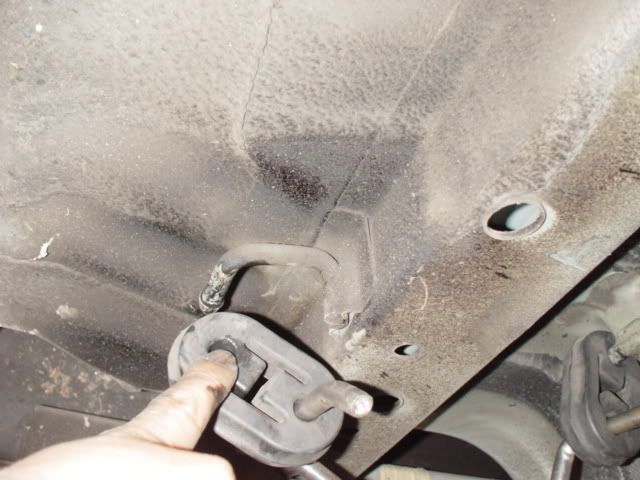
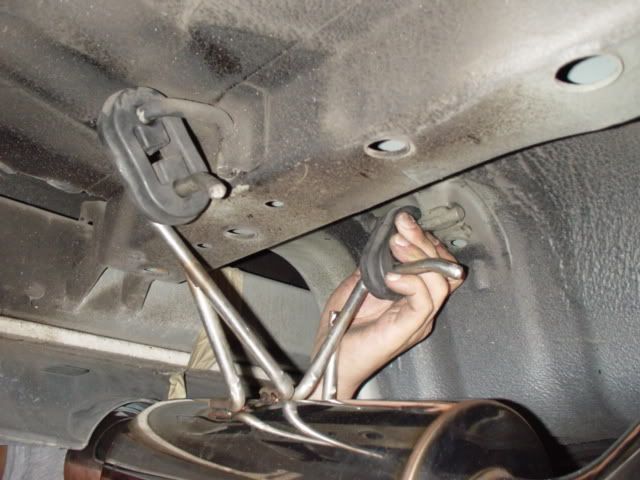
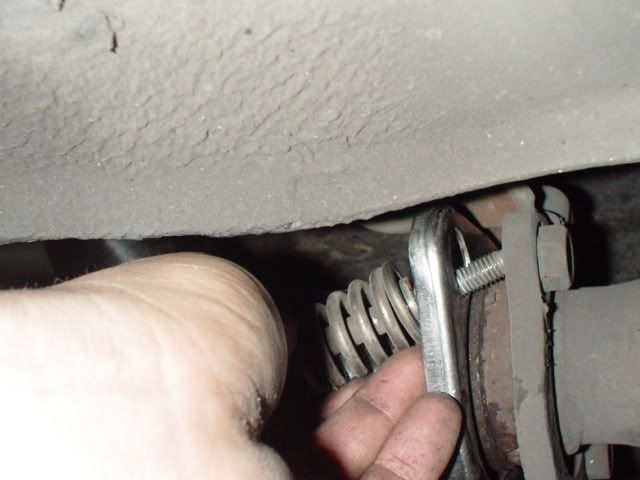
Now look for the muffler bushing and spray some lubricants to make it easier to remove the muffler.
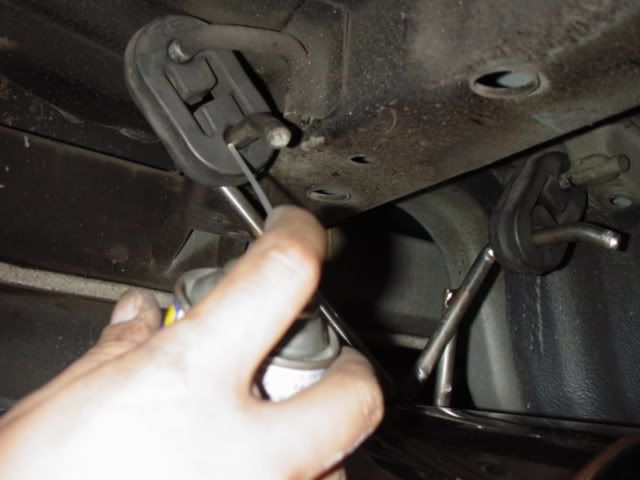
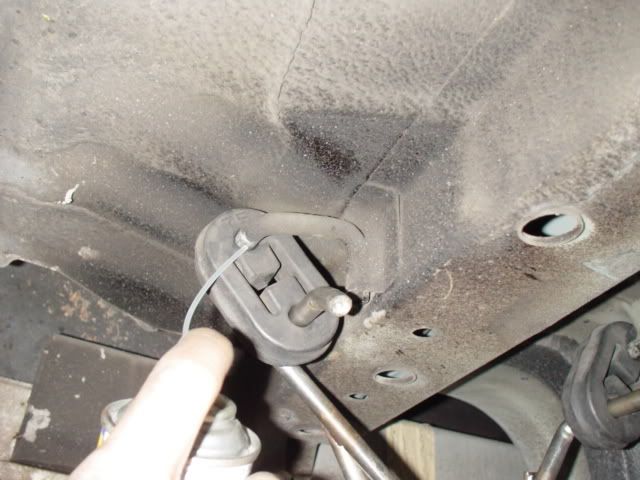
Gently remove the muffler from the hooks. You probably need to find an angle where it is easy to push the bushing out from the hooks. Once you find the right angle to pull it out, it is quite easy to do it.
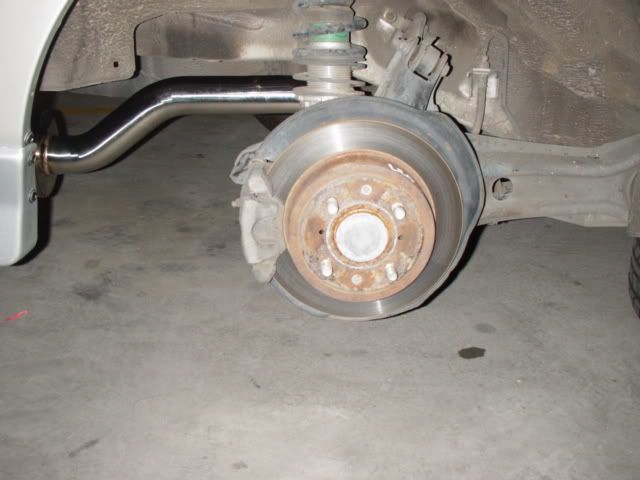
The muffler is out now
SO FAR THIS IS THE REMOVING PARTS. LETS PUT THE NEW VISION MUFFLER BACK IN AGAIN.
Placed the Vision N1 muffler back in position
Hook the muffler again. If it is hard to install, spray some lubricants.


Use the two exhaust bolts to put secure the muffler to your b-pipe. Yes at this point, I want to assure you that the Vision N1 muffler will bolt to both stock pipe or vision B-pipe.
We are almost done now, put the rim back and lower the car and you are done!!
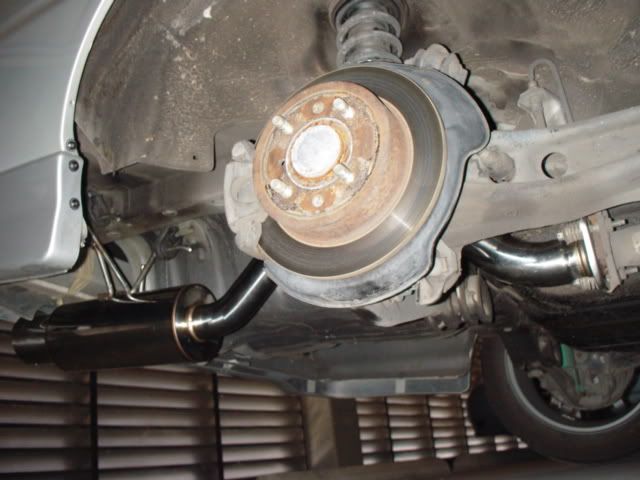
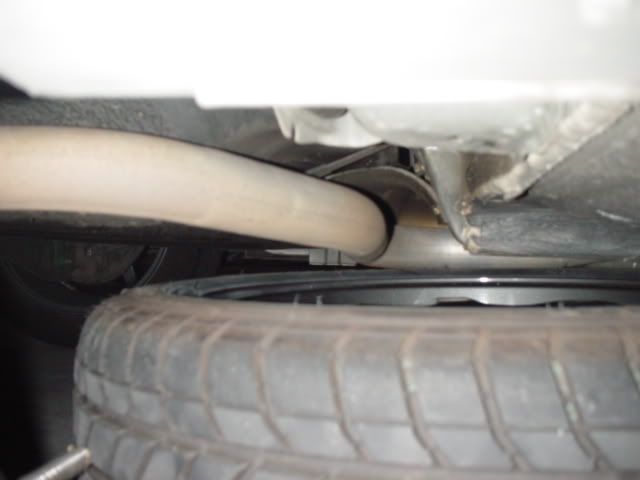
Vision N1 muffler has really good clearance with the rear bumper. I have oem Honda rear lip as well and yet there is a good clearance between the bumper and the muffler.
I will take more pics of the muffler in the car really soon. And yes I have saved at least $100.00 in labour and time. Woo hoo!
Last edited by hondar; 19-10-2005 at 12:04 AM.
-
Btw the installation for jazz and most other cars is relatively the same. Just to answer some questions!
-
-
 Originally Posted by egSi
nice write up mate
thanks mate! 
-
good to see a trader using his own product!
-
Originally Posted by mister
good to see a trader using his own product!
yeah, thanks mate. i try to test the product myself before selling them. in that i can screen out the good and the bad one out.
-
do u have to put any heat paste or gasket or nething between the flange joints?
-
Originally Posted by luzinit
do u have to put any heat paste or gasket or nething between the flange joints?
no, i there is no gasket for hat. i didnt put heat paste or whatever it is either...
-
alrite cool! just checking, i have no idea, just thought id asked cos im putting my stock muffler back on and not sure if there was nething there....
-
no worries
-
looks good!.......would it be easy to do from the cat-back? same principles i guess? So there's no special gasket or paste (quoted from luzinit) required to be applied between flange joints? all just a direct bolt on? thanks.
-
 Posting Permissions
- You may not post new threads
- You may not post replies
- You may not post attachments
- You may not edit your posts
-
Forum Rules
|


 Reply With Quote
Bookmarks