

Disclaimer: The following is provided as a GUIDE ONLY, and neither myself nor Ozhonda take any responsibility for the outcomes of someone else doing the following. You follow these steps at your own risk!
Aim
- To get the best result of detailing a car without using a machine buff;
- Use a safe and correct technique;
- Protect duco from sun and oxidization; and
- Remove light surface scratches
Required
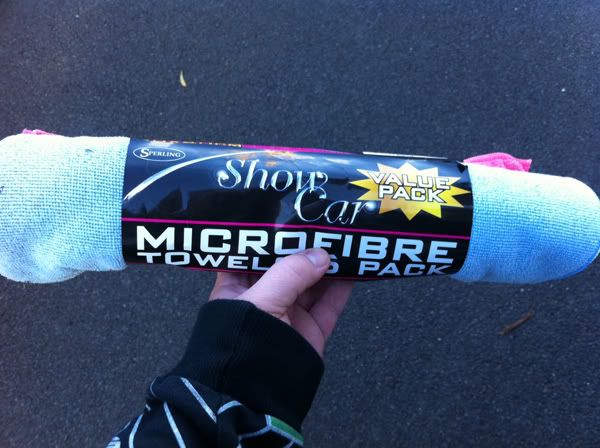
Microfiber cloth x 3 [$5 pack of 5 from K-Mart]
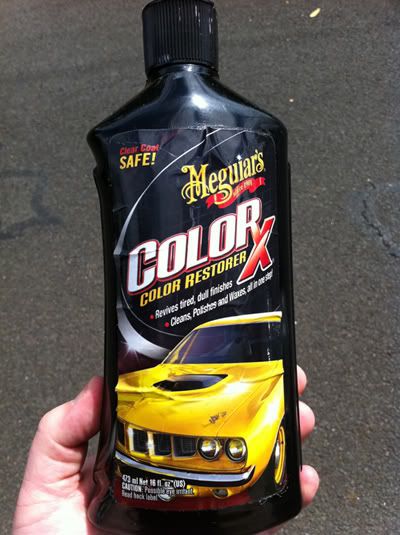
Colour restore or Scratch remover Polish [$15-$20 from Supercheap Auto or Autobarn]
For faded metalic paints i'd recomend the Maguires Colour Restore (pictured). For best results removing scratches use Maguires Scratch X
Auto-Glym Super Resin Polish [$35-$60 depending on size from Autobarn]
For one coat of each of these products plus the use of 3 microfiber towels comes to a cost of approximatly $15 - (much better than paying someone $80-120 to do it for you)
Steps
1 - Select a shaded area to polish. Remove any jewlery you wear on your wrist and tear off the tag on the microfiber cloth - We dont want to add any scratches
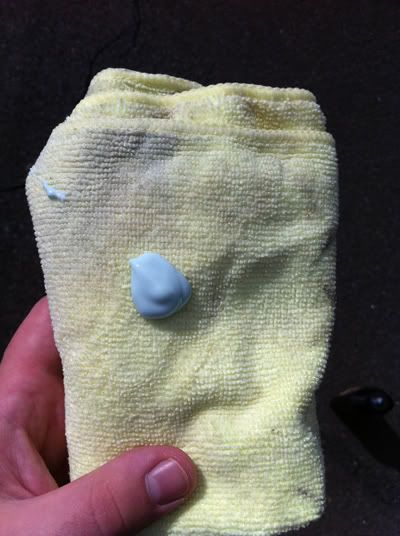
2 - Apply a small amount of polish (for first coat use Colour restore or scratch remover, second coat use Auto-Glym Resin Polish) as shown.
3 - Using circular motions, lightly rub the polish into the panel. Do not cake on the polish too much as it will be simply wasted and create more work to remove.
4 - Continue untill entire car is done - This will allow the polish to dry to a haze.
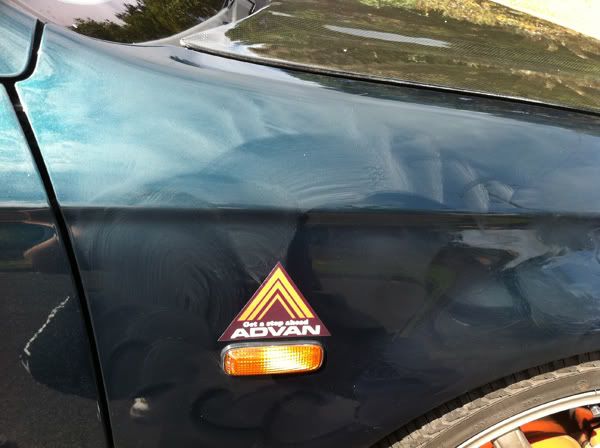
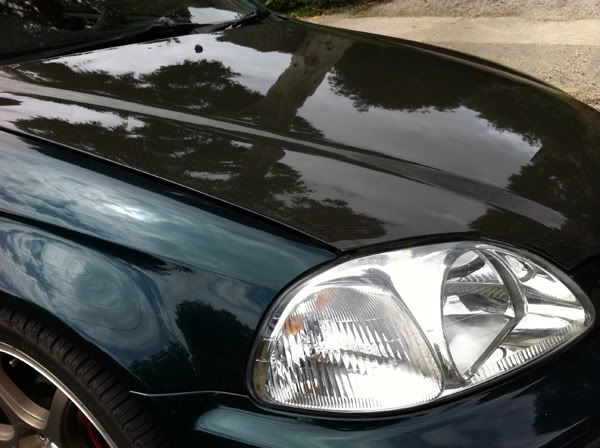
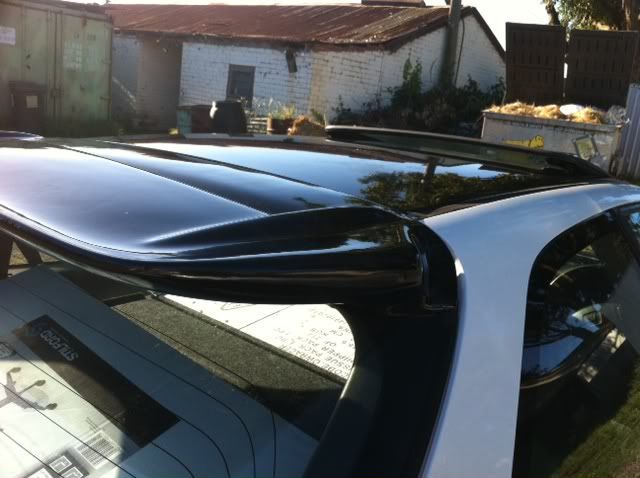
5 - Using a clean cloth, use circular motions to remove the polish. Using a better product like the ones mentioned above should simply dust off (I've found Auto-Glym very easy to work without compared to other brands). The following video (click image) shows me using little effort to buff off the polish. (Also note the depth in the colour of the paint)
*This picture was taken after using Colour Restore only and one coat of Auto-Glym on the bonnet.
6 - Repeat steps 2-5 to apply a second coat. As mentioned earlier I prefer Auto-Glym since it is easy to work with. It is also great value in the large bottle and is safe and great to use on carbon fiber (*I've only used on CF items with a clear coat)
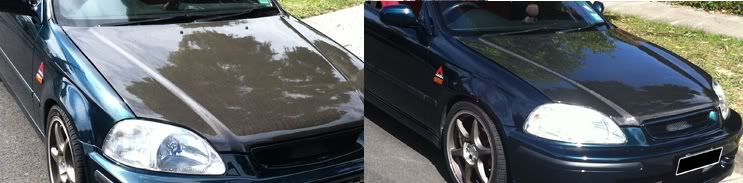
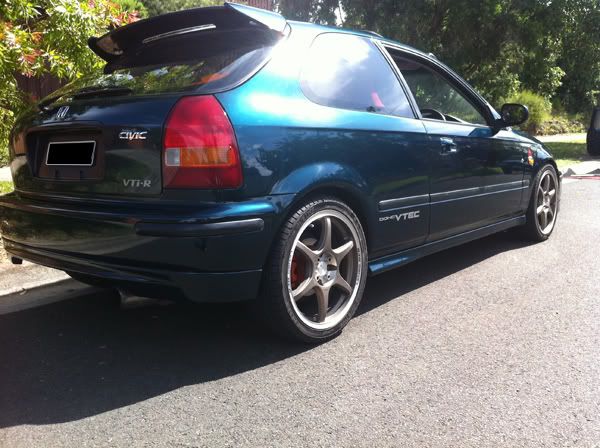
A side by side before and after picture.
BEFORE AFTER
I apologise for the lack of before and after pictures. I do have some, but my iPhone doesn't take the best shot and Nat's car is pretty damn clean as it is (from repeated and regular detailing)
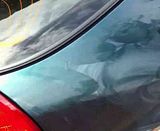
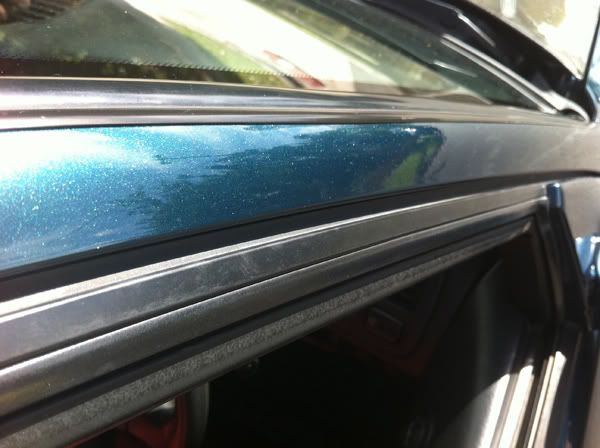
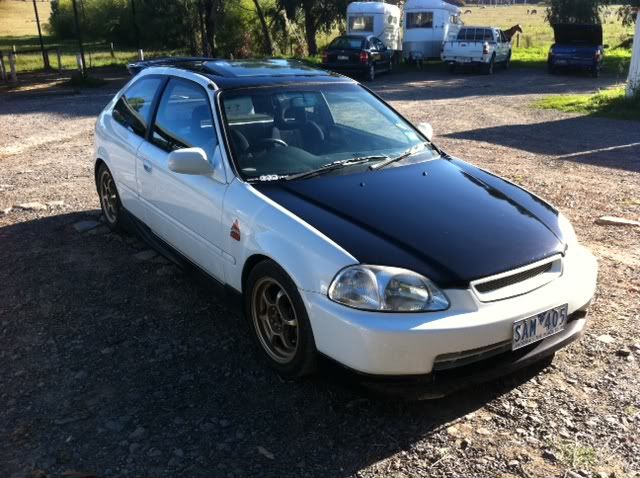
The biggest improvement in the car was the massive reduction in small swirl scratches. The bonnet as you can see is a lot deeper in colour. Finally the detailing brought the metalic up dramatically (see picture of the metalic below) and the pearl in the factory paint.
This sort of treatment is paramount on earlier model red Honda's as the paint is prone to oxidization (Red turning to a pinky white).
Using a machine buff if you are not experienced can be dangerous to your paint. The speed of the buff spinning creates friction on the surface which heats up and can burn your clear coat. However a machine buff polish will yeild better results when done properly.
Using clear coat friendly polish such as the Auto-Glym is safe on Wet style Carbon Fiber and can help reduce sun damage.
Applying two coats took me approx 45-60mins.
I hope this guide acts as an easy guide to help you getting your car looking at its best without spending big $ on one off details!
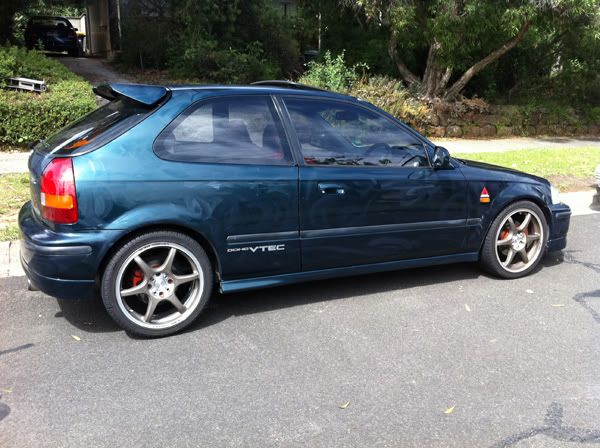
*Thanks Nat for letting me model your car. Now I need to do mine and our Integra!


 Reply With Quote


Bookmarks