

Disclaimer: The following is provided as a GUIDE ONLY, and neither myself nor Ozhonda take any responsibility for the outcomes of someone else doing the following. You follow these steps at your own risk!
Ok guys. I know that many DC5R's and possible some Type S and base models dont have cabin filters. I learnt this the hard way. My AC got clogged with all this manky sh!t that water was leaking in my footwells and I had to get it fixed+ regas for alot of money. I was there for like 3-4 hours and it was really exxy and could of all been avoided with this!
I opted TYC Cabin filters as I've read good stuff on ClubRSX, come in a pair and they are cheap!
Here's the DIY. Pics in sequential order below. YOU CANT POSSIBLY STUFF THIS UP! ITS EASY AS. And very picture heavy!
What you need
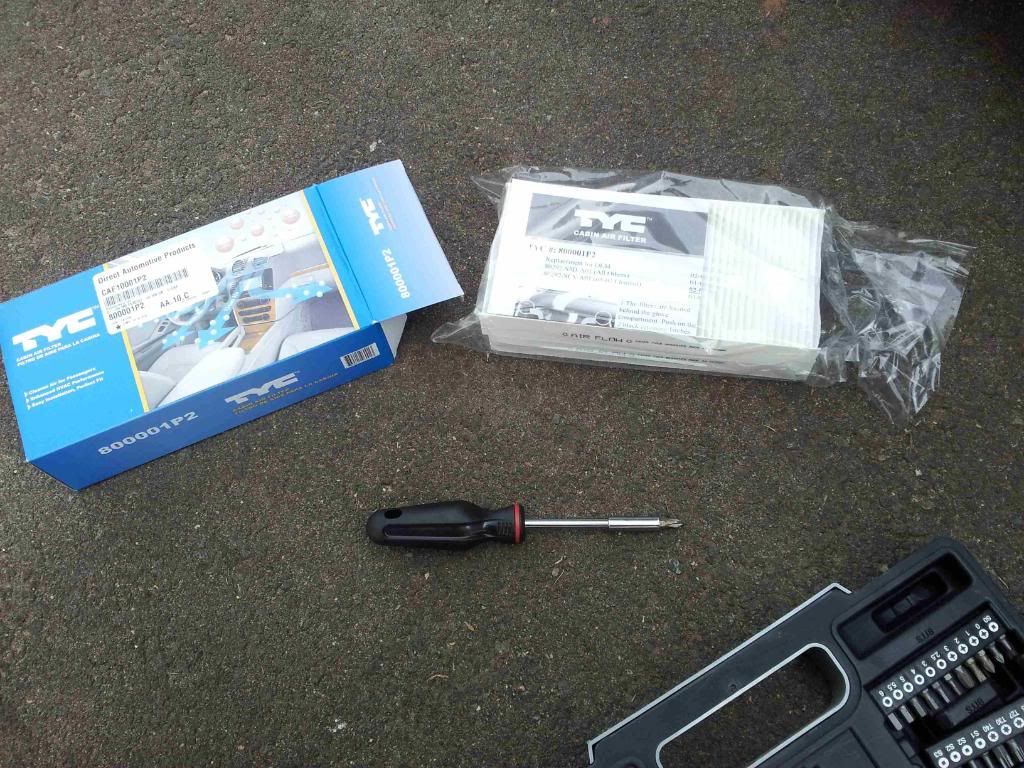
2x Cabin Filters
1x Phillips screwdriver
1x Hacksaw if you want.
1. This is pretty much all you need. The 2x cabin filters and a Phillips screw driver.
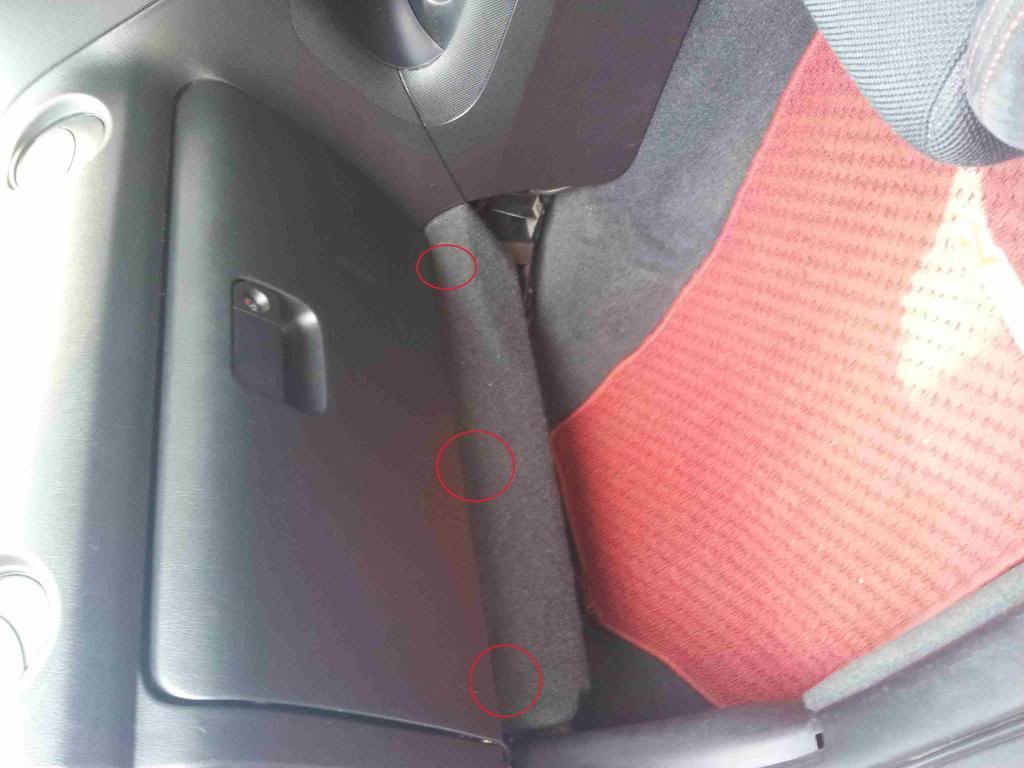
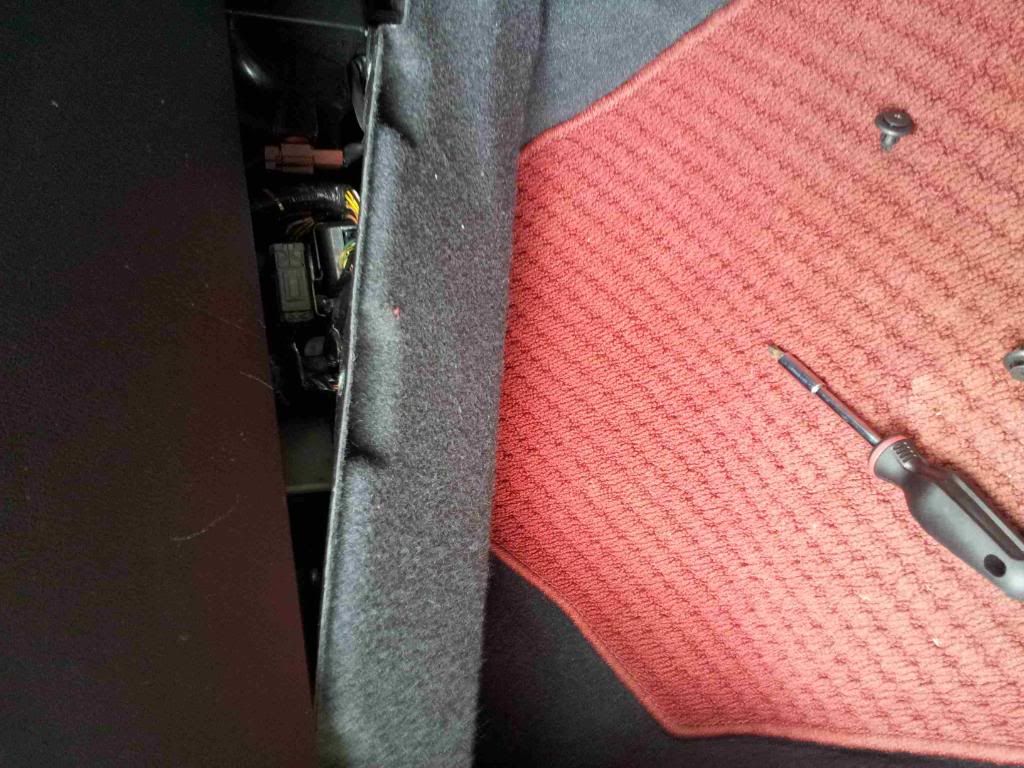
2. To gain access to the cabin filter compartment, you need to remove the kick board, then the glove box. Start by taking of the 3 screws in the locations outlined.
3. 3 screws are shown.
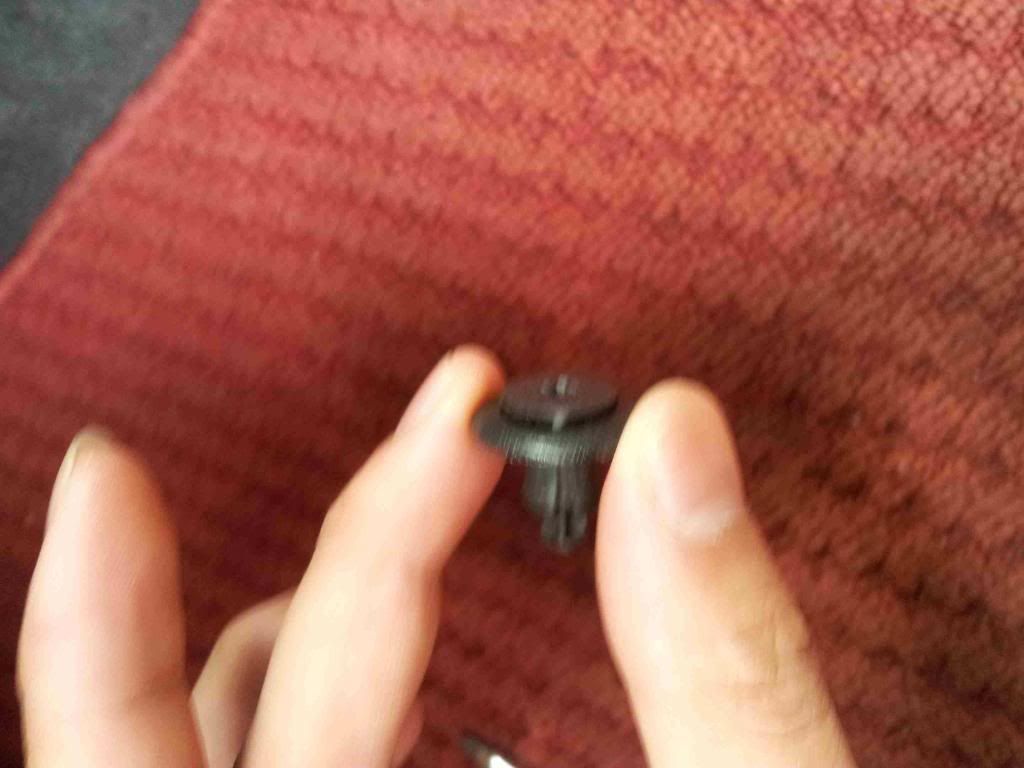
4. The type of screws you need to get out.
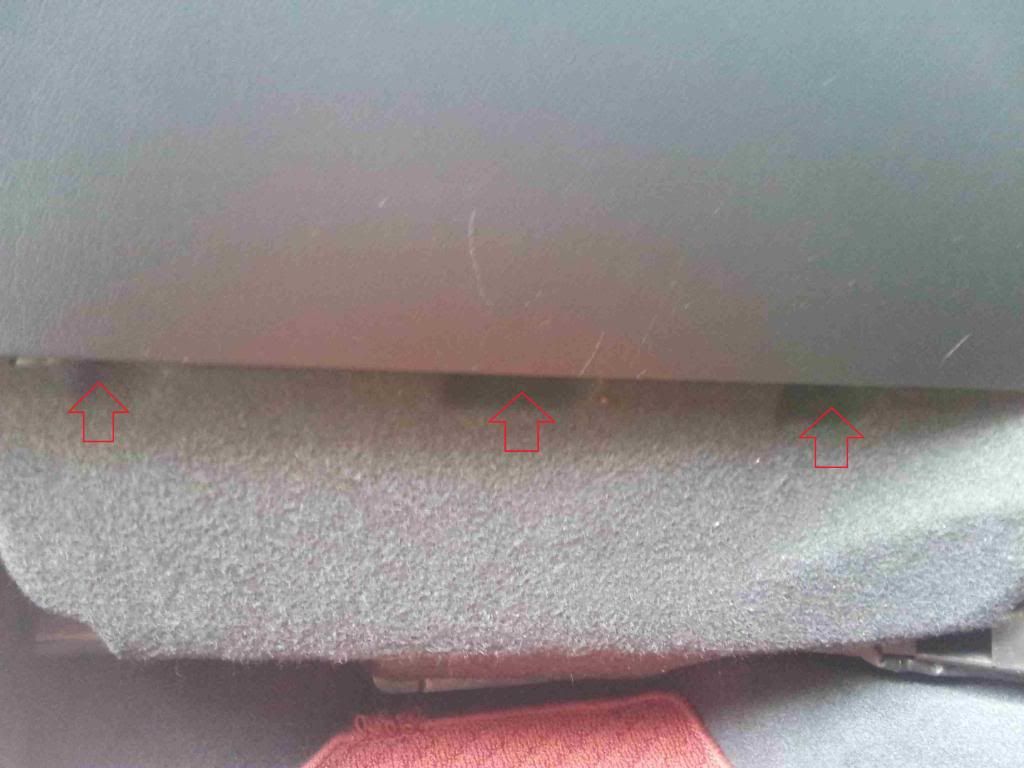
5. Once the 3 screws are loosened, pull the kick board towards you to remove it as there are little slots at the end.
6. A close up of what I'm talking about in step 5
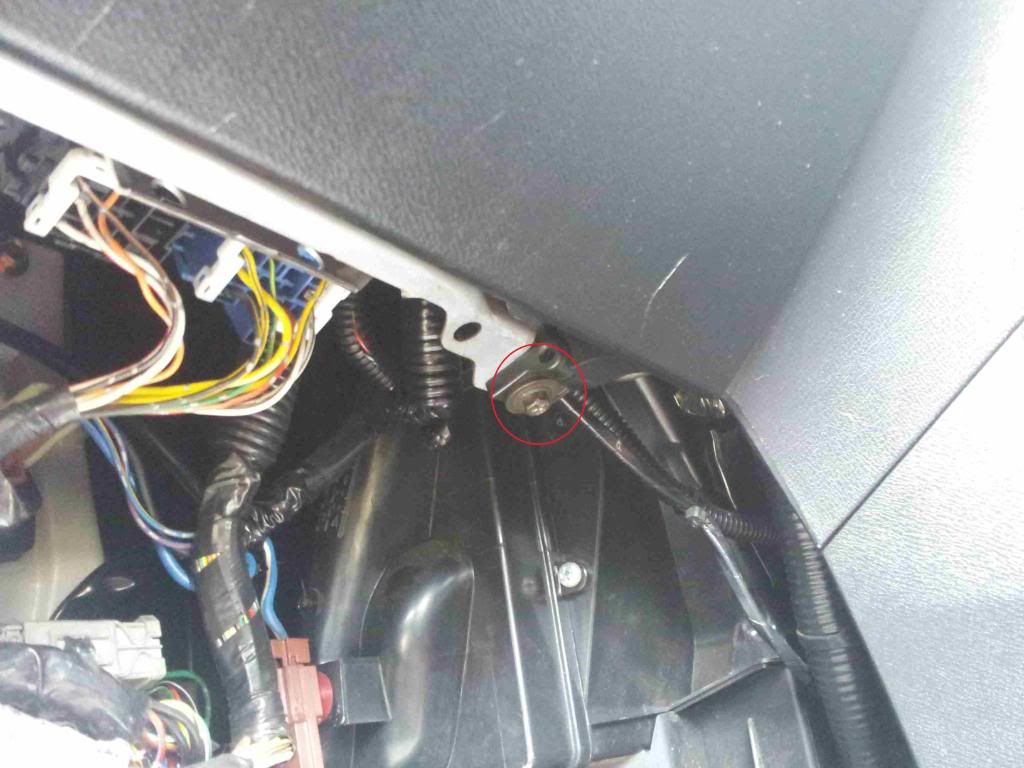
7. There are two screws to remove the glove box. One is shown in pic 7
8. The other pic 8
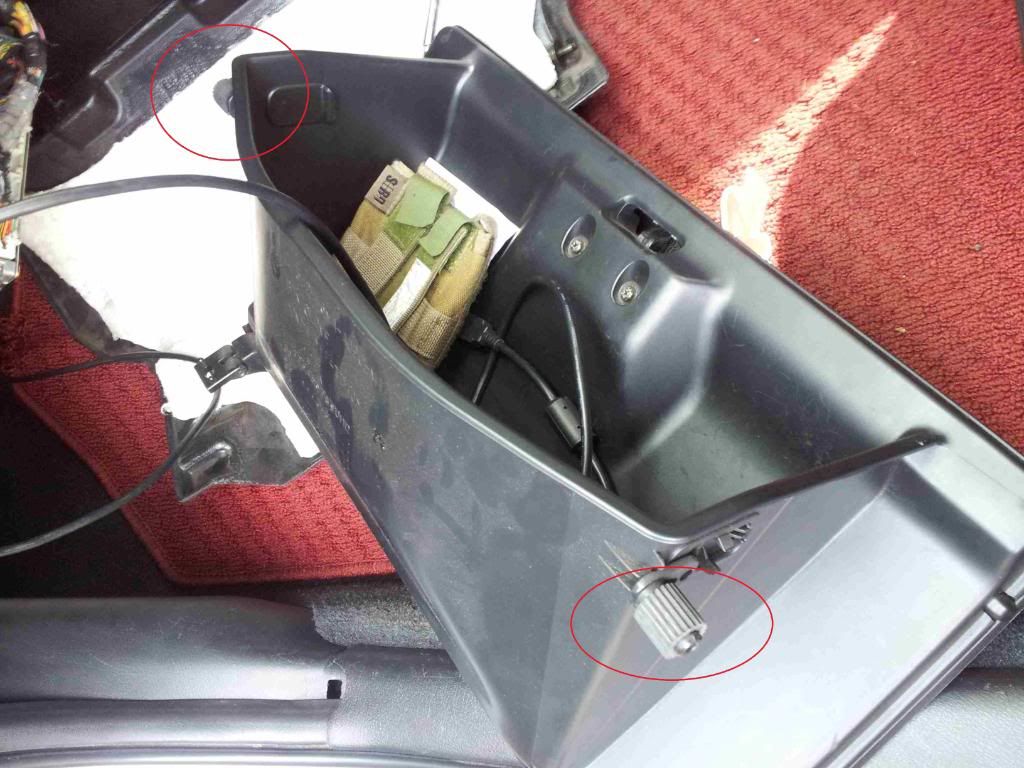
9. Once the screws are loosened, angle the glovebox as you are pulling it out to remove. There are rollers you need to manuoevre out.
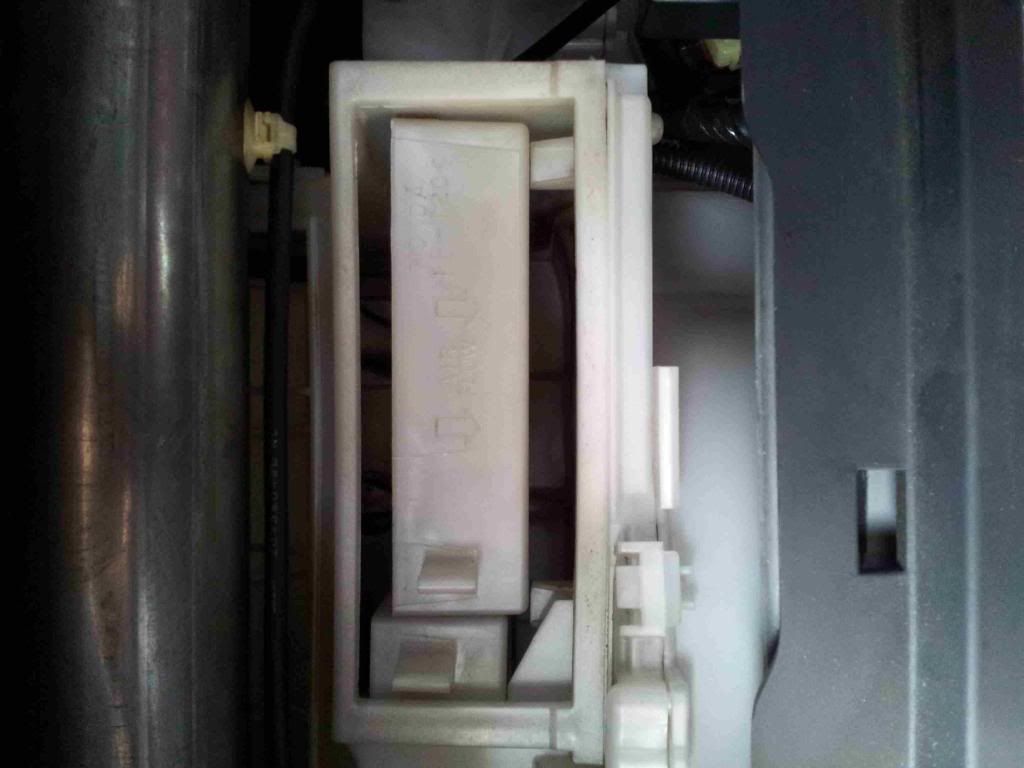
10. That's the cabin filter compartment, press down on the clip to remove the hatch.
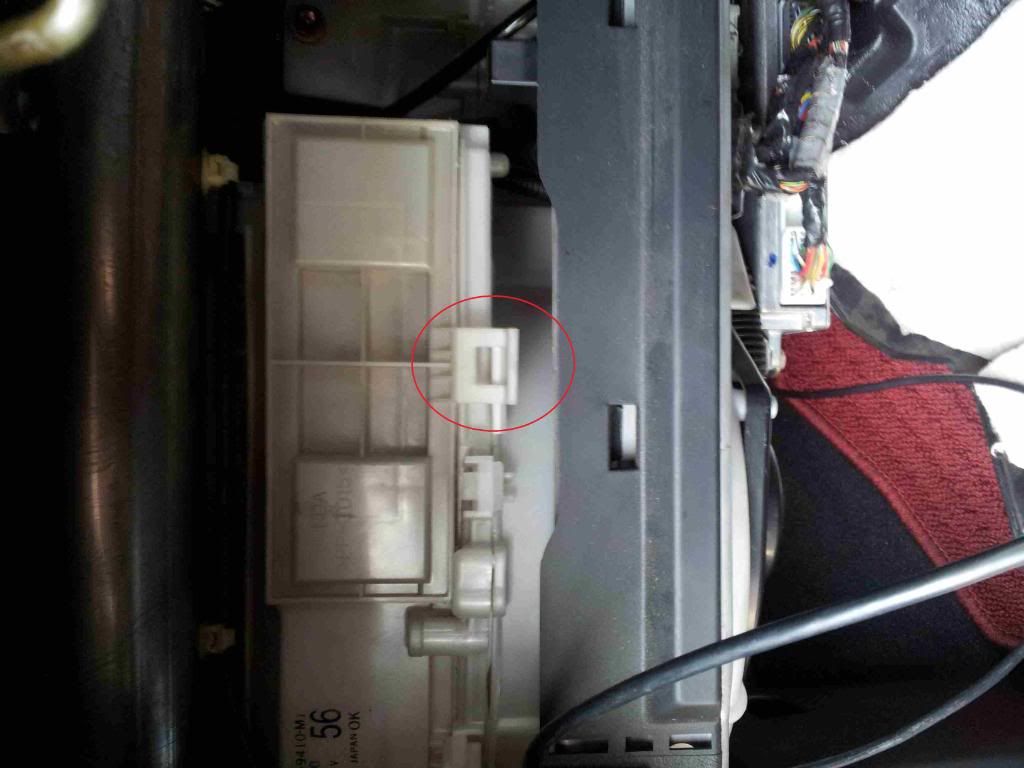
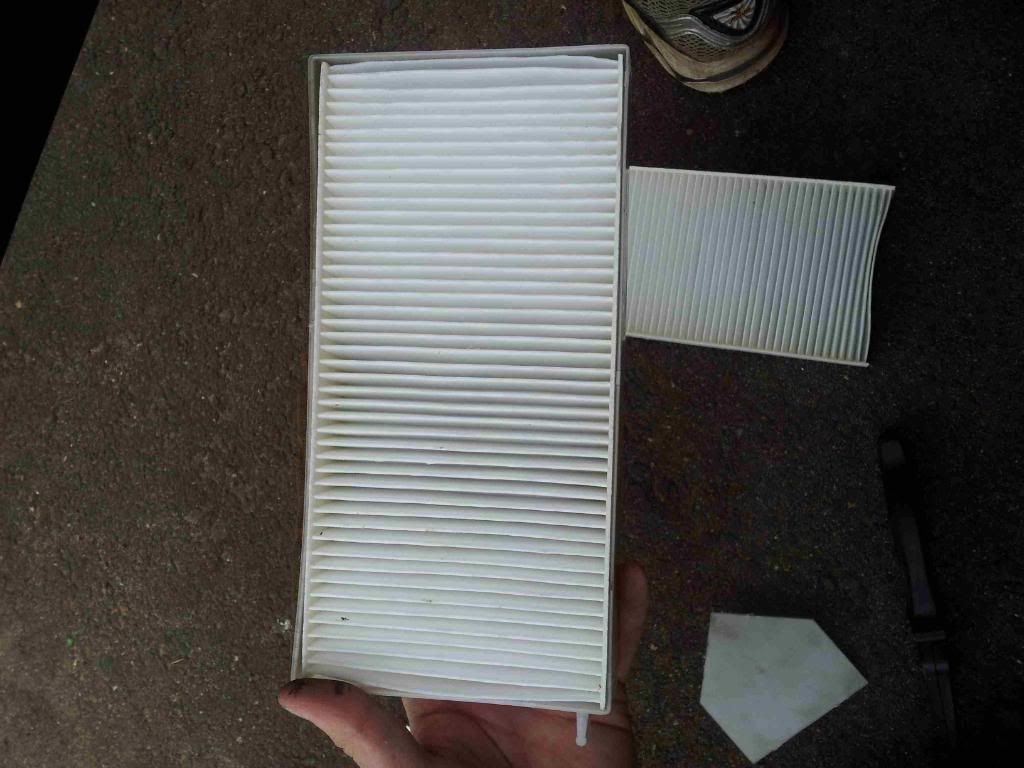
11. There are two filter holders inside. Remove the first out, the slide the one on the left to the right to take that out aswell.
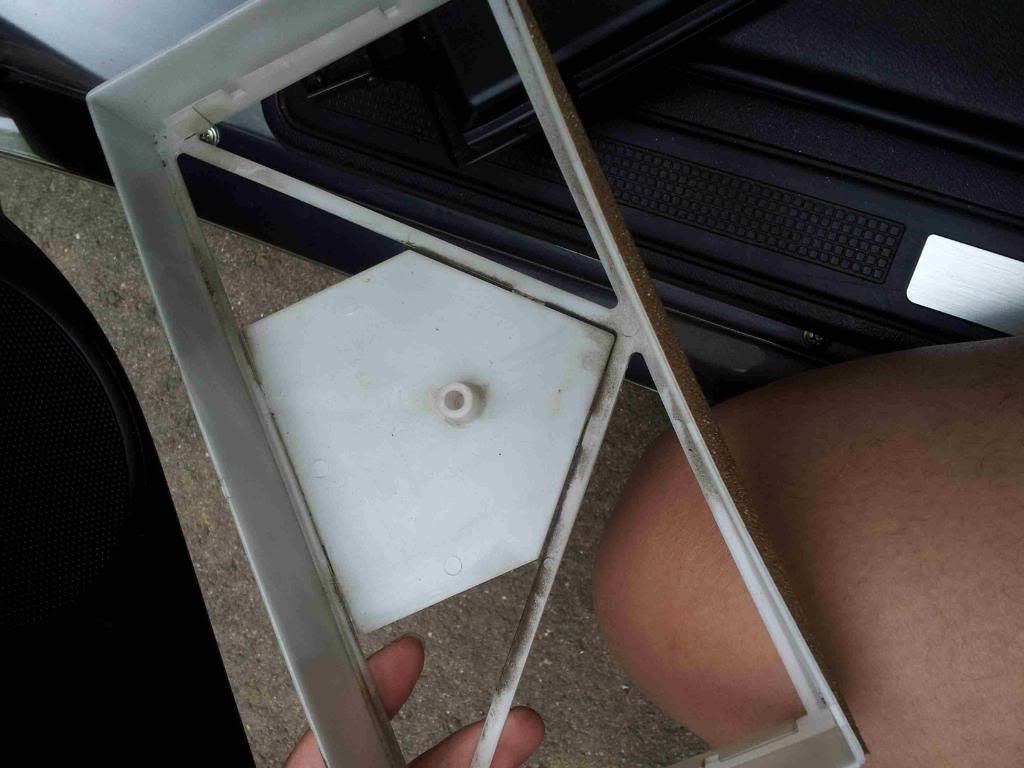
12. Image of the filter holder.
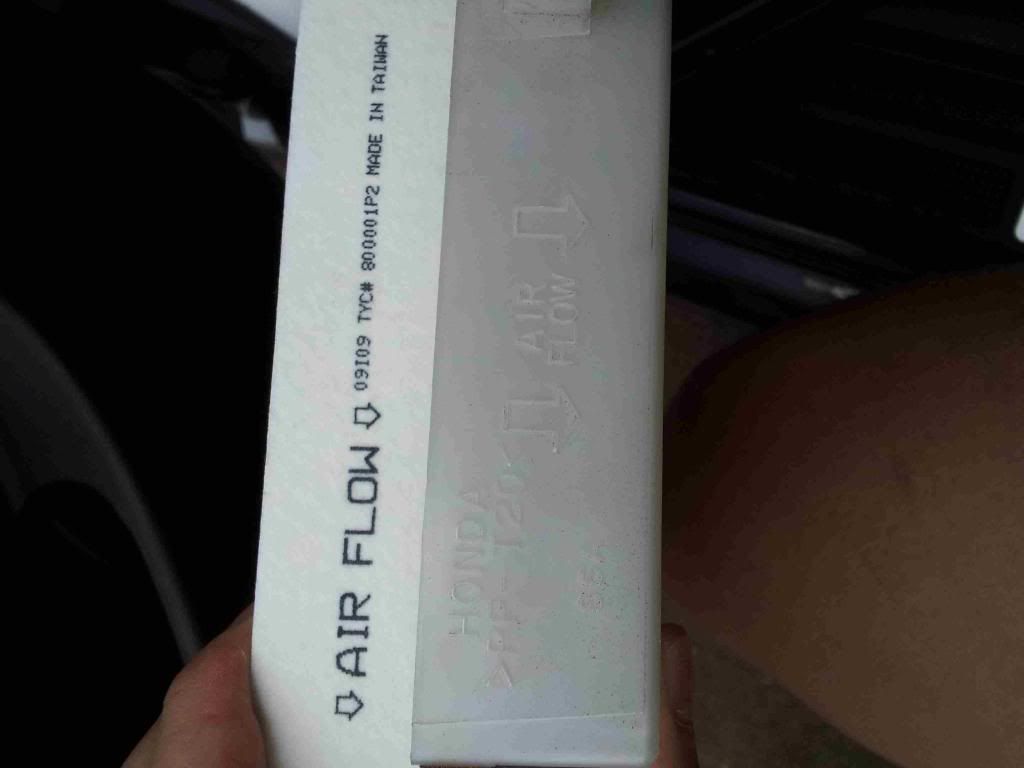
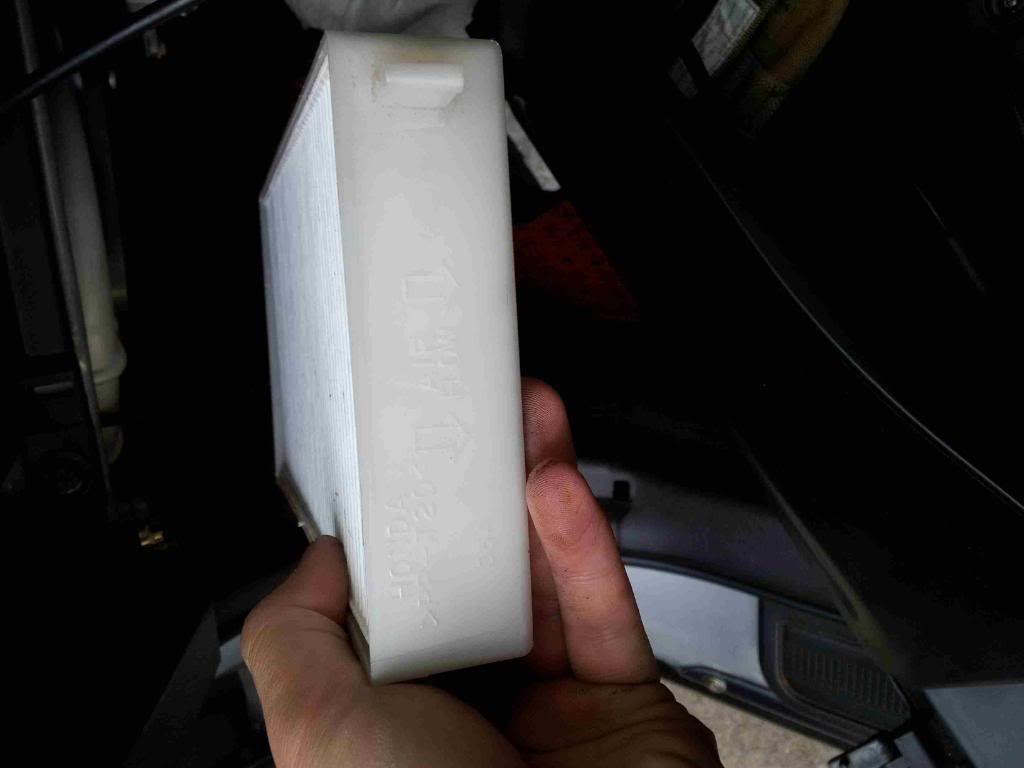
13. When installing the filter make sure the arrow filters go the same way. I had the filter on the side to show you.
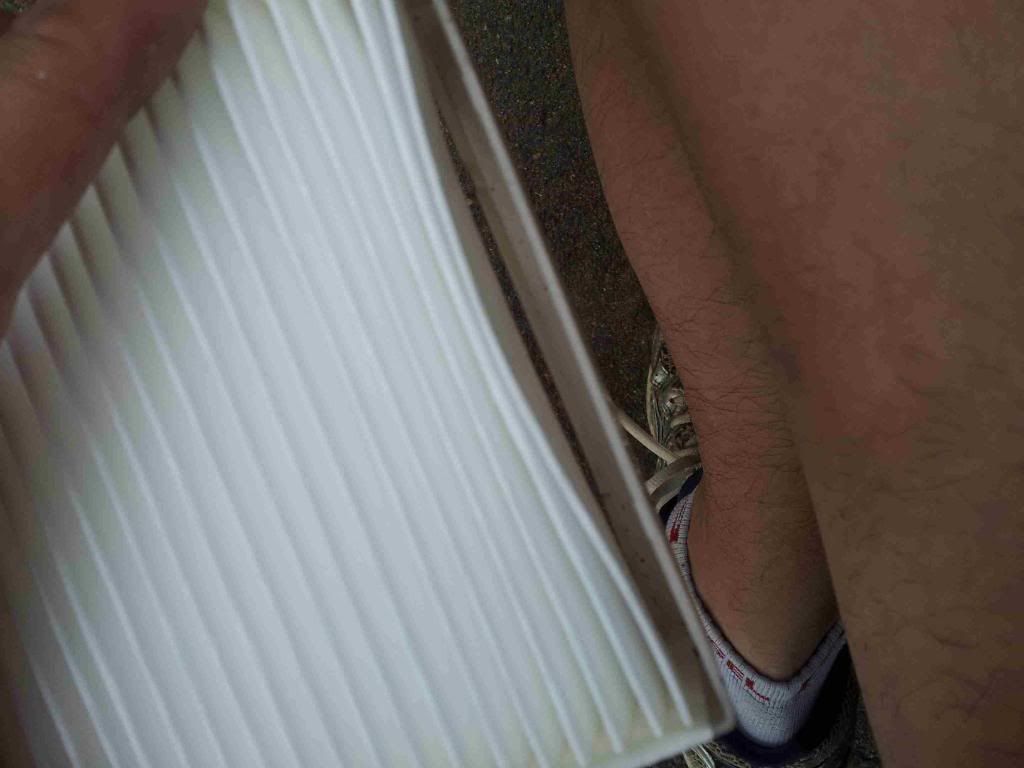
14. When installing make sure there are no gaps as shown. By weaving the filter over the filter holder tabs on the side.
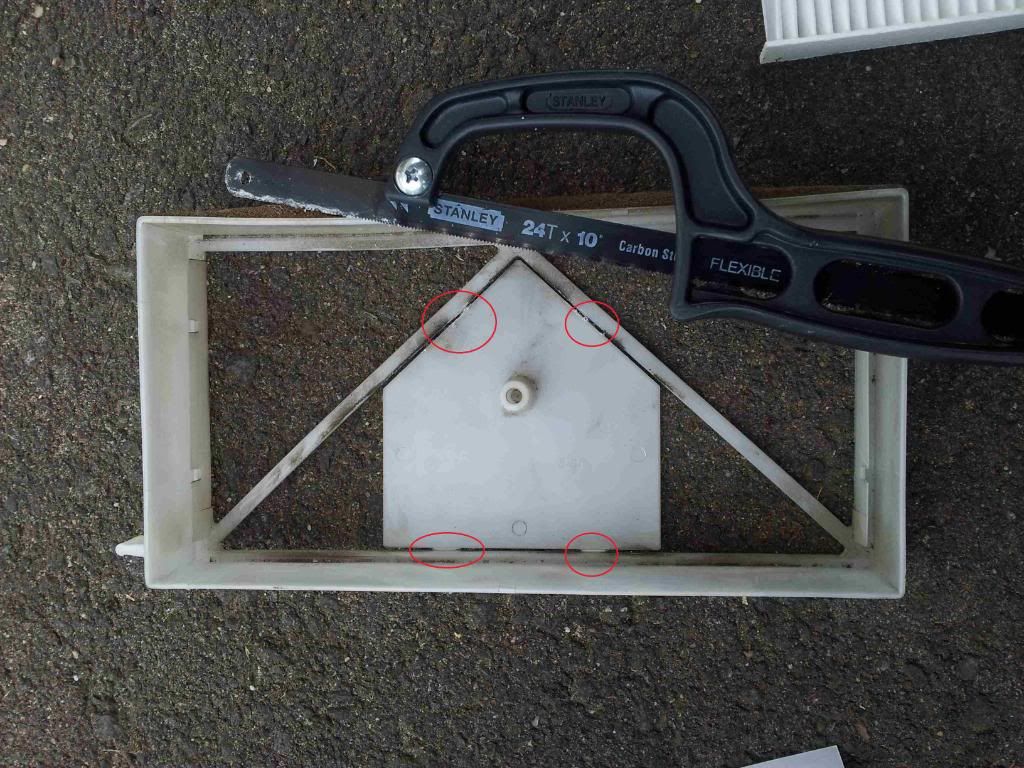
15. I found that there was no need for the middle segment so I removed it with a hacksaw as it did not allow the filter to sit flush.
16. What it should look like.
17. Begin to reinstall.
How easy was that?
I think this is very important even though I seldom use it. It is better you use recycled air, so you don't inhale all the miniscule crap coming out of cars exhaust pipes that filters cant take out of the air. If I want fresh air I'll just have the window down for abit, so it doesn't feel stuffy. I'd only use this if my windshield was fogged and I wanted to de fog it asap. Enjoy!


 Reply With Quote
 Thanks for sharing
Bookmarks