|
-
 How to Install FRONT CAMBER KITS on a CIVIC EM1, EK Series **Buddy Club P1** How to Install FRONT CAMBER KITS on a CIVIC EM1, EK Series **Buddy Club P1**
Disclaimer: The following is provided as a GUIDE ONLY, and neither myself nor Ozhonda take any responsibility for the outcomes of someone else doing the following. You follow these steps at your own risk!
Aim:
How to install FRONT camber kits into a CIVIC EM1, EK-Series.
Product used: BUDDY CLUB P1
Time:
Approx
1.5hrs – straight forward.
2hrs – with smoke and beer breaks
4hrs – if you had your smoke and too much beer (fell asleep) LOL
Tools Required:
2 x Buddy Club P1 Camber kit
2 x Locking Pins
2x 14mm Socket & spanner
2 x 17mm socket & spanner
Socket Wrench
Socket extension
Mullet / hammer
Long Pliers
Allen Key for adjusting camber
10mm socket / wrench
Flat screw driver
X-Bar
Hydraulic Jack or old skool type
2 x Car Stands (not pictured)
1 x Degreaser (Optional)
1 x Loctite Anti-Freeze & Release (Optional)
Pack of Cigis or Beer (Optional)
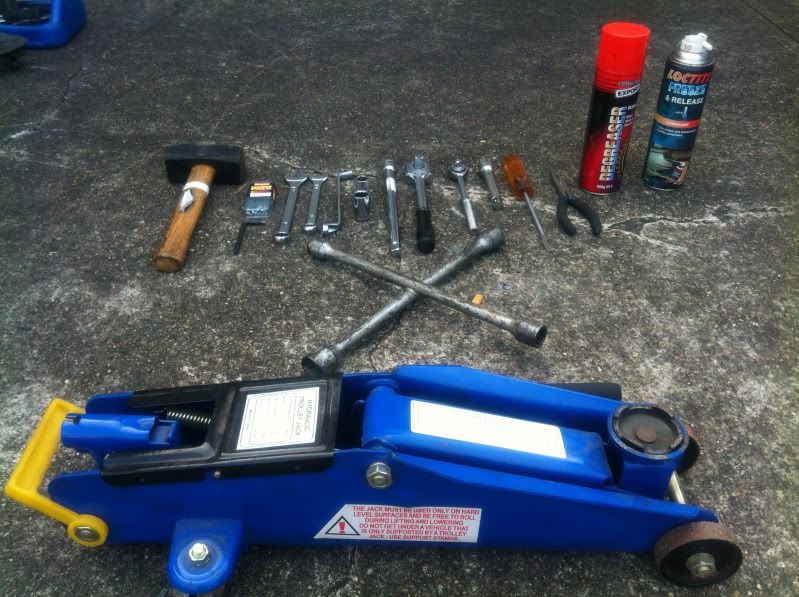
***Missing is a packet of Cigis and Beer from the picture***
Steps:
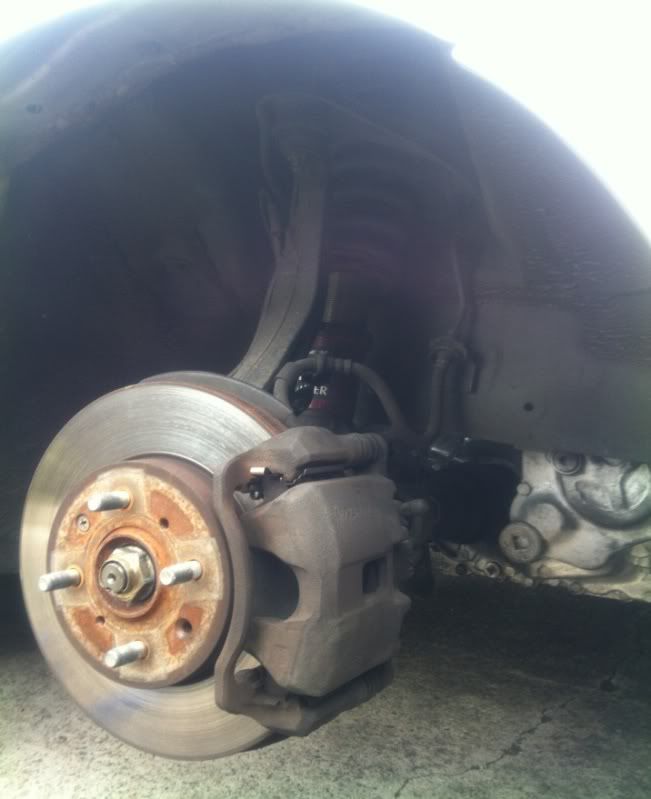
1) Vehicle Elevation and Wheel/Nut removal.
a) Jack up the car on stands – both sides – Use the Jack
b) Remove wheel lugs/nuts – Use the X-Bar
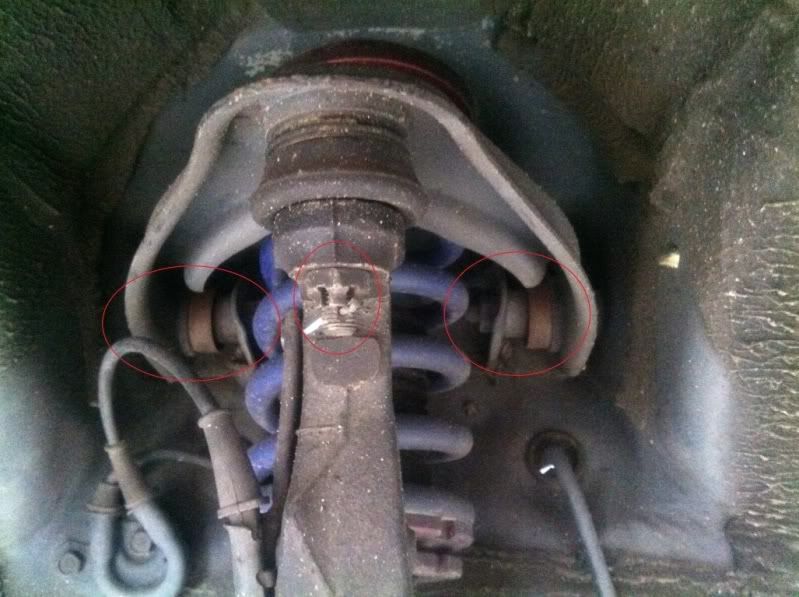
2) Preparation prior to removal.
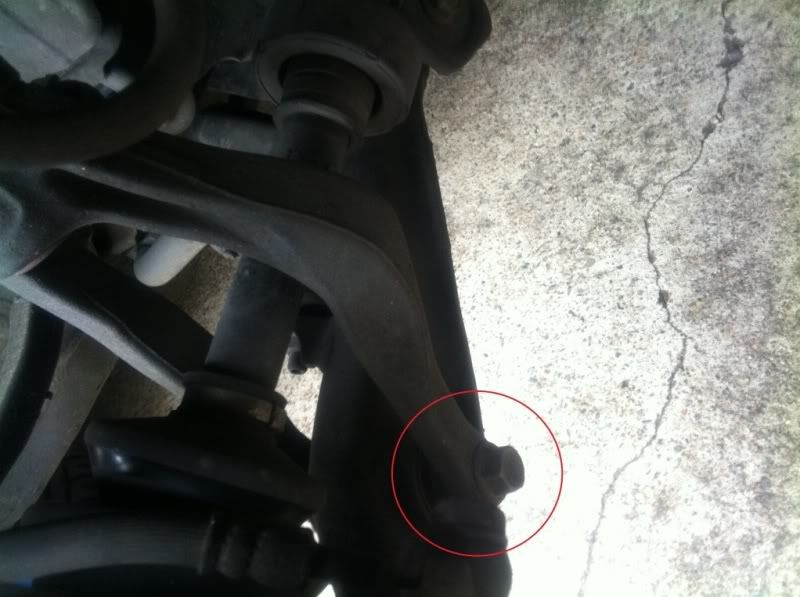
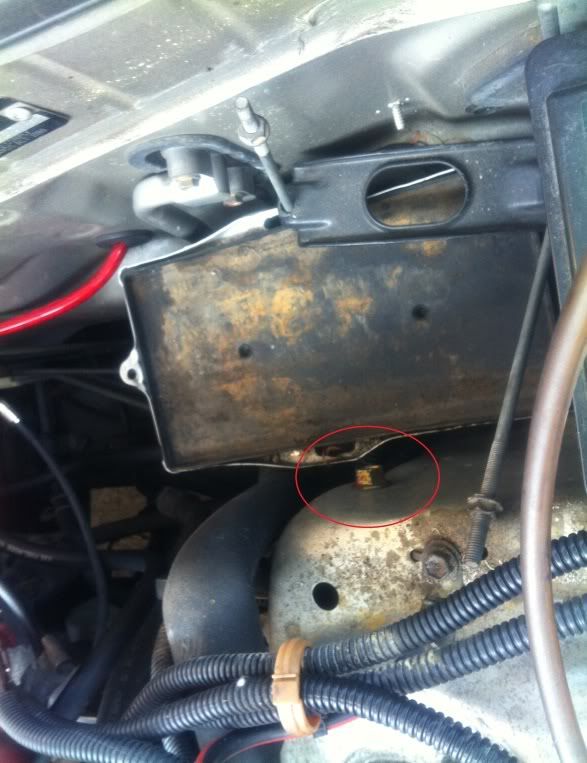
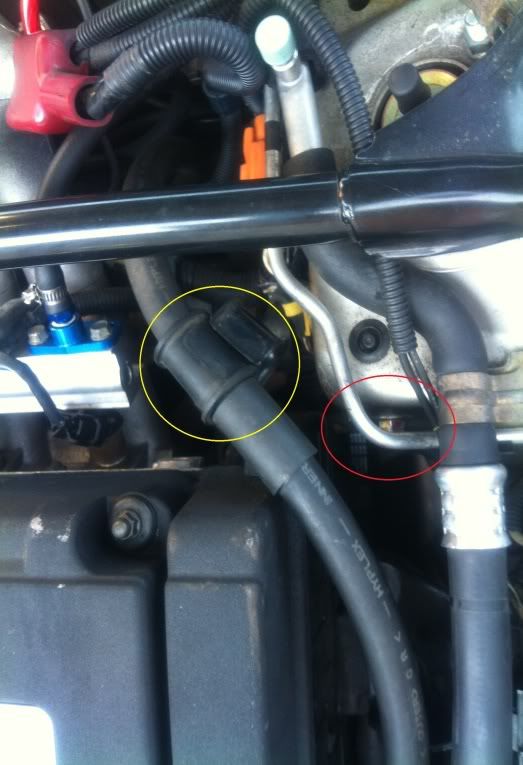
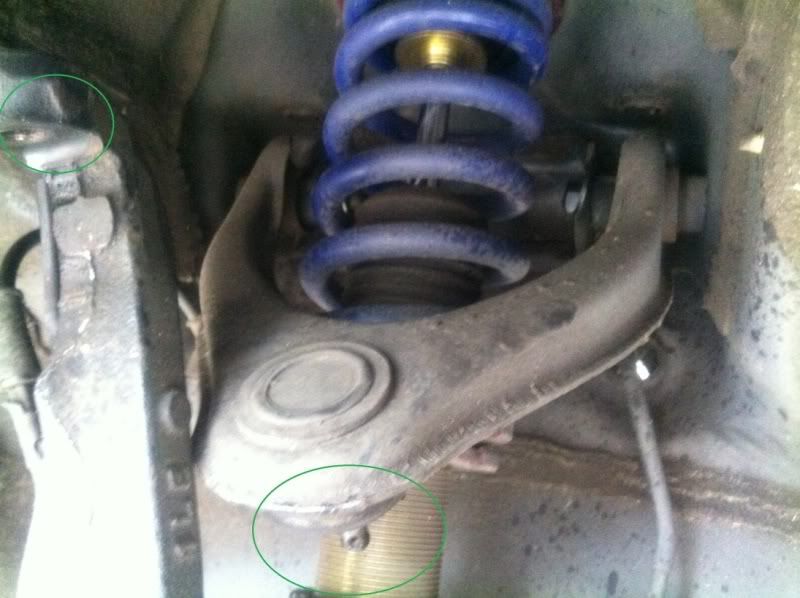
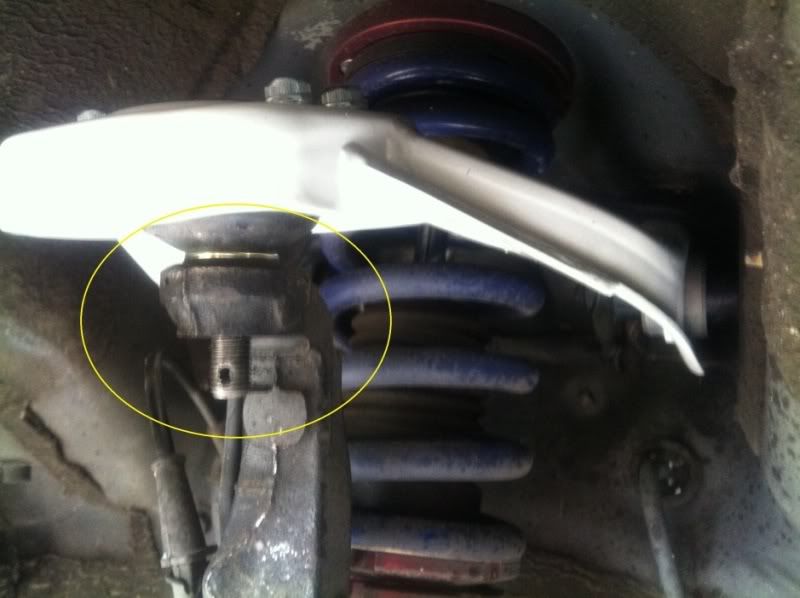
a) Spray Anti-Freeze on the 2 x 14mm & 1x 17mm bolts/nuts (Pictured – Red Circles), let it soak for 1-3minutes.
b) Doing this will help you loosen the bolts/nuts for easy removal.
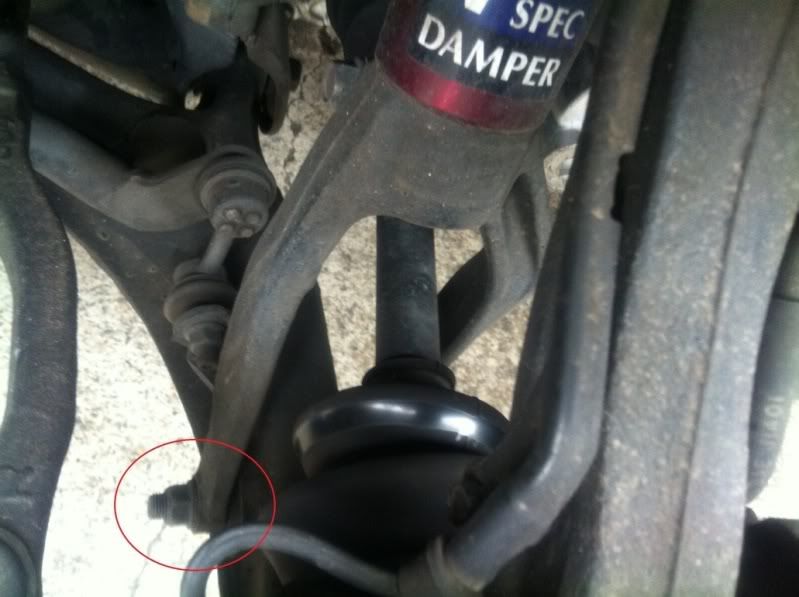
c) Loosen the power steering hose clipped onto the bracket as you will need room for removing the bold (Pictured – Yellow circle)
3) Bolt & Nut Removal
a) Remove all nuts and bolts as illustrated in RED on step 3.
*Just loosen the 2 x 14mm bolts that holds the camber plate on the last two pictures – this is just to hold it in place when you need to remove the camber arm on step 5.
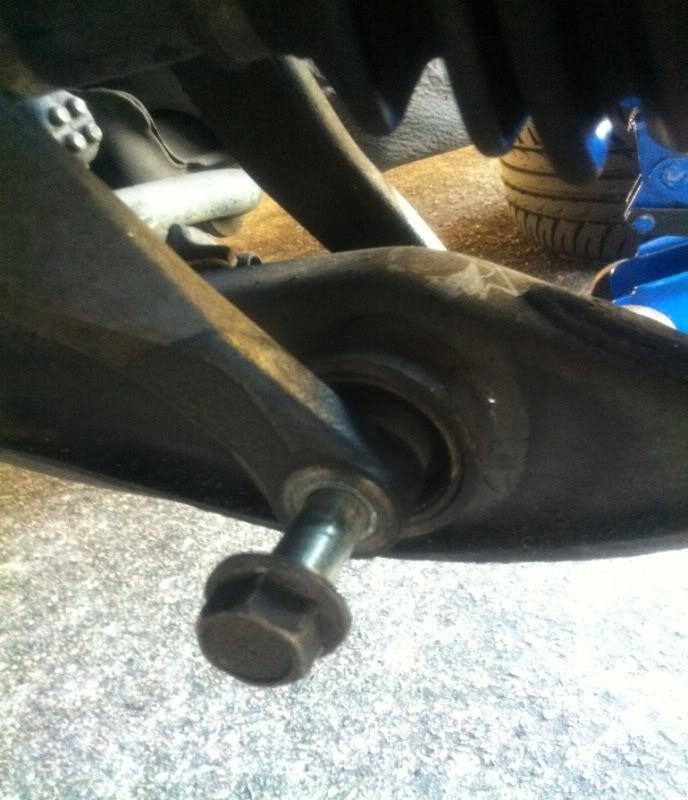
b) Pictured below – You will need 2 x 17mm socket/wrench to remove the nut and bolt. 1 tool on each side to stop the bolt from spinning and not loosening.
c) Once the nut has been removed – Gentle tap the bolt out using a hammer/mullet. If one end is not exposed, use the flat head screw driver to push out the bolt with a gentle smack from the hammer/mullet (through the LCA bushing).
d) For the passenger side – you will need to disconnect your battery and remove the battery from its tray. These are 10mm nuts.
4) Removal of OLD Camber Plate
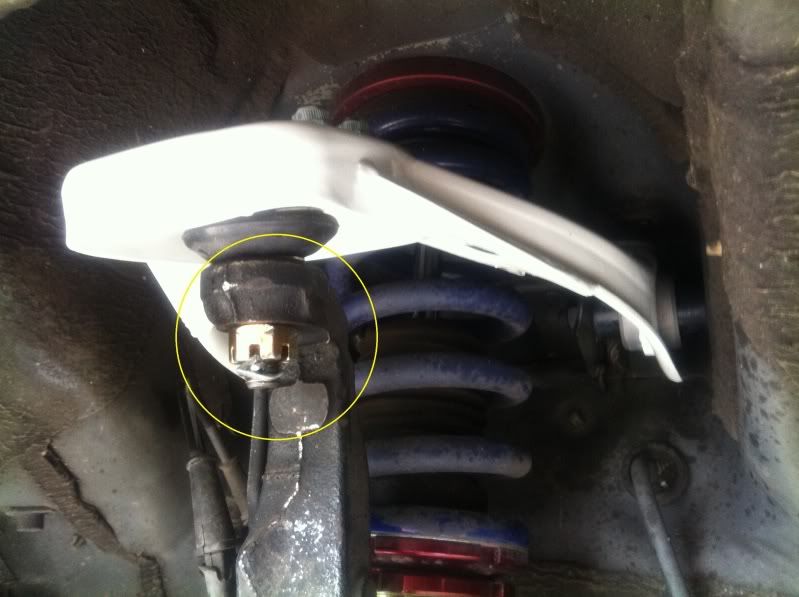
a) Remove the locking PIN & bolt that holds the ball joint to the camber arm – then gently tap out the bolt in the UP direction.
Once the camber arm is loose, then remove the two bolts that holds the camber plate previously loosened on step 3 *.
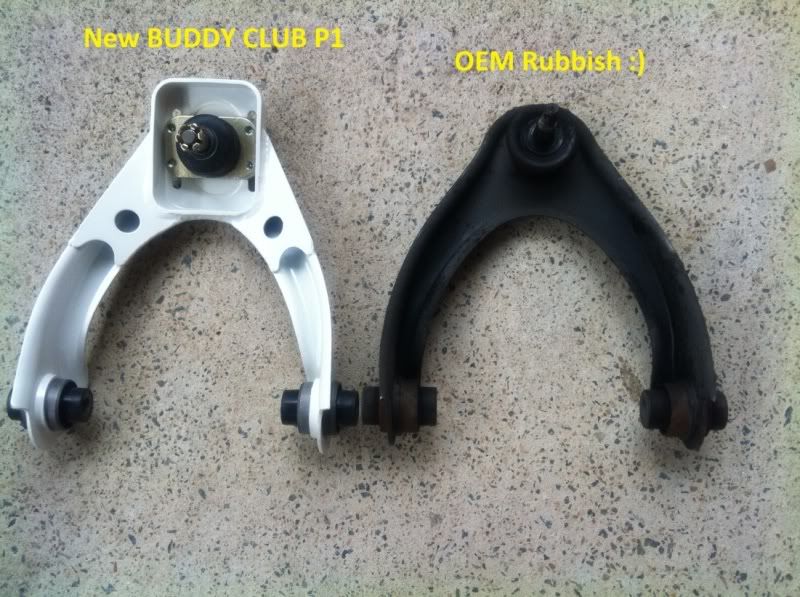
b) Once removed, you can see the comparison – Buddy Club FTW!!
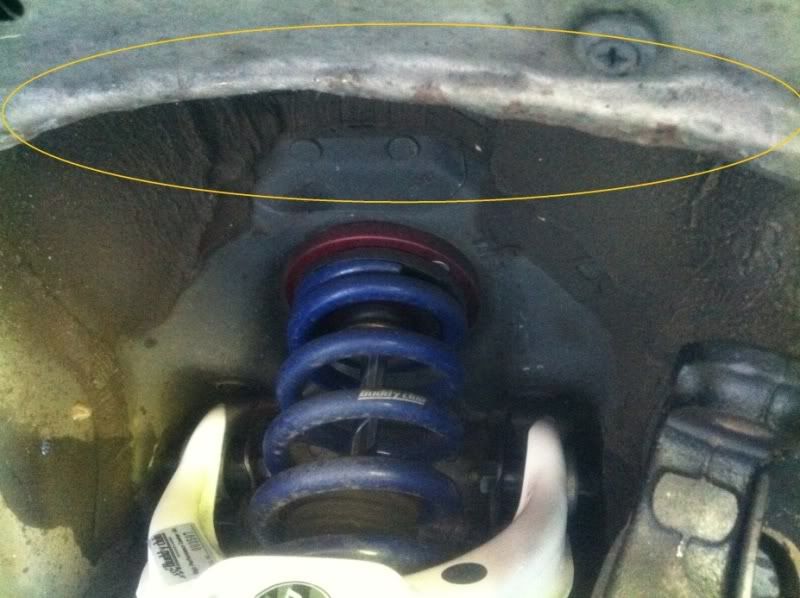
5) YOU NEED TO DO THIS STEP TO CLEAR THE CAMBER PLATE FROM HITTING THE INNER GUARD LINING.
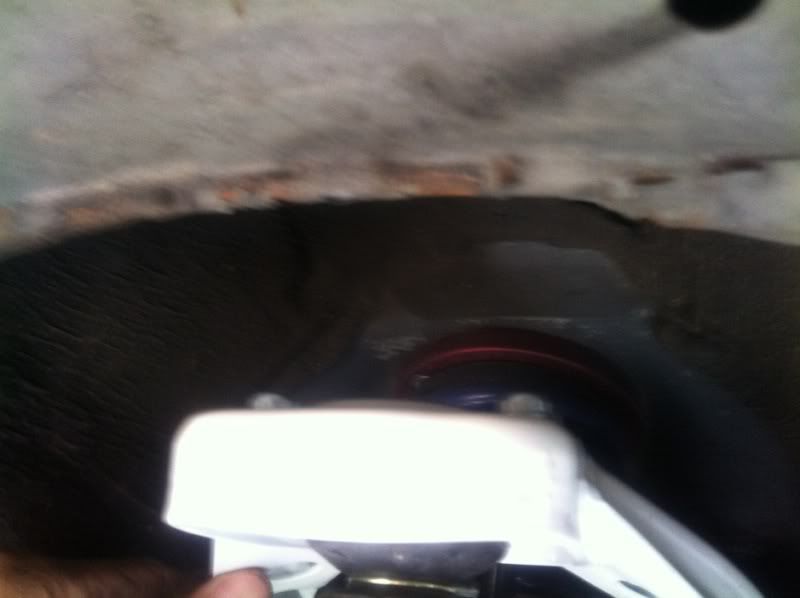
a) Use the Mullet to bash the crap out of the Inner Guard lining – as pictured below;
As you can see in the comparison picture, the Camber Adjusting Head where the ball joint sits on the Buddy Clubs are bigger and longer, therefore depending on how low your car is, this will hit the inner guard lining.
b) Test fit and check for clearance.
6) FIT THE NEW CAMBER PLATE ON!
a) Once all cleared, fit the camber plate and just hand tight the 2x 14mm bolts and the ball joint 17mm bolt.
Shake the camber arm in and out to make sure it sits nicely inplace.
b) Use 1x Locking PIN and fit this through the small hole in ball joint bolt. (1 for each camber plates ball joints)
7) FIT THE STRUT FORK BACK ON THE LCA’s.
a) Re-install the strut fork back onto the Lower Control Arms.
You may need to put on some down weight on the rotors to align the holes for the 17mm long bolt fitting.
b) Or you can gently tap in the 17mm bolt once you got the thread inside the LCA bushing.
8) PRE-ADJUSTING THE CAMBER DEGREES.
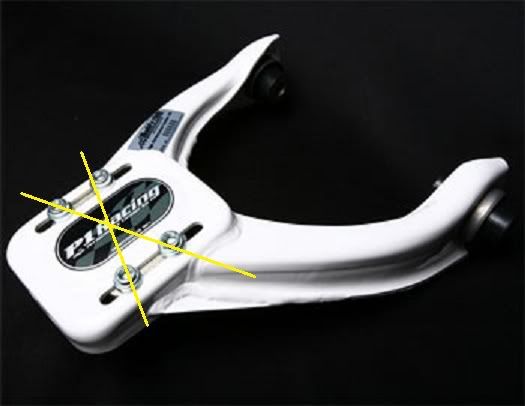
a) There will be 4 Allen Key type bolts which will allow you to loosen and re-tighten for camber adjustments. You the L type Allen key or a socket type.
b) Adjust to your desired – or + degree camber.
c) When tightening, ensure that you follow an X type sequence @ 25-35Nm torque.
***DO NOT OVERTIGHTEN UNTIL FINAL CAMBER DEGREE IS SATISFIED***
9) FINAL CHECK BEFORE FITTING OF THE WHEELS BACK ON
a) Do a final inspection around the engine bay and the Suspension cavity. Make sure all bolts/nuts are tightened and secure.
Double check the brake lines to ensure they are not punctured or bent.
b) Once all good fit the wheels back on, and inspect your camber degree.
If all good – follow the next steps.
If re-adjustments is required – follow Step 8.
10) YOUR DONE – FINISHED!!
You will need to do this, so that the camber plate/ball joint will sit into place which then you will need to final tighten the 2x 14mm bolt which holds the camber plate inside the engine bay.
a) While the wheels are still on the ground, raise it up again and secure tighten the 2x 14mm bolts that holds the camber plate.
Remember - in Step 6 a), these two bolts are just hand tightened. Now you will tightened these bolts as the camber plate/ball joint would have settled.
b) Once all tightened and your happy with the camber degree, you may now drop the car and remove the car stands, jacks etc.
c) Fit the battery back on and the battery terminals.
11) TEST DRIVE
a) Turn on the car, do a full LEFT & RIGHT steering LOCK – then reverse and drive slow at first hand.
b) Listen for any knocking, squeaky sounds, vibrations, abnormalities etc.
c) if all good, then you have successfully installed the FRONT CAMBER KIT.
d) if you hear weird noises or experience problems, then I would restart the steps and follow carefully to completion.
e) TAKE YOU CAR FOR A WHEEL ALIGNMENT as the Toe adjustments will be off - either too much out or too much in (depends on how low your car is).
ENJOY!
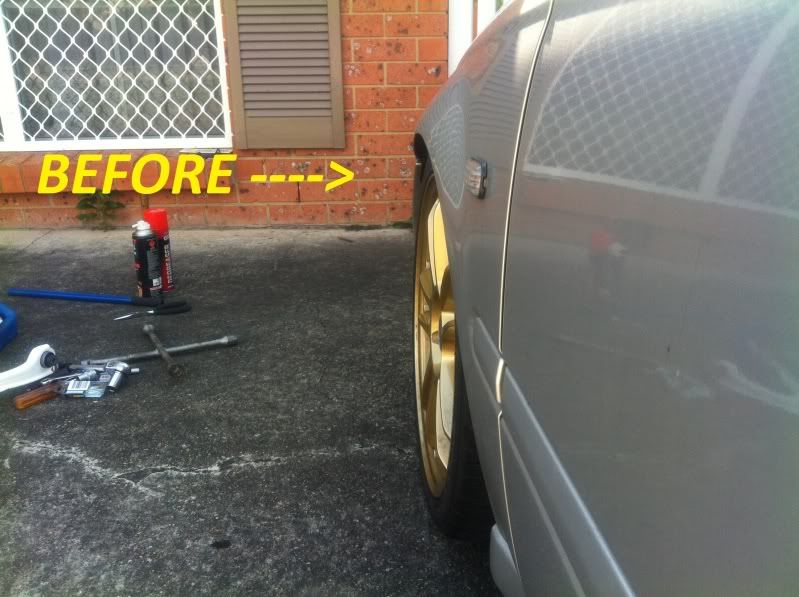
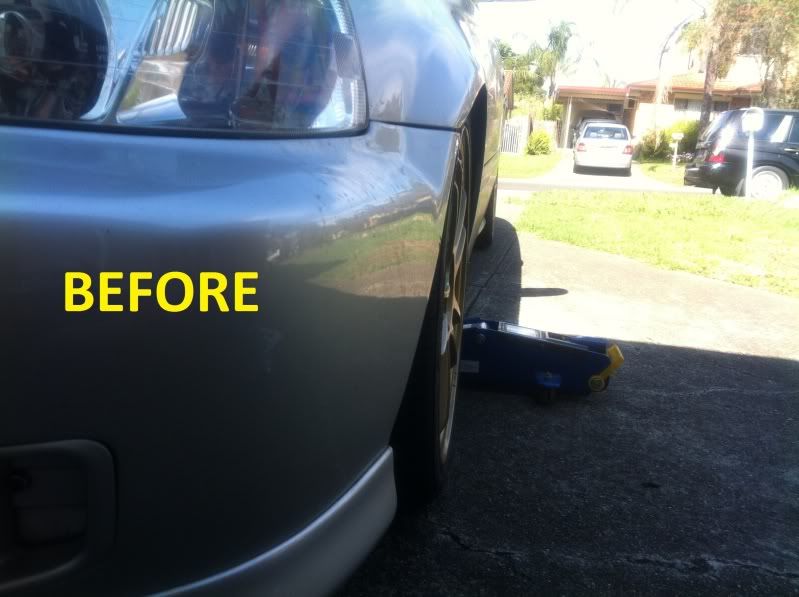
BEFORE
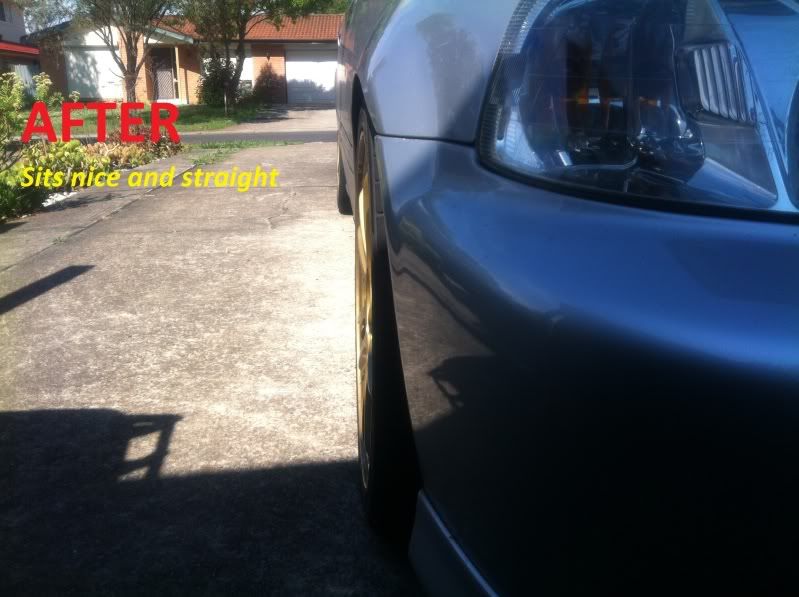
AFTER
Other comments
Written DIY by: IV73CI aka Marv
Last edited by IV73CI; 31-10-2011 at 08:44 AM.
Reason: added step 11 e)
B to BFrank to K .... ive had it ......
-
Good write up, i went through same process with installing my hardrace front camber, pretty straight foward 
But u left out one thing, most important after this installation, a proper wheel alignment at a shop
If u have fronts and rear camber kit installed, than u can give ur desire camber and toe settings, an the rest they do for you, but dont expect an quick 30min job, as due to the vehicle height, they will struggle adjusting the front cambers lol, i know, cause i waited 2 hours for them to finally finish it
-
 Originally Posted by mugen_ctr

Good write up, i went through same process with installing my hardrace front camber, pretty straight foward
But u left out one thing, most important after this installation, a proper wheel alignment at a shop
If u have fronts and rear camber kit installed, than u can give ur desire camber and toe settings, an the rest they do for you, but dont expect an quick 30min job, as due to the vehicle height, they will struggle adjusting the front cambers lol, i know, cause i waited 2 hours for them to finally finish it
yeh true that!
POST EDITED ..
thanks for that .... forgot to include it on the post.... LOL was writing this up all nite.. lol so tired..
Last edited by IV73CI; 30-10-2011 at 05:21 PM.
B to BFrank to K .... ive had it ......
-
Will post up a DIY for the REAR camber kit matching Buddy Club P1's soon!
B to BFrank to K .... ive had it ......
Tags for this Thread
 Posting Permissions
- You may not post new threads
- You may not post replies
- You may not post attachments
- You may not edit your posts
-
Forum Rules
|


 Reply With Quote
Bookmarks