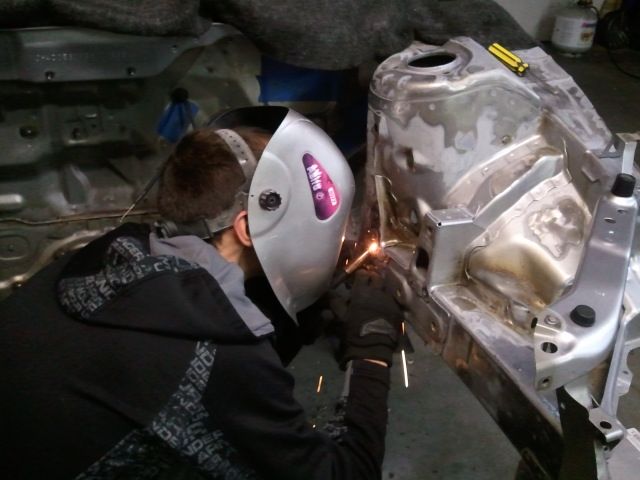
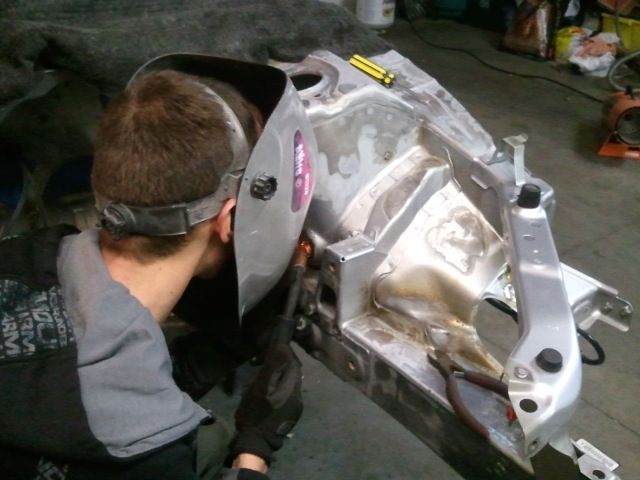
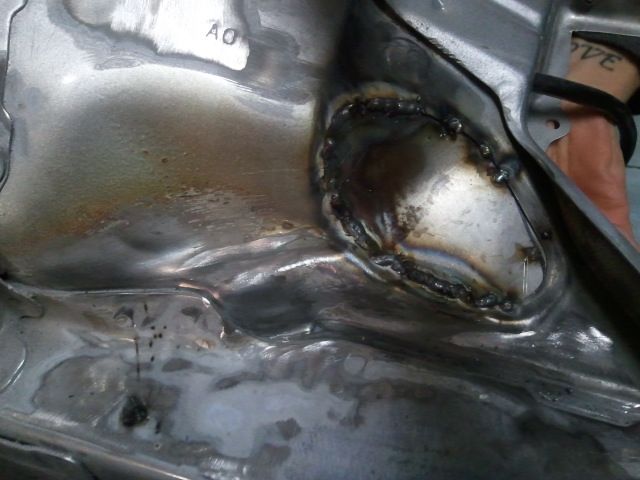
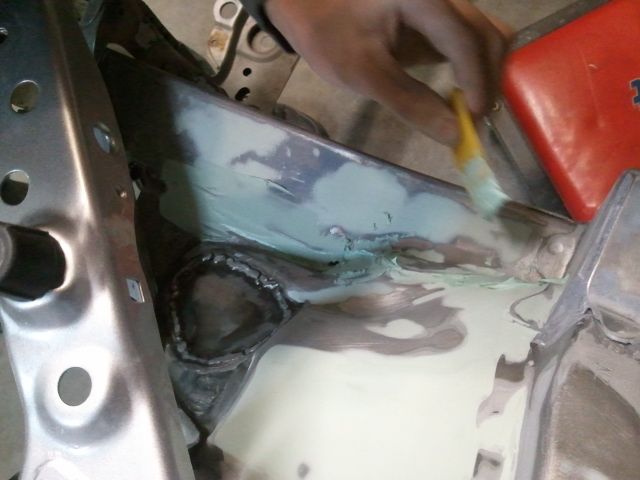
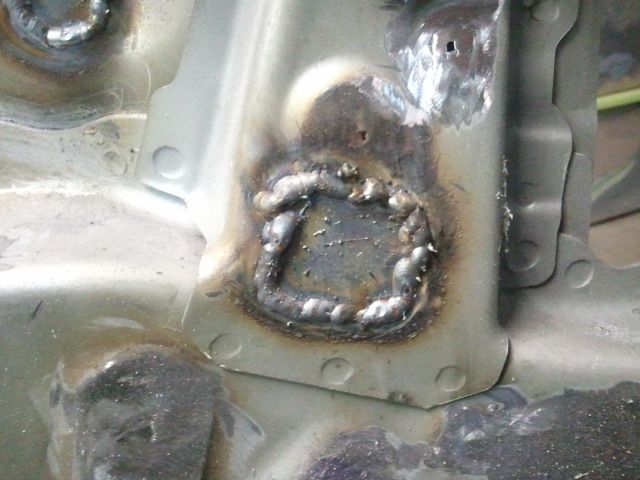
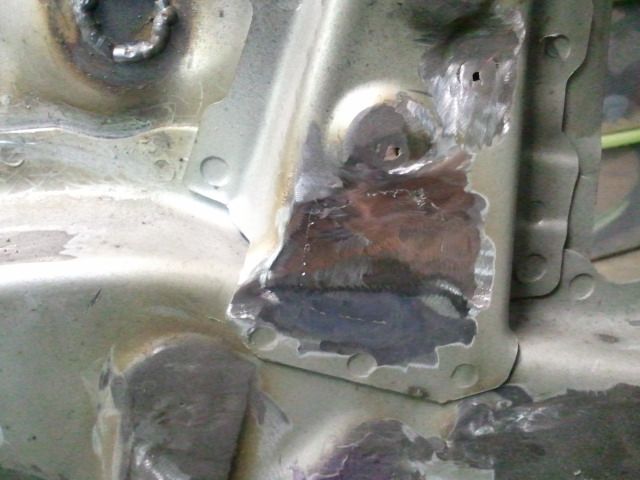
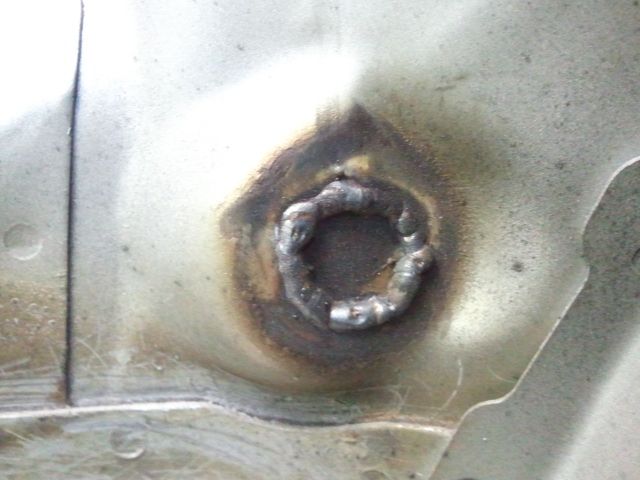
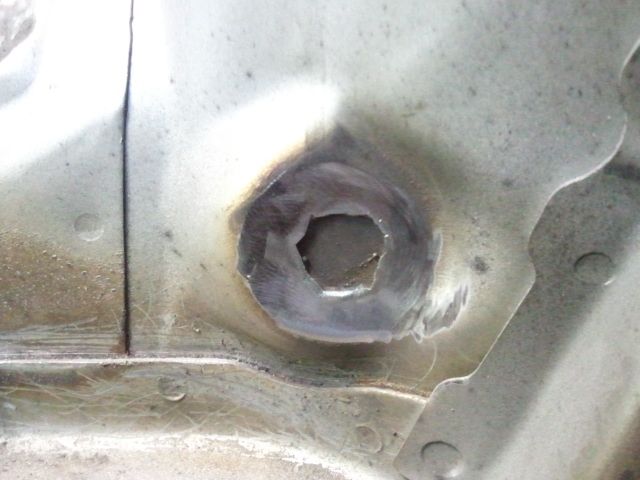
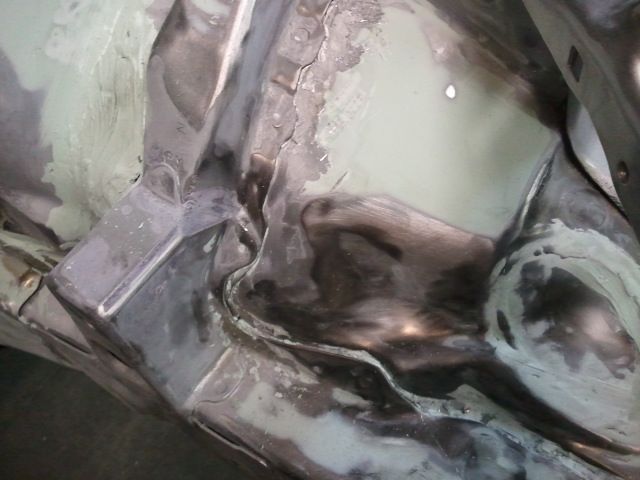
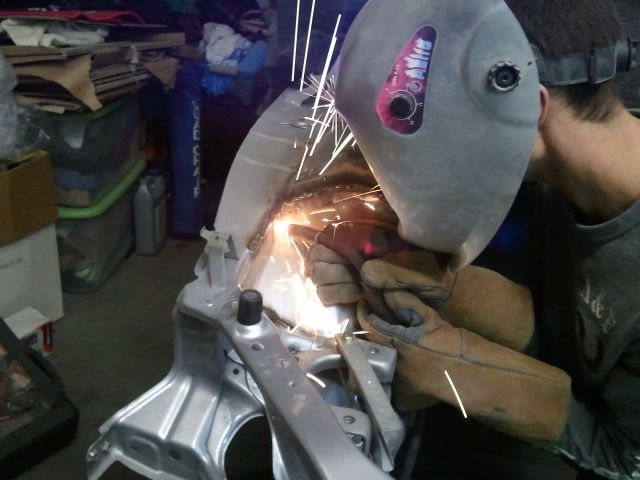
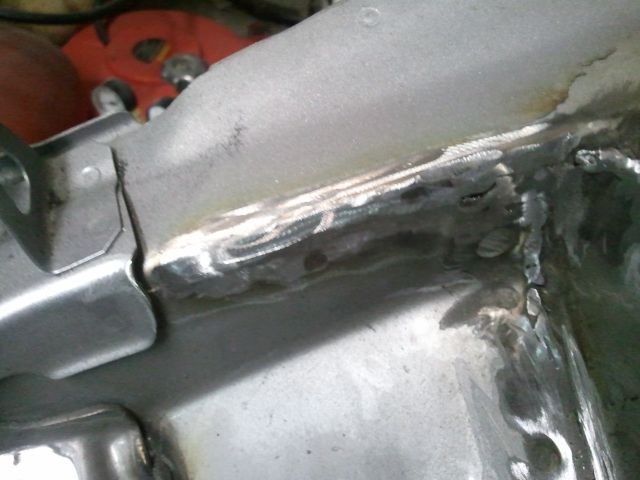
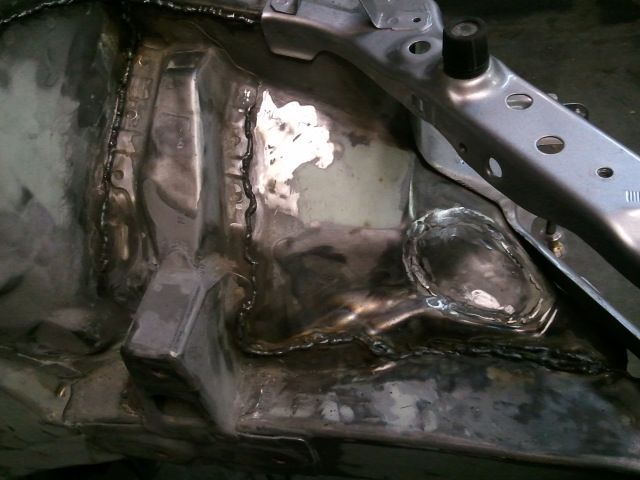
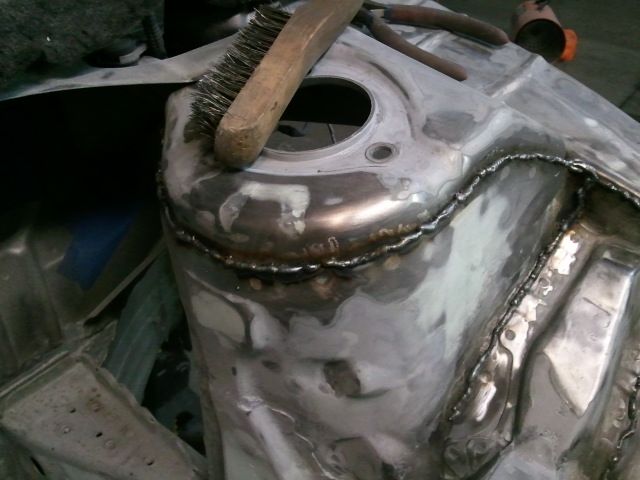
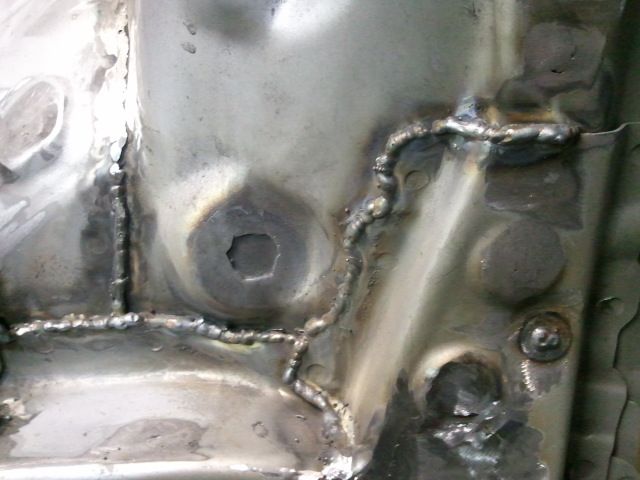
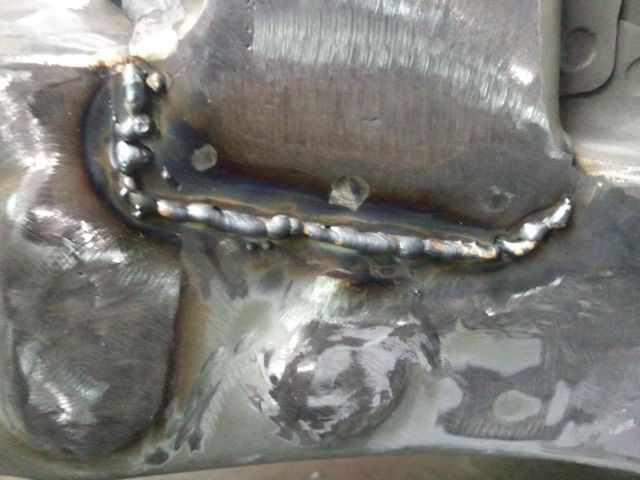
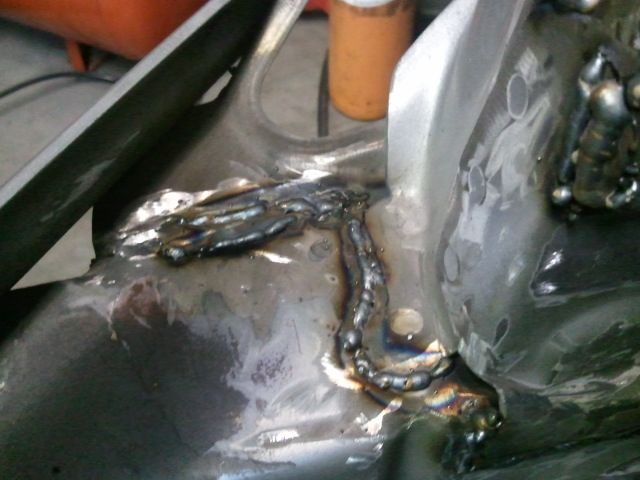
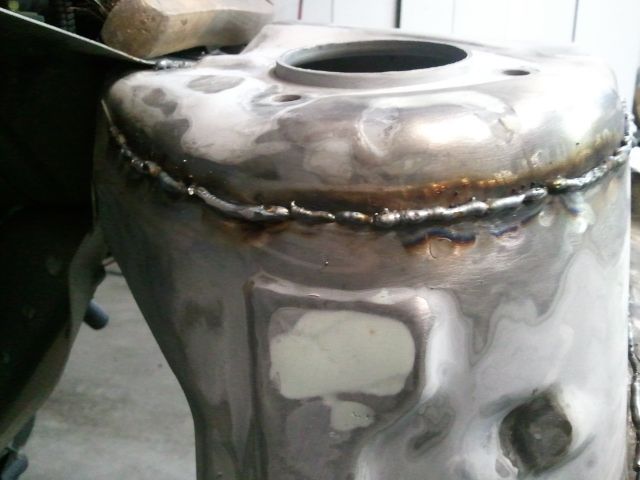
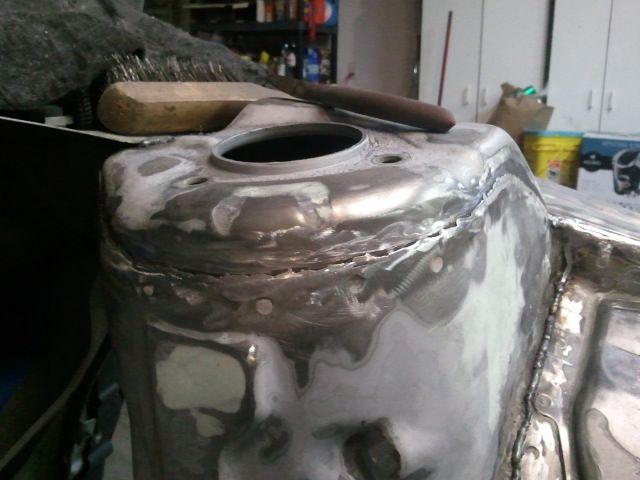
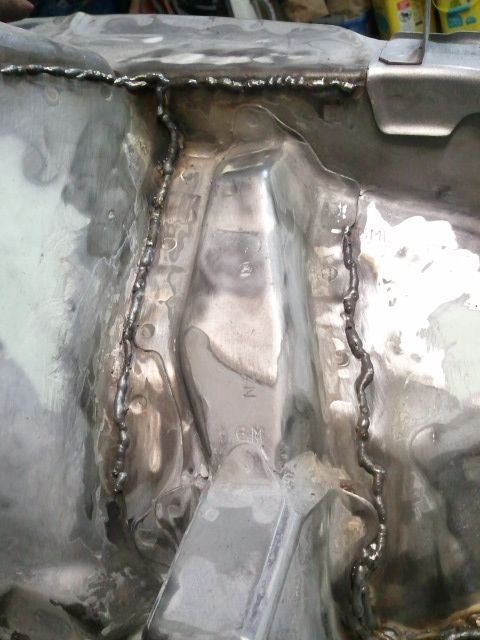
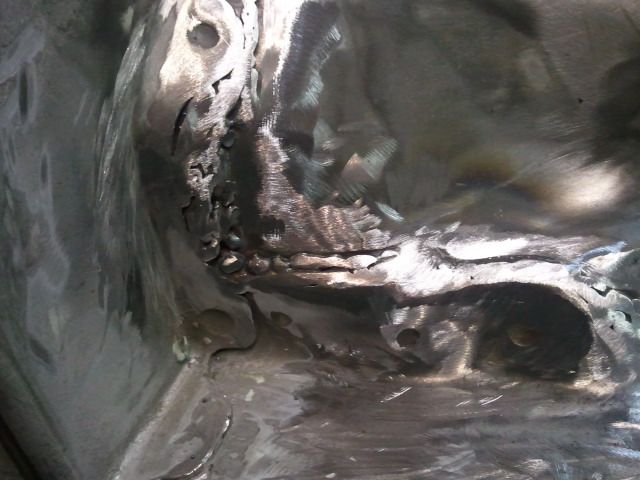
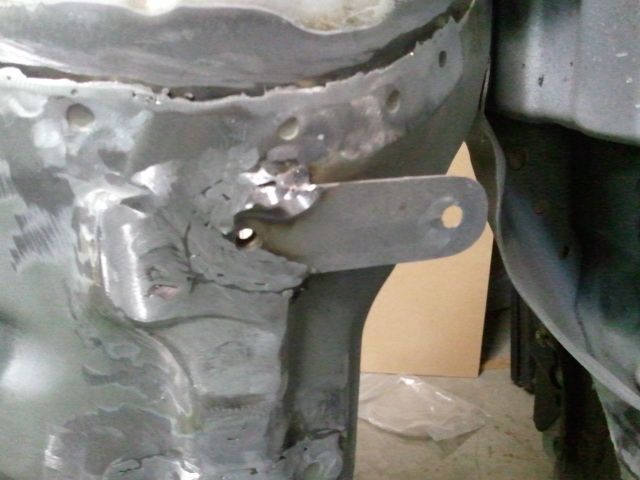
So we decided that it would be better to weld everything verses weld some and mud some... so I spent the first part of the night trying to remove all the filler we had previously laid
then cleaned so we could weld
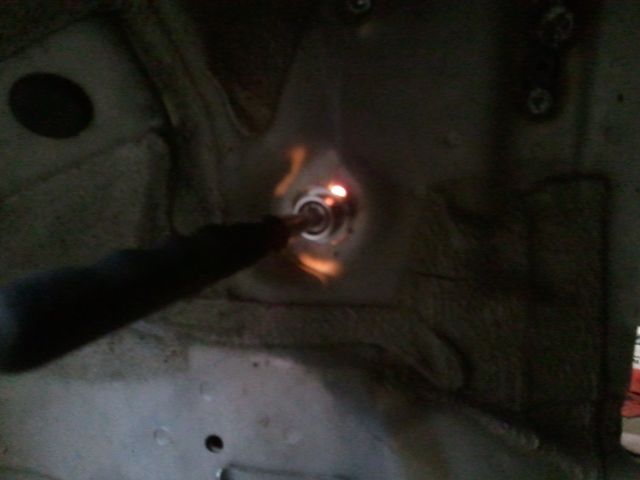
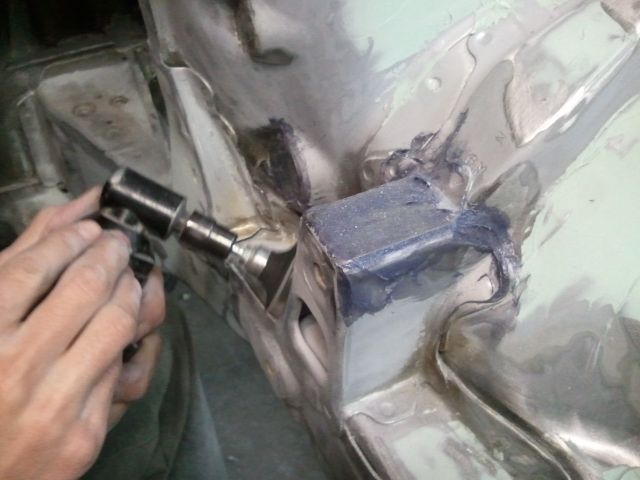
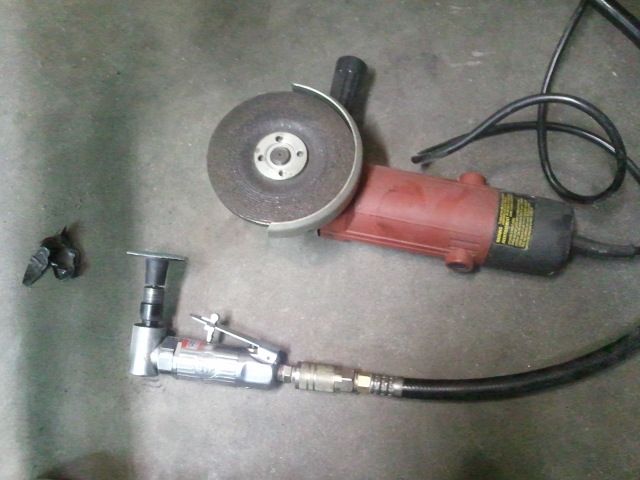
had a lot of troubles with the welder. I had to go get a new tank of gas an then had to go get new rod as I ran out of both... then we couldn't get the welder adjusted correctly at first so it was welding like crap. We eventually got everything smoothed out and it started welding smoother
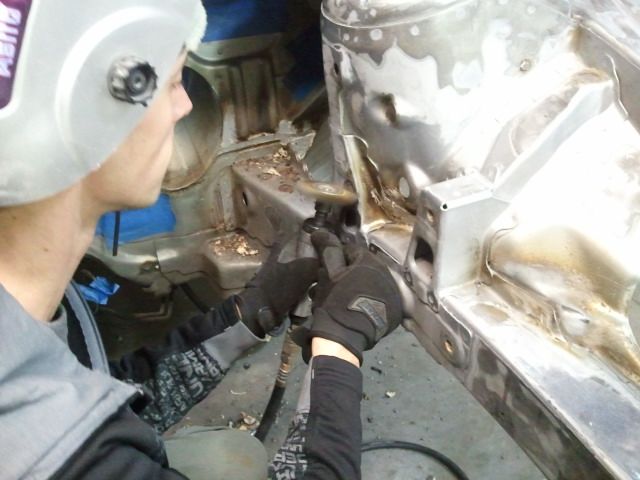
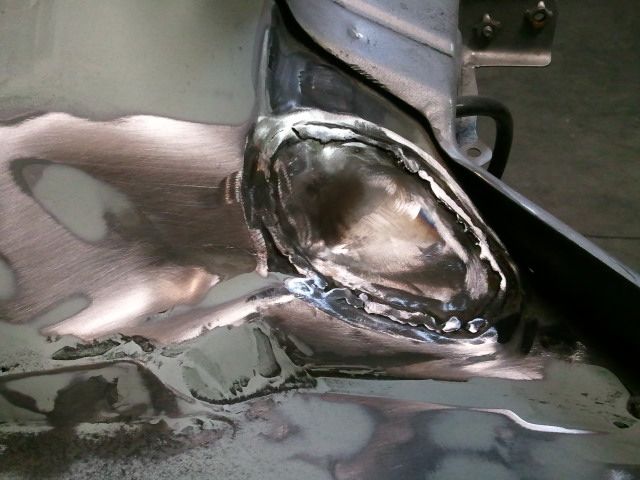
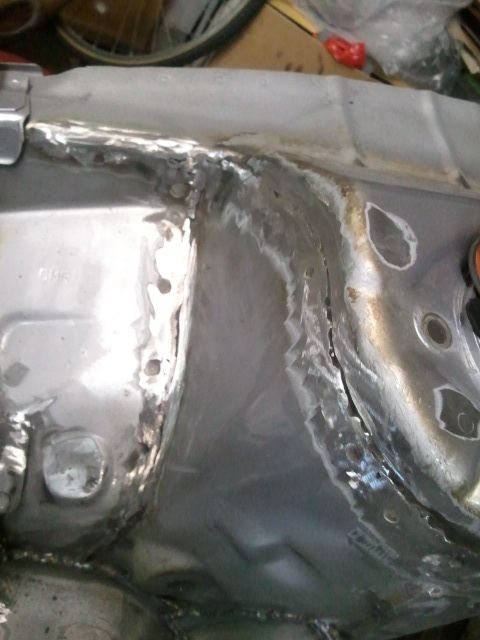
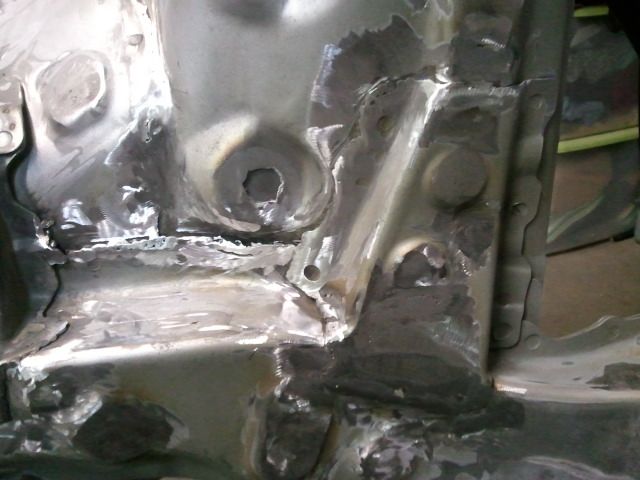
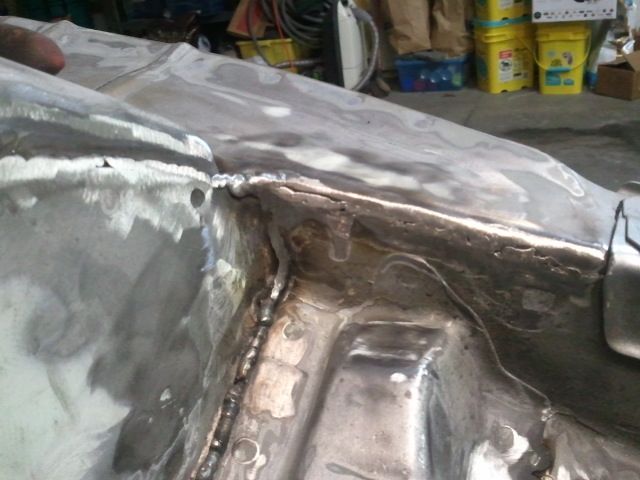
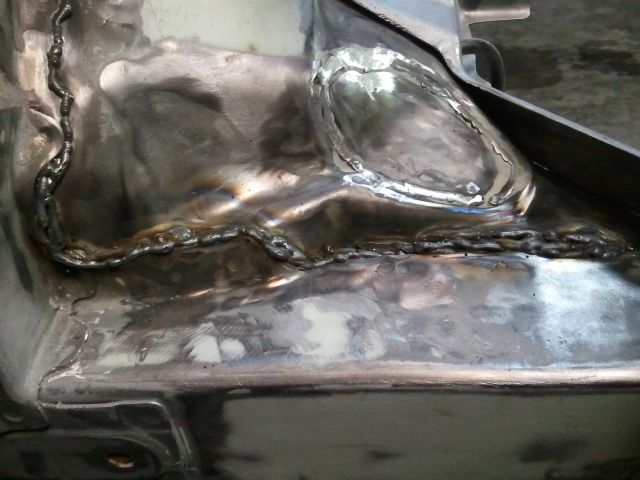
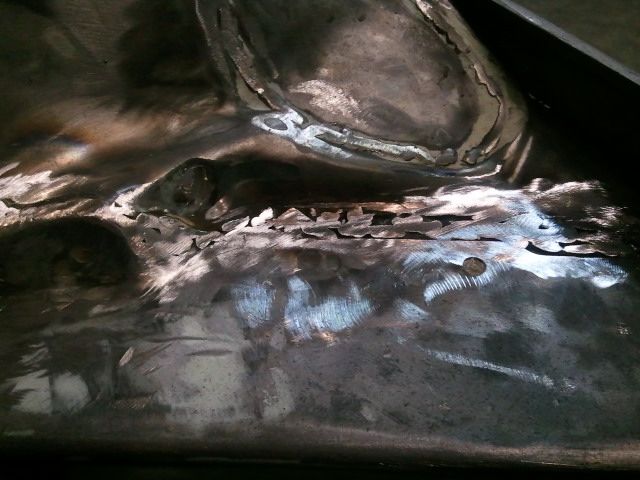
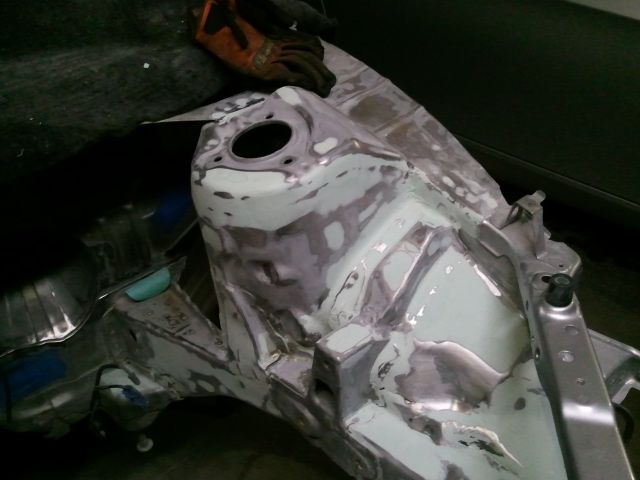
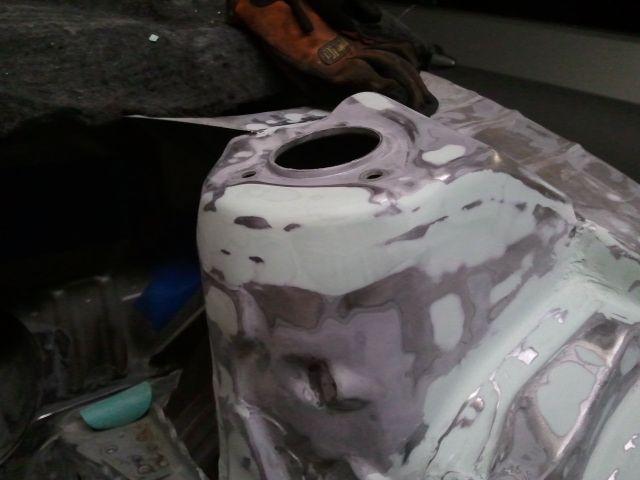
spent hours grinding lol
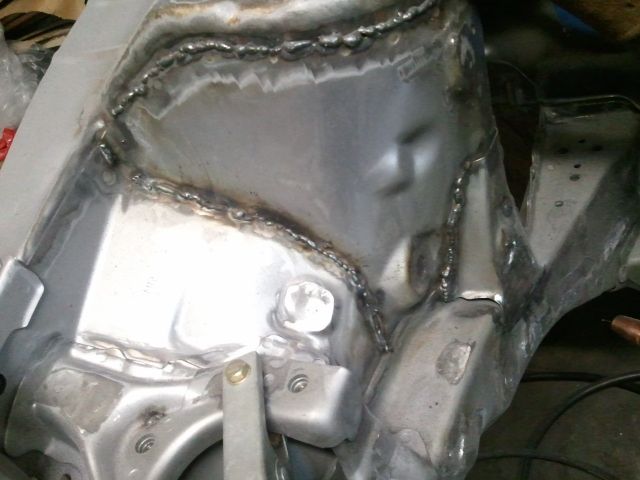
I know it looks rough... my back was hurting
and then welded up the other side after I cleaned out the filler
Looks fantastic dude, keep it up!
May i ask, the purpose of re-welding, what do you achieve exactly?
I understand the grinding it down so you can smooth it upon so you get a smooth finish but is the welding for structural integrity? or so you can achieve a 'shaved' engine bay?
Looks fantastic dude, keep it up!
May i ask, the purpose of re-welding, what do you achieve exactly?
I understand the grinding it down so you can smooth it upon so you get a smooth finish but is the welding for structural integrity? or so you can achieve a 'shaved' engine bay?
Thanks bro
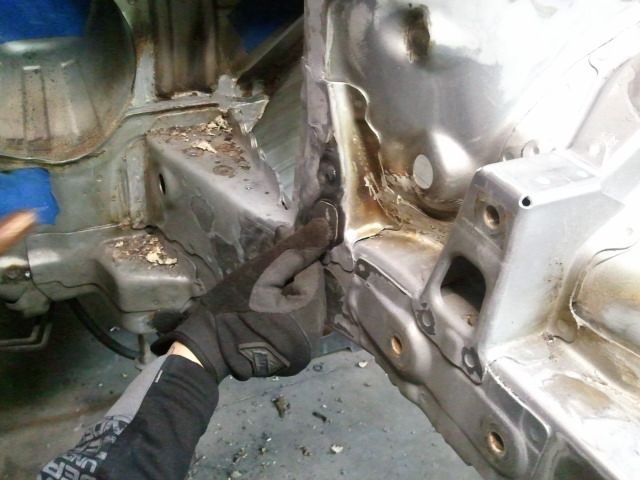
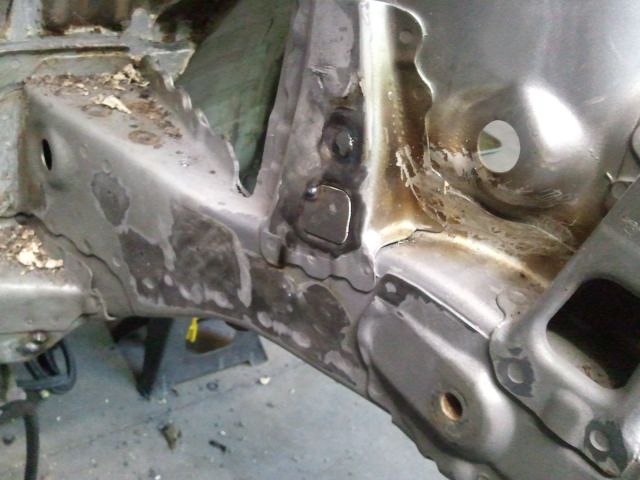
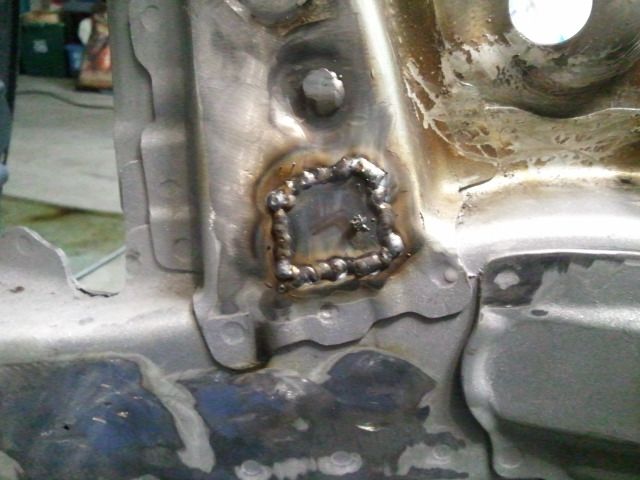
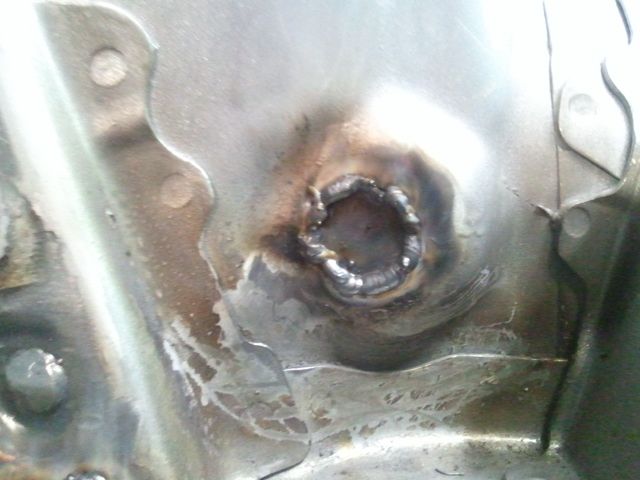
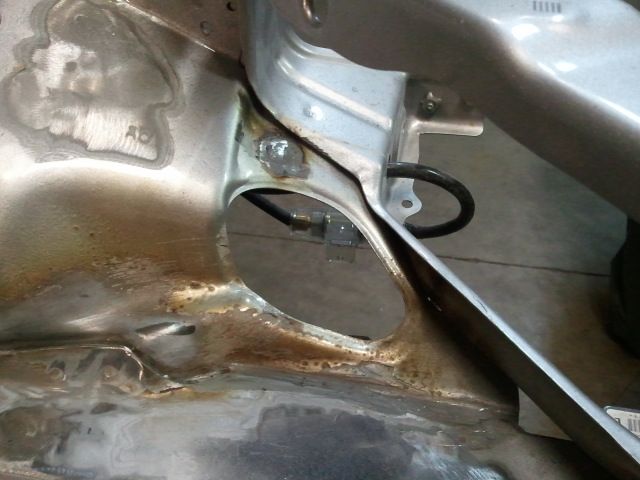
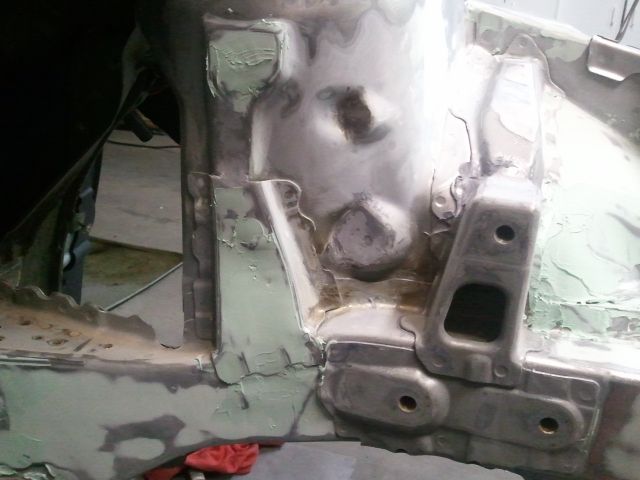
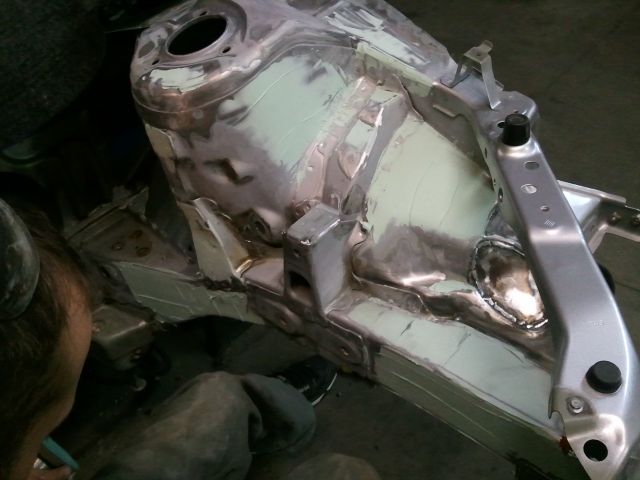
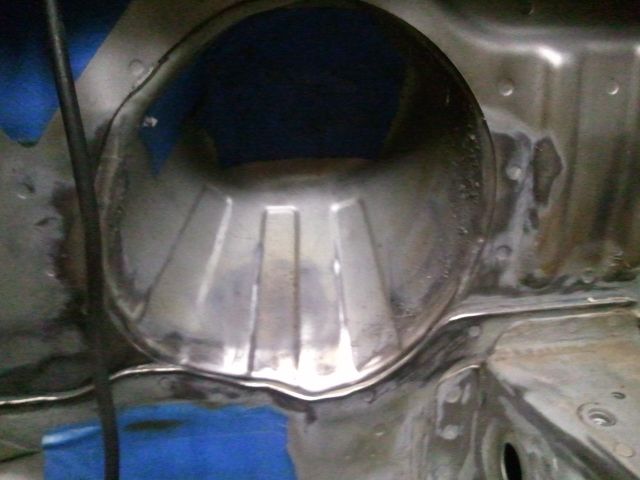
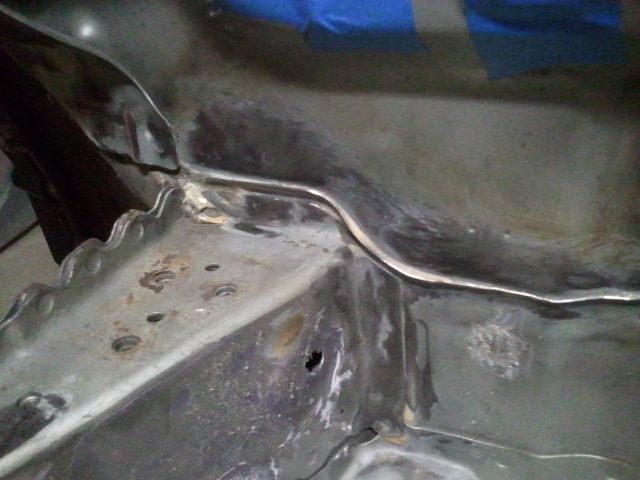
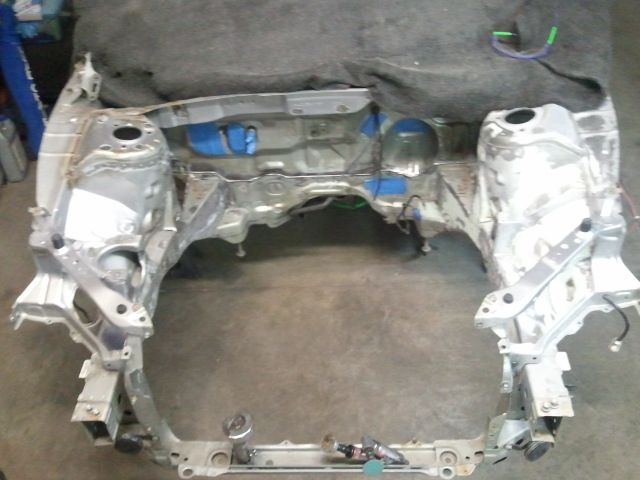
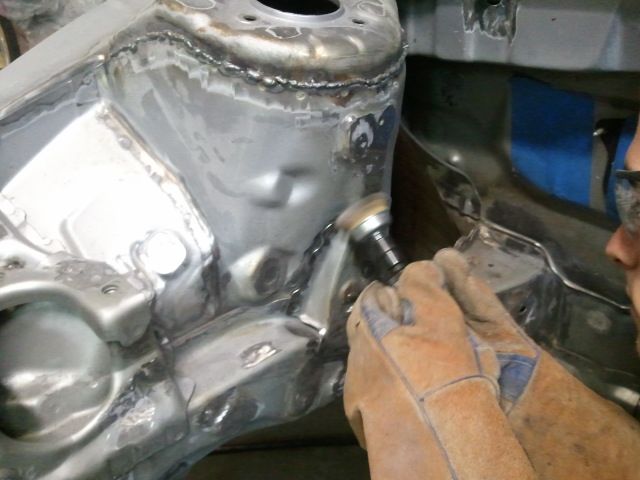
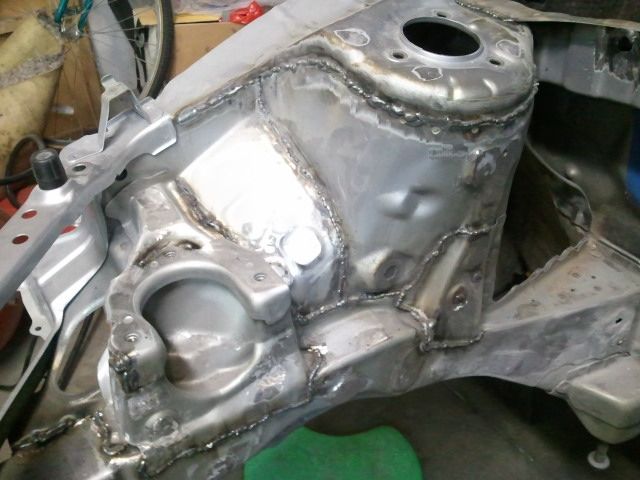
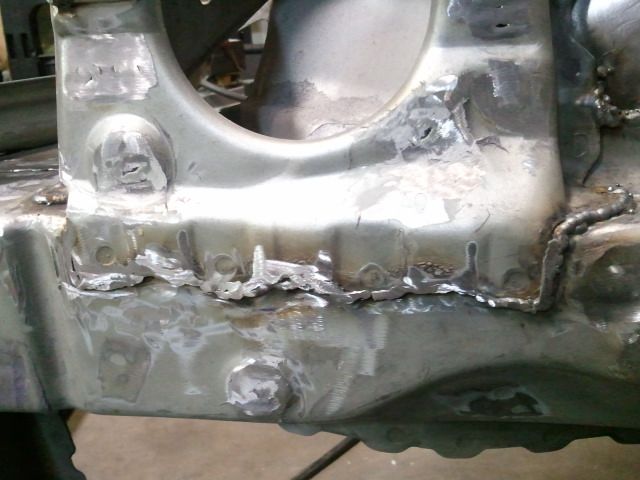
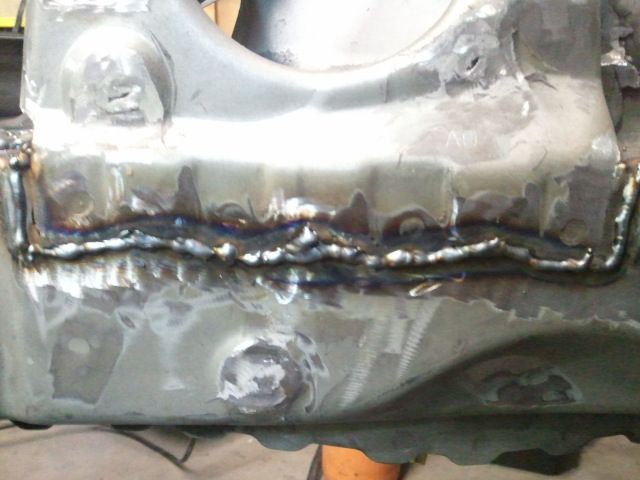
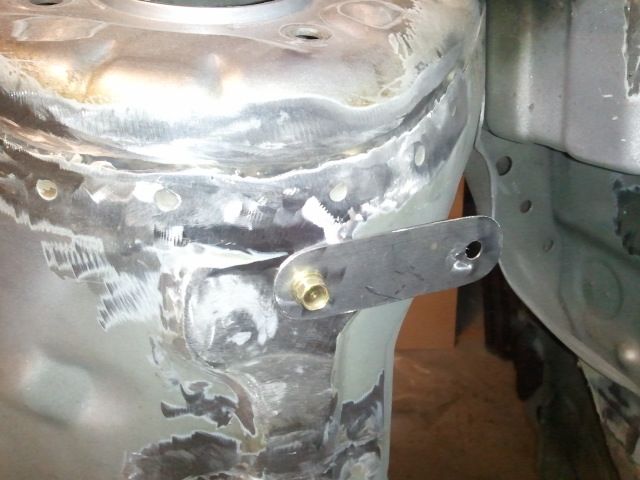
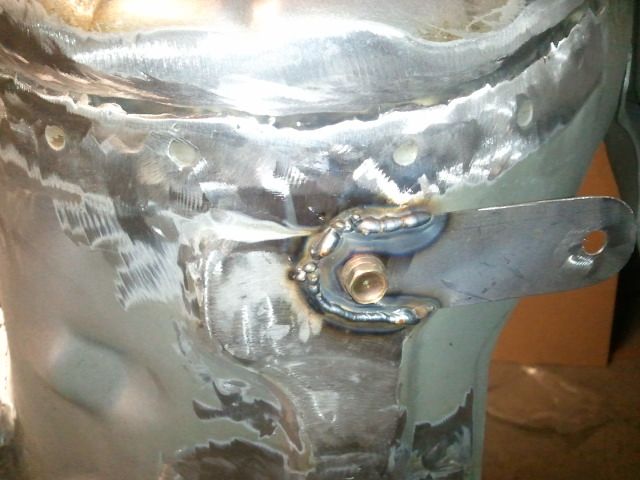
The welding has several purposes. One is strength. Like on the strut towers and around the motor mounts. It adds extra strength to the factory pinch weldings.
The second purpose is to help add material so I can grind and smooth out the bay. This will also allow me to use less filler which has a tendency to crack.
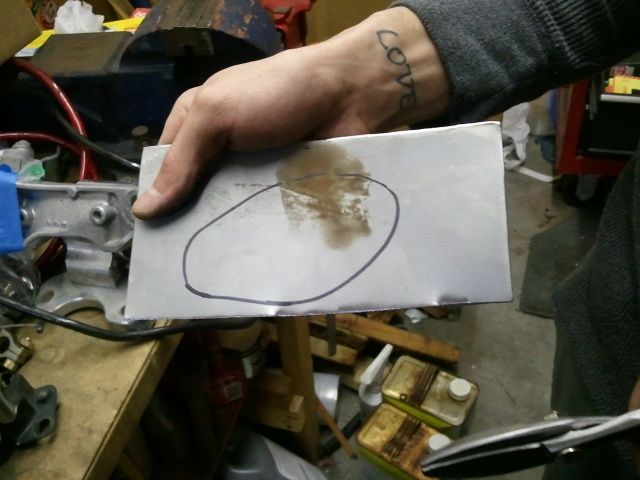
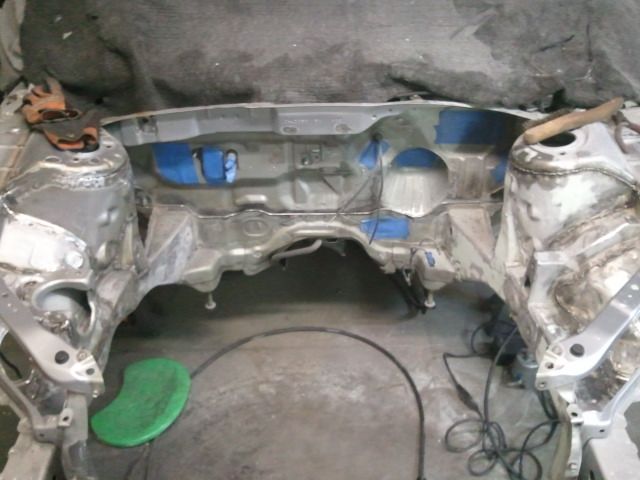
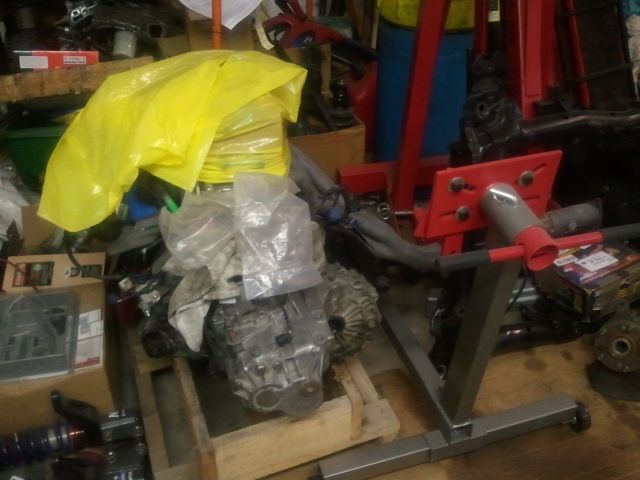
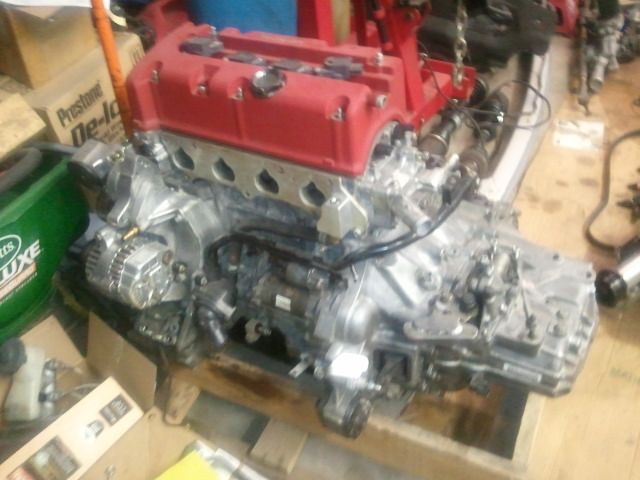
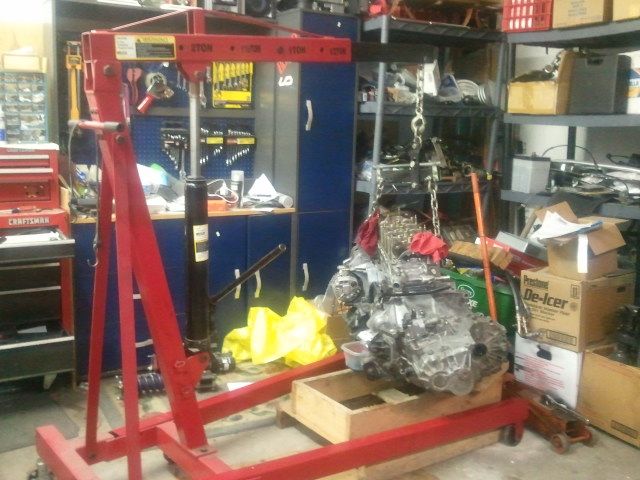
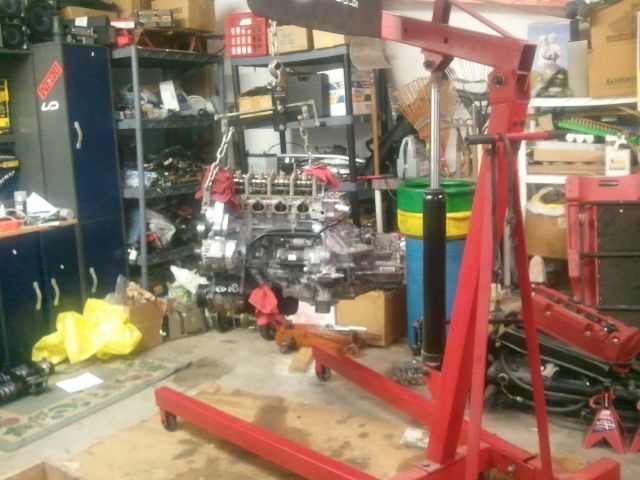
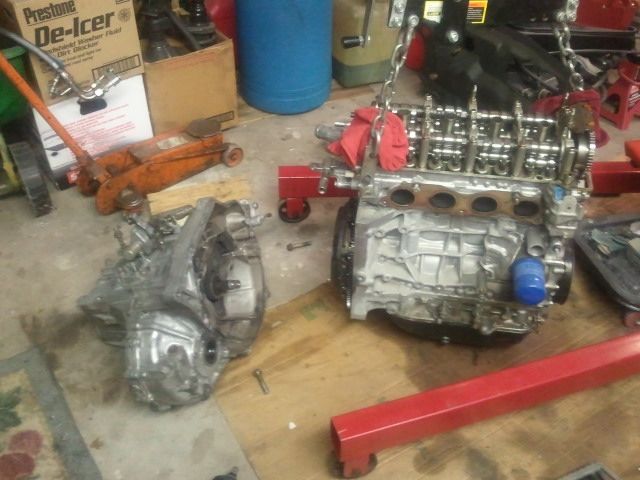
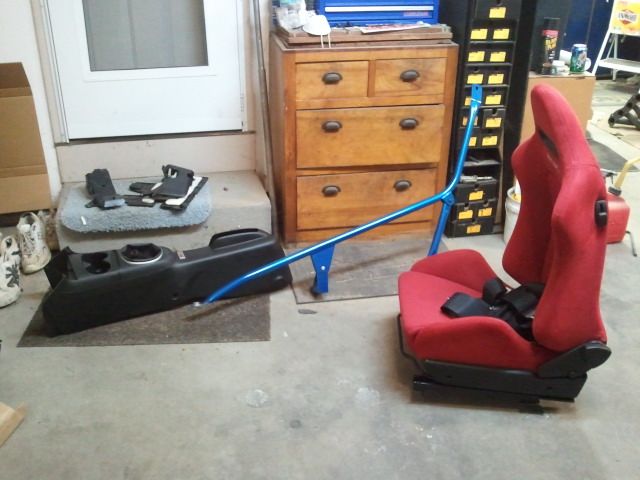
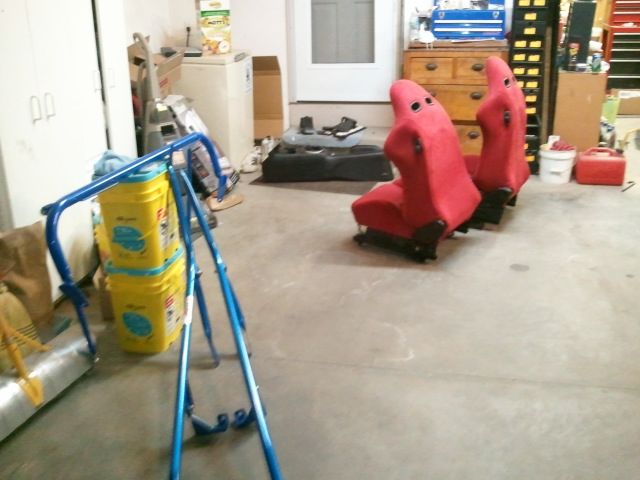
So I took a break from the bay today and focused on my engine. I just wanted to seperate it from the trans and get it on a stand. I will start working on it from here now
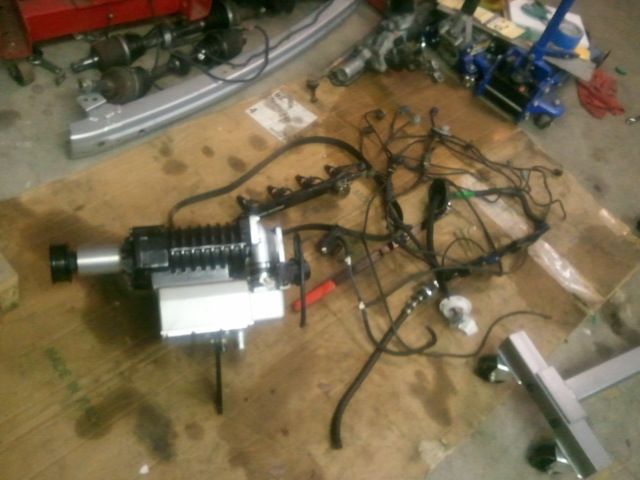
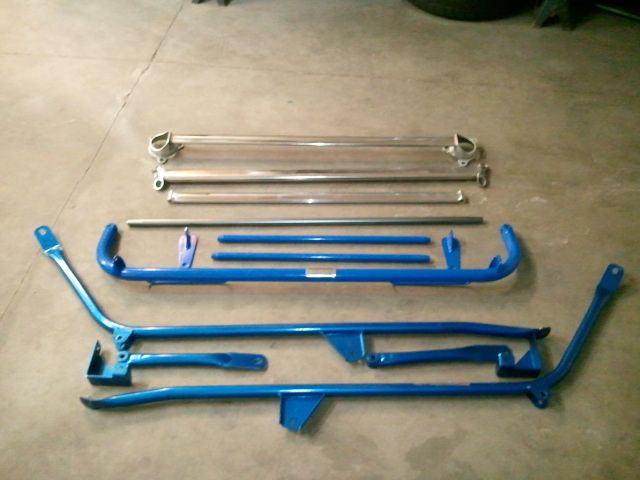
So here is what I started with:
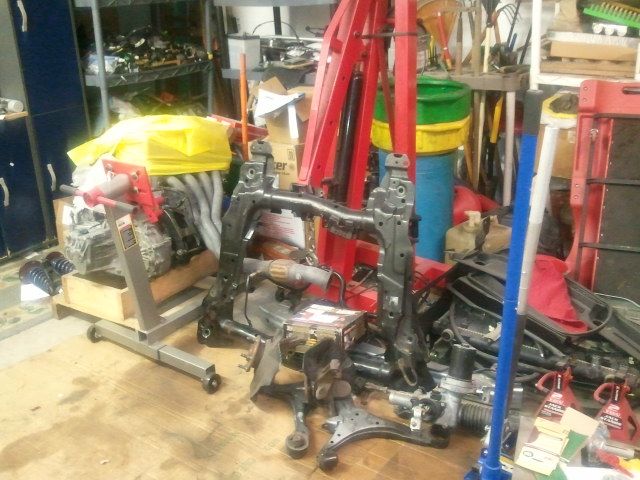
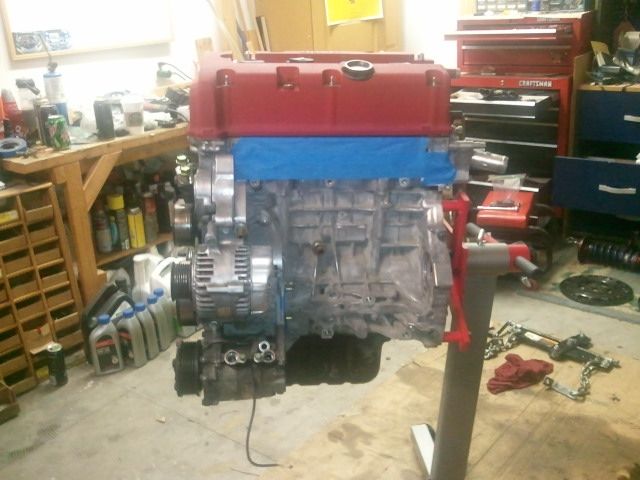
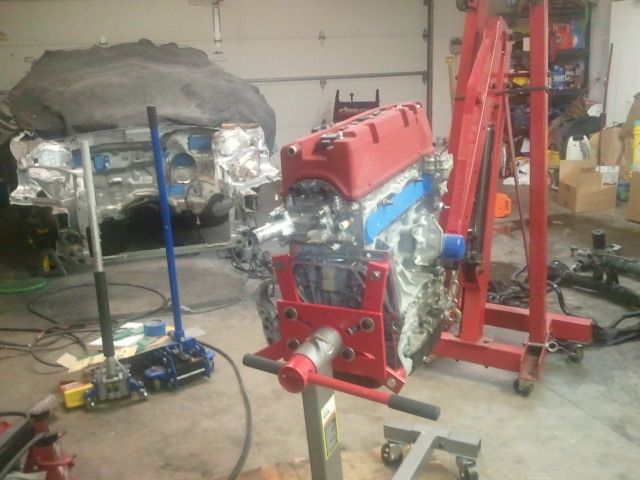
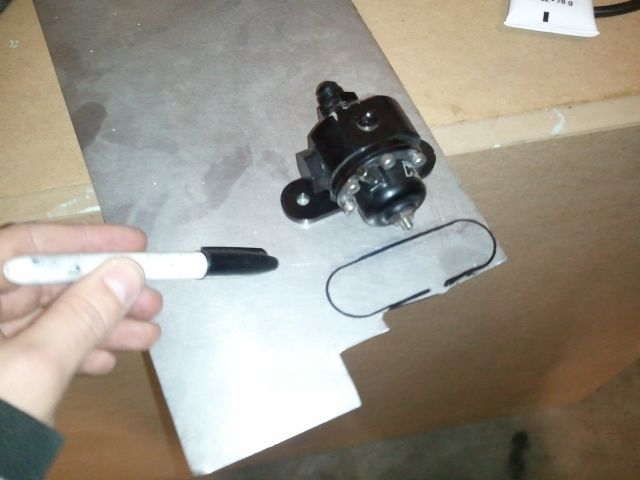
Then I started pulling off the supercharger, harness and misc
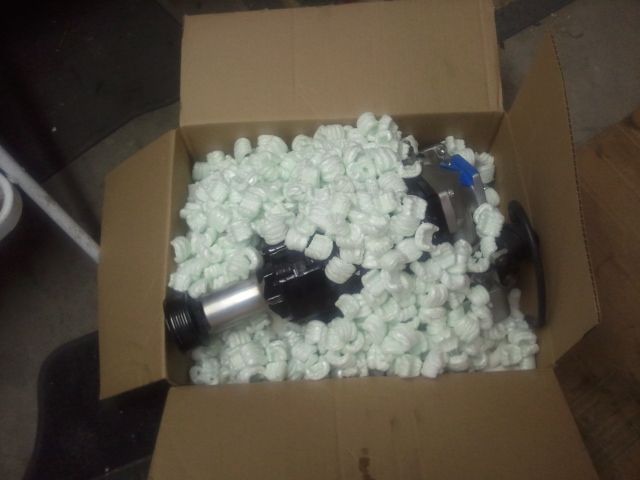
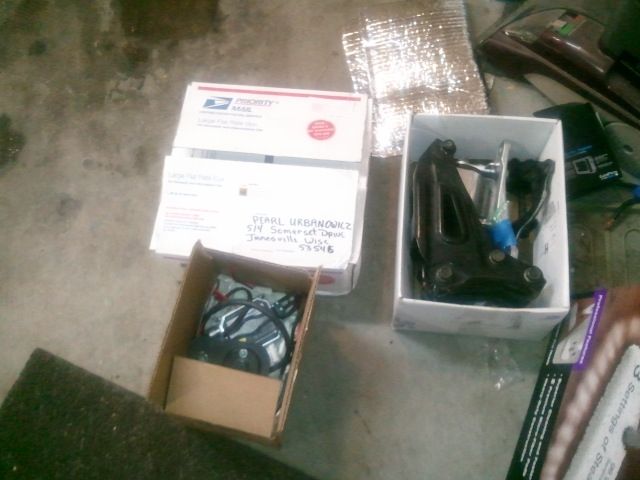
and to be safe started boxing up all my parts lying around


 Reply With Quote
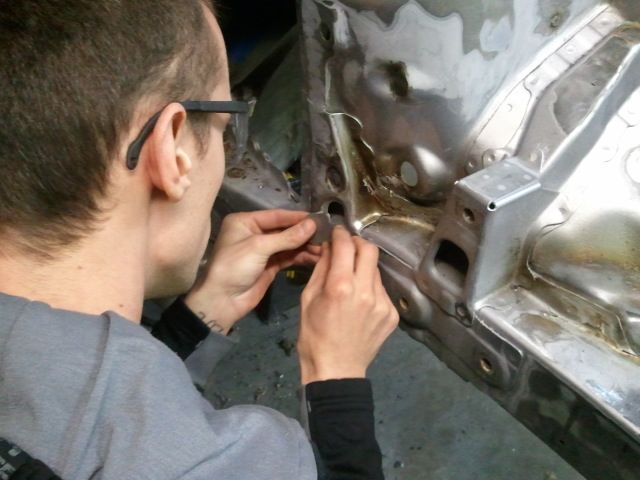


Bookmarks