

Disclaimer: The following is provided as a GUIDE ONLY, and neither myself nor Ozhonda take any responsibility for the outcomes of someone else doing the following. You follow these steps at your own risk!
Aim: To replace the old cruddy carpet and worn out/droopy false floor of the civic ek1 hatch.
Required:
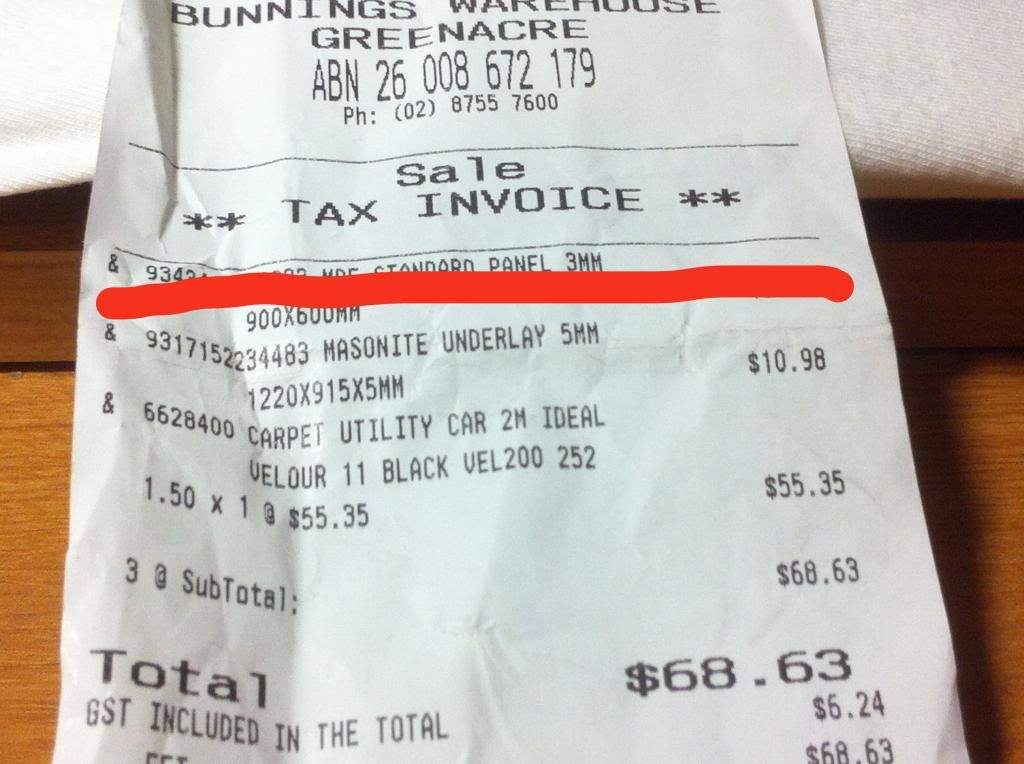
- Masonite Underlay 5mm
- Carpet 2m x 1.5m (probably less width. I got more so that I could make a parcel shelf in the near future)
- Jigsaw
- Stanley knife
- Scissors
- Stapler
- Safety gear
- Marker pens / chalk
- Drill
- String / rope
Steps:
Get to Bunnings to get some carpet and underlay. I got masonite underlay as it felt just like the stock one and doesnt weigh a ton like MDF. There was mdf in 5mm, but it didn't feel as rigid. The carpet they stock is perfect. It's actually marked for automotive use; comes in grey or black.
CARPET
We'll start the day by making the carpet first.
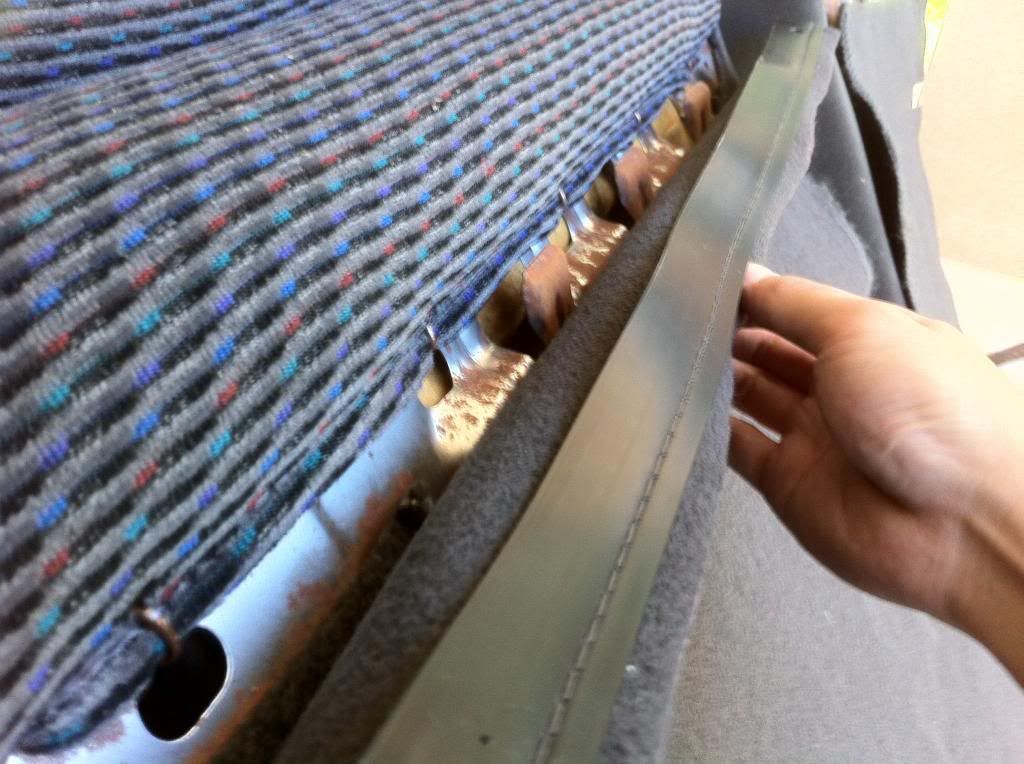
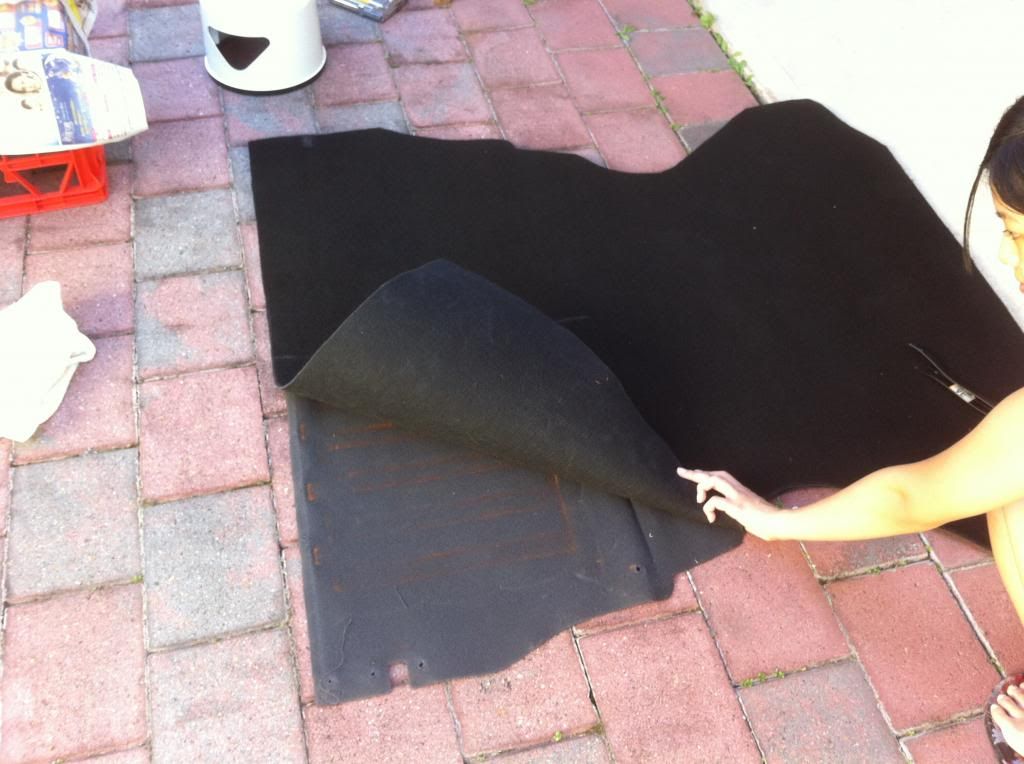
1. Take out the old boot carpet by removing the x-mas tree clips and sliding the plastic rail up off seat.
2. Lay the old one on top of the new carpet and trace with chalk.
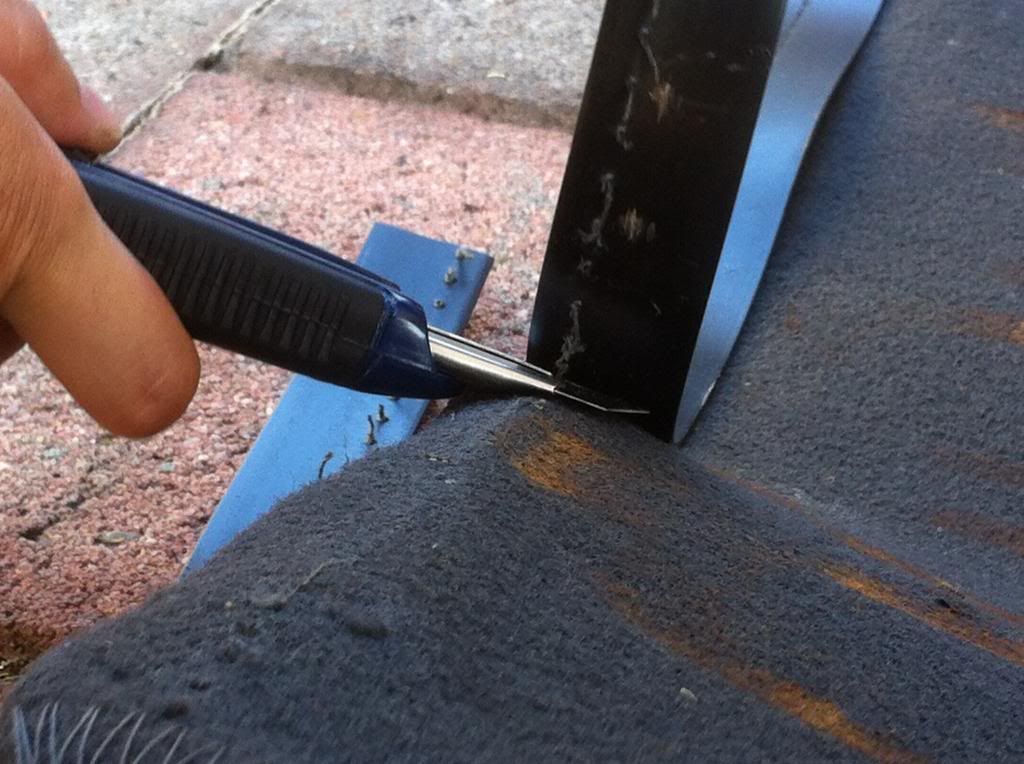
3. Use scissors or shank that carpet with a stanley knife.
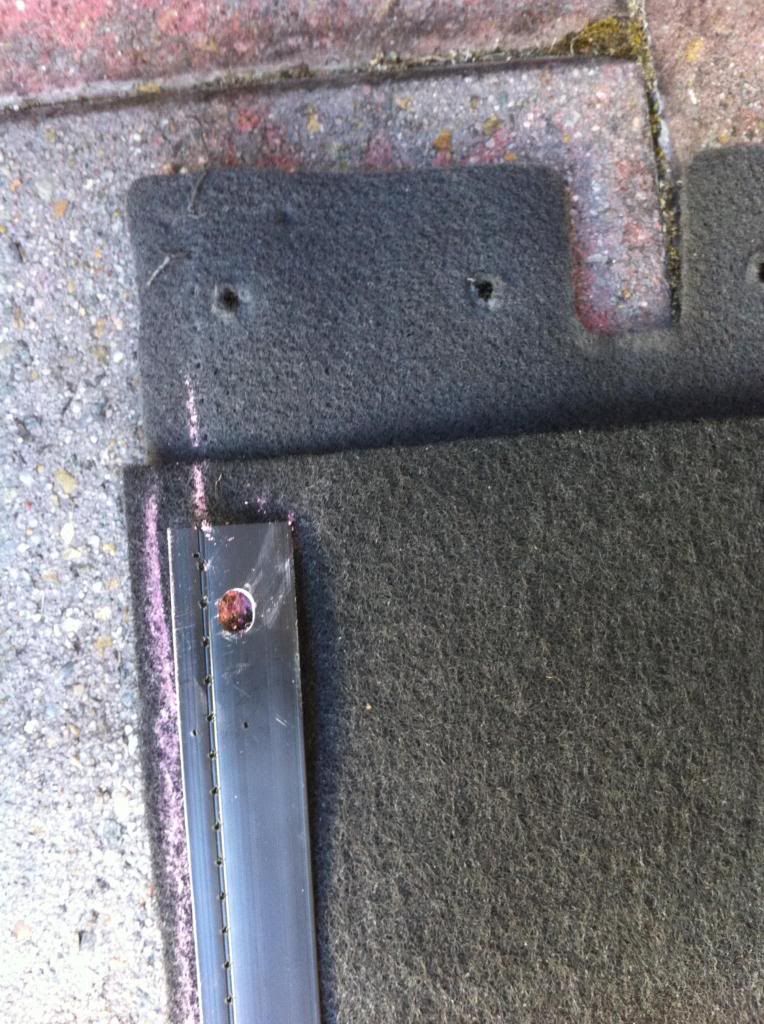
4. Go back to the old carpet and take the plastic rails.
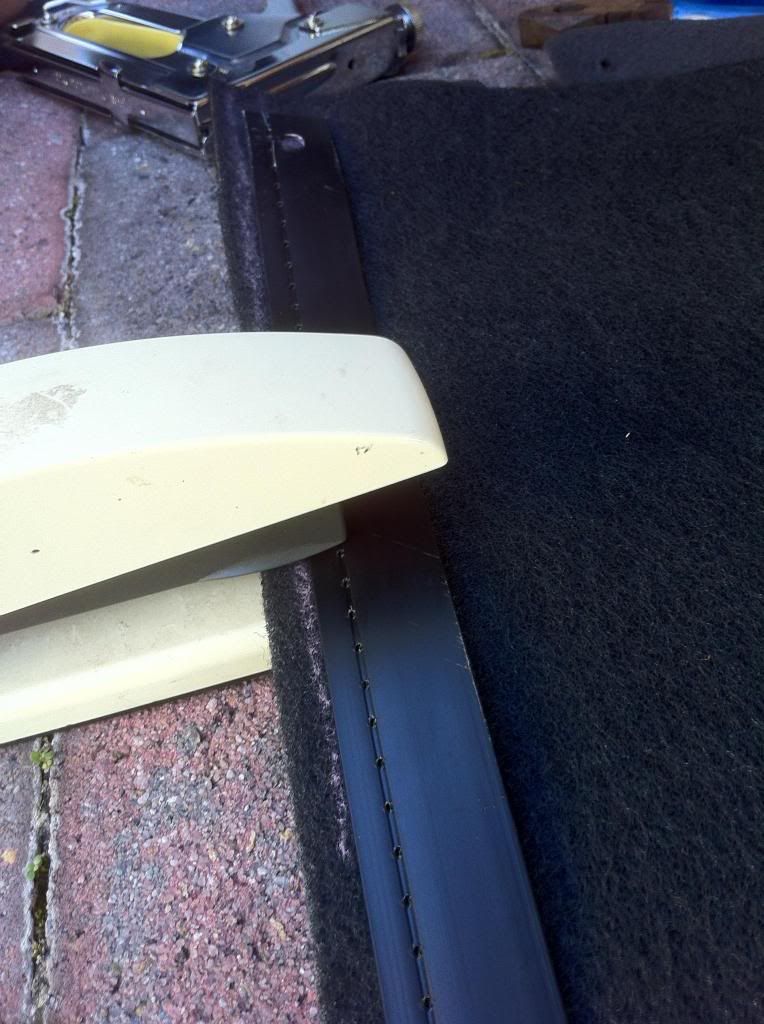
5. Line them up with the new carpet and just staple on if you don't have a sewing machine or those kind of skills. I used 6 staples per rail.
6. Lay the old carpet back on top and dot out the holes for where the x-mas tree clips go.
Leave it aside. We now do the false floor.
FALSE FLOOR
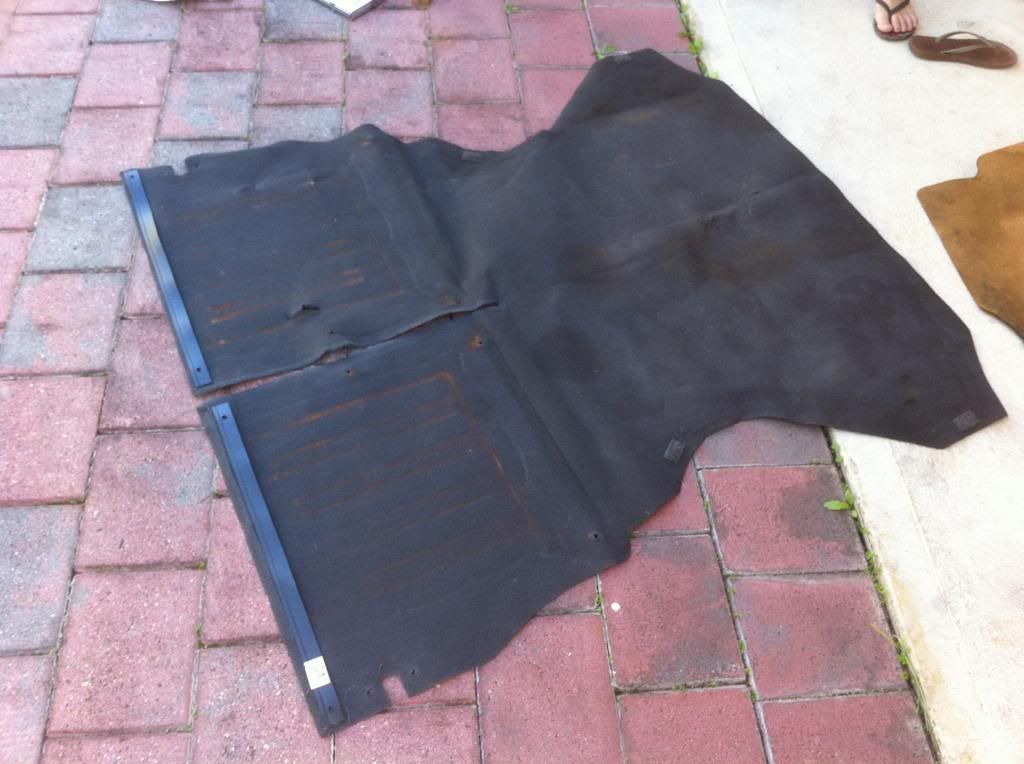
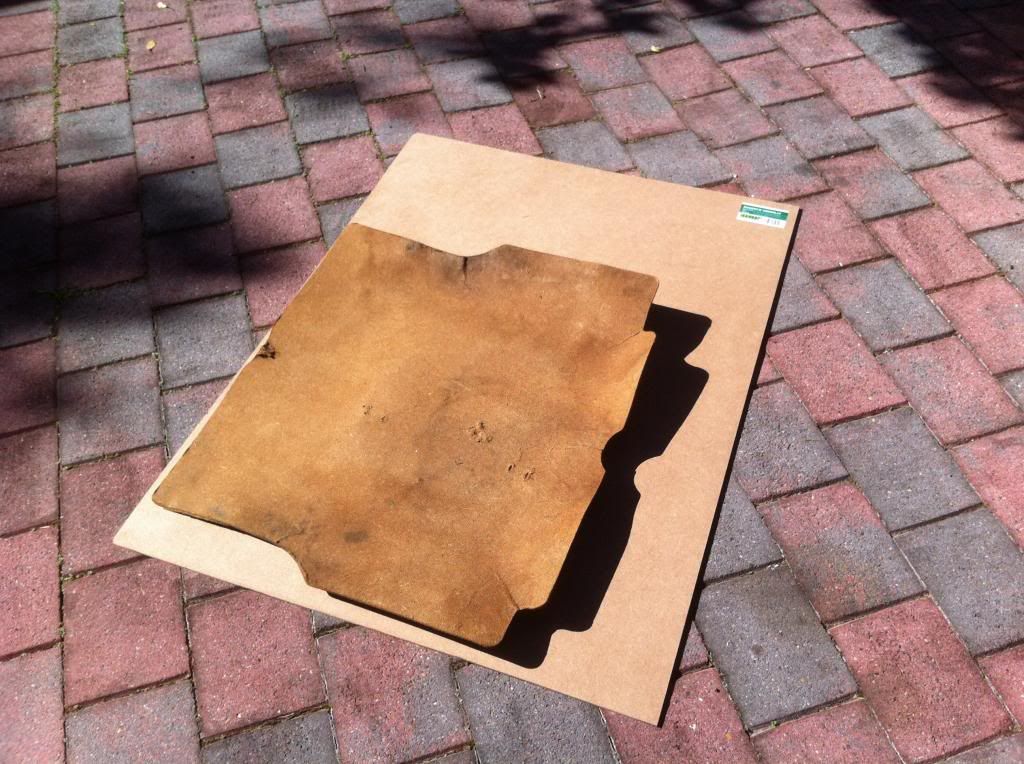
7. Pull out the old false floor and lay it on top of the new one. Note: I chose to make the top-side of the new false floor the "shiny" side. Some of you might like the other side as it'll provide some more grip with the carpet.
You might need to squash/sit on the old false floor if yours is as saggy as mine.
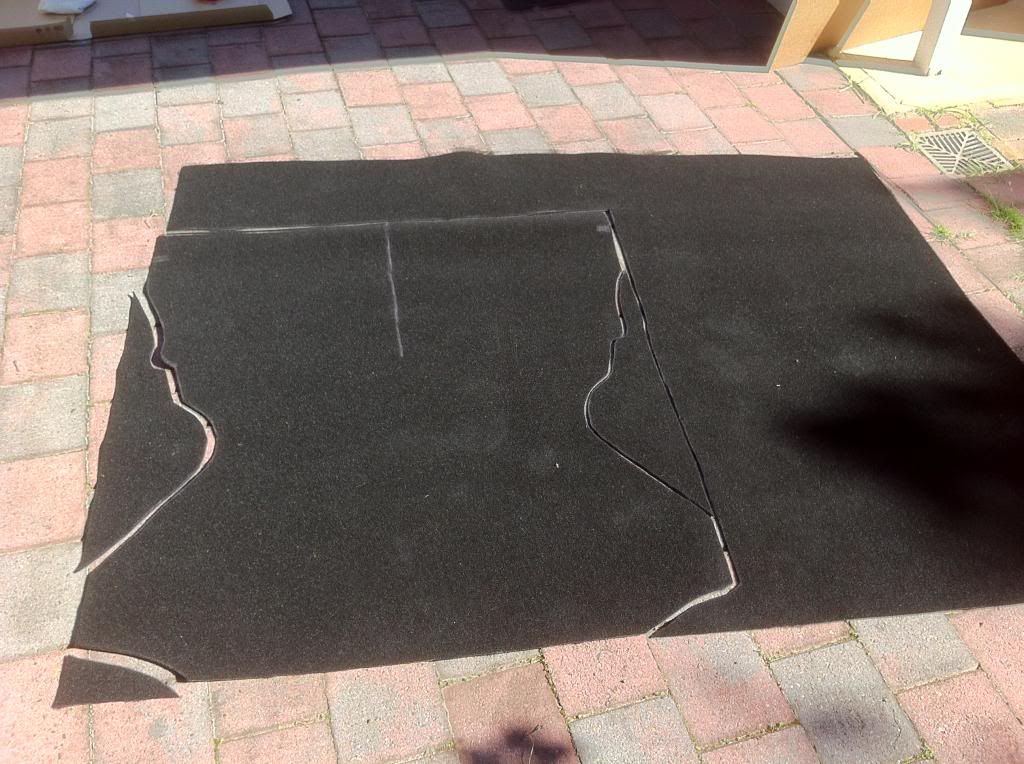
8. Trace with permanent marker, pencil, whatever. Add an extra inch or two to the left and right flaps if you want to cover up as much metal as I did.
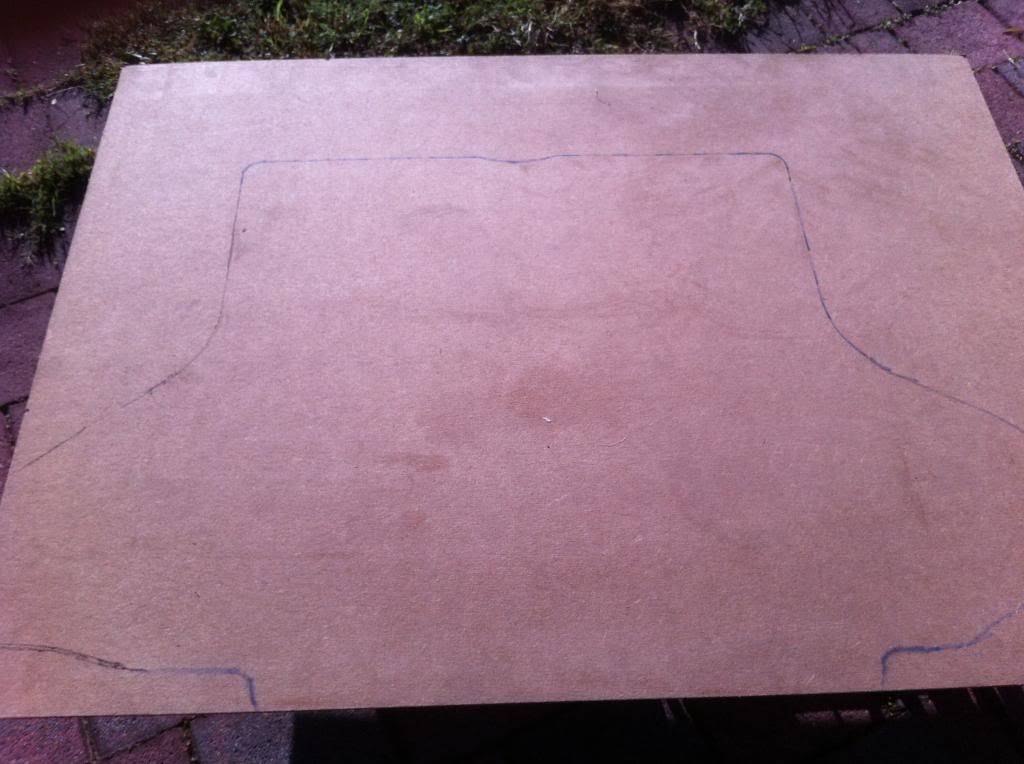
9. Whip that jigsaw and safety gear out and start chopping it up. *no picture
10. Sand down the edges so you don't have to experience splinters in the future.
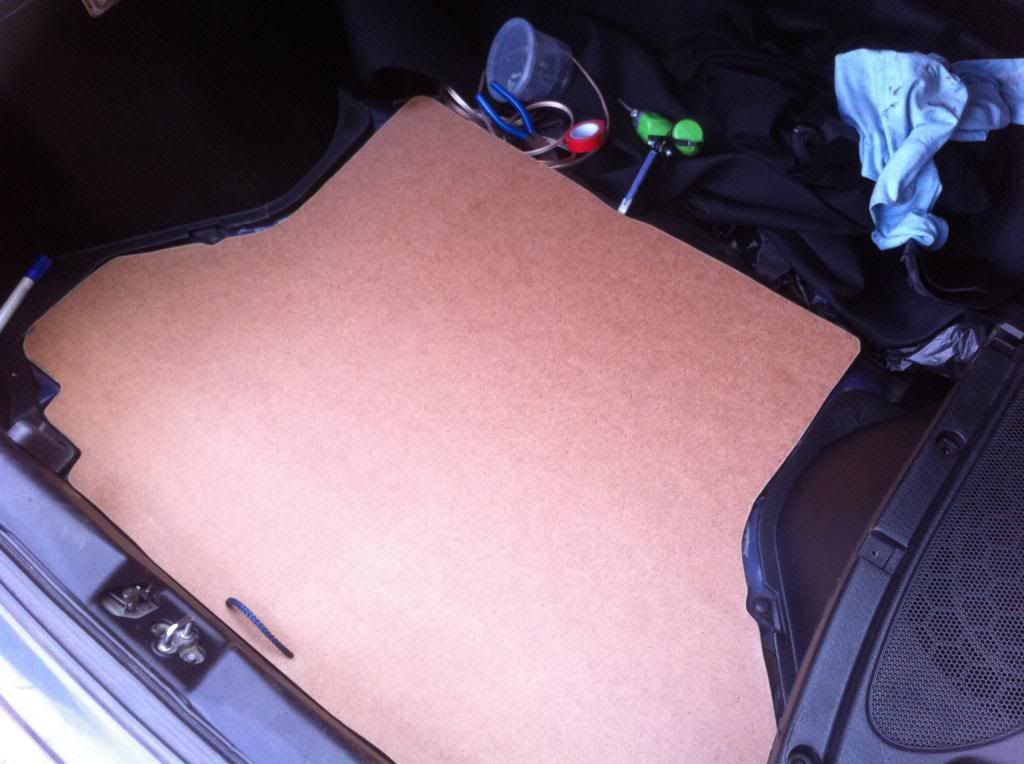
11. Test fit it. I made mine go all the way to the edges; covering up as much metal as possible.
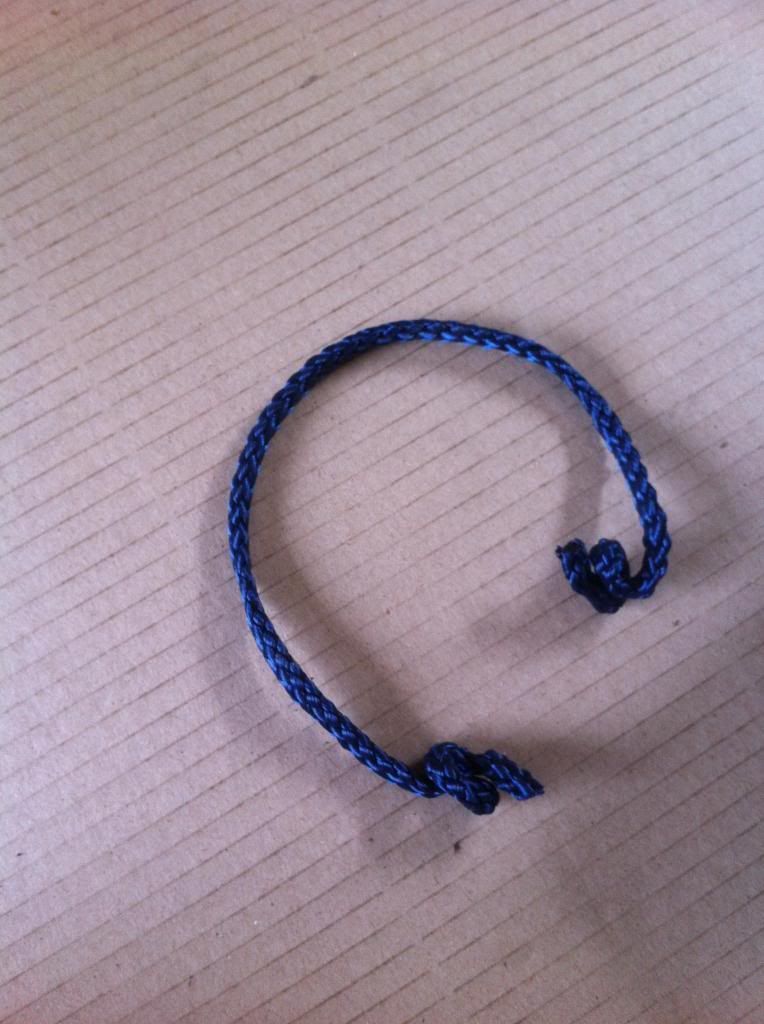
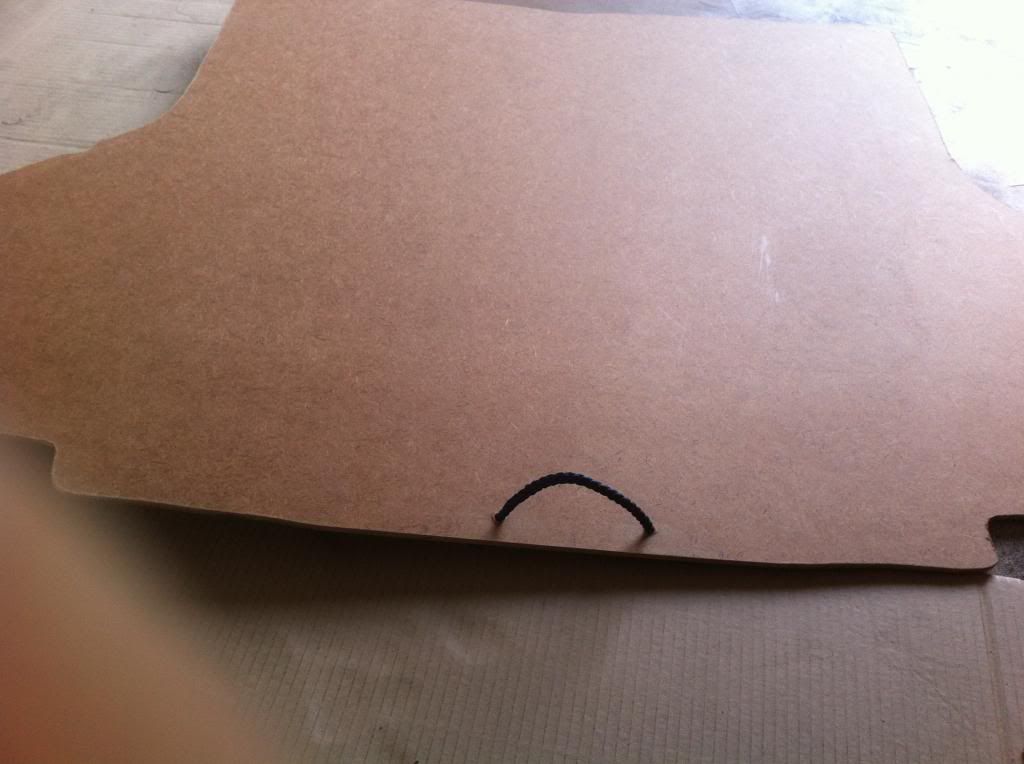
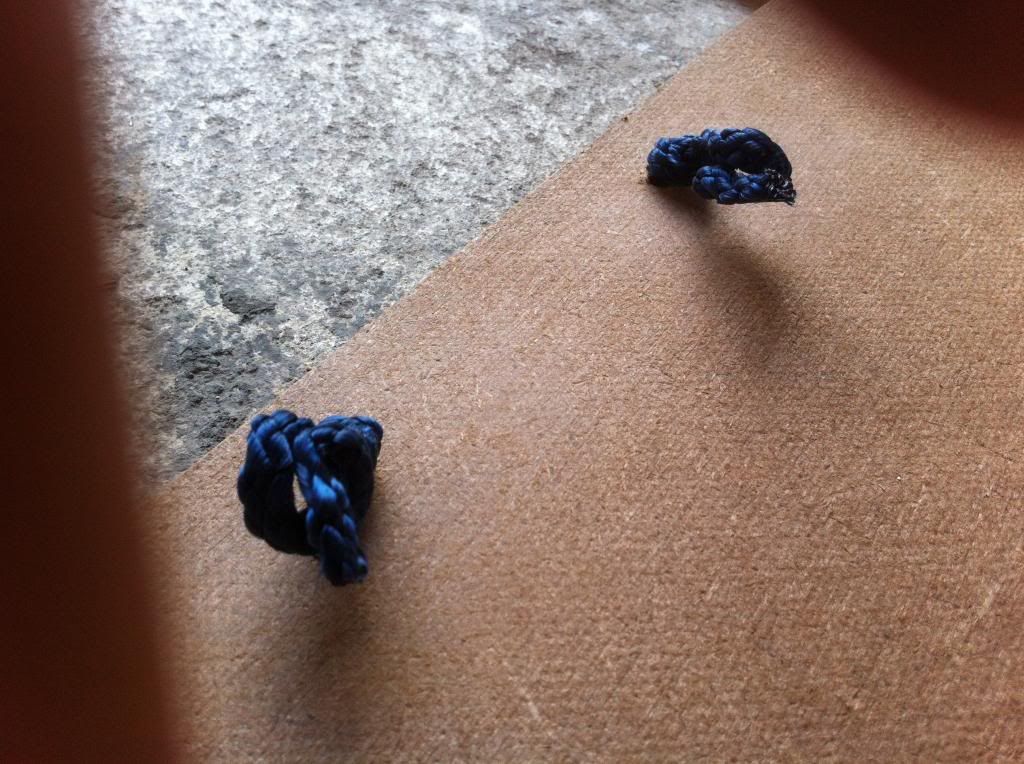
12. Create a handle if you wish. I used blue string/rope from a shopping bag.
13. Drill out 2 holes approximately 100mm apart at the centre. Thread the rope through and tie off the ends.
14. Rip/peel off the foam blocks from the old floor and attach to the new one in the same positions.
15. Lay down the new false floor and install the new carpet.
Other comments: As you can see above, there is a gap on the far bottom left corner - just underneath the tail light access. I just used the extra/remaining carpet, cut it to shape and slotted it in.
-- For those concerned about the rigidity of the masonite underlay; it's sufficient at holding up my clarion sub + amp (combined weight 18kg) without any form of bending/buckling.

 Reply With Quote

Bookmarks