Changing the automatic transmission fluid , transmission filter ..yes it does exist
Disclaimer: The following is provided as a GUIDE ONLY, and neither myself nor Ozhonda take any responsibility for the outcomes of someone else doing the following. You follow these steps at your own risk!
Aim: To be able to service your own Honda Accord Euro reducing the costs instead of spending it on mechanics and or dealerships.
Required:
- 3/8 socket wrench + Breaker bar (will get that transmission bolt off)
- Oil Pan
- Honda OEM Automatic fluid ATF-DW1
- 3/8 Magnetic inline transmission filter (search n buy online Ebay etc)
- Funnel
- Pliers
- 10mm socket with long extension
Steps:
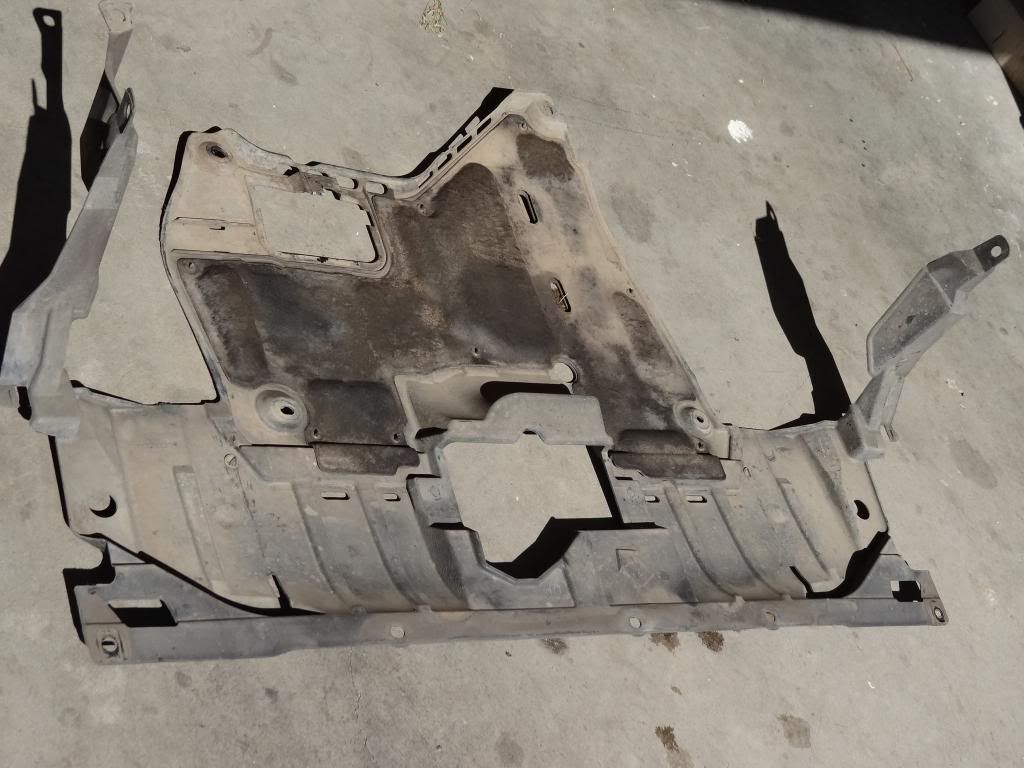
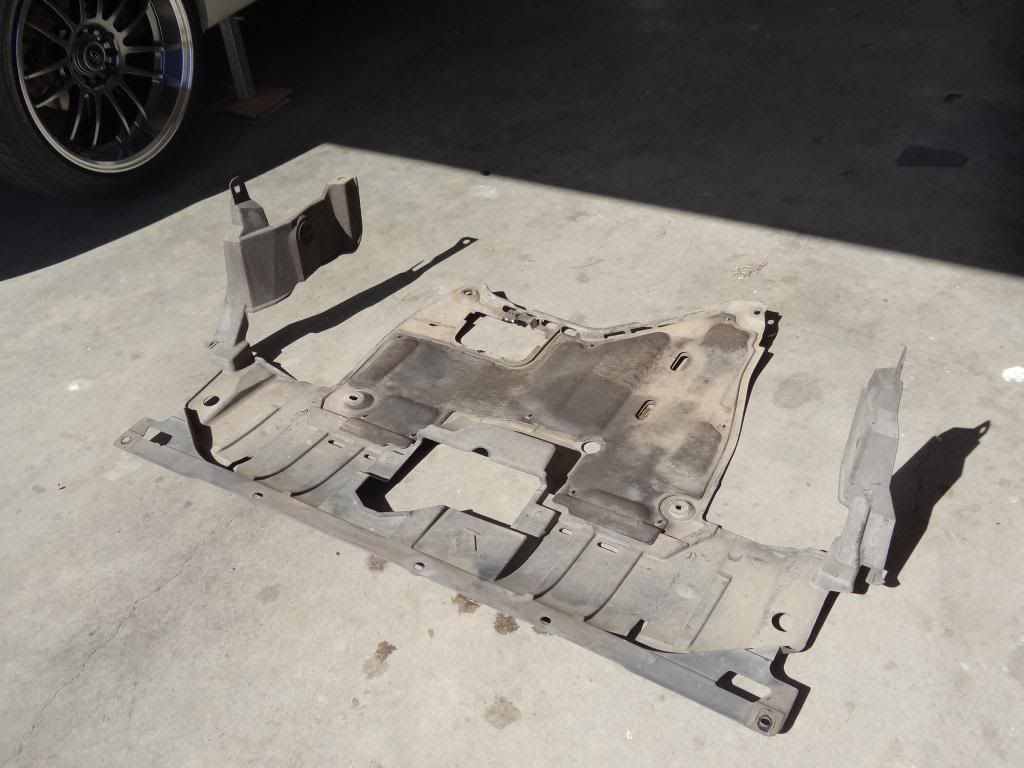
Unlike the other DIY with the engine oil change that has a nice lil plastic lid to access the sump bolt I found that u have to take the plastic covering to access the transmission drain bolt. lets take that cover off.
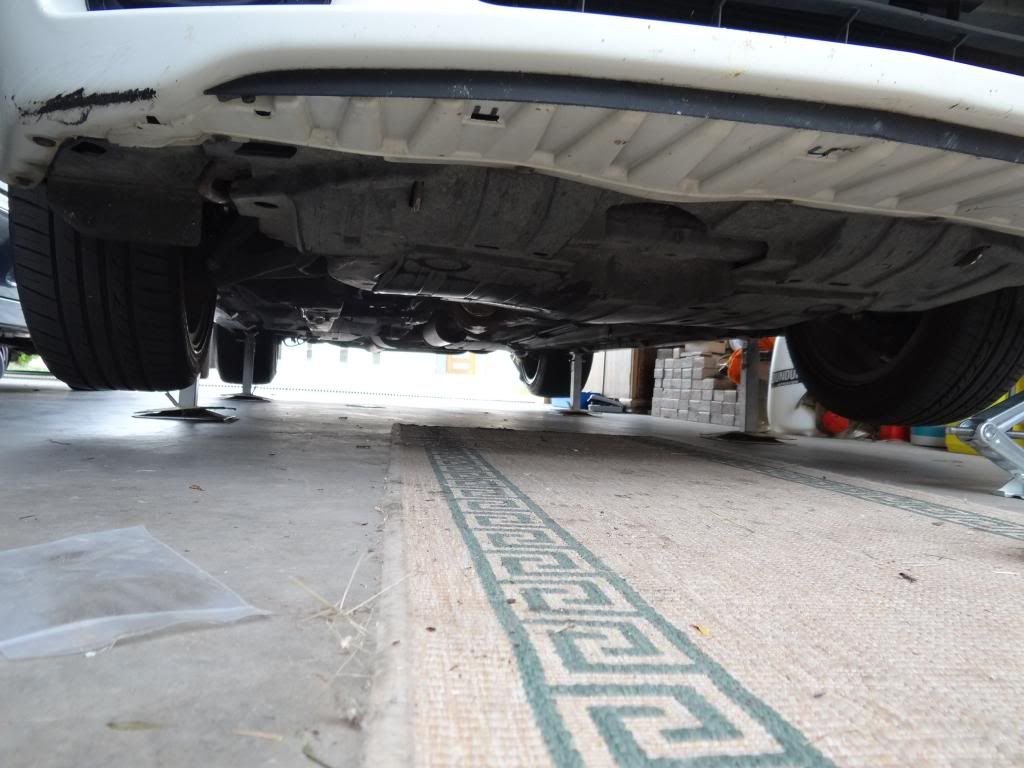
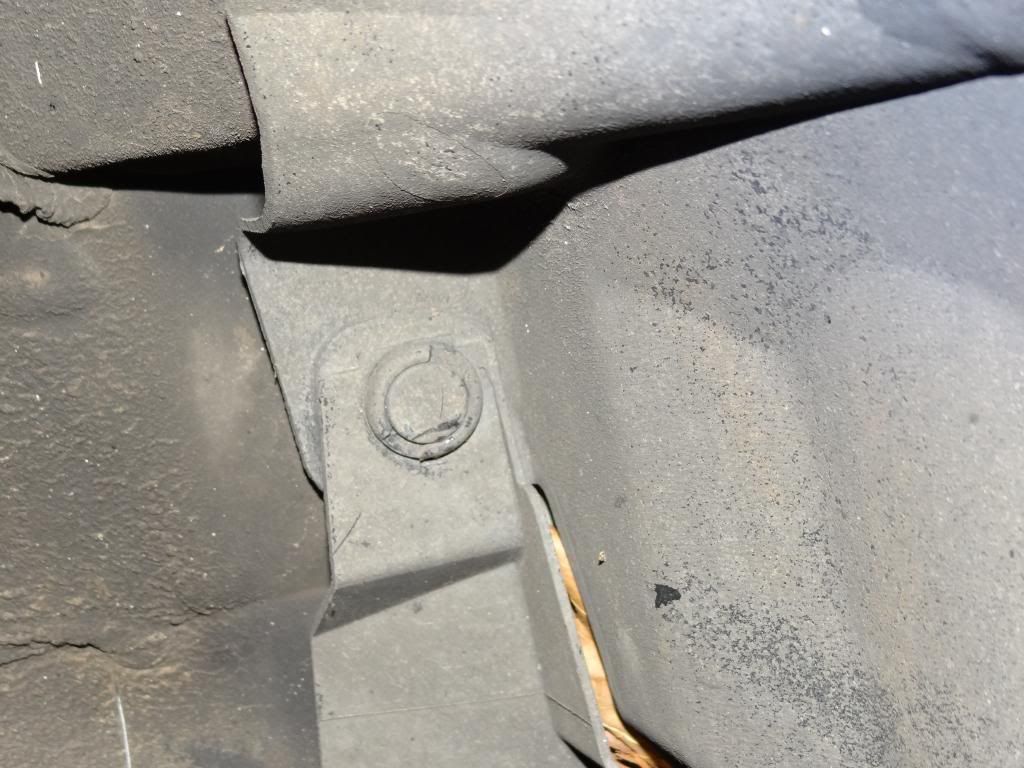
Just be mind full there is 1 clip on either side of the splash guards that also need to be undone in order to remove the entire plastic undertray.
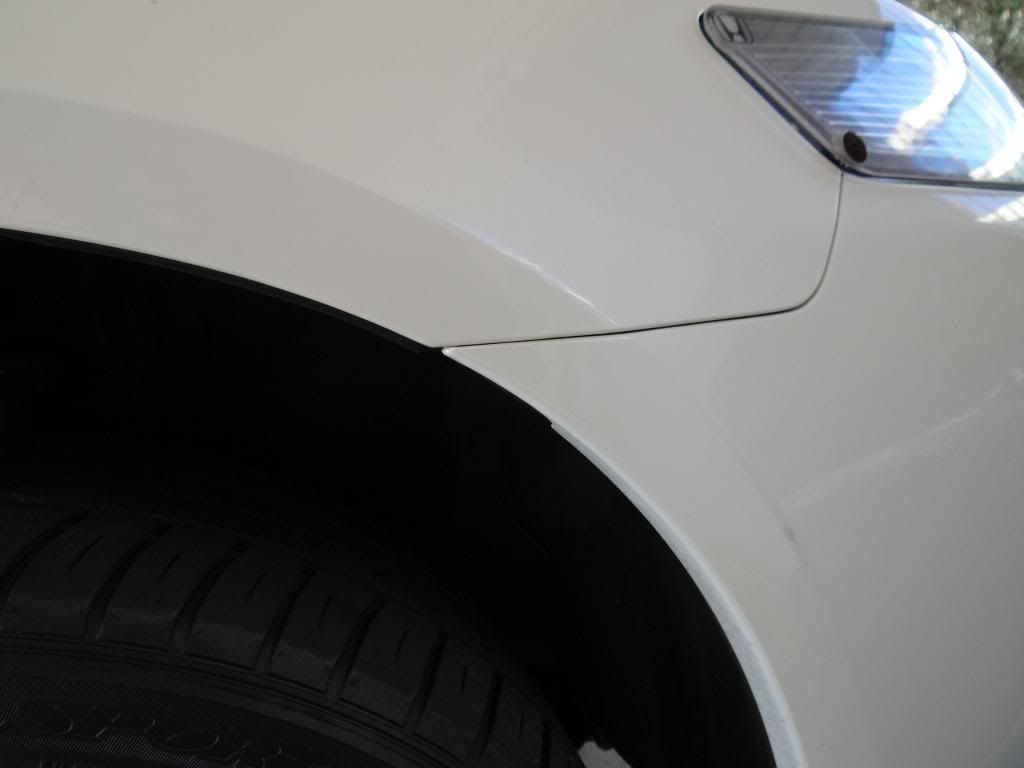
Look around the following area fender meets with the front bar.
Once the plastic under tray is off
Put that 3/8 square wrench no sockets needed into transmission bolt and attach the breaker bar ... must of been a gorilla who worked on my car previously cause I found this pretty HARD to get off initially. Thank God for the breaker bar.
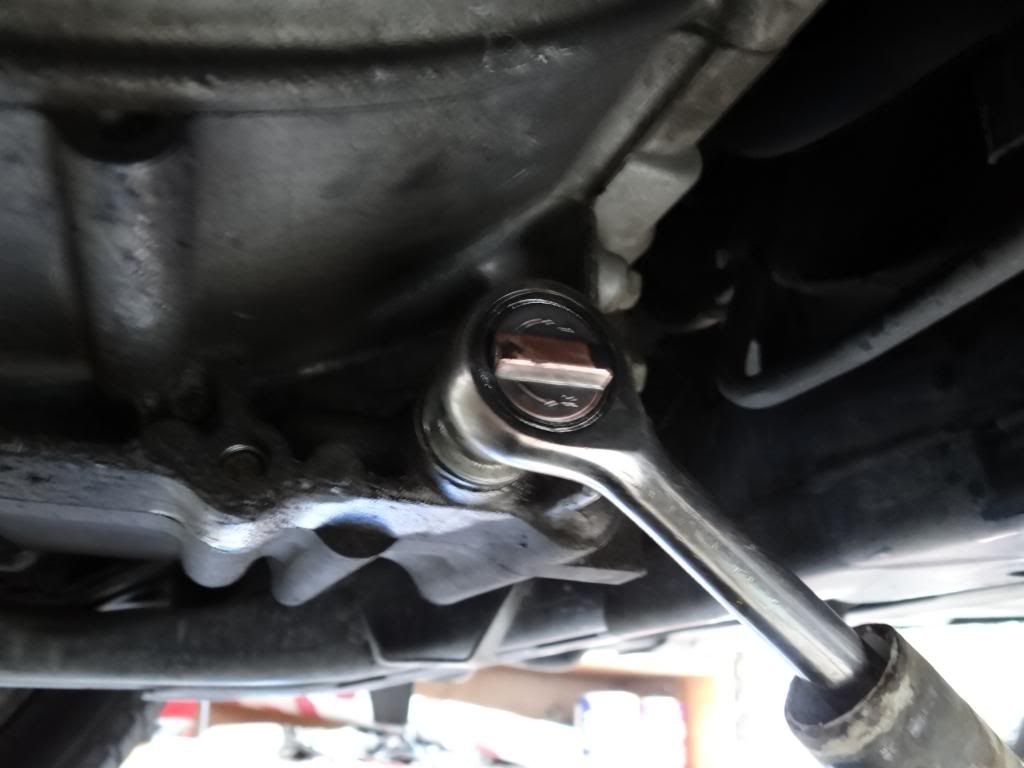

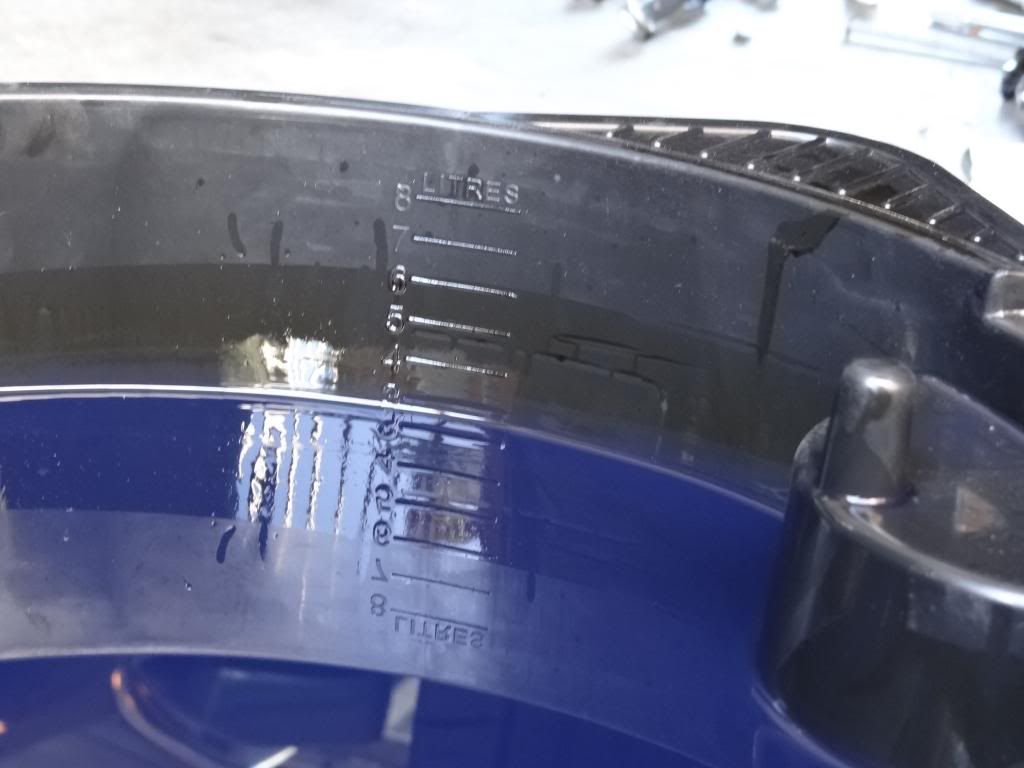
let that ATF drain into the oil pan
my observation is that the ATF did smell and was thick as appose to the smoothe grape juice colour I would use to be seeing and im glad I got onto this.
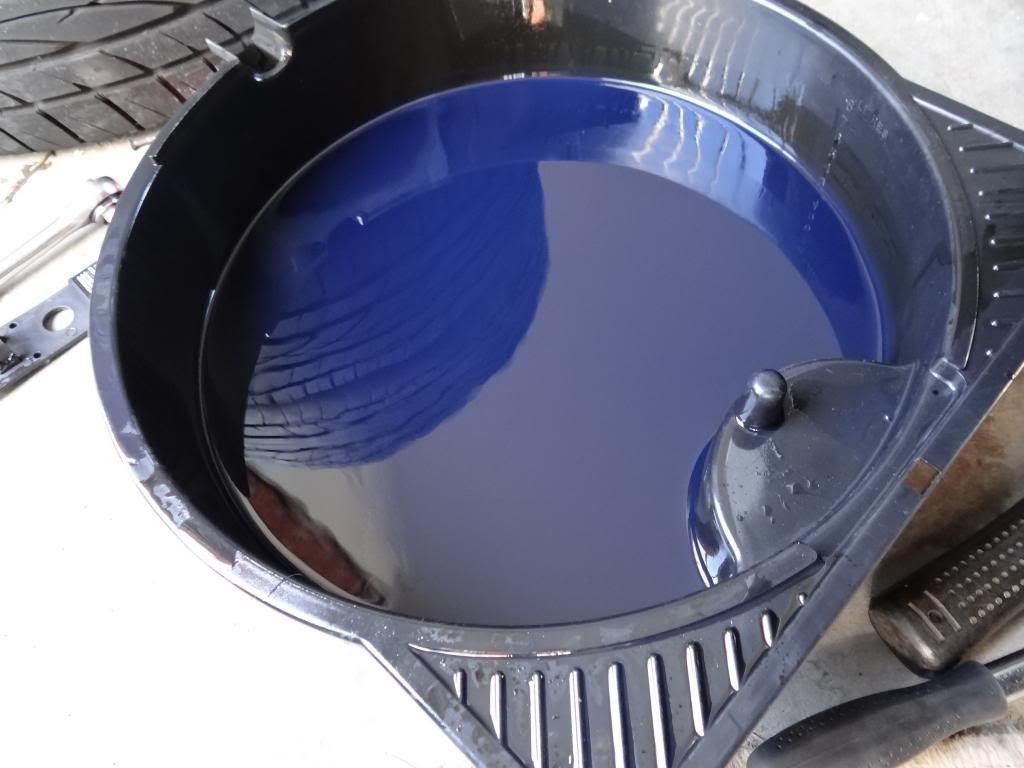
Apart from sliding the oil pan around this is a good way to check even the exact amount required when putting NEW! transmission later on.
Put the transmission bolt back up.
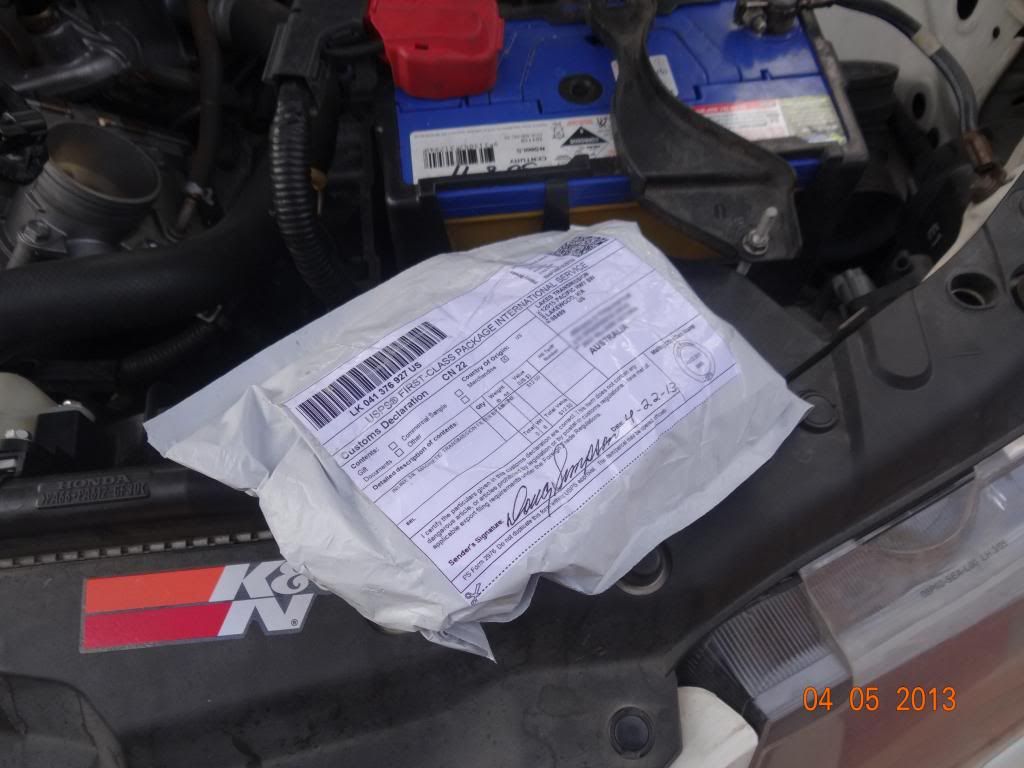
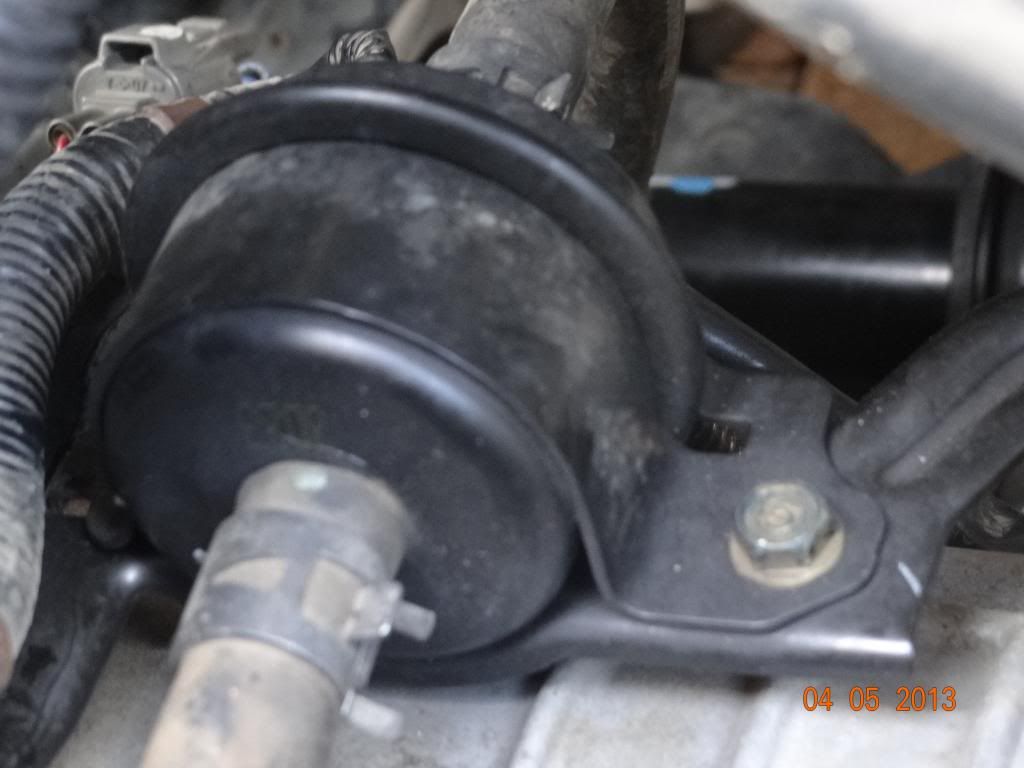
Now time for that illusive transmission filter that I barely see proper pics anywhere online.
So lets check it out... this new filter took soo long to get into AUS. Due to the seller getting the postage all wrong.
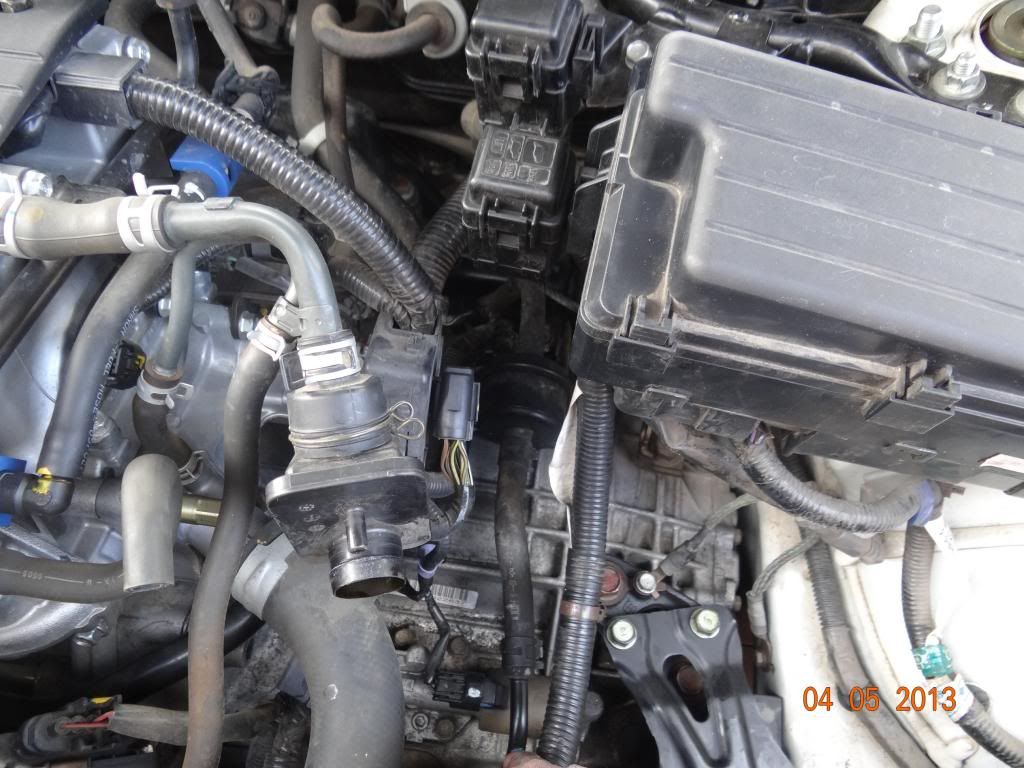
Take the airbox off that's the only thing that needs to be taken off when access and replacing the transmission filter.
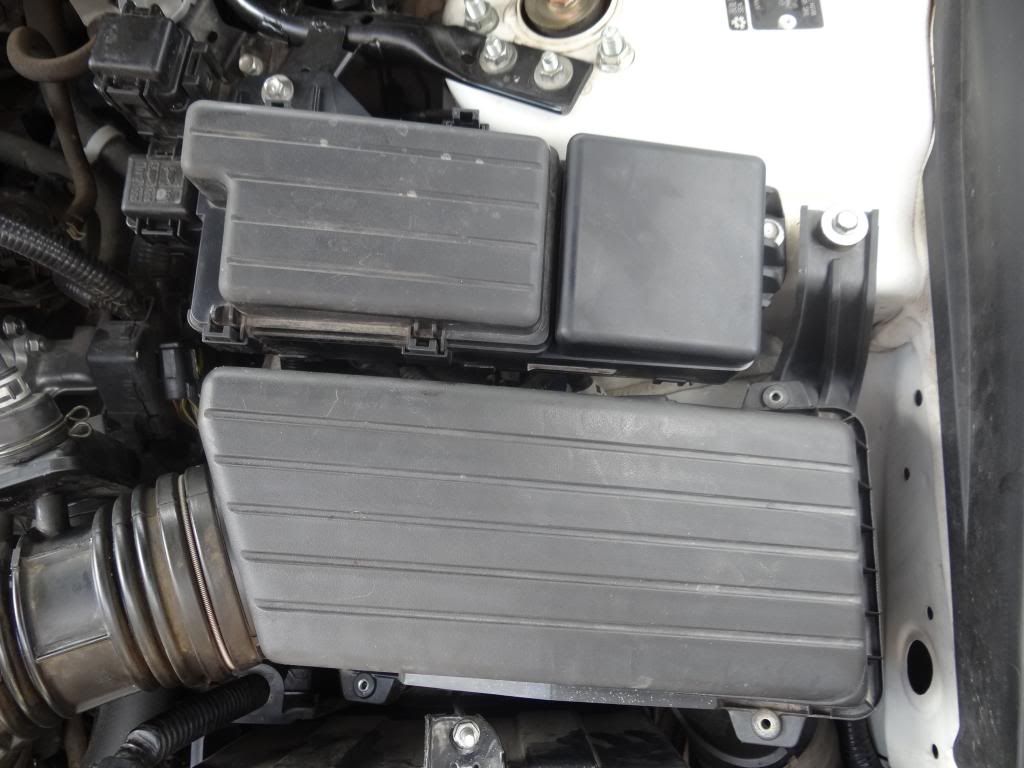
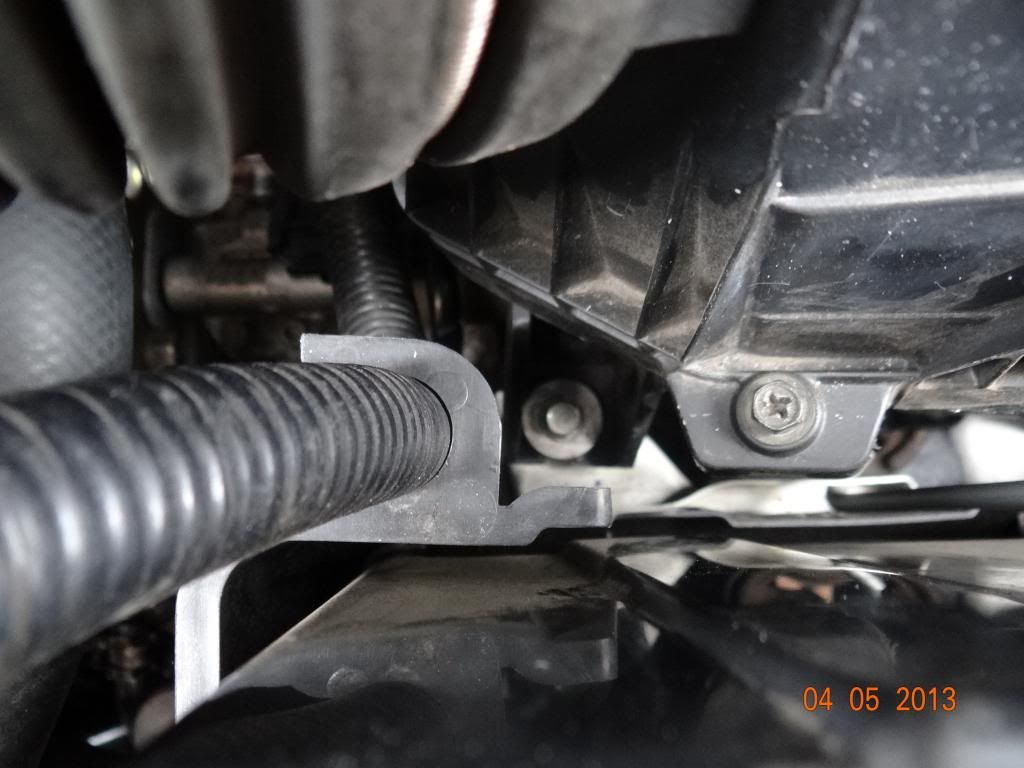
see this bolt all the way down there (below image) that's why u need a long extension with a 10mm socket on the end to access it. N.B there is only two bolts that need to be removed to take out the airbox. 1) top right on the shock tower (above image) and 2) between the battery and the airbox on the bottom left side (below image)
Now that the airbox is free start detaching all the pipes that connect onto the intake pipe.
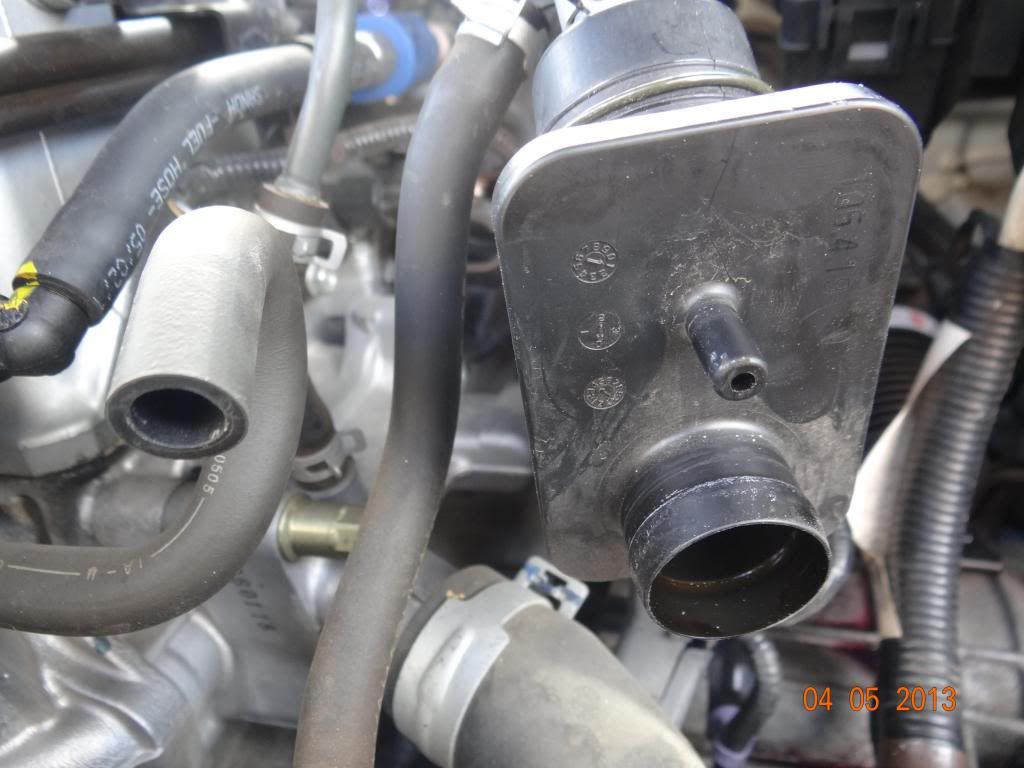
Can you see em the sneaky B@stard hehe
lets take a close up of it.
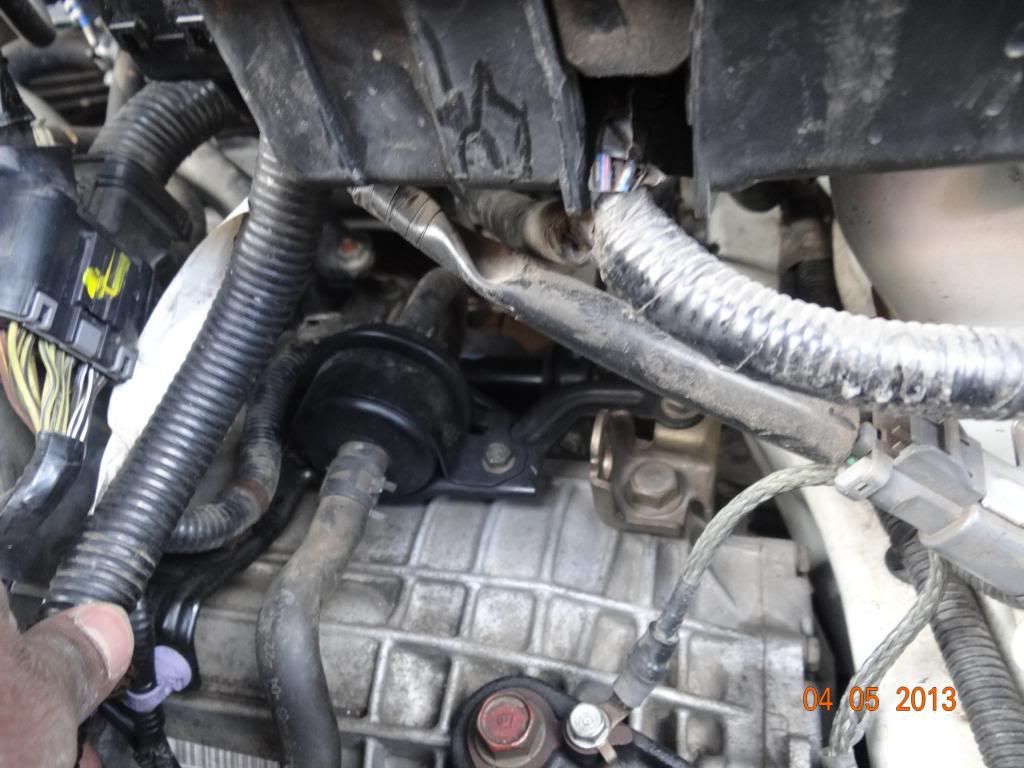
Now use the pliers and pinch those clips u see on the hose on both top and bottom of the filter(below image) as those are what is holding onto the filter. Also there is a 10mm bolt to the right side of the filter use 10mm socket to get that bracket off.


 Reply With Quote
Bookmarks