|
-
Painting
Disclaimer: The following is provided as a GUIDE ONLY, and neither myself nor ozhomo take any responsibility for the outcomes of someone else doing the following. You follow these steps at your own risk!
Please keep in mind that there are reasons as to why I didn't use urethane...
1 - I don't have an oven to cure it
2 - it's almost 3 times the price of acrylics
3 - It's not friendly to the environment, so you WON'T be able to spray it at home in the garage
4 - You'll need to invest in proper respirator equipment to use it (the hardeners are very nasty)
5 - It's definitely NOT amateur friendly
6 - If you stuff it up, it has to all come off (most of it anyway) and be re-applied, unlike acrylic where you can just rub it back and re-coat it
I'm sure there will be input from 'pro painters' out there in regards to things I can do in different ways for 'better' results, but this is the way I've done it for years and the way I'll always do it when working with acrylics.
This is purely for the hobbyist or the noob to have a crack at it themselves, the positives FAR outweigh the negatives when going against urethanes.. The only thing that's not cool about acrylic is that you need to cut it back and polish it after you finish spraying it and once every 6 months or so, keep this in mind.
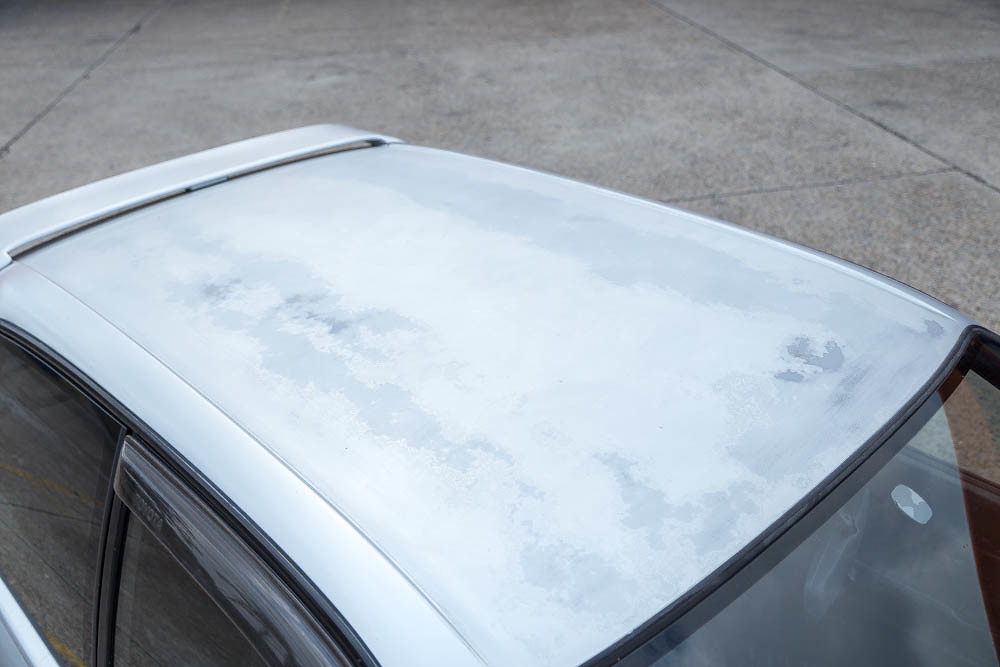
Figured I'd put up a DIY since I'm in the process of fixing my roof and hatch on my starlet since it's severely faded!
This isn't the first time I've resprayed a car but is still the same process just like any other time whether your new to it or not.
Things you'll need:
PREPARATION REQUIREMENTS
5 sheets of 600 grit wet/dry sandpaper
2 sheets of 800 grit wet/dry sandpaper
2 sheets of 1000 grit wet/dry sandpaper
1 sheet 2000 grit wet/dry sandpaper
Sanding Block (optional)
Spray bottle with soapy water (can use bucket if you want)
PAINT
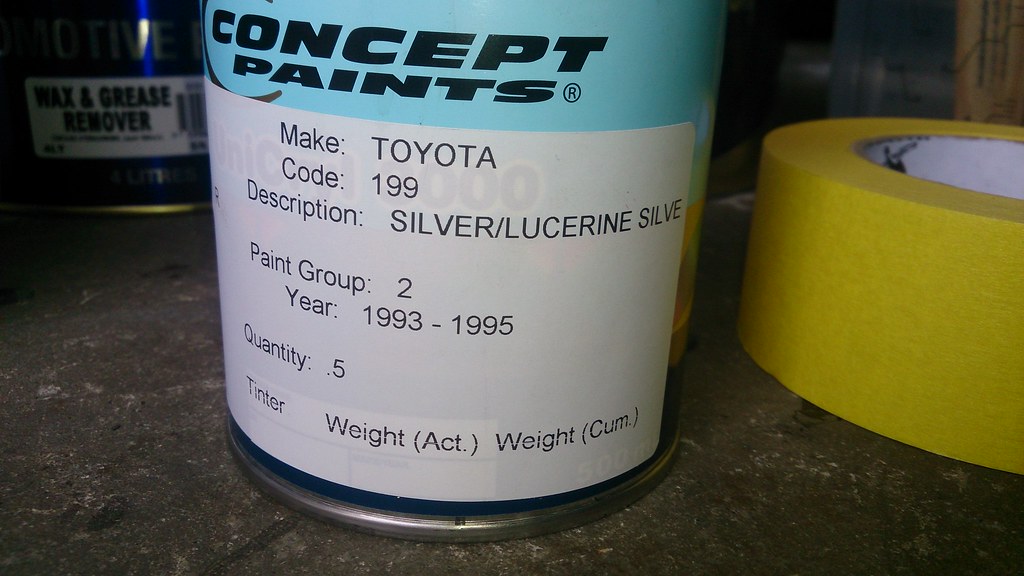
500ML of your colour matched paint in acrylic (if your car is old, chances are the paint is also going to be old! Fresh paint regardless of paint code will always look different to aged paint, so it's best to have your paint code handy and to get the color matched rather than getting a fresh batch of your code)
1L acrylic primer (optional)
1L acrylic clear
2L Acrylic Thinners
1L WAX & GREASE REMOVER
(clear not in picture)
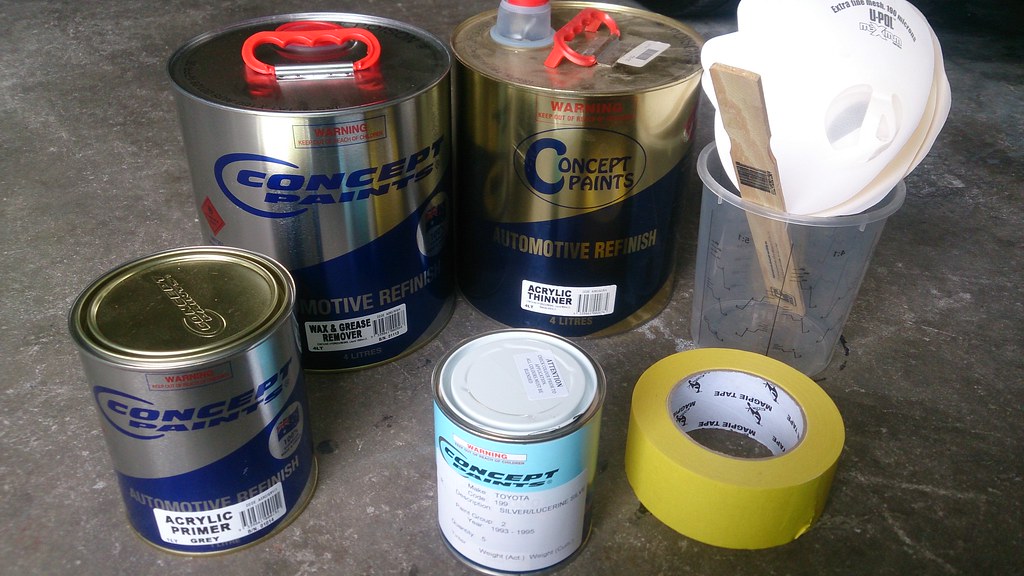
OTHER MATERIALS
masking tape
drop sheets
newspaper
Strainers
Cups
Stirrers
Tools:
Flathead screwdriver
Phillips head screwdriver
Long nose pliers
Circlip Pliers (optional)
27MM Spanner OR ratchet
10MM ratchet with extension
Air Compressor with paint gun (even a cheap supercheap compressor kit will suffice!)
This is my roof:
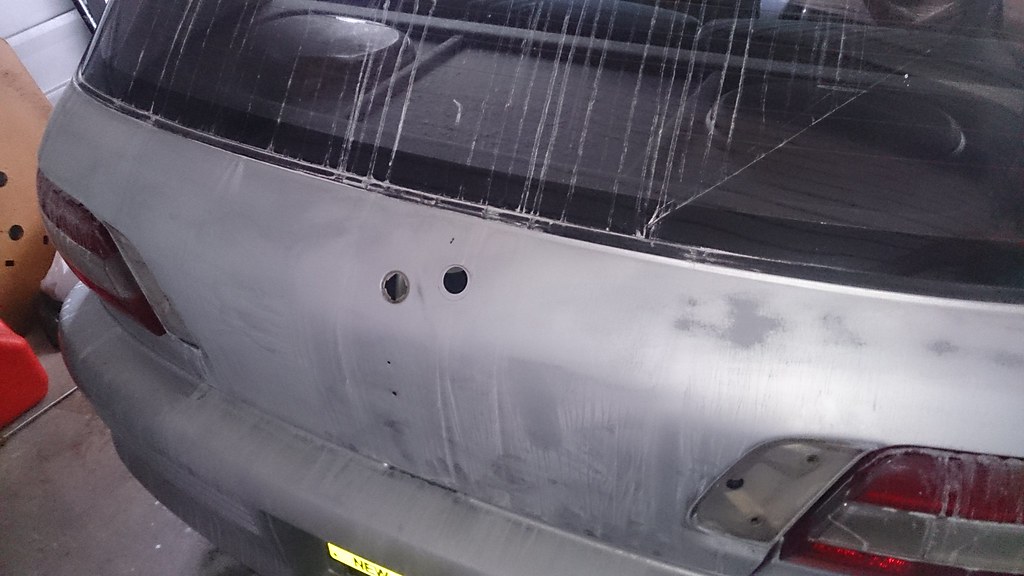
This is my hatch after a quick rub back:
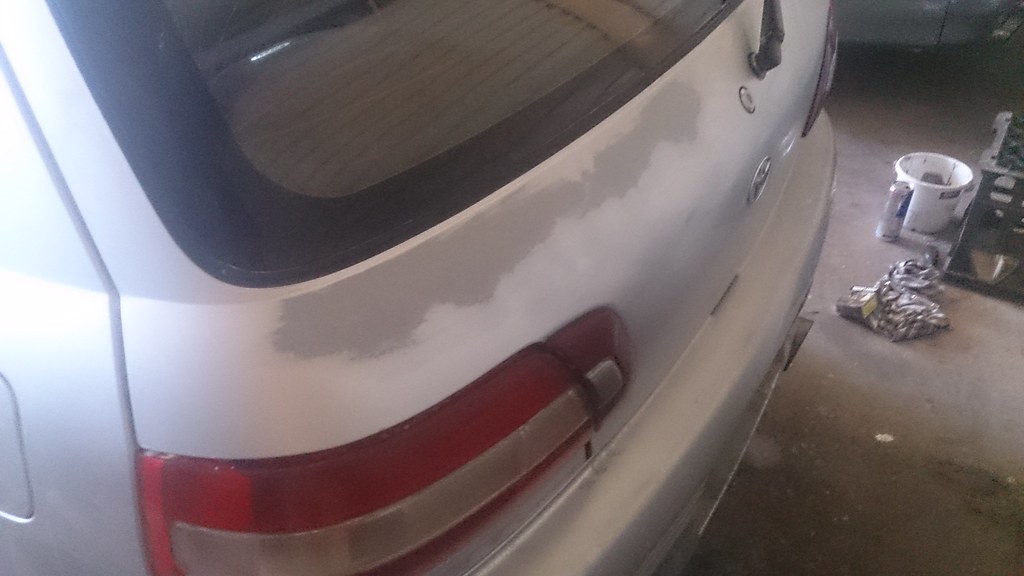
Please note that this was done on a TOYOTA, but most rear hatch locks are very similar
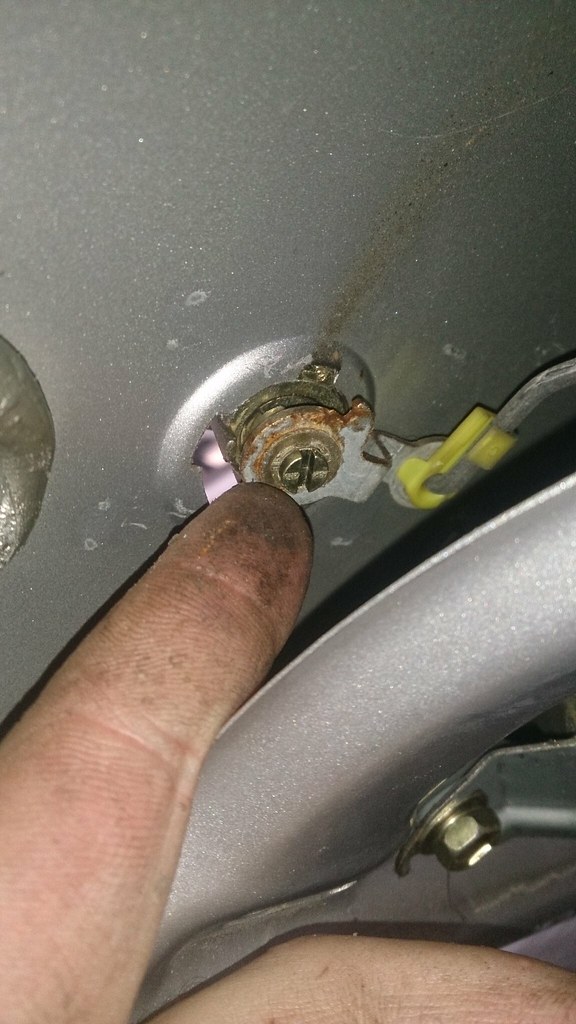
REAR LOCK
If you're working on a hatch, you'll need to remove the rear lock.
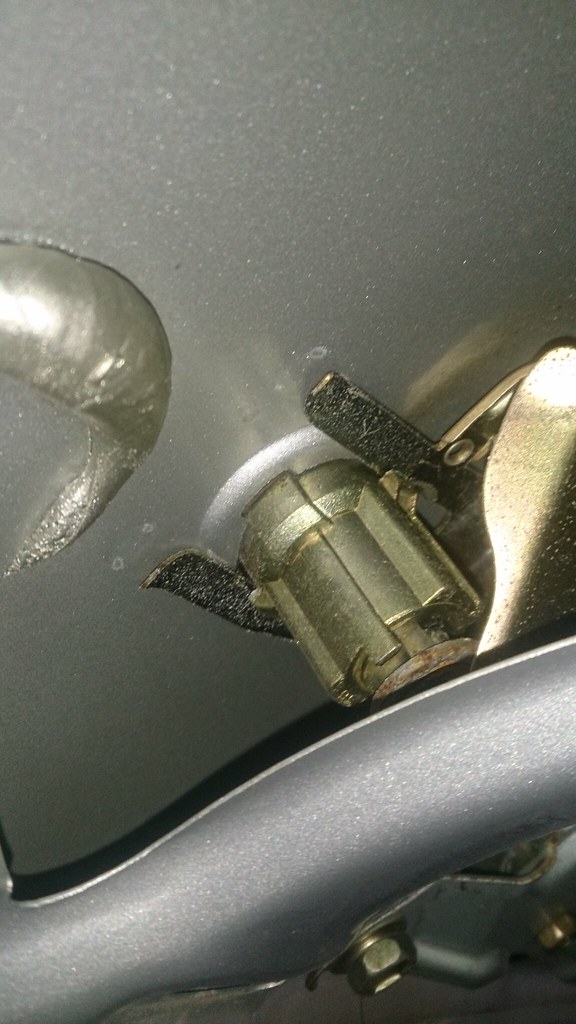
All you need to do is push on the edges of the clip until it just slides right off:
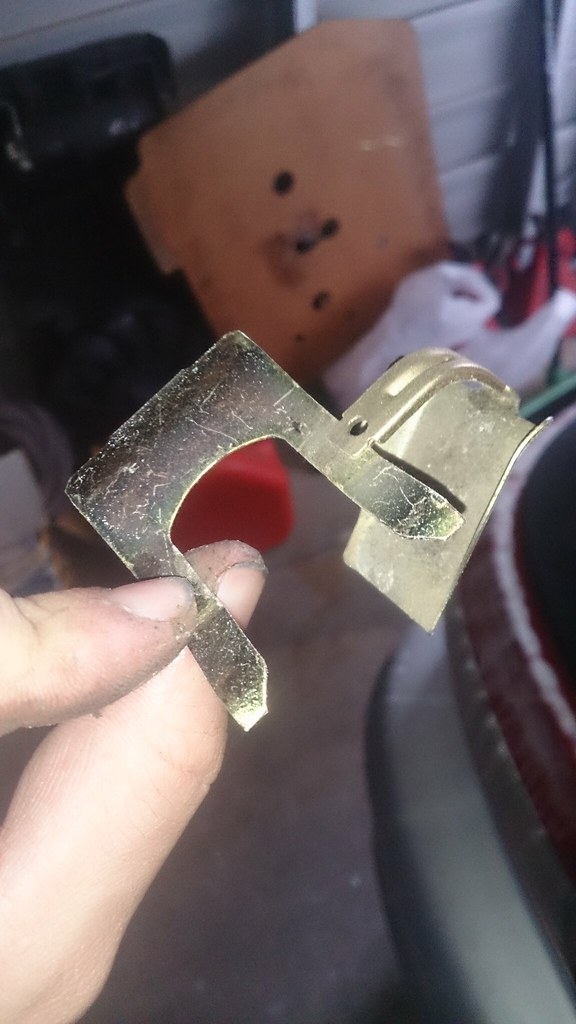
And now you're left with this:
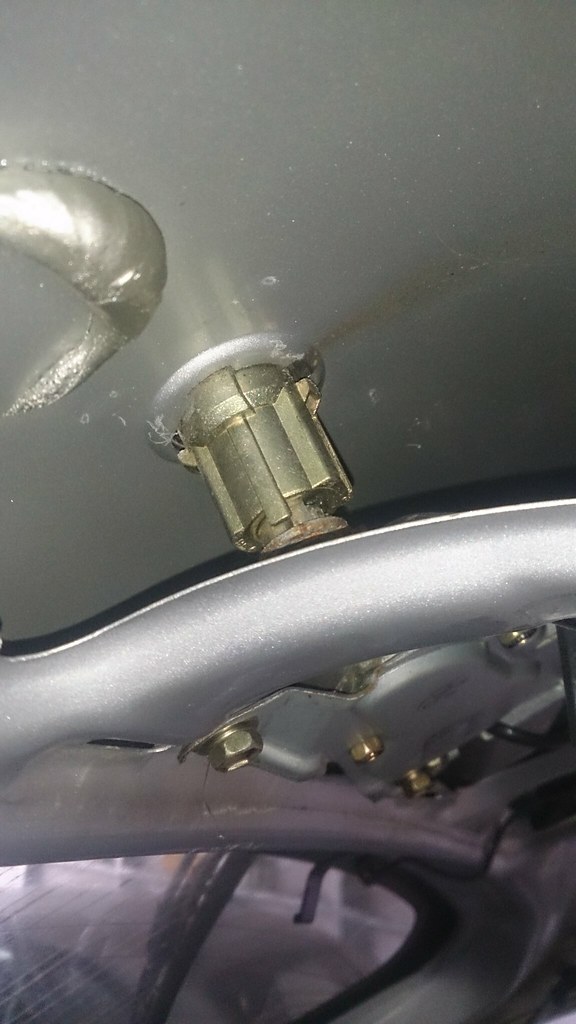
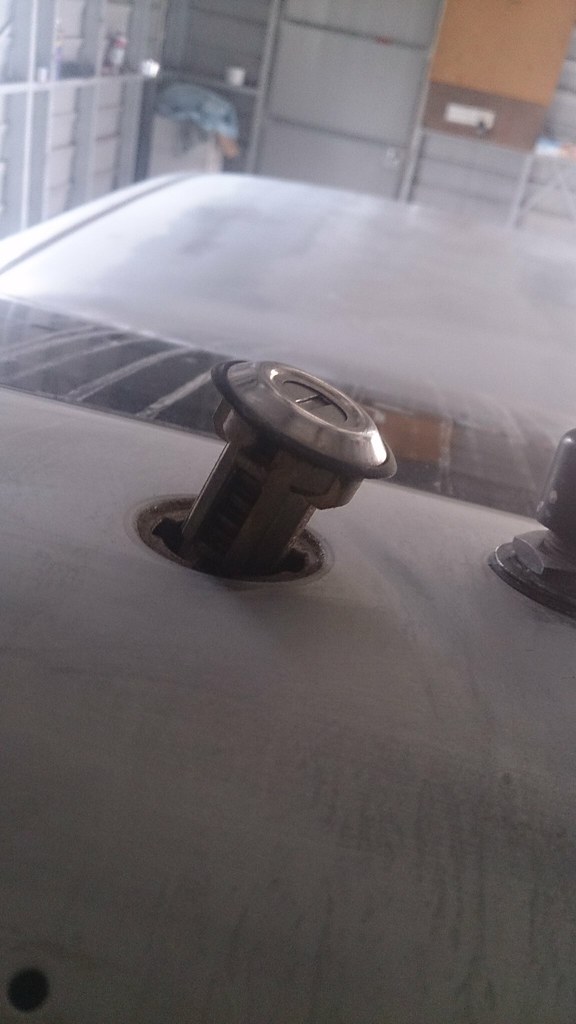
Push the lock towards the outside until it gets to this point:
You now have space and access to the circlip that's holding the lock in to the latch, just push it off with a flathead screwdriver or any other flat tool that you have lying around:
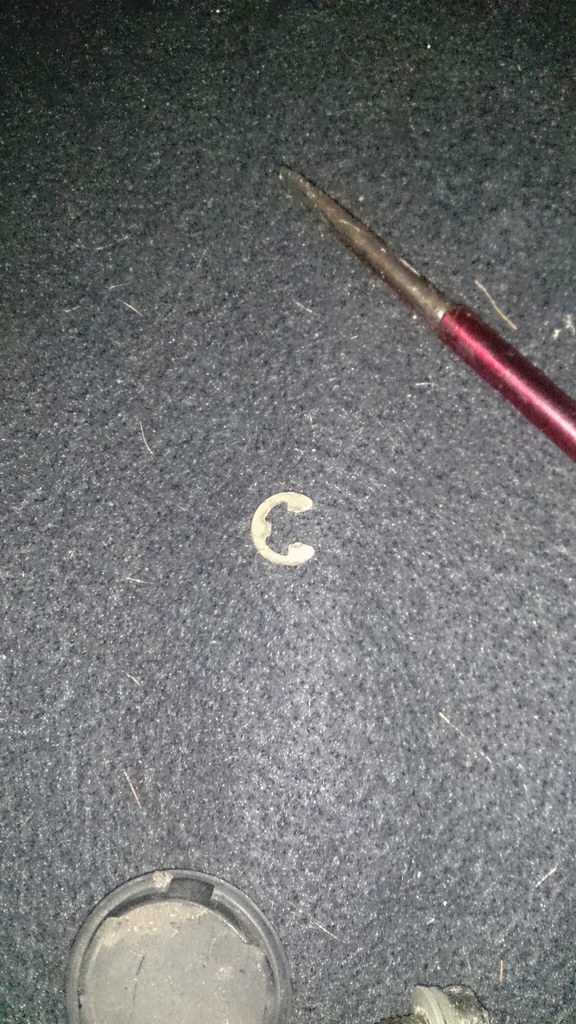
And it's off!
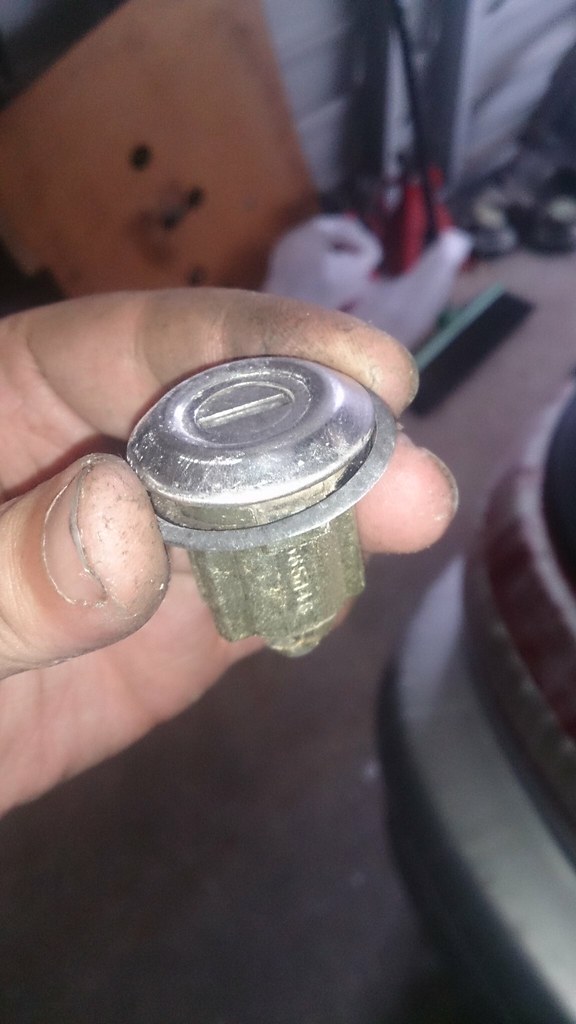
Make sure not to lose that washer/seal that sits around the lock!
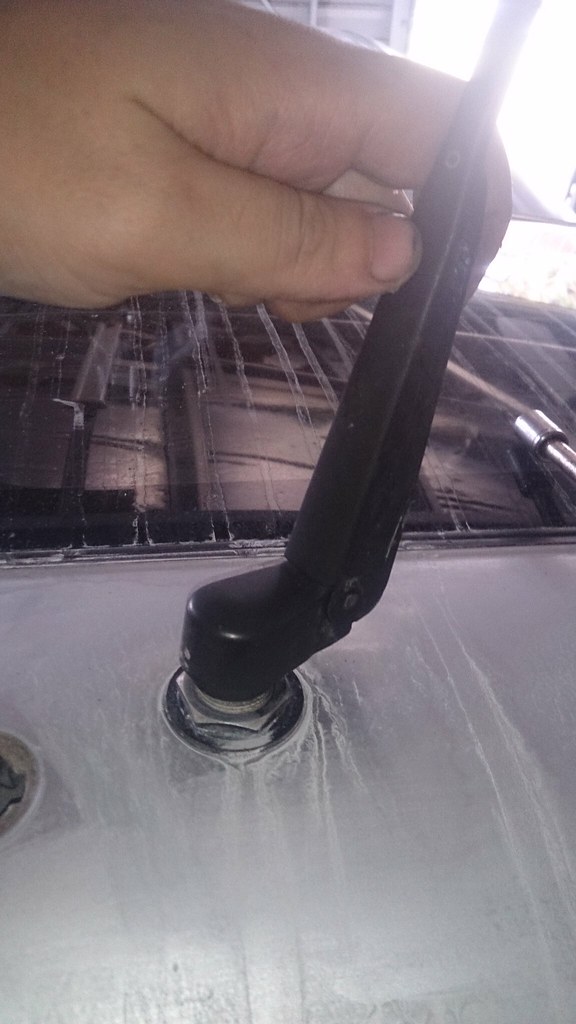
REAR WIPER
Now you want to take the rear wiper off.
First fold the cap that covers the bolt that holds the wiper arm:
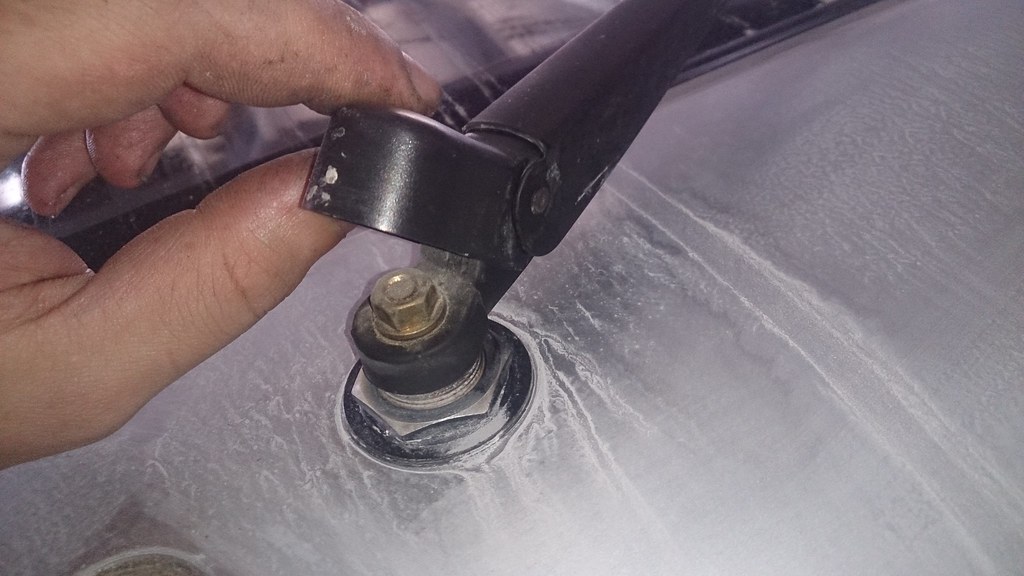
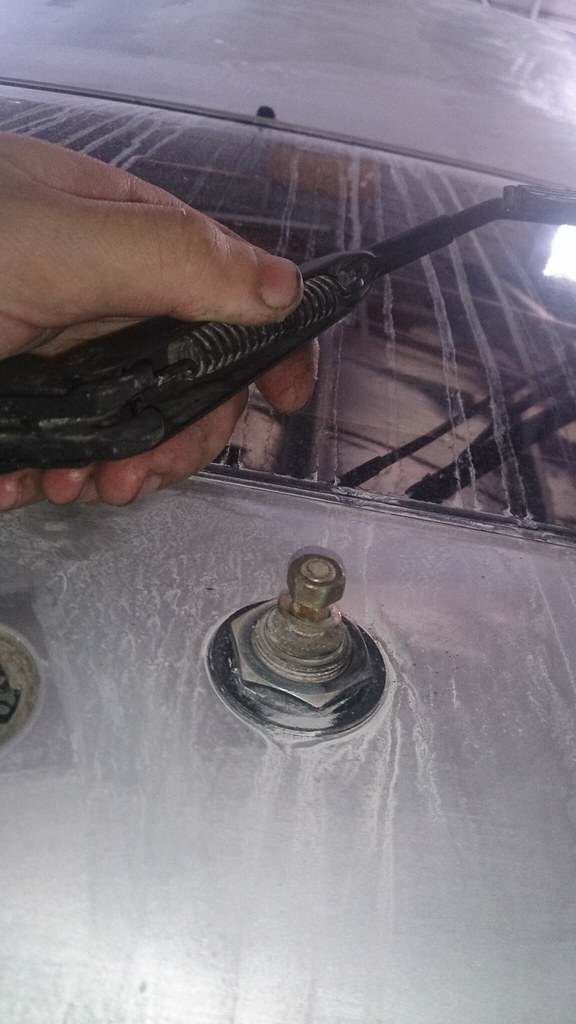
Undo the nut, (10mm) then retract the arm until it's pointing straight then just turn it clockwise/anticlockwise until it comes off:
Once it's off, put the washer and nut back on so you don't lose it.
At this point, you can grab your 27mm spanner or socket and remove the big clip that holds it from the outside:
Next you want to get behind it and locate the wiper motor (square box with 3 10MM bolts holding it up)

Once you unbolt them and pull the plug off, you will be left with this:

Note that I put the 27mm clip back on so I don't lose it.
SANDING
So onto the sanding!
What I personally did was use 600grit WET, which means have a spray bottle handy or a bucket and sand back whatever part your spraying, I think almost everyone on this site would already know how to sand a part. Just make sure the area you're sanding is thoroughly wet and don't overdo it (don't rub it back all the way through to bare metal, which will be hard anyway with 600grit).
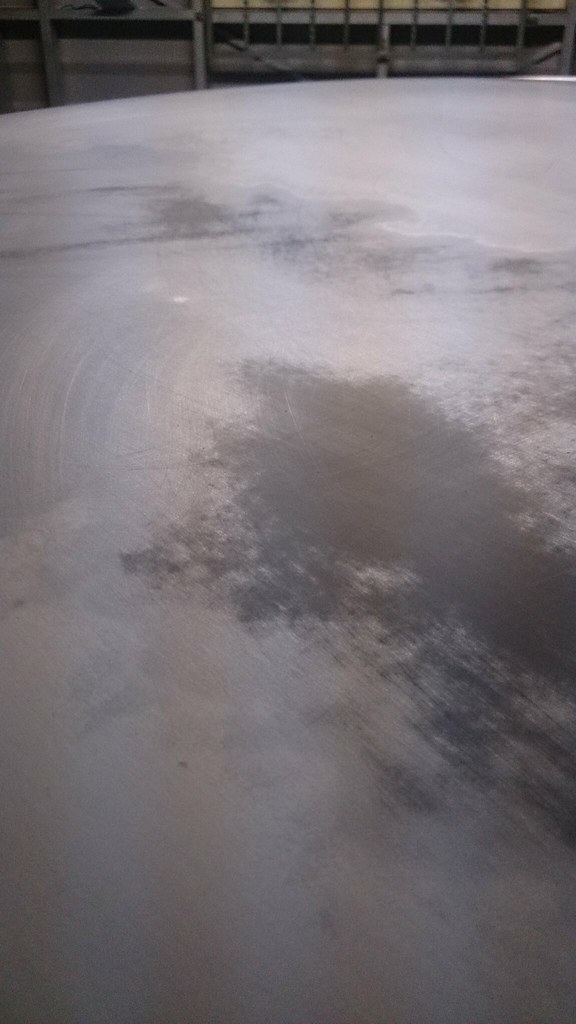
In the following picture, you can see that there is still a bit of shine around the original primer of the car:
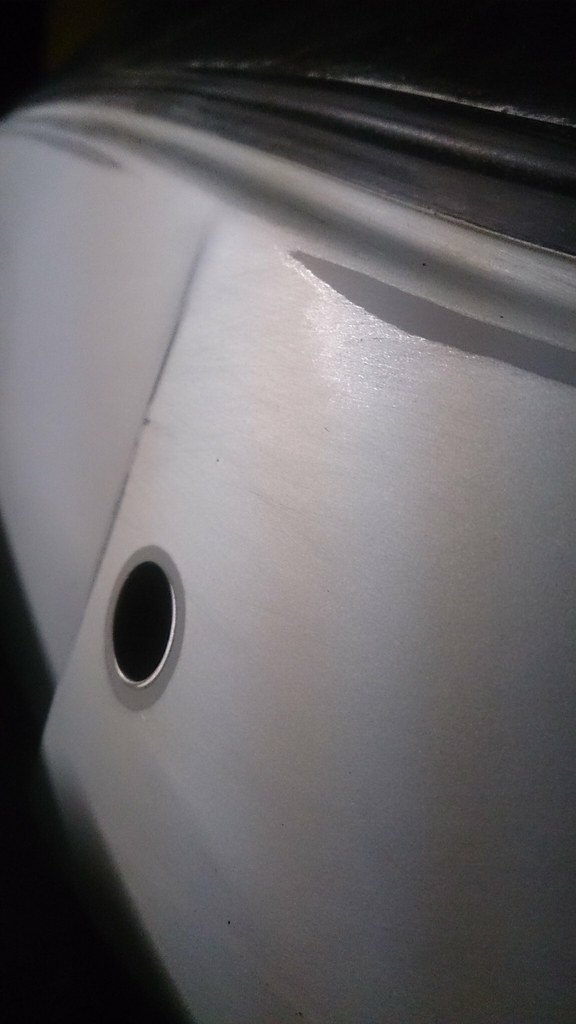
Just remember, you don't want ANY shine left from the previous paint!
When you get to this point:
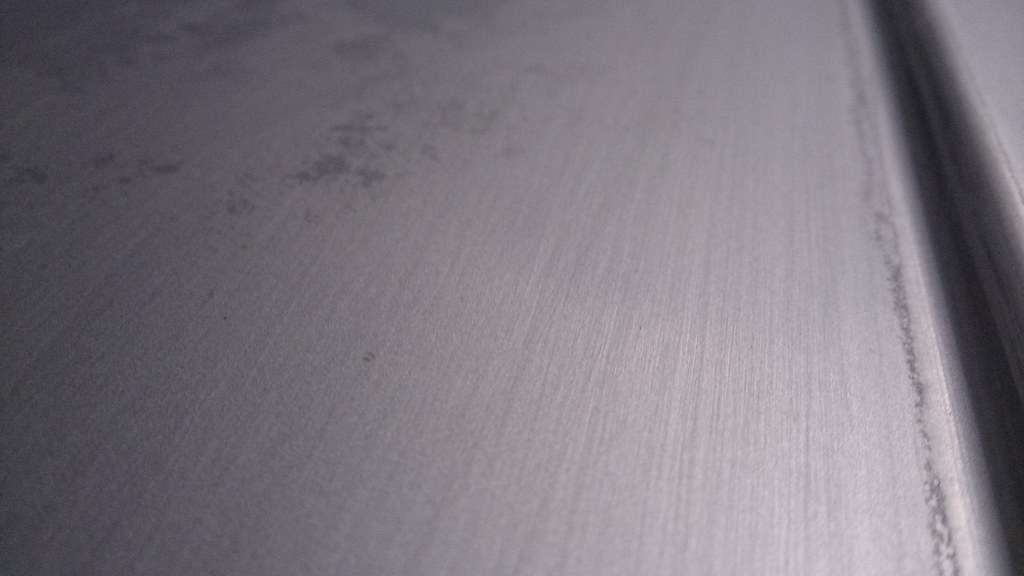
You're pretty much ready to applying your primer. Just make sure you go over any blotchy bits, stroke it with your finger to feel if there are any bumps or jagged bits, if there is, keep sanding that area until it's uniform and smooth like the rest of the panel.
That picture is 600grit wet followed with a 800grit wet to get rid of all the old clear/colour 'roughed up' ready to 'abosrb' the primer.
Think of a painted surface like your skin, you have tiny pores which get blocked with oils and what not, using a scrub in the shower opens up your pores again. Same thing applies to painting! You need to open up the 'pores' and get it ready to put paint in them!
Also remember, the finer grit you go, the smoother the finish will be which means the smoother the paint will go on! If it's roughed up with say 200grit and has lines everywhere, than all of that will show in your final result! Seeing as primer is thick, it's not so important to get a super smooth finish, but it's EXTREMELY important that everything is perfectly smooth before putting on your colour!
MASKING
Masking once again, is very simple. Just mask off wherever you don't want paint to be applied.
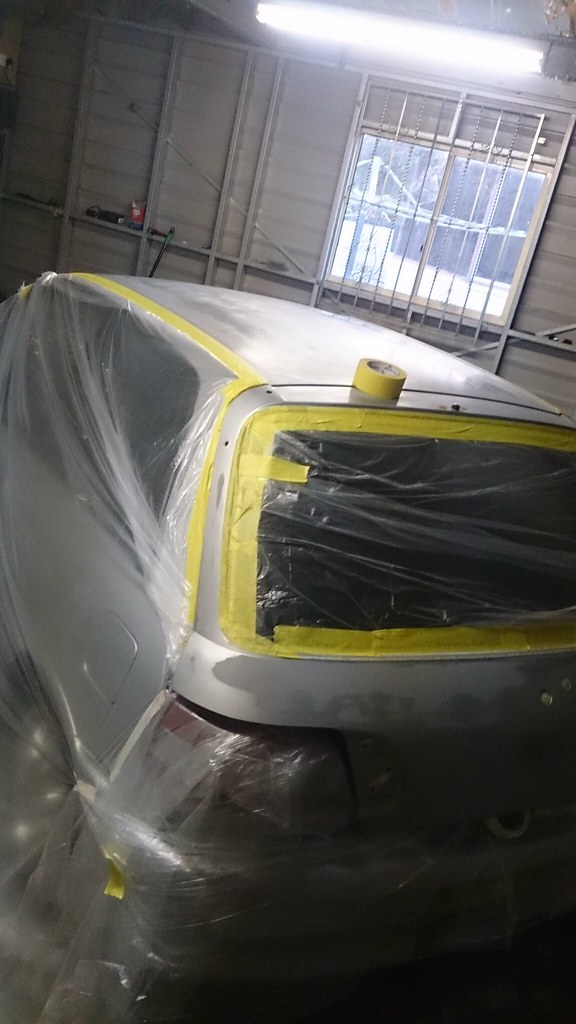
Make sure you use some decent masking tape (the cheap stuff usually leaves a sticky residue when you remove it after spraying, and some even lift off whilst spraying which you DON'T want).
I was having trouble with the rear windscreen seal and I thought of another way of doing it as I didn't want to remove it (I don't have a fresh seal for it, and as you know, once you remove a 20 year old seal, IT'S NOT GOING BACK ON!).
So I thought of this method:
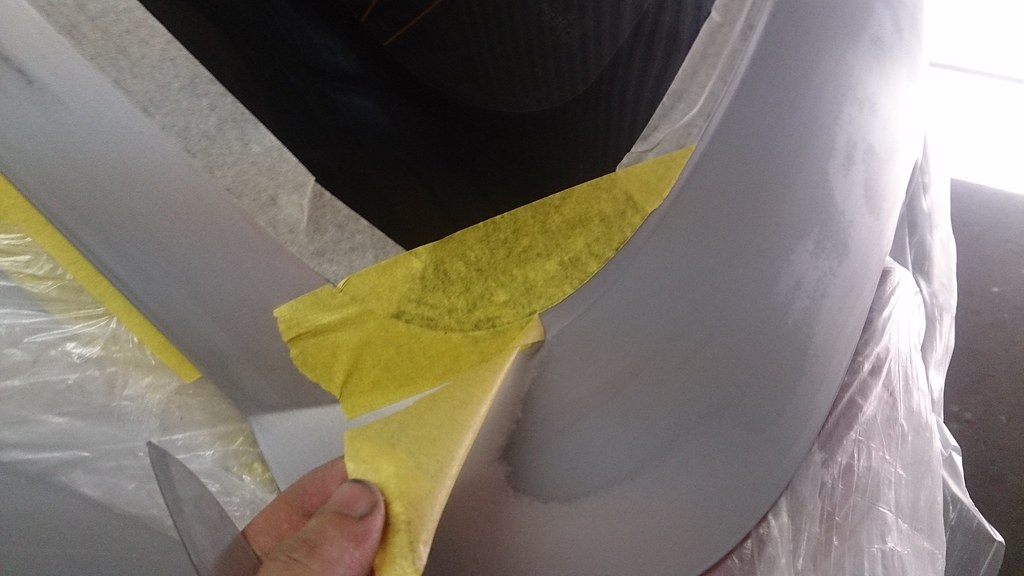
Apply tape over the whole seal

Get a stanley knife or blade and slide it under the seal, being careful not to actually slit the seal, but getting under it instead:
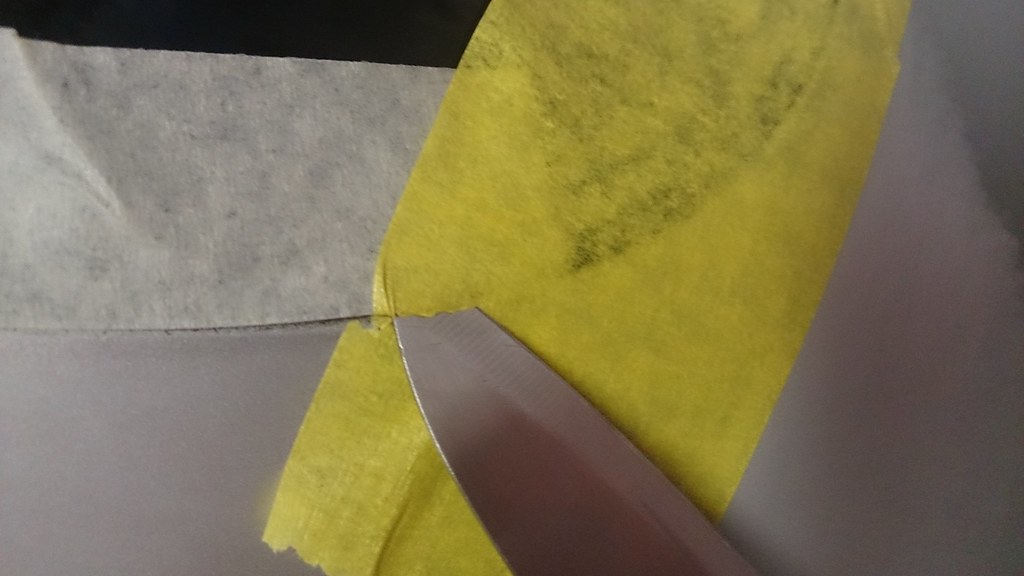
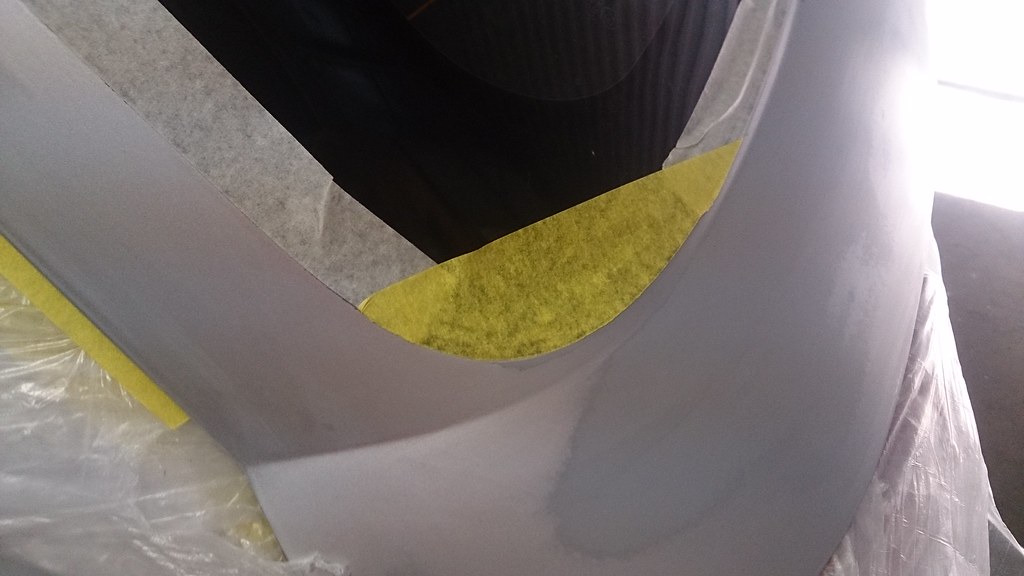
Once you slide along the seal, you will be left with a clean cut which is usually impossible for corners as tape doesn't like to bend and flex:
And you're done!
I ended up removing the other tape and re-doing the whole thing like the method above.
So your car sanded, taped up and ready for primer!
JDM D15B - you wouldn't understand
No K-SWAP ? No worries - Unfriend
 Posting Permissions
- You may not post new threads
- You may not post replies
- You may not post attachments
- You may not edit your posts
-
Forum Rules
|


 Reply With Quote
Bookmarks