

Disclaimer: The following is provided as a GUIDE ONLY, and neither myself nor Ozhonda take any responsibility for the outcomes of someone else doing the following. You follow these steps at your own risk!
Aim: To remove lower console; good for relocating a head unit or installing a cup holder. In this DIY i'll be fitting an Aerpro single din cup holder into the lower console.
Tools/Equiptment:
- Philips head screw driver
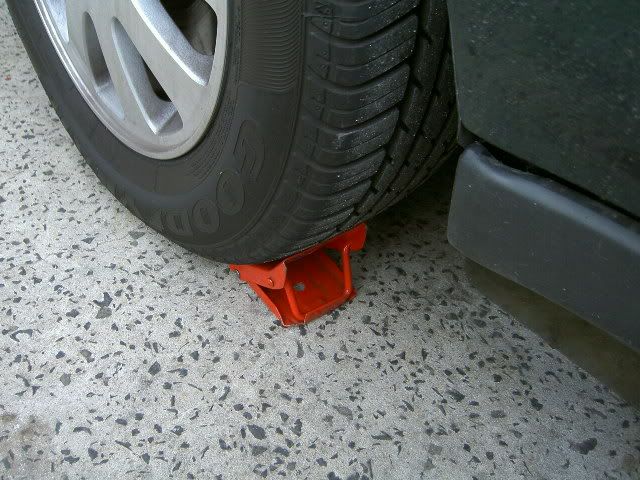
Step 1: SAFETY FIRST!!! So be sure the hand brake is up and a wheel stop is used.
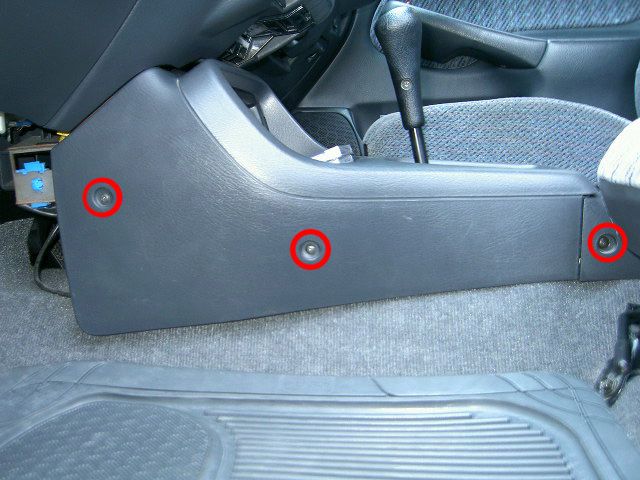
Step 2: Push the seats back as far as possible to give yourself plenty of room to work with. Remove the screws which are highlighted in the pic, there are 3 on the passenger side and 3 on the drivers side.
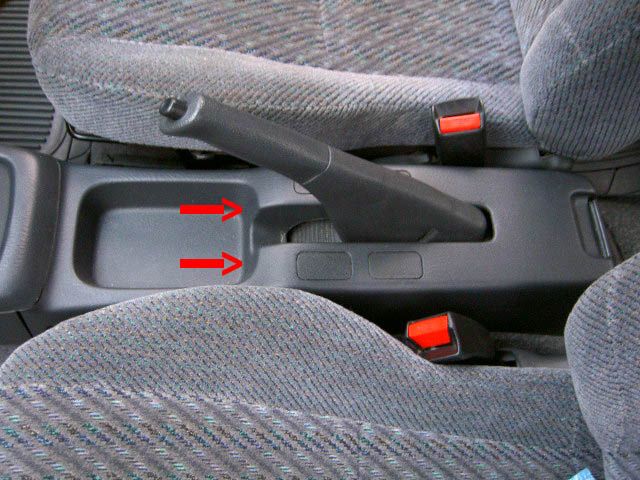
Step 3: Push the trim piece covering the handbrake back until the clips pop out.
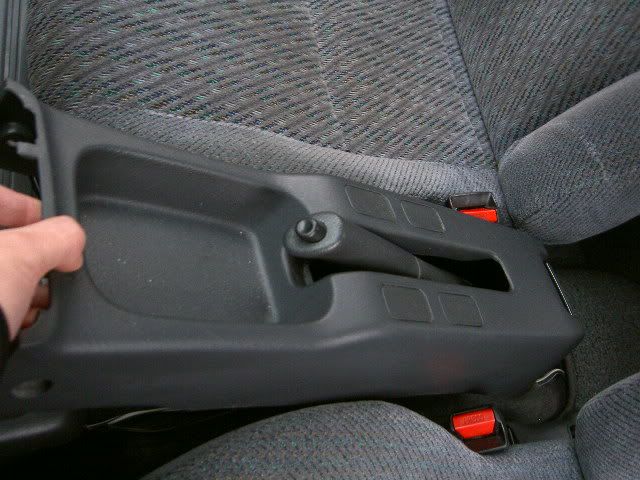
Step 4: Lift up the trim as shown and slide it off the hand brake, this step can be skipped but it doesn't take much effort to do and gives more room to play with.
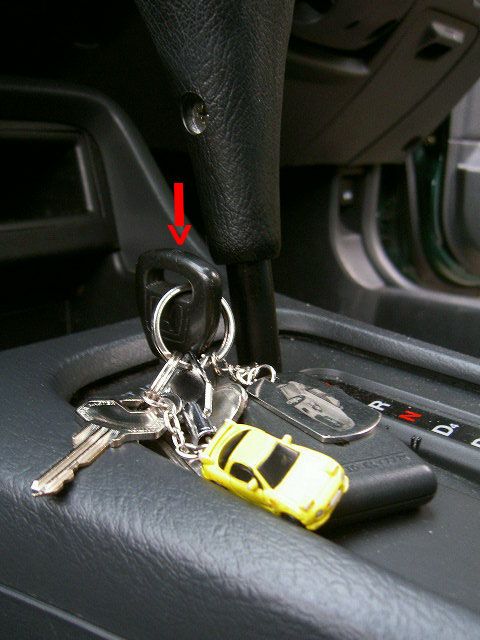
Step 5: Insert the key into the "Shift Lock Release" and push down to move the gear stick to a different position (this will obviously differ for a manual car), this is done to prevent any obstructions when removing the lower console. Note: Although the handbrake should be up, the wheel stop is used as a precaution since the car is not in "park"
Step: 6 The console trim around the gear stick can be lifted and pulled out in a similar fashion to removing the trim around the hand brake. (i forgot to take pics of this... will add when i get a chance to)
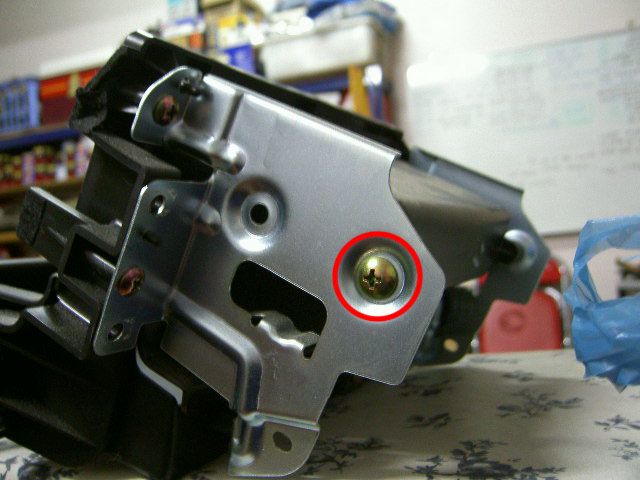
Step 7: Remove the 2 screws shown in the picture, repeat for the other side. Be careful when the last screw is removed as the has no support and will just drop if it is not held in place.
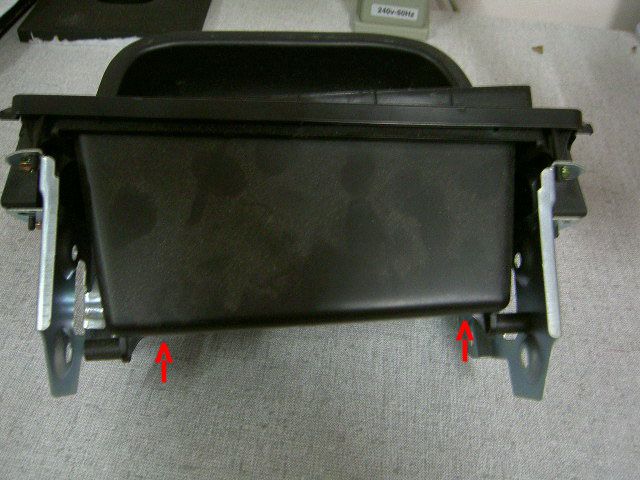
Step 8: The upper pocket is held in by 2 screws, one on either side. Remove the highlighted screws.
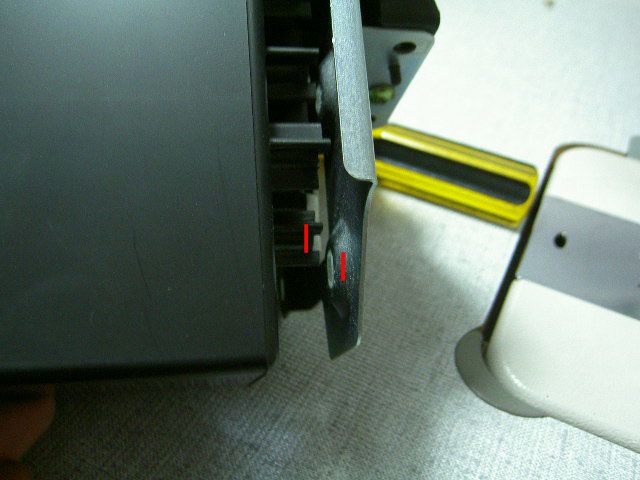
Step 9: The pocket is still held in place by a "clip" on either side and takes a bit of force to pop it out. Easiest way for me was to push it out from one side first then the other.
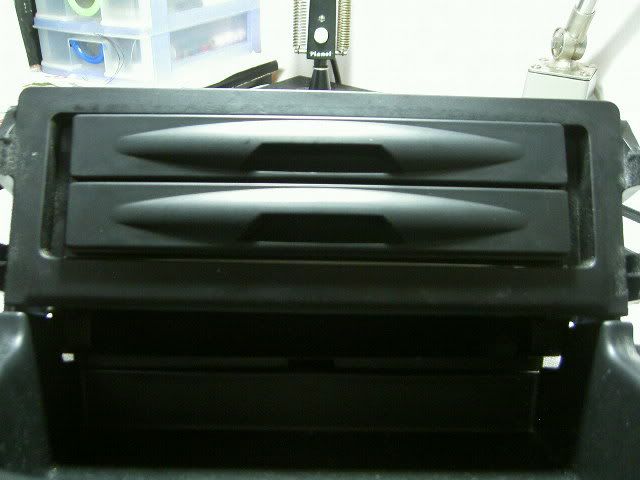
Step 10: Trial fit whatever is to be installed, in this case it was a cup holder and then a problem came up. The holes on the bracket don't line up with the holes.
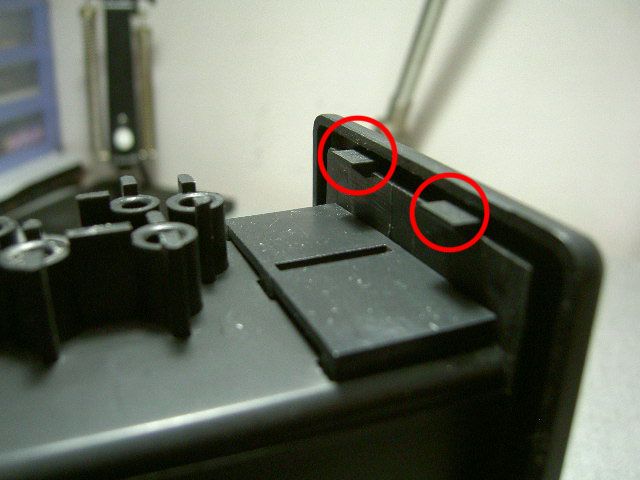
To fix this remove the front face plate of the cupholder, it's held on by 2 plastic clips on either side and can be pushed out by hand quite easily.
This is what the cup holder looks like WITHOUT the supplied face plate.
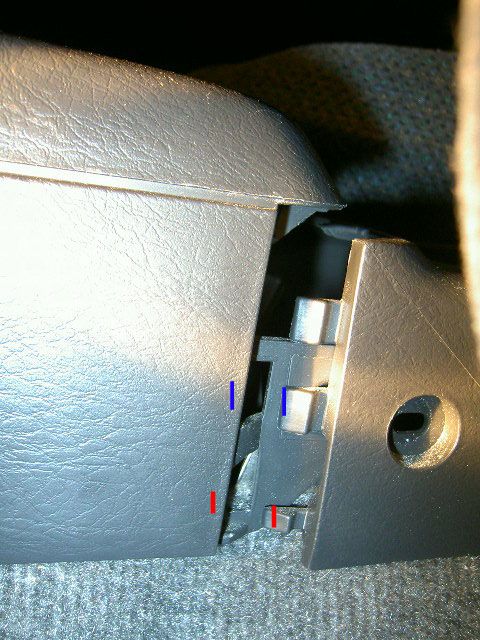
Step 11: Time to put it all back together, repeat steaps 3-7 in reverse order. Before the handbrake cover is pushed backto into the console trim, be sure that it all lines up. The pic shows where handbrake cover should line up with the console trim.
Step 12: Screw in the screws which were removed in 'Step 1' sit back and enjoy the fruits of your labour...
Review: It sucks.... lol
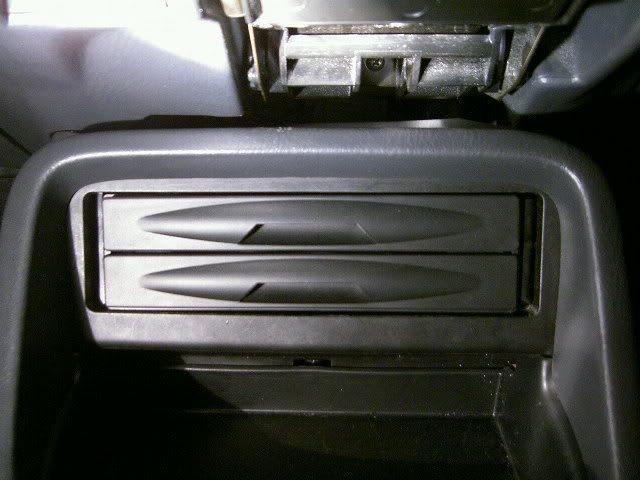
There isn't really anything to mention in regards to build quality as it is neither poor or good, average would sum it up quite nicely. Installation was simple and the draws slide out smoothly. The only issue is that the cupholder draw sits too high up and you can't really place a cup or any beverage in there, the other draw works a treat but the cupholder is useless as it is. It's ironic that I installed a cupholder but can't use it... nothing a lil more DIY won't fix but that'll come when I have more time.


 Reply With Quote
Bookmarks