|
-
How-To:: Turbocharge Your Honda
i came across this thread on honda tech and thought that it would be a good read for OZhonda.
reference:http://honda-tech.com/zerothread/1263795
Pre Installation Information:
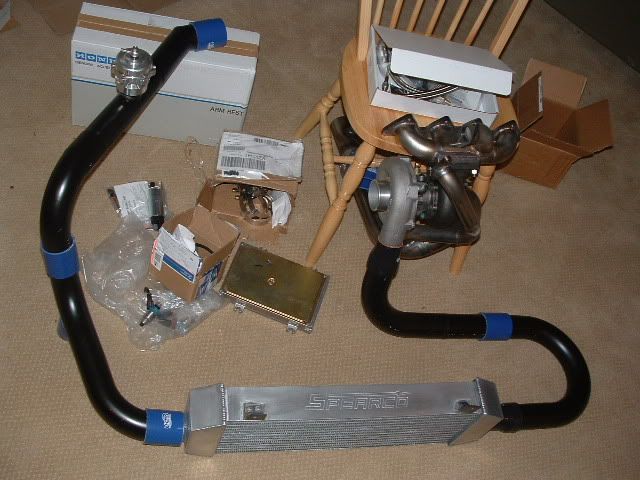
Parts Needed:
--> Turbocharger: Pick which size and trim turbo is gonna work best for your application and goals
--> Exhaust Manifold: Either log/cast/equal length. Make sure it was made for your turbo (t3, 4bolt, 5bolt, dsm, etc.)
--> Downpipe: Again must be custom for your turbo/manifold choice. A flex pipe and o2 bung are nice to have while creating a downpipe
--> Wastegate: Choose a wastegate size (also what psi spring you'd like to run) according to application such as amount of air flow and psi from turbo
--> Intercooler: Choose either a FMIC (Front Mount InterCooler) or Side Mount Intercooler. Fmic is more bling bling  as well as better cooling as well as better cooling
-->Blow off This is acutally an opional (but very recommended part). Doesnt really matter which one you choose. Pick a sound you like
--> Fuel Manegment: One of the most important parts on your turbocharged car. I would highly suggest running a programable chiped ecu or standalone device, but running a AFC hack controller can be used as well
--> Fuel Pump : You will probably need an upgraded fuel pump to support the added fuel consumption. Can be either internal or external
--> Injectors : To support added air induction, more fuel is need... hence bigger injectors. Buy size according to application
--> Map Sensor: Stock maps can only read up to ~10.63 psi, if you plan to go higher upgrade to a 2bar or 3bar map sensor
--> Intercooler Piping: You can buy a ic piping kit, but usally will always take some modification to fit your exact application
--> Couplers/t-bolts: You will need silicone couplers to bind the two ic pipes together as well as t-bolts (or screw clamps which i dont recommend) to tighten those couplers down
--> Oil drain/feed lines: Every turbo needs oil, so you must buy an oil feed and drain line kit. ss lines are recommend
--> Vacuum Manifold: Not required but recommened to help organize vacuum lines and allow for good vacuum sources
--> Gauges: although not required, it's highly recommend so you can keep some status of motor operation. boost/oil pressure highly recommened
-->Spark plugs Although not required, turbo temps can get high, so i recommend you step down two steps colder in your spark plugs. Also copper too
--> Reference picture:
Tools Needed:
--> Extensive Socket/Rachet Set: Metric sizes. the more variety, the less likely you wont have the socekt you need for the job
--> Extensive wrech set: Metric sizes. Racheting wrenchs are gonna work great for tight places
--> Floor jack w/ jack stands: you gotta get that car up for some things
--> Screw driver set: again, the more variety, the better
--> Dremel: You may need to cut or sand some things down, so a dremel will be perfect for the job
--> Wire strippers: Your gonna do some spliceing and wire cutting somewhere
--> Multi-meter: Not required, but it's handy to have around to troubleshoot and test wires
--> PbBlaster: This is a rust-breaking spray in a can, extremely useful for getting old rusted bolts off
Estimated Time and Skill level:
--> I Would give your self a week or more to finsih this install properly depend on how much free time you have. It will always be better to start early and have more time for cushion if unplaned things come up then to have jsut enough time planed and if something bad comes up your screwed (happened to me)
--> Skill level: I'd say a full turbo install would have to be from a 7-9 difficutly in the import world depending on your skill level. Building a motor being a 10.
Installation Proceduces:
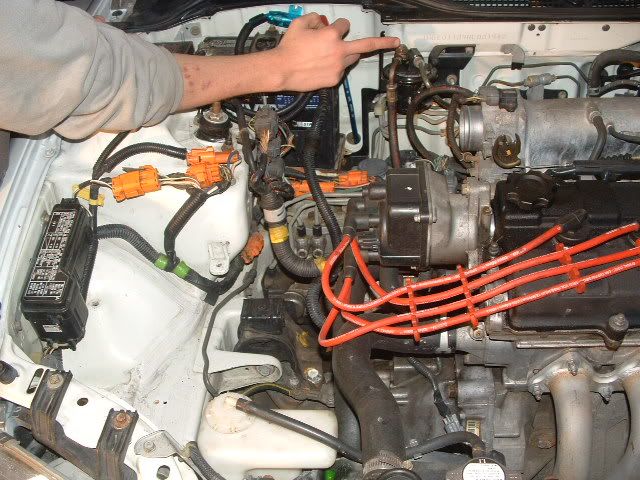
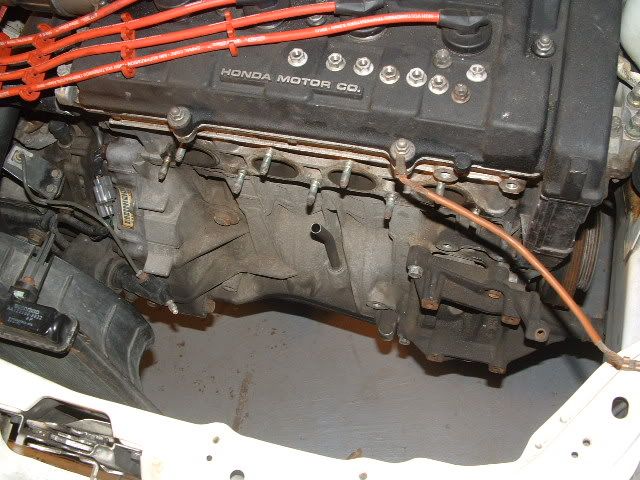
Step 1: Remove all N/a parts from your motor
--> Take a look into your engine bay and find where your Intake and header are. Since you will be replacing both with new parts, these are not needed anymore.

--> Remove Intake by unscrewing two screw clamps holding silicone coupler at the throttle body, and a bolt down near the air filter where intake is holding onto chassis.
--> Your gonna have to get under the car for the rest of this project, so it's a good idea to jack the car up and make sure to use two jack stands for safety
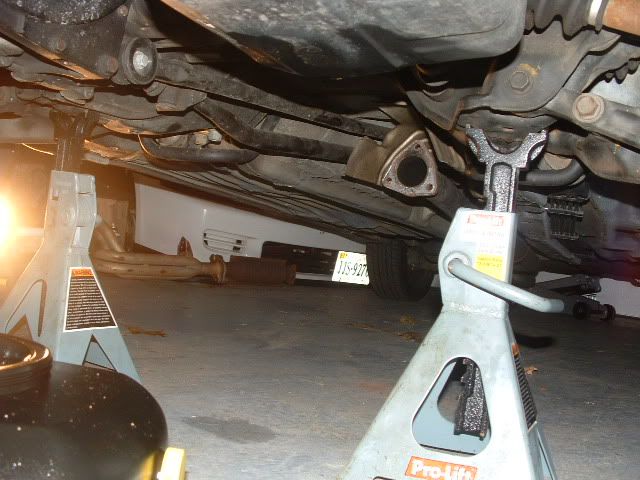
--> Remove 9 12mm nuts that hold header to engine head studs

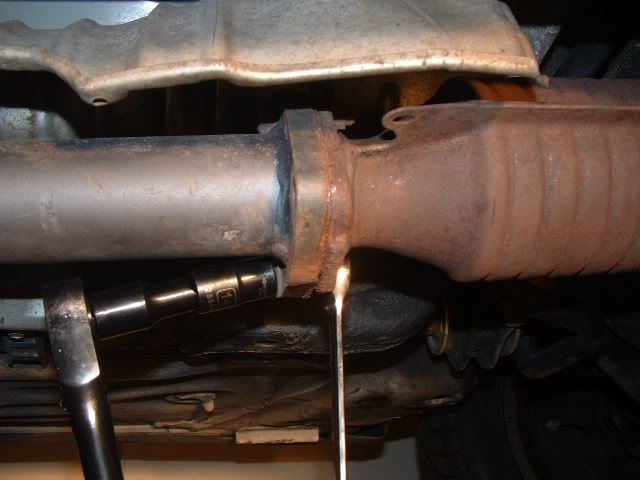
--> Remove three bolts that hold cat and exhaust together. After you un bolts these three bolts, there should be two bolts that are holding header in place by a bracket hanging from the back of the block. Remove those two bolts as well and header should be free to drop out of place.
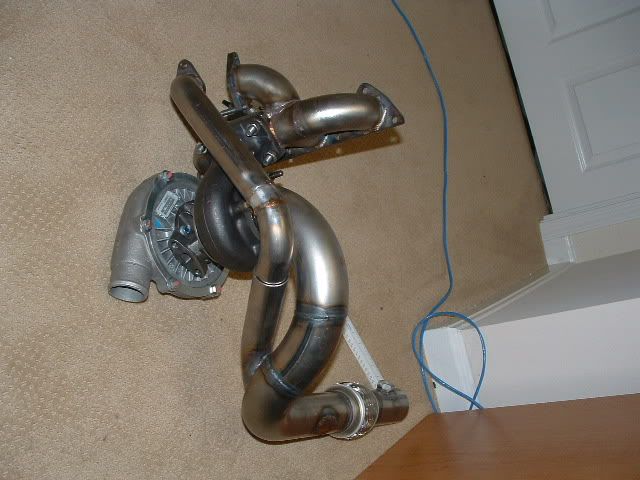
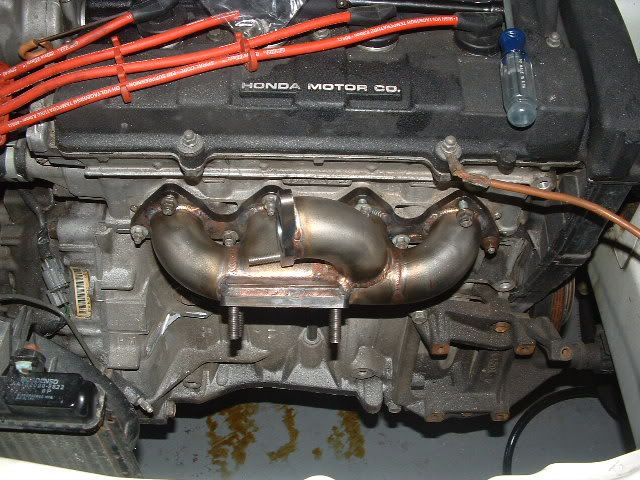
Step 2: Assemble and Install manifold/turbo/dp
--> Whether or not your bought your manifold and dp brand new or custom made it, I suggest assembling just to test fit before you try installing into the car. Check for turbo placement, and dp route.
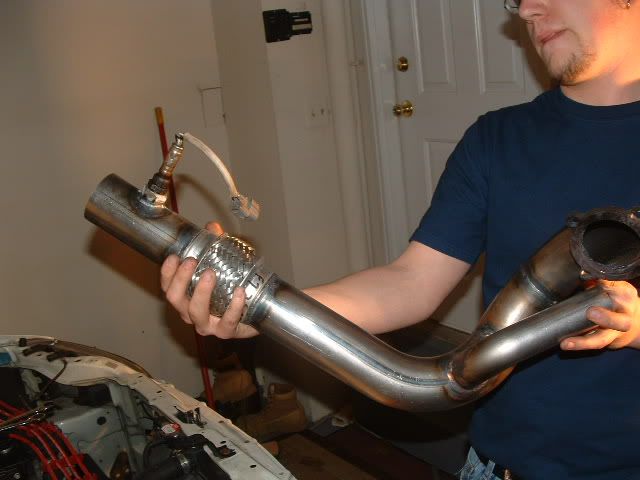
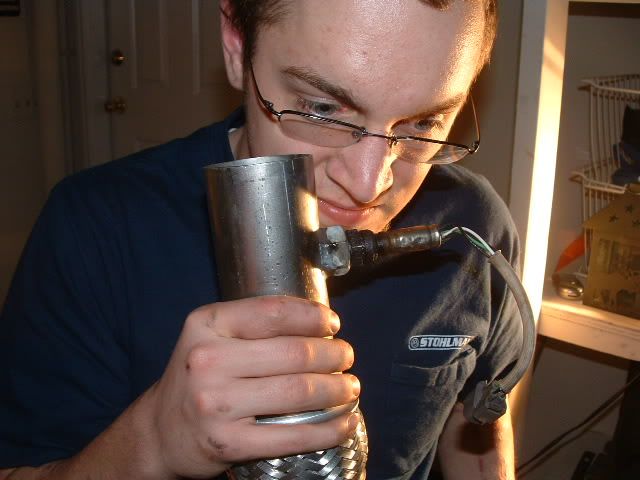
--> First, you want to apply some Pbblaster to the o2 sensor on your n/a header, this way removal is easy. Once you get it out, screw it onto the new Dp o2 bung.
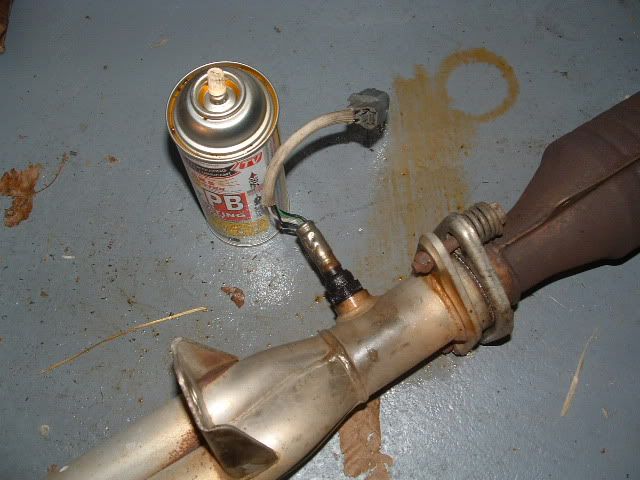
feel free to take a whif, get high lol
--> Slid the manifold on to the engine block exhaust studs
--> Next, if needed, clock your turbo to fit your setup correctly. TO clock your turbo means to rotate the compressor/turbine houseings relative to the center housing. It's easy to do, you just need to loosen the bolts that hold the housings down tight, and rotate. Tighten back up when it's in the right spot.

Last edited by jimmeh; 04-07-2006 at 12:12 AM.
 Posting Permissions
- You may not post new threads
- You may not post replies
- You may not post attachments
- You may not edit your posts
-
Forum Rules
|


 Reply With Quote
Bookmarks