looks the same to me. maybe its your the photo.
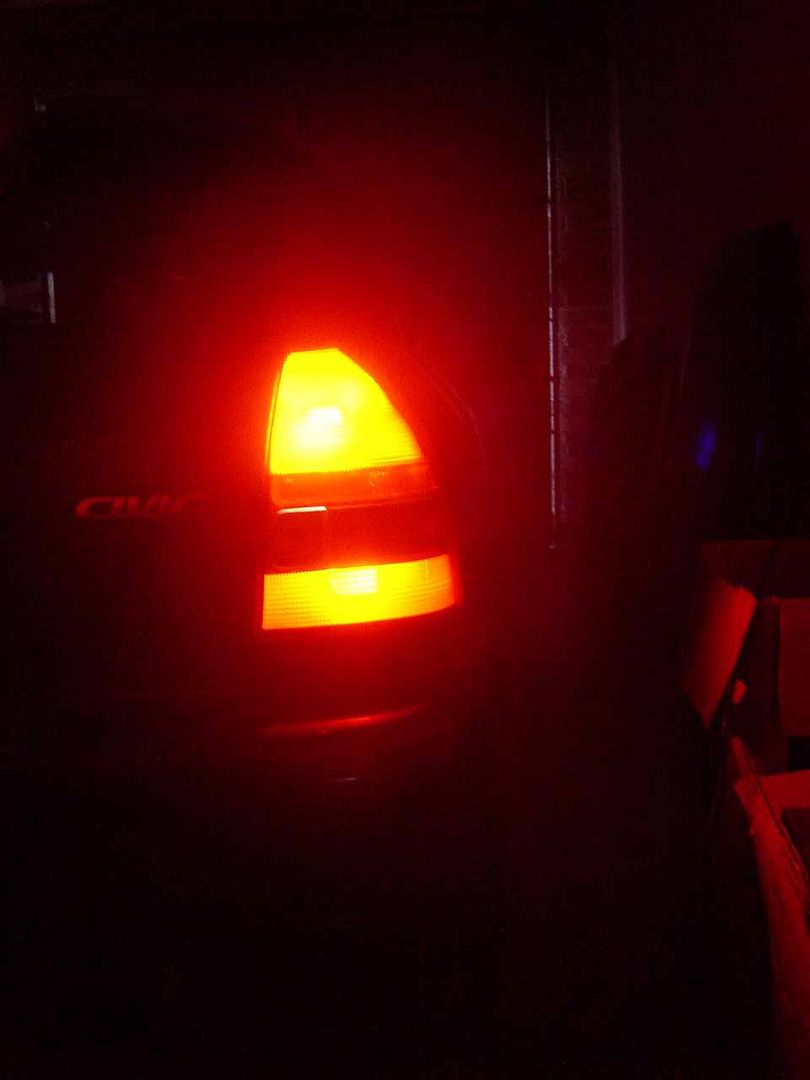
and with regardsing to bottom dont light up i dont know what you mean, but mine do light up? and if your refering to real ek9 lights, then no i dont want to be a ek9 where the buttom bit dont light up. i like it both lighting up. way better.
i agree i rahter have both of them lighting up then just the one of them.. might aswell have it brighter
looks the same to me. maybe its your the photo.
and with regardsing to bottom dont light up i dont know what you mean, but mine do light up? and if your refering to real ek9 lights, then no i dont want to be a ek9 where the buttom bit dont light up. i like it both lighting up. way better.
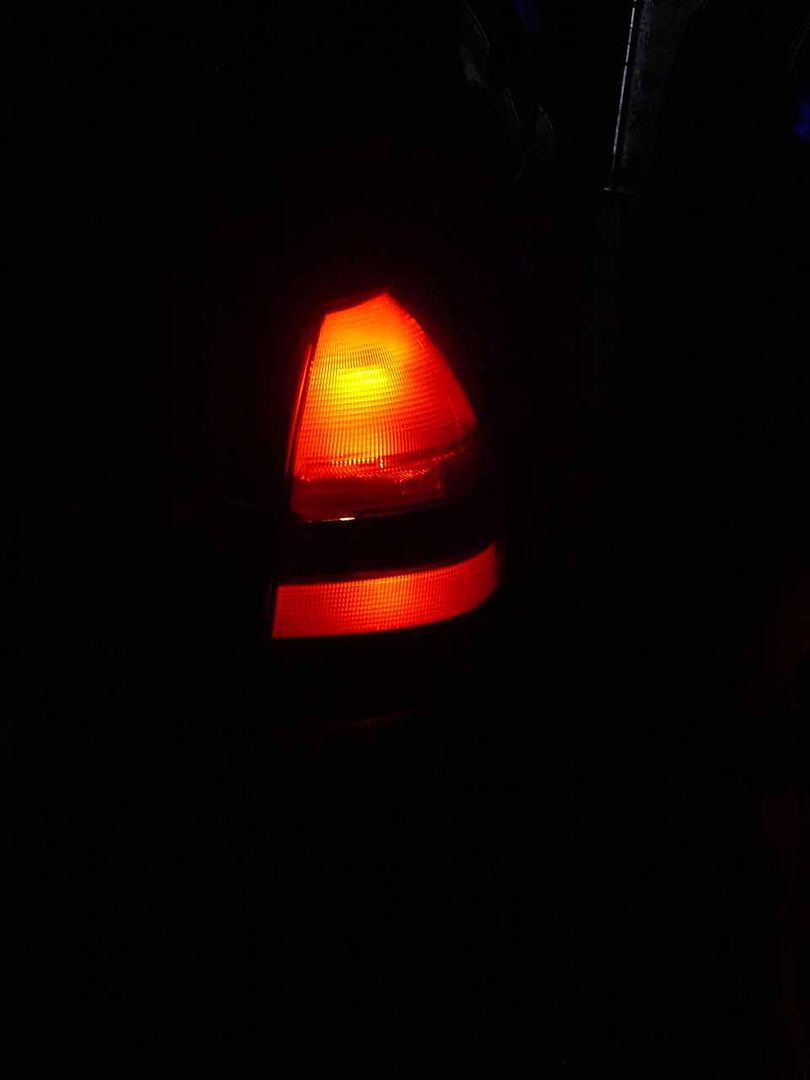
haha i meant.. when you have parkers on.. they both light up. when you break, the top bit goes BRIGHTER. and hte bottom bit stays the same.
hmm. i have 3friends that have done the ek9 DIY, and its not as bright when parkers are on as my ones . still dont know why ! weird..
Nice one. Told you it was easy. My old Suzuki went 180,000 km with twisted electrical connections with no problems and I always used them in all my cars since my apprenticeship days with no comebacks. Keep up the good DIYs.
...more to come lol. big thx to you for helping me out in my DIYs.
One question.
Is there any way of fixing the new light into the hole instead of taping it? It would be good to make it easier to change bulbs when they blow.

Originally Posted by EK4R


 Reply With Quote


Bookmarks