

Disclaimer: The following is provided as a GUIDE ONLY, and neither myself nor Ozhonda take any responsibility for the outcomes of someone else doing the following. You do this entirely at your own risk.
The problem: The stock 55w H11 fog lights on the Euro are not particularly powerful. To put it blunt they are useless. They are a cosmetic feature to enable you to ‘be seen’ rather than provide you with any useful light output.
The solution: Convert very efficient H9 type globes to fit the stock H11 fog light harness. The result is an increase in lumens output from 1350 lumens in the stock form to a massive 2100 lumens in the H9 type (also a whiter output).
The increase in wattage is a measly 10 watt (65w compared to stock 55w) so there should not be any associated heat problems typical with increasing wattage. The fog light covers are also made from glass so the risks of overheating are minimal in my opinion.
Credits: Credit goes to the website below for giving me the idea to modify a H9 globe to fit a H11 socket. He doesn’t give instructions as to how to perform the conversion but it is self explanatory once you look closely at the sockets. As far as I am aware no one has attempted this modification on a CL9 Euro before.
Props tohttp://www.danielsternlighting.com/p.../products.html
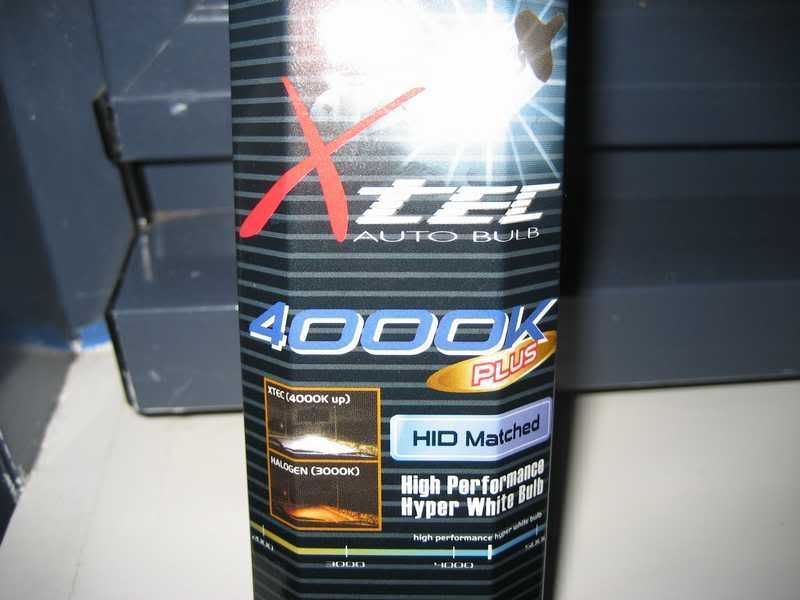
Cost: 2 xH9 globes. I purchased some cheap and nasty H9 globes on ebay for $12. They are blue coated bulbs. Coated bulbs are not recommended if you are looking for maximum light output. If you want maximum output use a standard clear H9 globe.
Tools required: Stanley knife or similar.
Step 1:
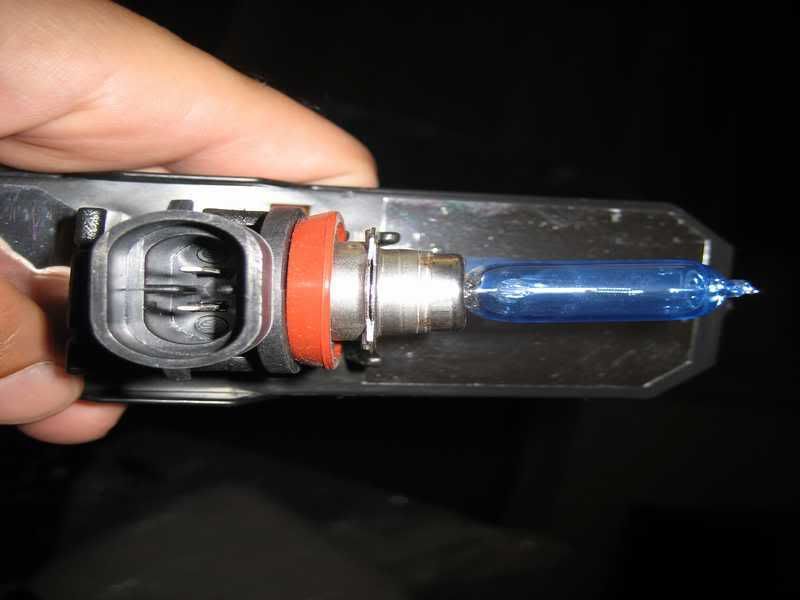
Get your H9 globes. The H9 and H11 globes are physically the same size! So no fitment issues in the housing. This pic is what the H9 I purchased looks like. The stock globe looks the same - except for clear glass.
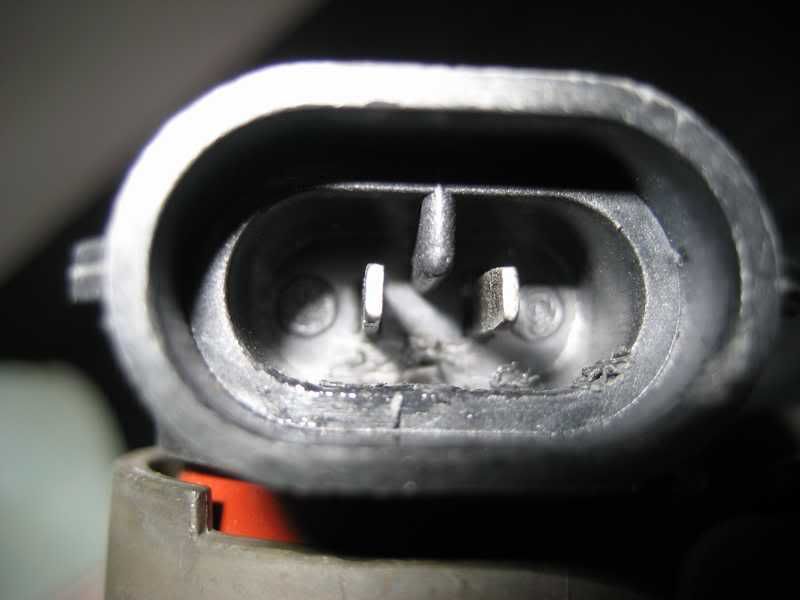
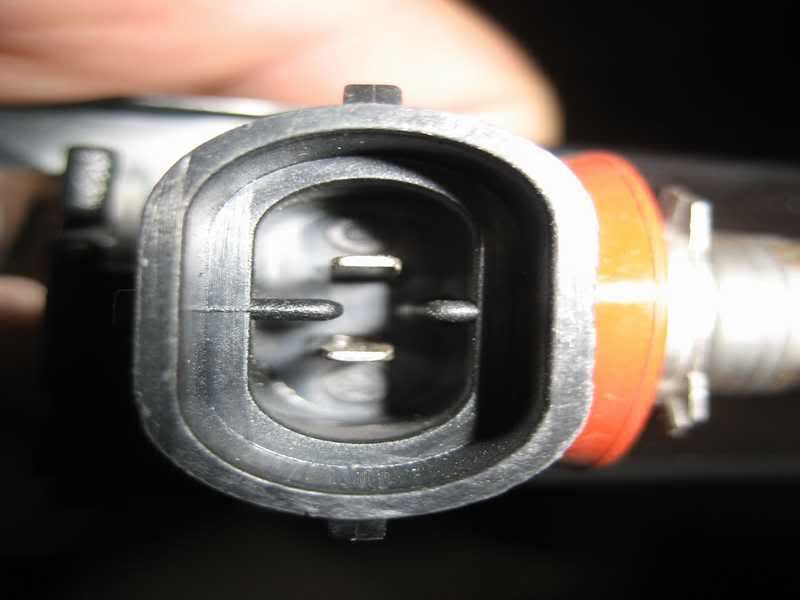
Compare the socket of the stock H11 globe to the H9 globe in these pictures below.
Stock H11 globe below
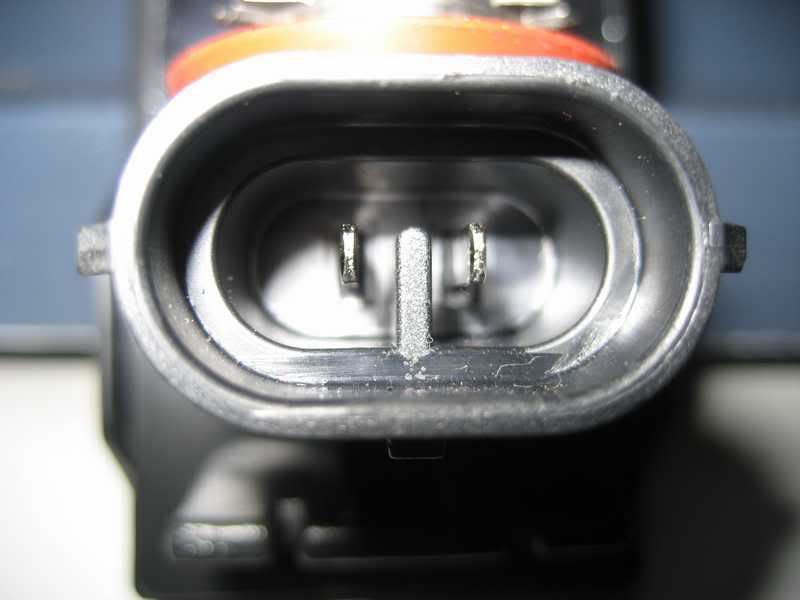
H9 globe below
Note how the H9 globe has an extra piece of plastic ridging in the socket? (NB: the photo above was skewed when I resized it. Not to worry - I assure you the H9 and H11 are the same shape and size).
Step 2:
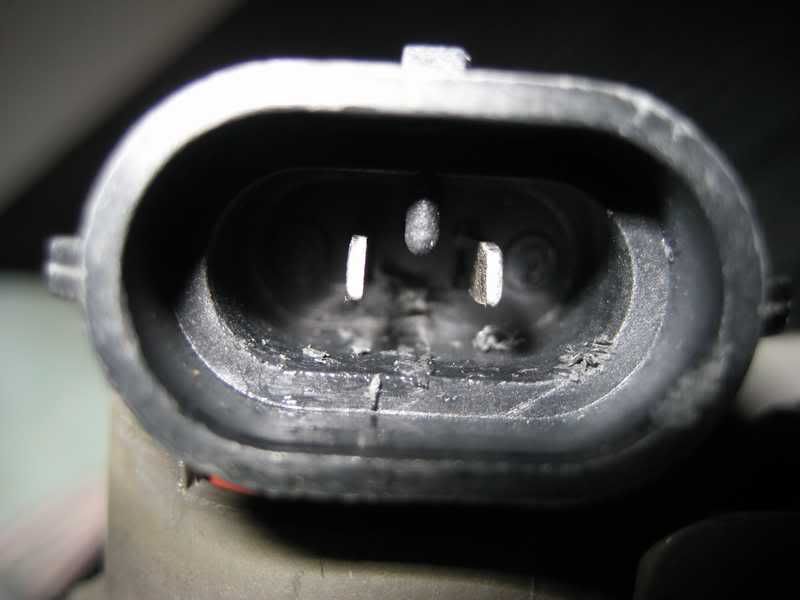
Being very careful not to touch the glass – you need to use your Stanley knife to slowly cut away the socket ridging so the H9 globe fitting looks exactly like the stock H11 globe fitting. One ridge needs to be removed with the knife. If you work slowly this should be easy to do.
The end result should look like this.
Step 3:
Fit the globe to the vehicle. No other modification is required. If you have cut the globe socket properly the globe will fit the fog harness in the vehicle perfectly.
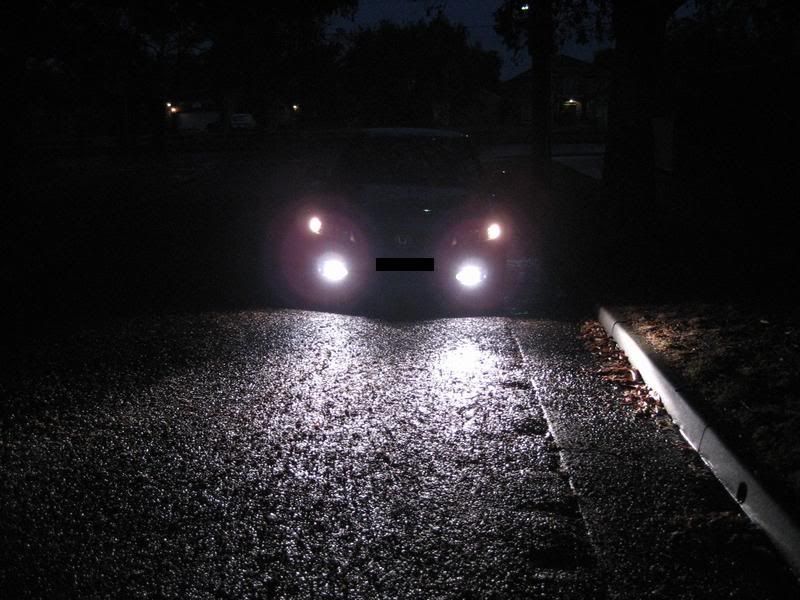
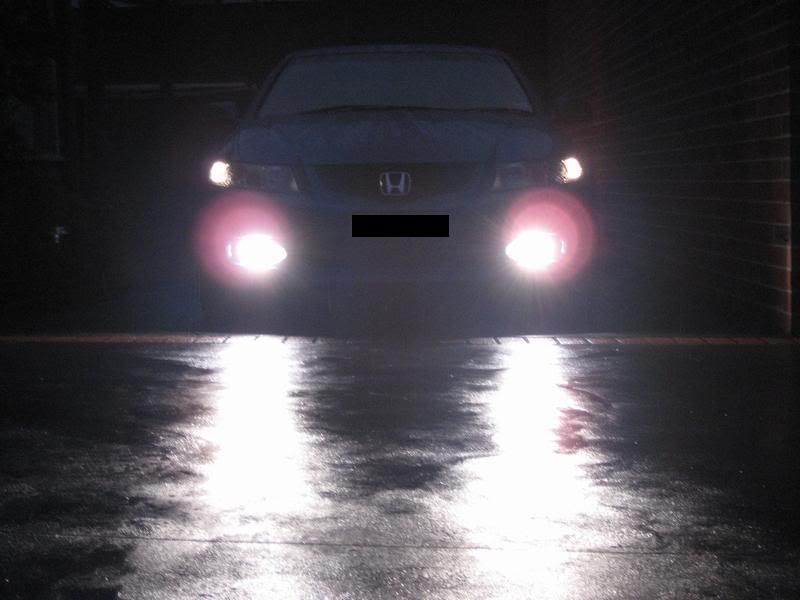
Results:
These pics below are of the fog light and parking lights only! The headlights are turned off!! Not bad aye for $12.
Borat’s review on this mod is “Wa wa wee wo, I like very much!”… If you find this thread useful, spread the love with a rep point.
If you try this DIY let me know what you think of the results.


 Reply With Quote
Bookmarks