
![[JDM DC2] is offline](http://static2.ozhonda.com/forum/images/statusicon/user-offline.png)
Disclaimer: The following is provided as a GUIDE ONLY, and neither myself nor Ozhonda take any responsibility for the outcomes of someone else doing the following. You follow these steps at your own risk!
Aim:
To make the colour of my clock amber to match my ITR Cluster
Required:
Orange Tic Tac Box
Small Phillips head screwdriver
Super Glue
Sharp Stanley knife
I have been trying to find a way to make my clock amber to suit my ITR cluster for a few weeks now and havn't found much info about how to do it. I have come across a few methods but they all didn't work the way I would have liked them to. First I tried pulling the clock apart to see if there was an L.E.D inside that I could replace with an amber one but found that the light was emitted from within the screen. Then I tried putting orange cellophane over the clock but that made it a yellow colour and by the time I put enough layers on to make it become orange you couldn't see the clock anymore. The last thing I tried was putting scotch magic clear sticky tape over the screen and then colouring it in with an orange sharpie but that didn't turn out very even and also wasn't the right kind of orange.
After a bit of thinking an idea came to me that I could use the orange plastic from a box of Tic Tacs to make my clock amber without making the light to dull, so this is how is finally decided to make my clock amber.
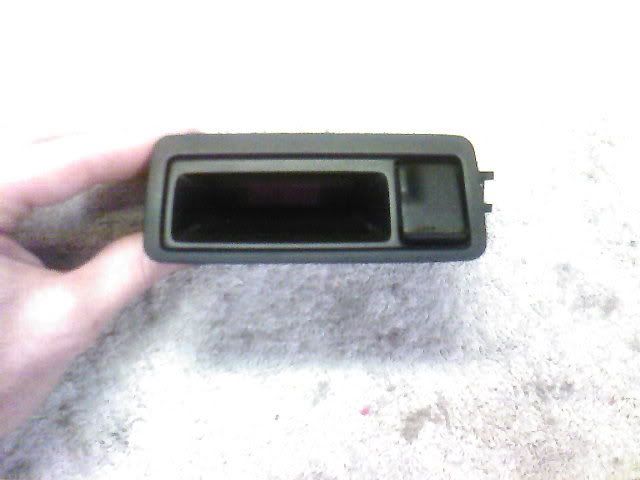
1. There are a few ways to pull out the clock but in my opinion the safest way is to pull out your cluster and reach behind the clock and pop it out because if you pry it out from the front you can put little dints in the dash.
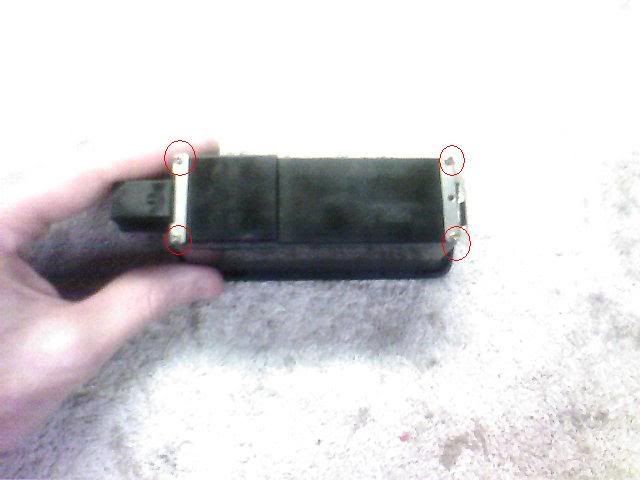
2. After popping out the clock undo the wiring harness that plugs into it. Get a small screw driver and undo the four screws on the back of the clock, be careful not to lose them. Slide off the two metal clips at each end of the clock and put them together somewhere with the screws.
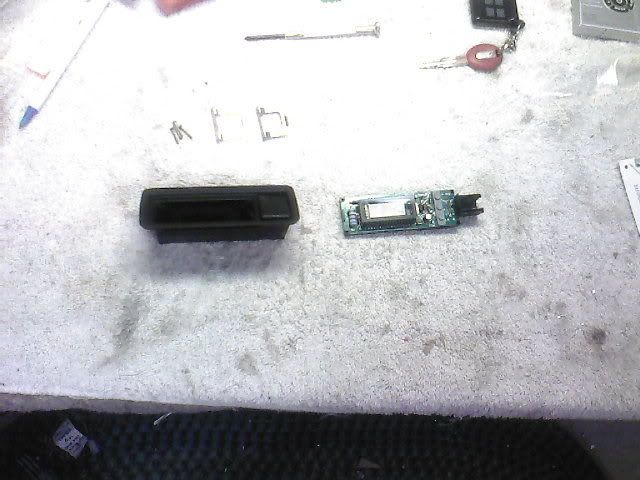
3. Next, separate the clock circuit board and the outer casing (be careful because when you do this, 4 little plastic pins will fall out but it doesn't matter because you can put them back in later).
4. After separating the outer casing, put the clock circuit board with the metal clips and screws and then flip the outer casing over.
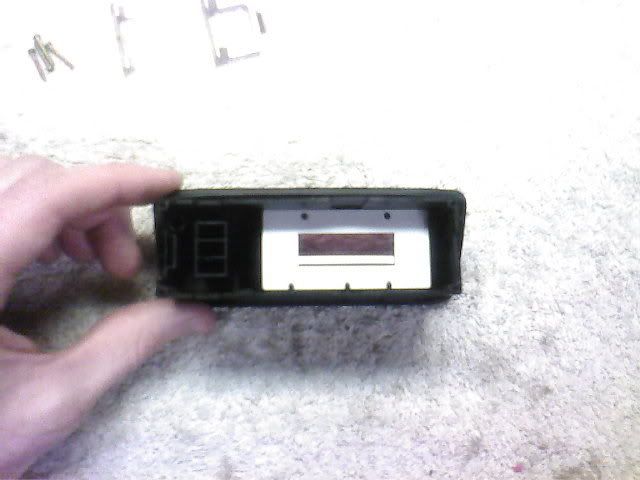
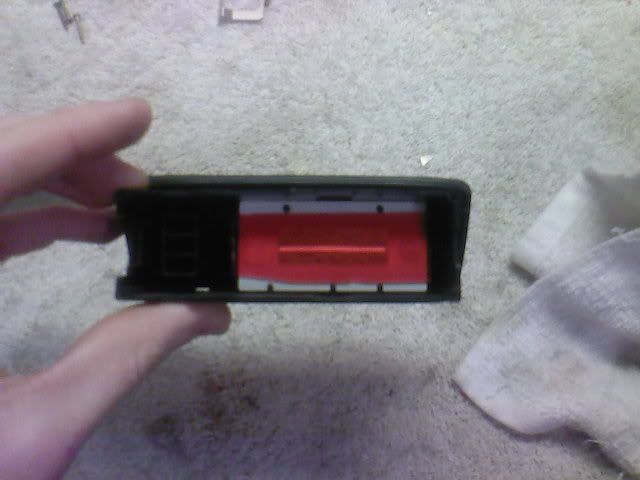
5. This is the part were I attached the orange perspex (tic tac box) to, I guess you could attach it to the clock face instead but I though my way provided a little more cover with orange perspex.
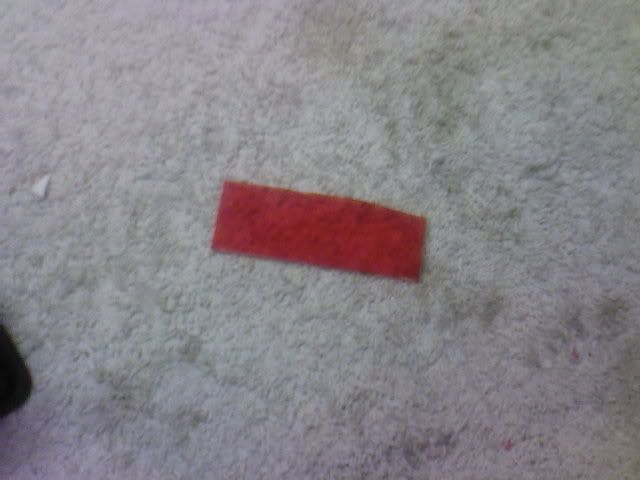
6. This is the hard part, take the label off a orange Tic Tac box and clean any residue and then trace out the size of the hole in the clock outer casing where the numbers shine through. Then cut a piece of the box to fit, I used a very sharp Stanley knife and it still wasn't easy to cut without snapping the plastic.
7. Test fit the piece you cut into the hole and make sure it sits flush and not on the 5 little black bumps around the hole. If it fits well then clean it to get rid of any finger prints or dust and then use a tiny bit of super glue to attach it to the clocks outer casing.
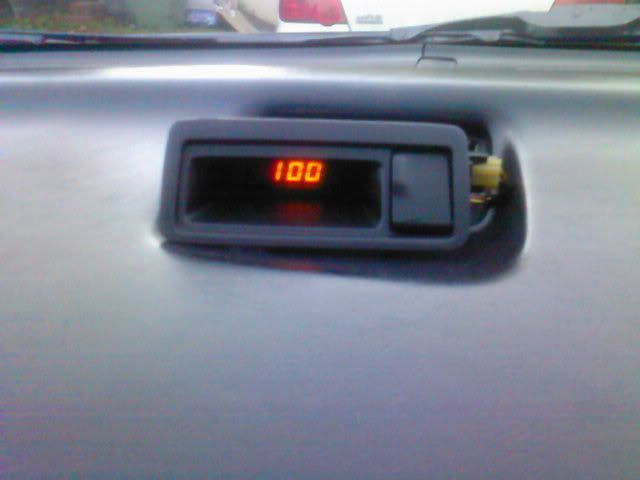
8. Finish.. Re-assembly is opposite to how you took it apart, after you've put it all back together plug it in and have a look at your new amber clock. after you are satisfied that it is right and the orange perspex is covering all of the hole then gently push the clock back into the dash and your done.
Daytime: The colour looks a bit weird in the photo because I put my camera on a low resolution but in real life it looks very similar to an actual ITR clock colour, just a tiny little bit lighter.
Daytime with lights on:
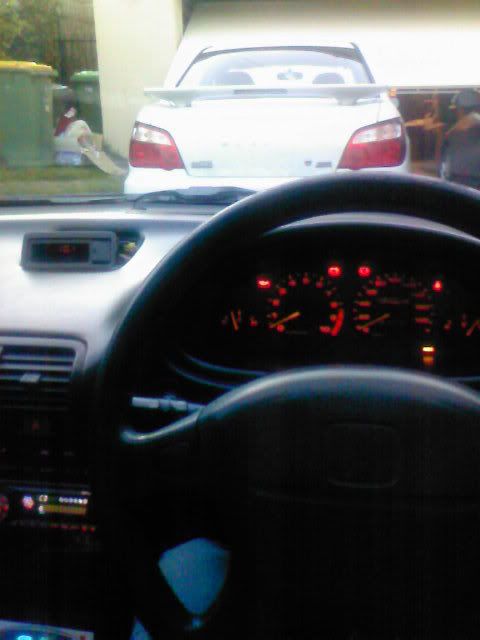
And a picture of how the colour is compared to the cluster..
Other Comments. All in all I'm very very happy with the way it turned out as it matches the cluster and my CD player and best of all it costs nothing to do and only takes about 30 minutes.


 Reply With Quote
Bookmarks