

Disclaimer: The following is provided as a GUIDE ONLY, and neither myself nor Ozhonda take any responsibility for the outcomes of someone else doing the following. You follow these steps at your own risk!
Original source : 8th gen civic forum
Additional source : civic FD thailand forum
Special thanks : Samuel337 for some advise
This is my first DIY a while ago.
DIY between 25-26 Aug 2007
Succesfully installed and tested on AUDM civic FD VTI on 26 Aug 2007
I miss some of steps in photos.
STAGE I
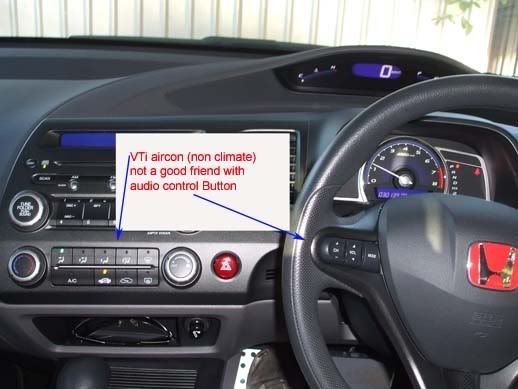
INSTALLING AUDIO CONTROL BUTTON
1. Disconnect negative batteray first (remember u need to remove airbag, so this is for precaution)
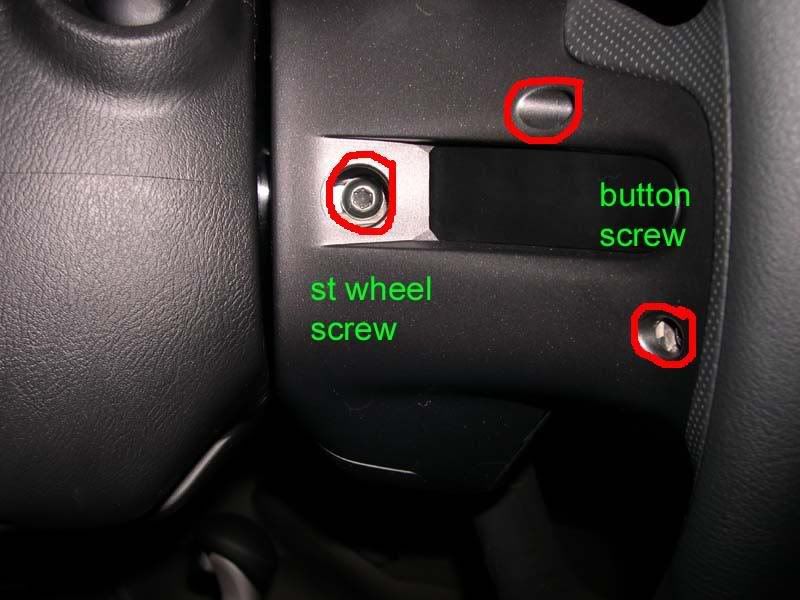
2. each side of steering wheel, remove 3 screws (1 torx screw securing streering wheel and 2 philip screw holding audio/cruise button)
note : it will much easier if turn your steering wheel, makes screws on top position
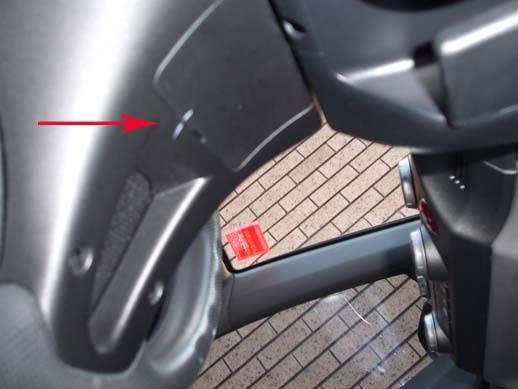
3. under steering wheel, pry panel to exposed the airbag/electrical harness
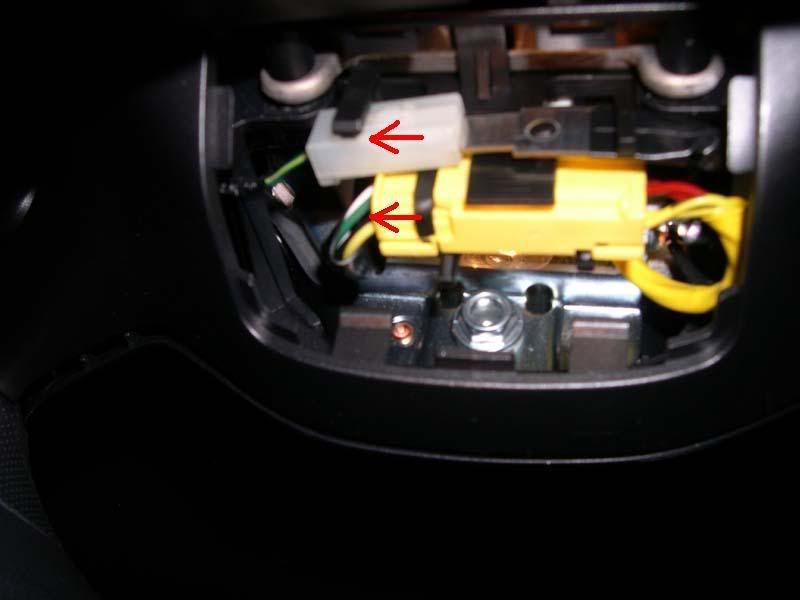
4. unlock these two connectors (look out for locking pin/button)
5. Pull out the airbag. carefully ! the metal piece behind the airbag might scratch your dash/steering wheel
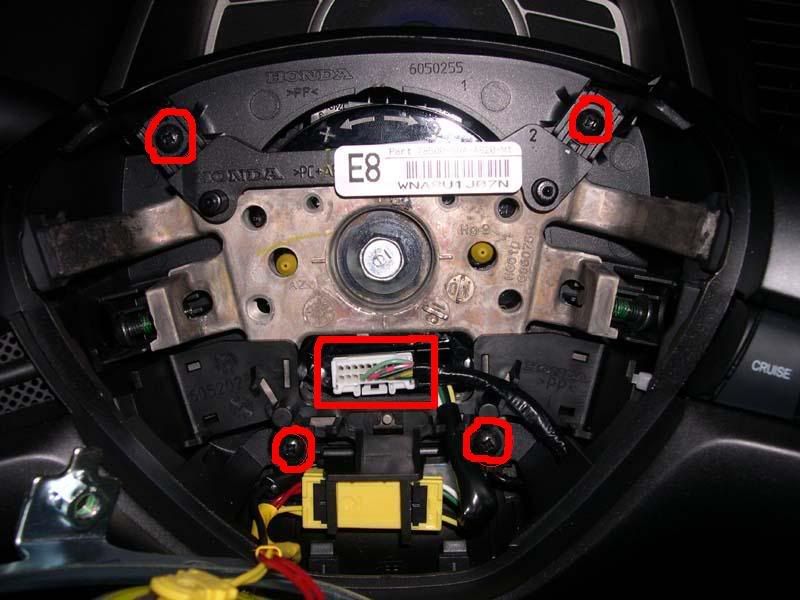
6. remove again 4 screws which hold steering trim and also disconnect main connector.
7. your steering trim now can be removed
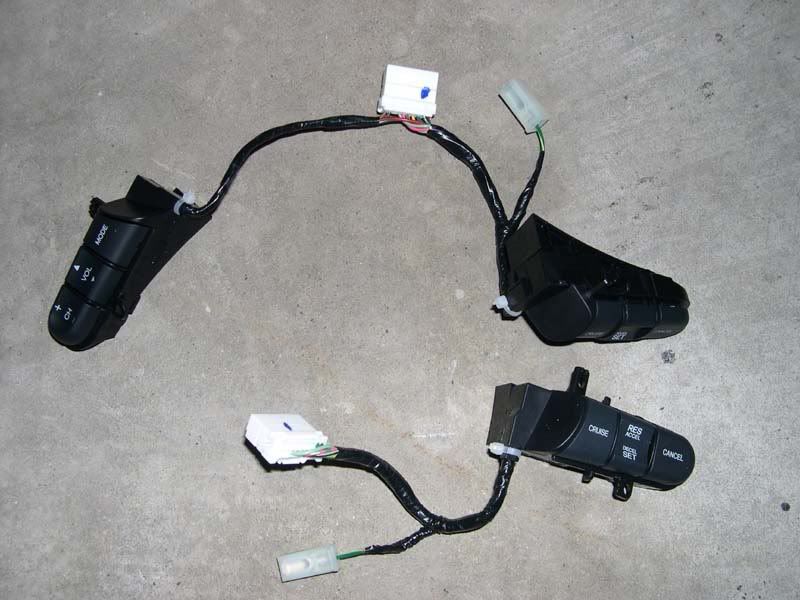
8. remove stock cruise control button - right side (auto only) and blank space - left side (and right side for manual)
9. install new audio and cruise control button
pic: top is new button (audio and cruise), bottom is stock button (cruise only)
10. reverse step 7 to step 1.
11. now you can go to sleep or continue stage 2
STAGE II
INSTALLING 2 EXTRA CABLES AT STREERING WHEEL
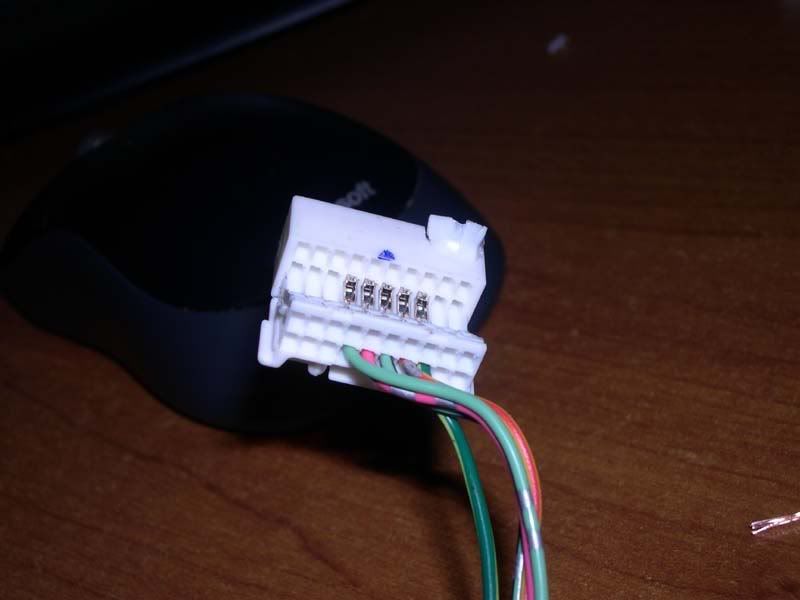
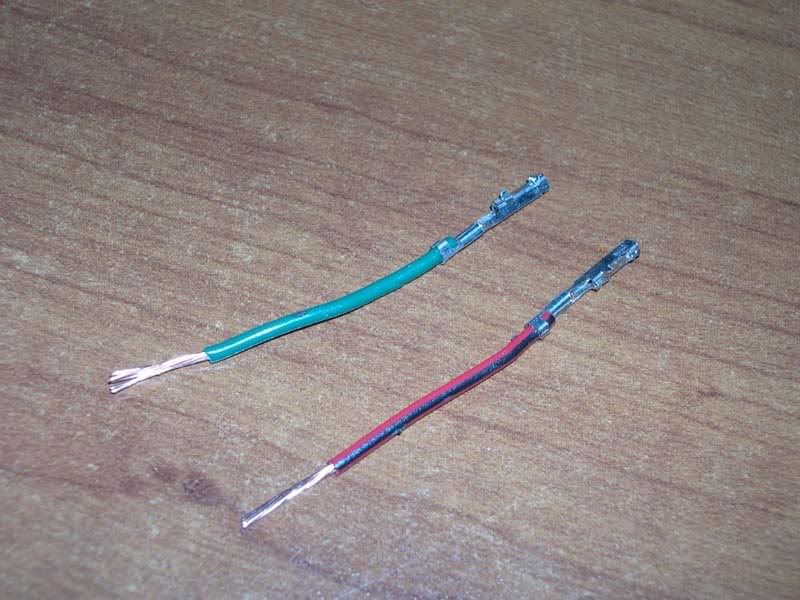
1. we need to run 2 extra wire from steering wheel to audio unit. means we need 4 pins and about 1.5 m cables.
2. take off 4 pins from stock cruise control button, but if u car is manual, i reckon u have to get these from computer pins.
3. assemble 2 pins at one side and 2 pins at other side with cable running between them about 1 - 1.5 m length.
4. don't forget to put some codes/label on them
5. Disconnect negative battery
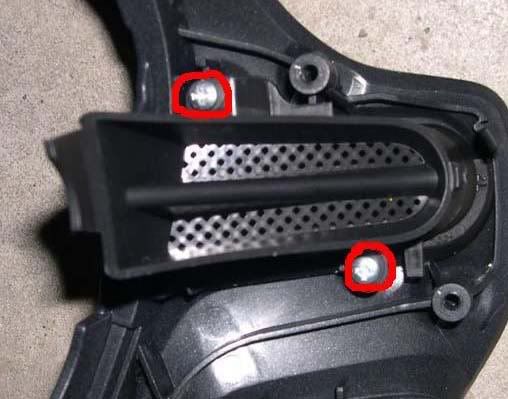
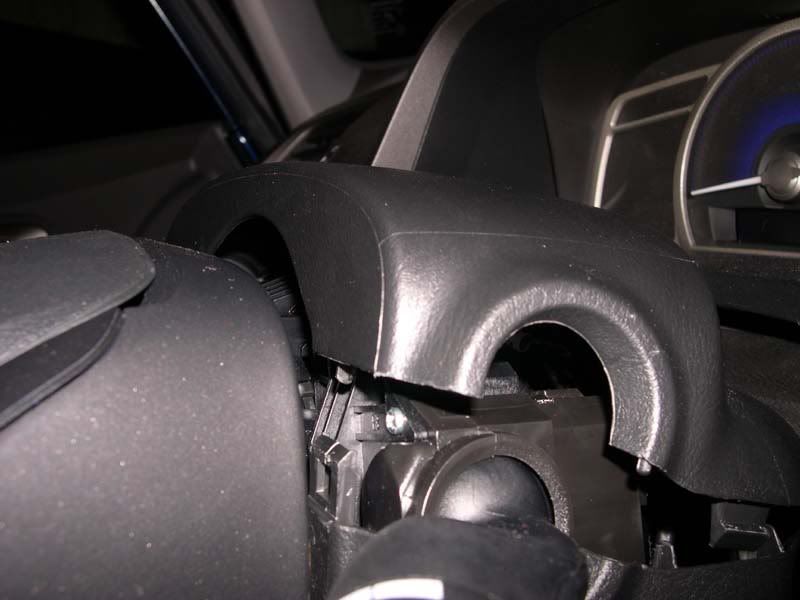
6. Adjust your steering wheel position to the lowest, and remove top section of steering wheel colum by push at each side and gently pull up.
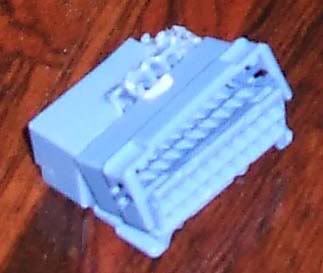
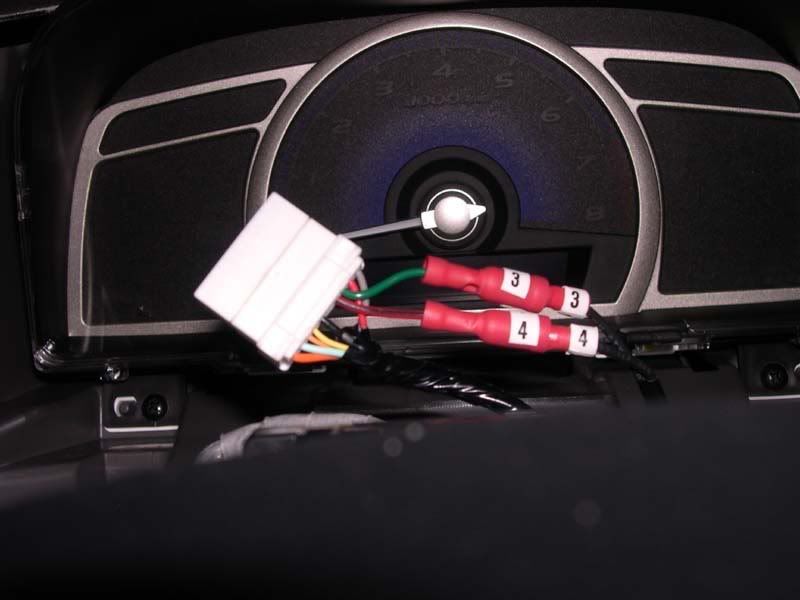
7. unplug main connector and on the top of the connector fry up the tap, it would only half open. half open like this pic.
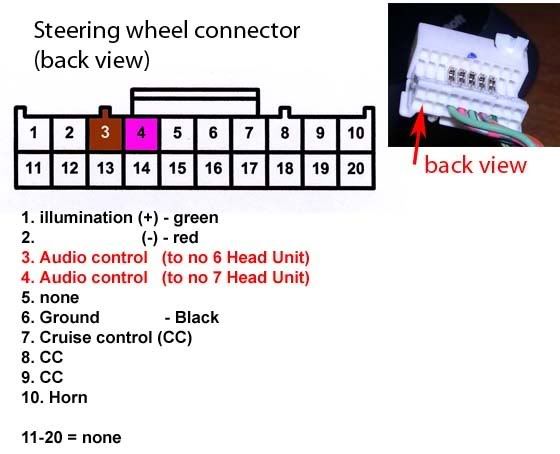
8. refer to the diagram to insert your new 2 extra pins/cables in. be carefull, once the pins go in, they can't go out again
*** make sure the pins go to right position and which side up ***
9. run the new cable to under the dash toward to audio head unit section
10. reverse step 7 to step 5
11. now you can go to sleep or continue stage 3


 Reply With Quote
Bookmarks