

Disclaimer: The following is provided as a GUIDE ONLY, and neither myself nor Ozhonda take any responsibility for the outcomes of someone else doing the following. You follow these steps at your own risk!
Aim: Install Amp + Sub on stock head unit
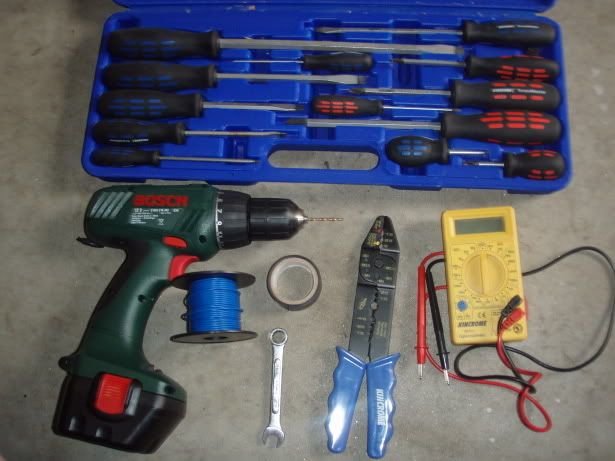
Required: 8 gauge AMP wiring kit
High to Low Converter
Electrical wire
Wire tappers, Crimps
Tools - Drill, Screw driver set, Voltage Meter, 10 Spanner
Electrical Tape, Crimps, Cable ties
Handy Info Before Starting
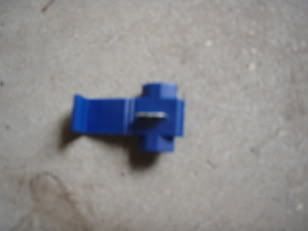
How to use wire tappers -
Simply get the two cables which need to be joined together.
Slot them in the holes making sure they dont overlap each other.
once they are inline close the lid peircing the two wires.
best of using some pliers to secure the lid down and making sure the
metal piece has pierced the two wires.
You can buy these from any auto or electrical store . 10 for $3 AUS.
Scratching Dash & Trim- Be careful with the dash and trim as the screw drivers leave scratch marks everywhere.
Taping Cable Black- I taped my cables black in eletrical tape to try and hide them it worked out better then seeing a red cable everywhere.
DIY
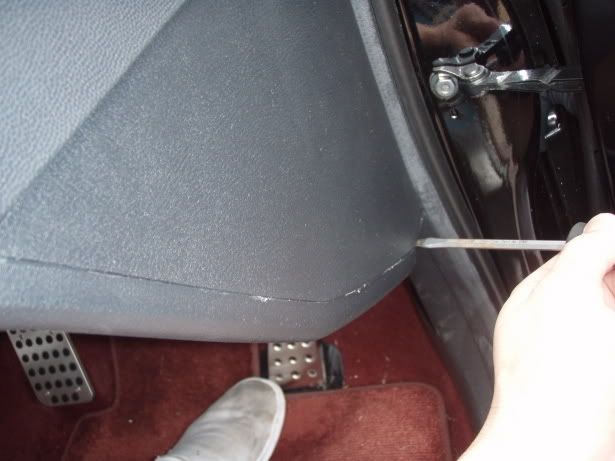
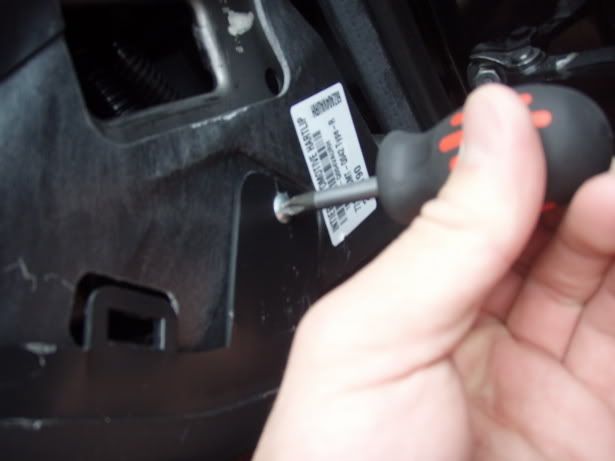
Step 1
Undo Dash so you can feed the power cable from the battery
Undoing the dash is pretty simple. With a flathead screw driver just pull away the corner piece first, you have to apply force But making sure you dont break the clips
then undo the screw and pull down on the dash peice to remove the dash under the steering wheel this will give you a clear view of everything under the steering wheel.
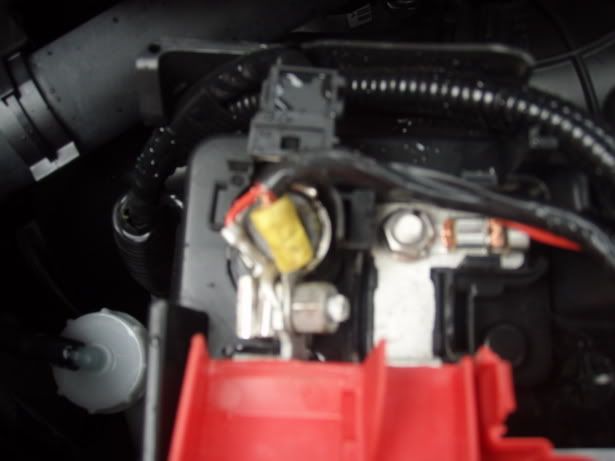
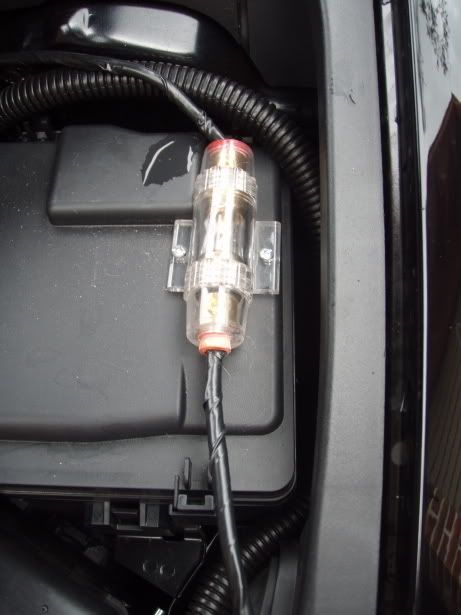
Step 2
Connect the Power cable to Battery then wire the cable to the inline fuse and screw it down to the fuse box
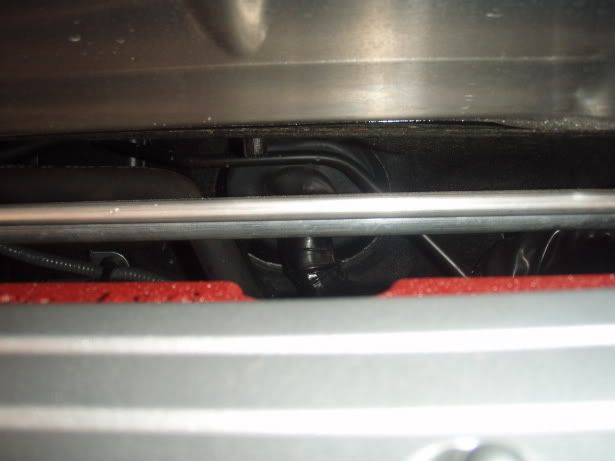
Step 3
Find the firewall hole Which is behind the engine and feed the cable through which comes in above the clutch.
Step 4
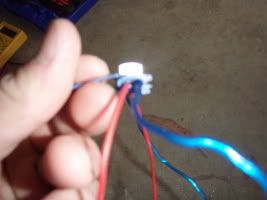
Remote Cable - Turns amp on and off
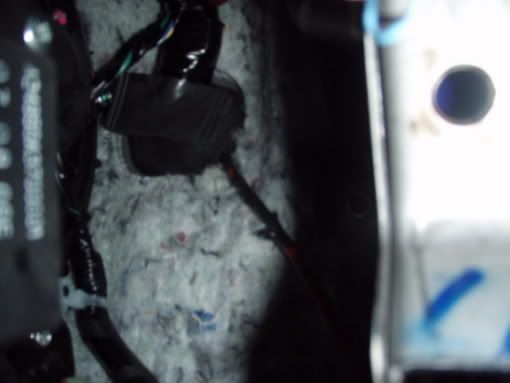
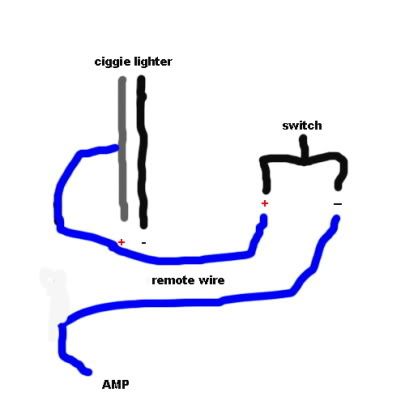
Wiring the remote cable is easy you just tap into the ciggie lighter.
The grey cable was the positive cable on my ciggie lighter so just tapped into that..Also my little diagram
shows how to wire up the switch so you can turn the amp on & off
Step 5
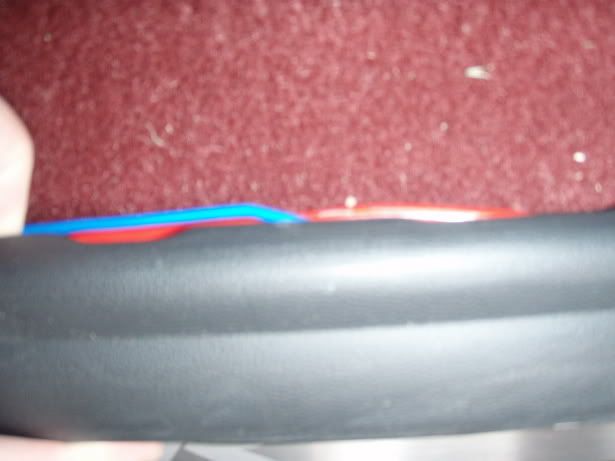
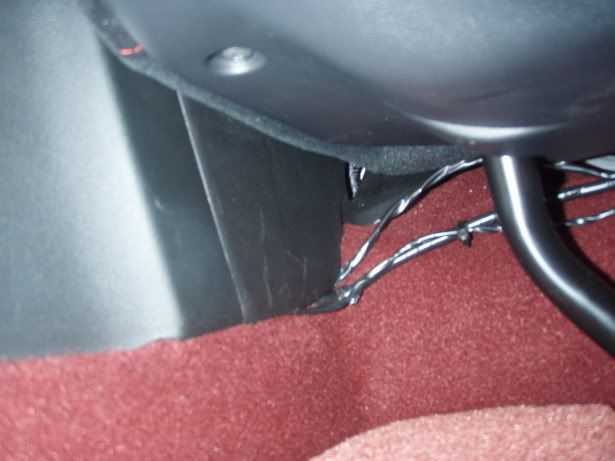
Running the cables down the car - As im only using 8 gauge it was simple to run the cables underneath the foot step thing on the side of the car then simply all the way through to under the seats.
Step 6
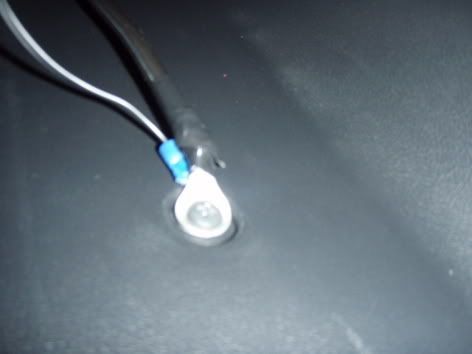
Ground Cable - Found an easy spot to ground the cable Simply under the back seat in the middle is a screw. Just undo it and ground your cable on that.
Step 7
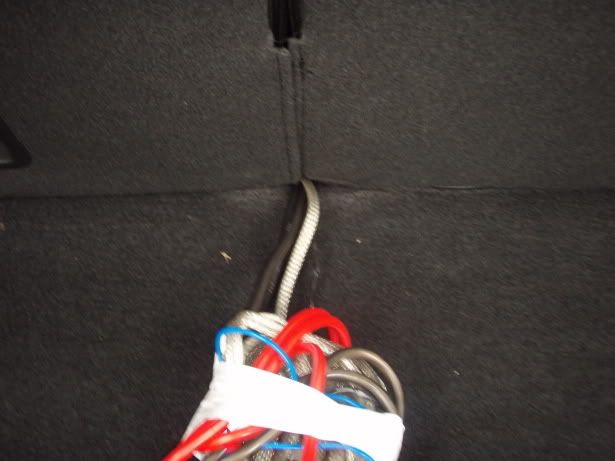
Feed the cables through to the boot. In the middle of the back seat you will look up and see the light through to the boot(if the boot is open). Feed the cables through that hole and get a friend to help you pull it through.
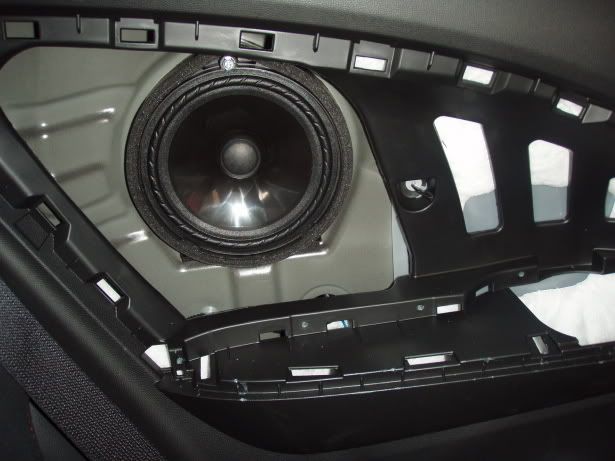
Step 8
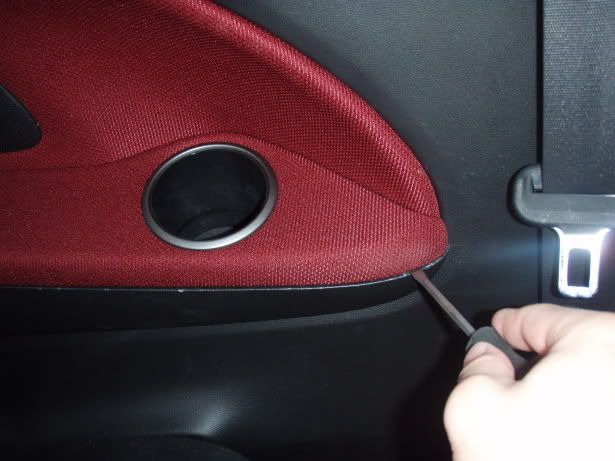
Getting to the speakers
Using a flat head lift up the cup-holder part and be careful once again not to mark the surroundings.
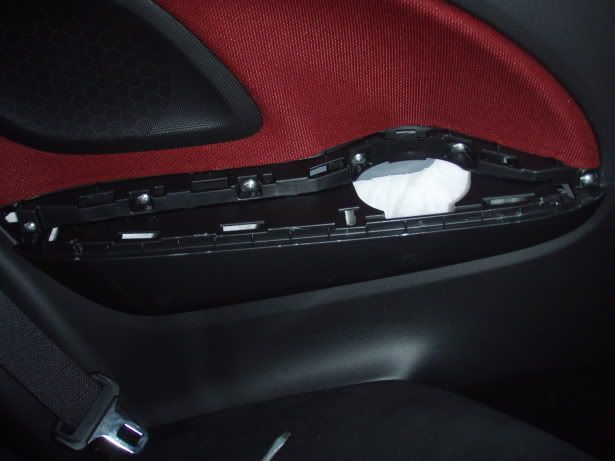
Once that part is up you will discover 6 screws undo them.
Then pull the speaker cover part off ( you may need to use your flathead to pull this part up a little)
Step 9
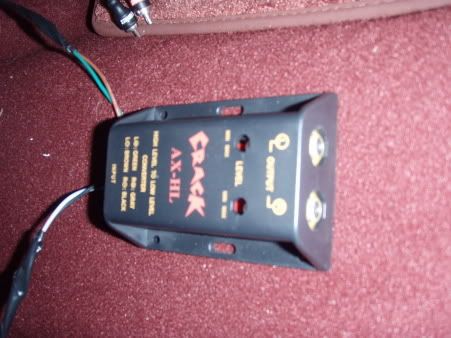
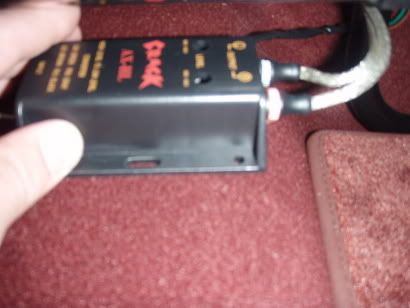
Installing the High to Low Converter
undo the top screw on the speaker and pull the speaker towards you with force. Once the speaker is out unclip the speaker.
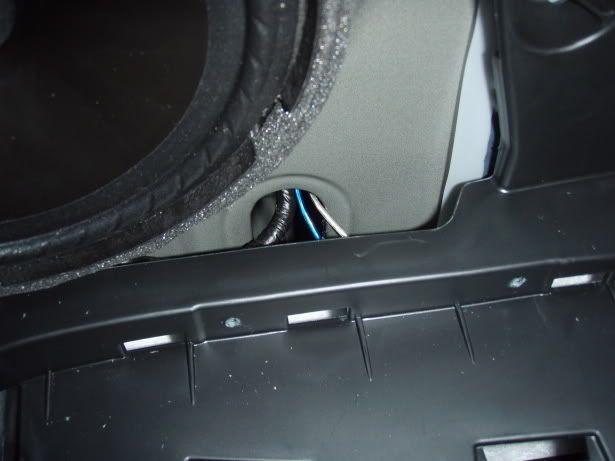
You will have the speaker cables Tap a wire into the left and right cable.
It doesnt matter which cable ends up being left and right as long as you remember and it works out to be the same each side.
wire this down and through the little hole below the speaker and all the way down under the trim till you reach below the seat and wire onto the High to Low Converter.
Then Repeat on the other side
Step 11
Connect RCAs and feed the RCAs up through the hole towards the boot.
Then mount the High to Low converter to the bottom of the seat using the drill make small holes for the screws to go in
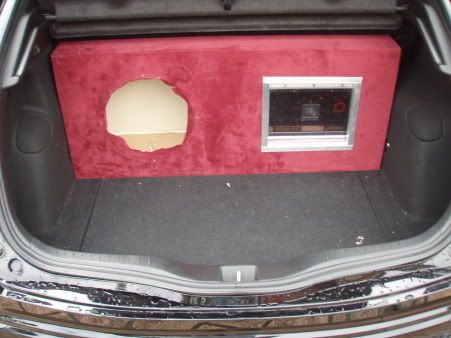
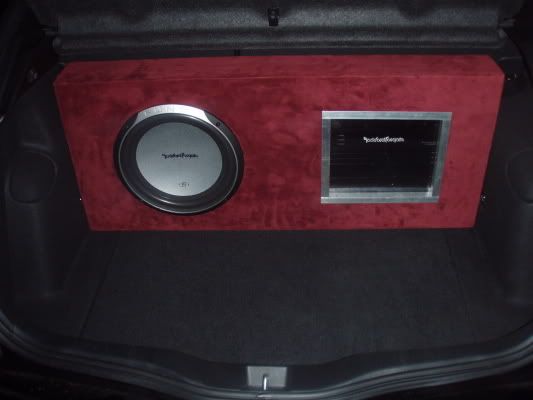
Step 12
hook up all the neccassry wires up to the amp and mount amp or use a custom sub box like me.(thanks SITTA)
Step 13
enjoy your new sound system
Other Comments -
Wanna turn off the SUB - i installed a kill switch as there is no way to turn off the amp. I did this by tapping into the remote cable and wiring one cable from the brake and one from towards the amp then wired them across under the steering wheel. Then underneath the centre console and drilling to small holes on each corner of the cup holder. Fed the cables through and put a switch in there.
How long did it take?? about 2 hours with a lunch a break
Easy way for remote cable - use the cigarette lighter in the boot. I never knew it was there till the end.


 Reply With Quote
Bookmarks