

Hello Ladies and Gentlemen, and welcome to my first DIY!
Disclaimer: The following is provided as a GUIDE ONLY, and neither myself nor Ozhonda take any responsibility for the outcomes of someone else doing the following. You follow these steps at your own risk!
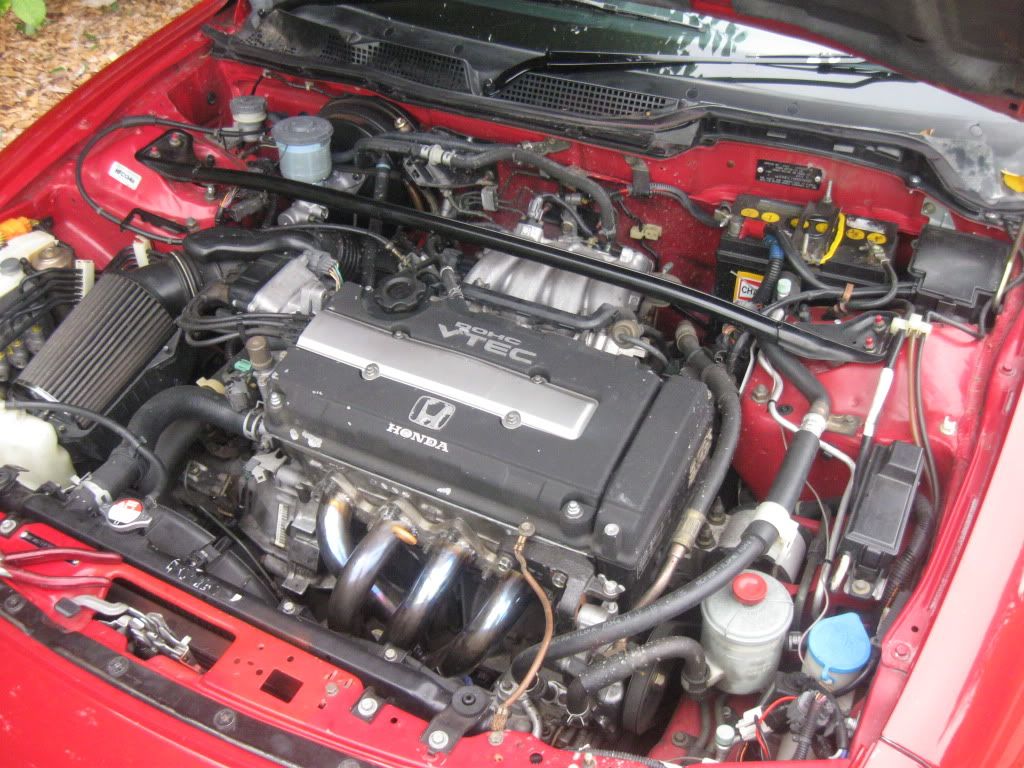
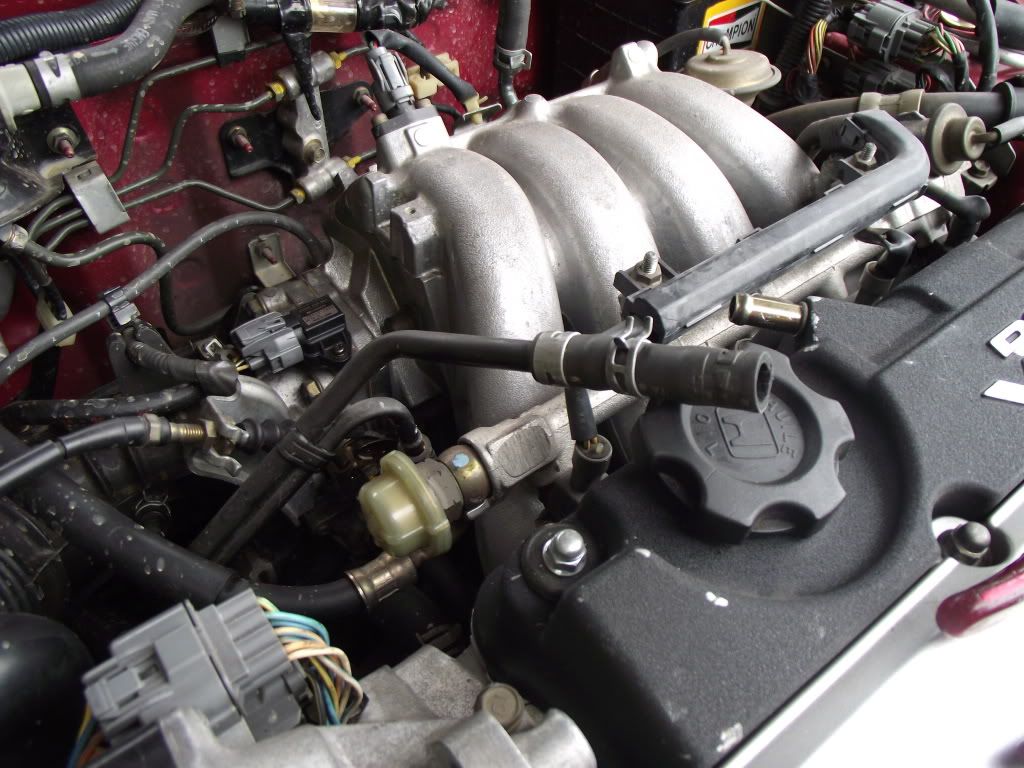
As many may know, one of the causes of blue/grey exhaust smoke and burnt oil can be a clogged PCV valve. many overlook this, or put it off because the B18C2 engines intake manifold is upside down as apposed to most hondas, making it quite difficult to access the PCV valve.
Today I've managed to find an alternate and quicker way of doing it as opposed to removing the manifold. It's a bit tricky if you have big hands, but still do-able!
Aim: To replace the PCV valve on a B18C2 whilst leaving the manifold and it's components intact.
Required: New PCV valve, 12mm socket/spanner, coat hanger, pliers (preferably needle-nose).
Steps:
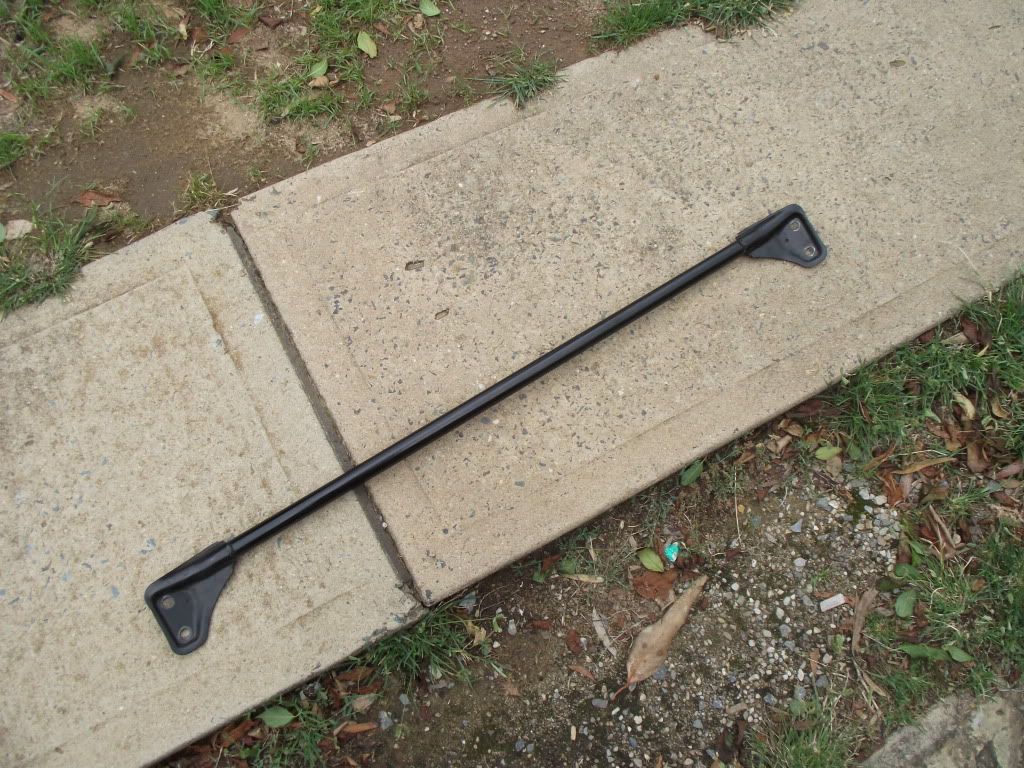
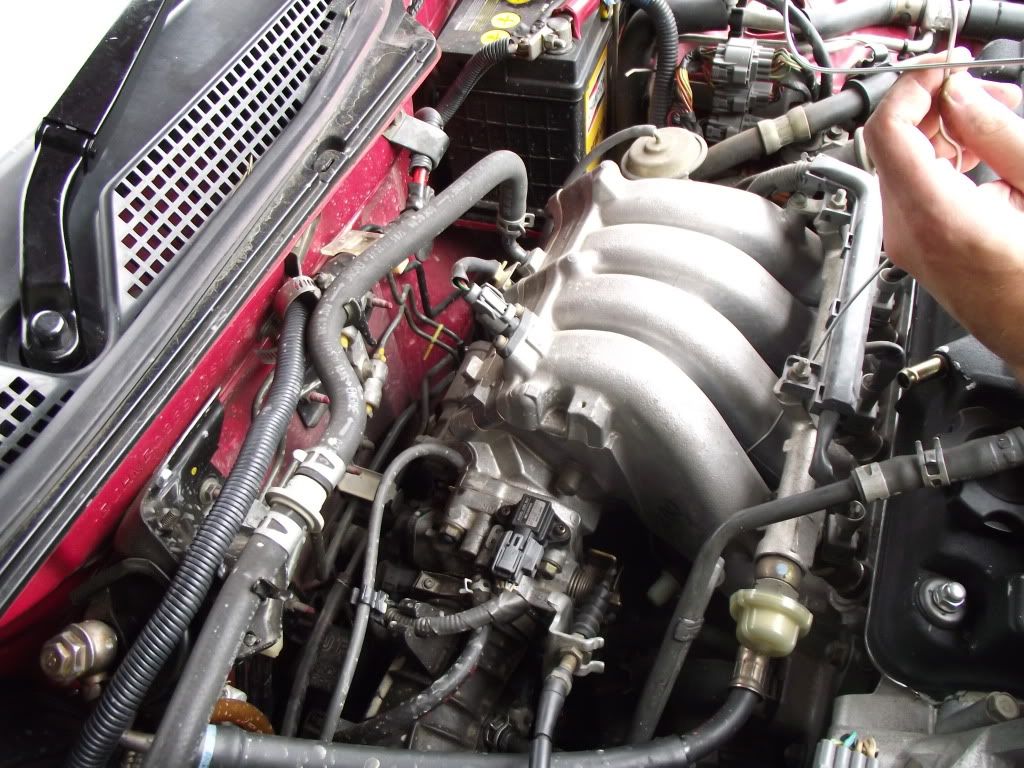
Step 1: Remove the strut brace, this is done by simply removing the two nuts on either side.
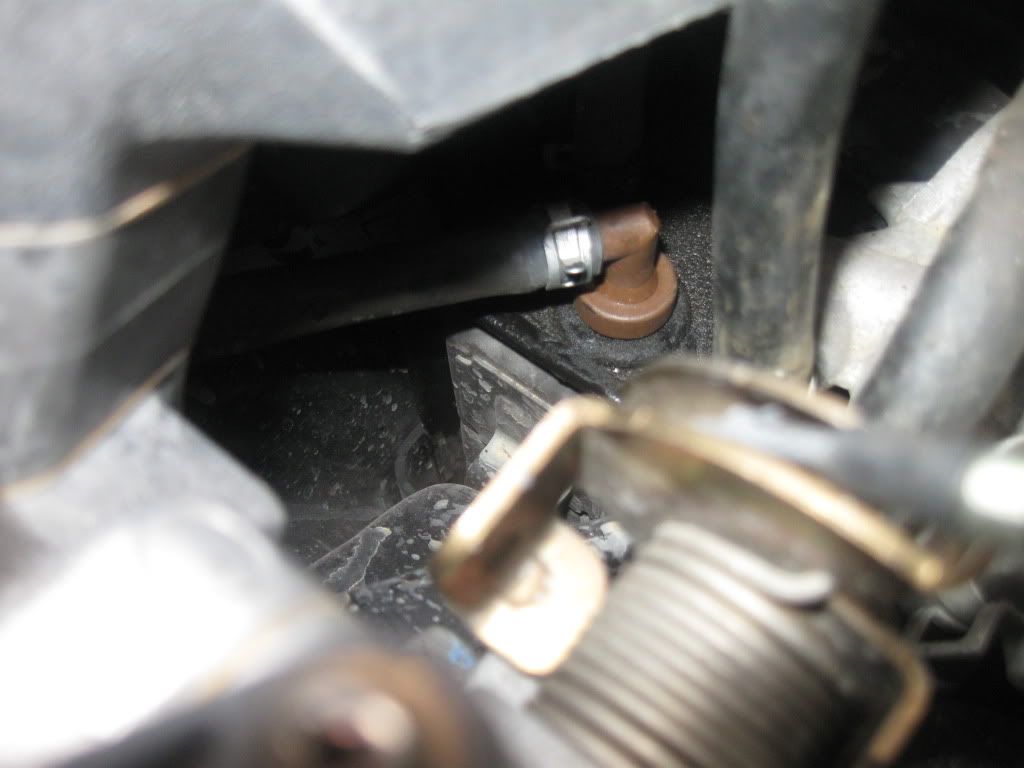
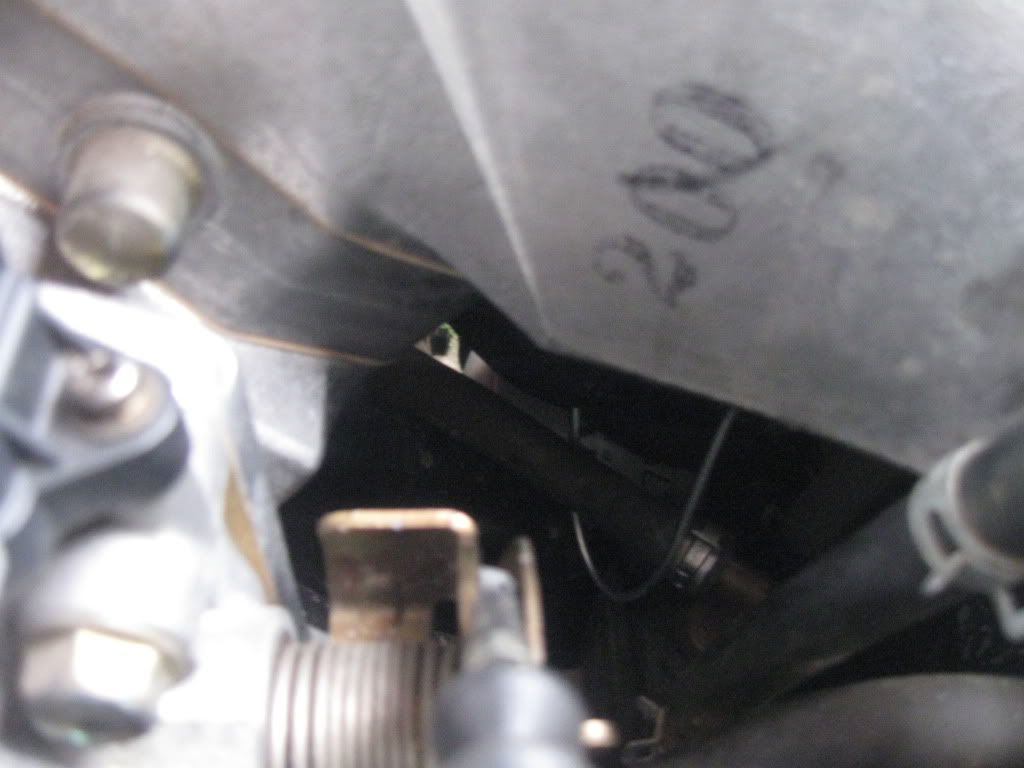
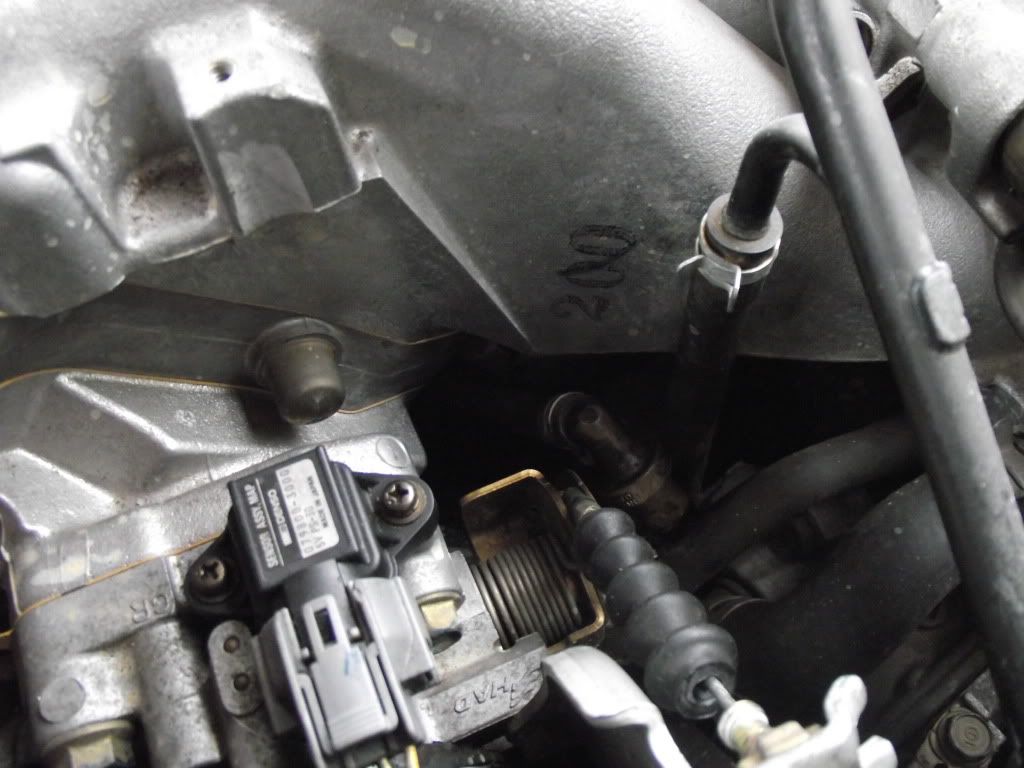
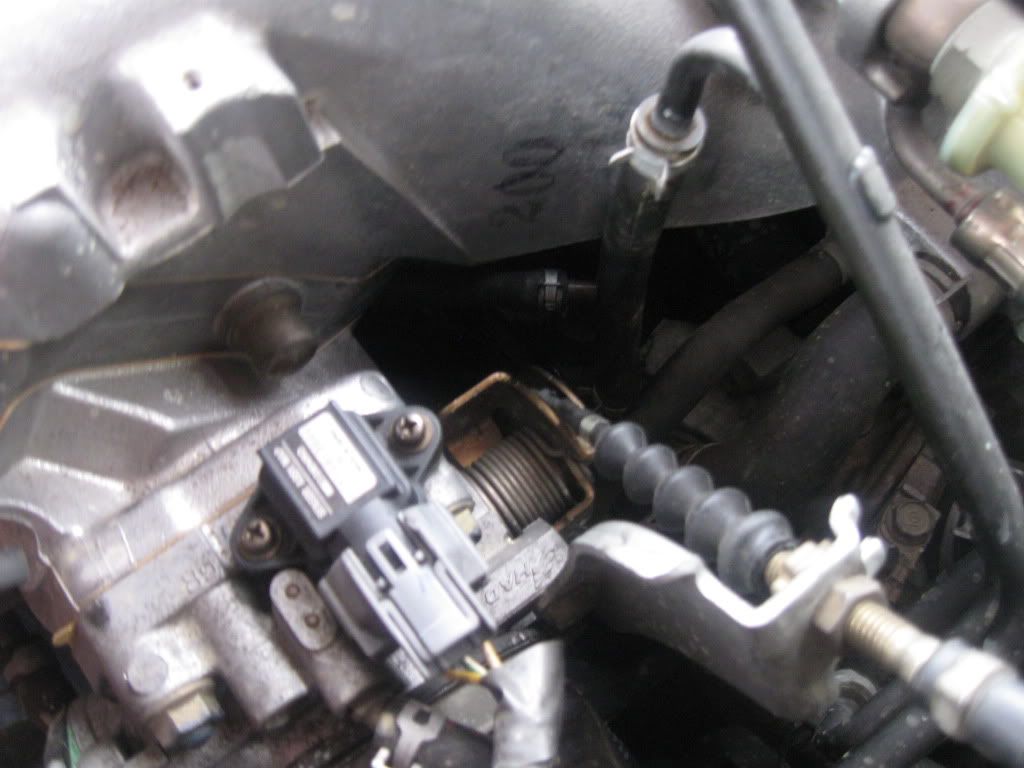
Step 2: Locate the PCV valve. If you look down under the left side of the intake manifold you'll see it here.
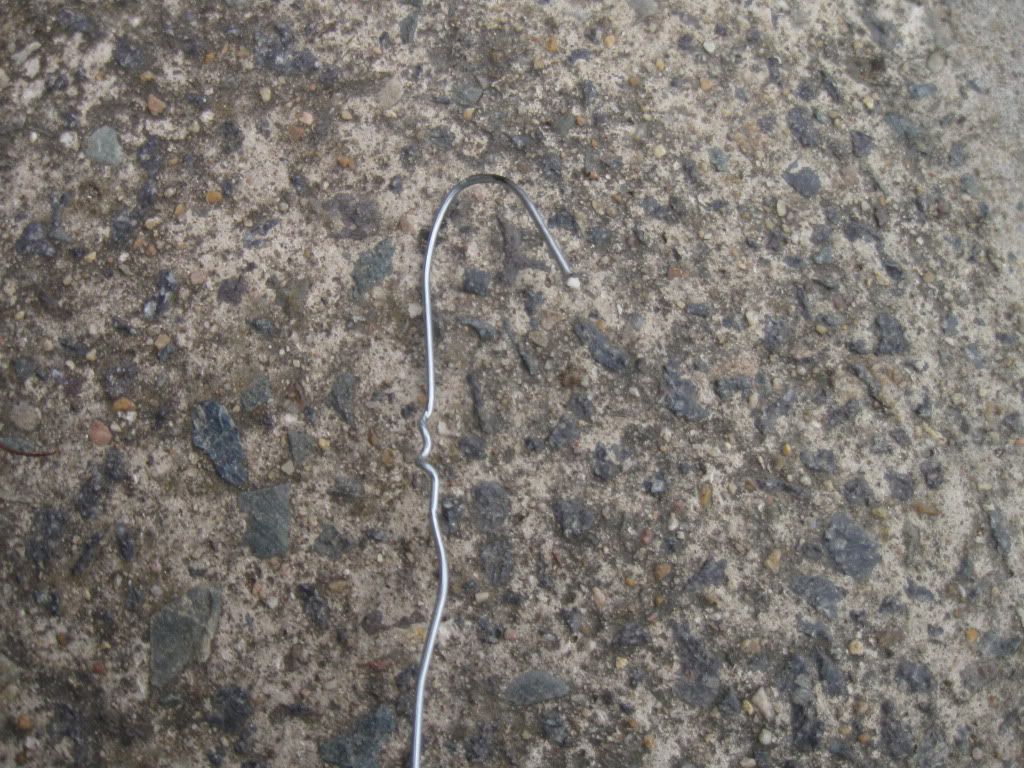
Step 3: Unravel your coat hanger and straighten it out a bit, then make a narrow hook on one end like this. This will be a handy tool to pull the old valve out with!
Step 4: Disconnect the breather hose to the valve cover and pull it to the side to give you a bit more room, like this.
Step 5: Insert your coat hanger tool through a gap in the intake manifold or through the side and get that hook around the hose connected to the PCV valve. Get it as close to the valve itself as you can, like where the hose clamp sits would be ideal.
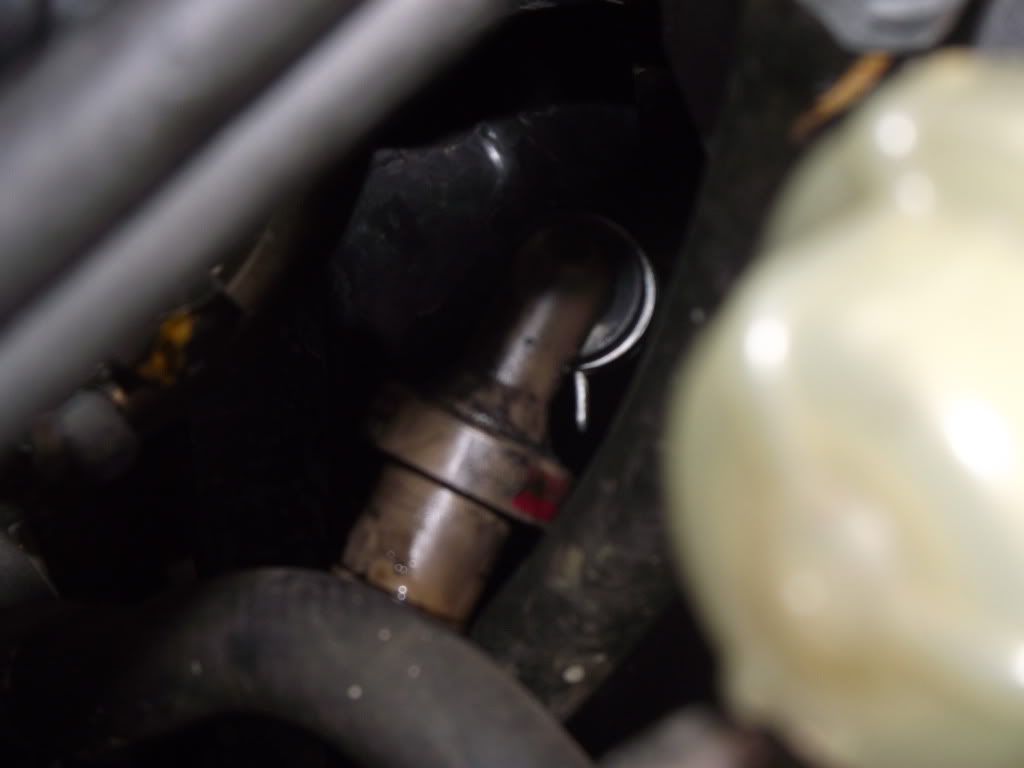
Step 6: Pull that sh*t! It may take quite a bit of trying before it comes out if it hasn't been replaced in a while. It should eventually just pop out.
Step 7: Here's the tricky part. It's still connected to the hose. Try to pull it out the side of the manifold enough that it exposes the hose clamp enough that you can get your pliers on it and slide the clamp back. (This is much easier with needle-nose pliers, sadly I didn't have any.) Then just pull on the valve and twist the hose a bit with the pliers if you have to, and it should come out.
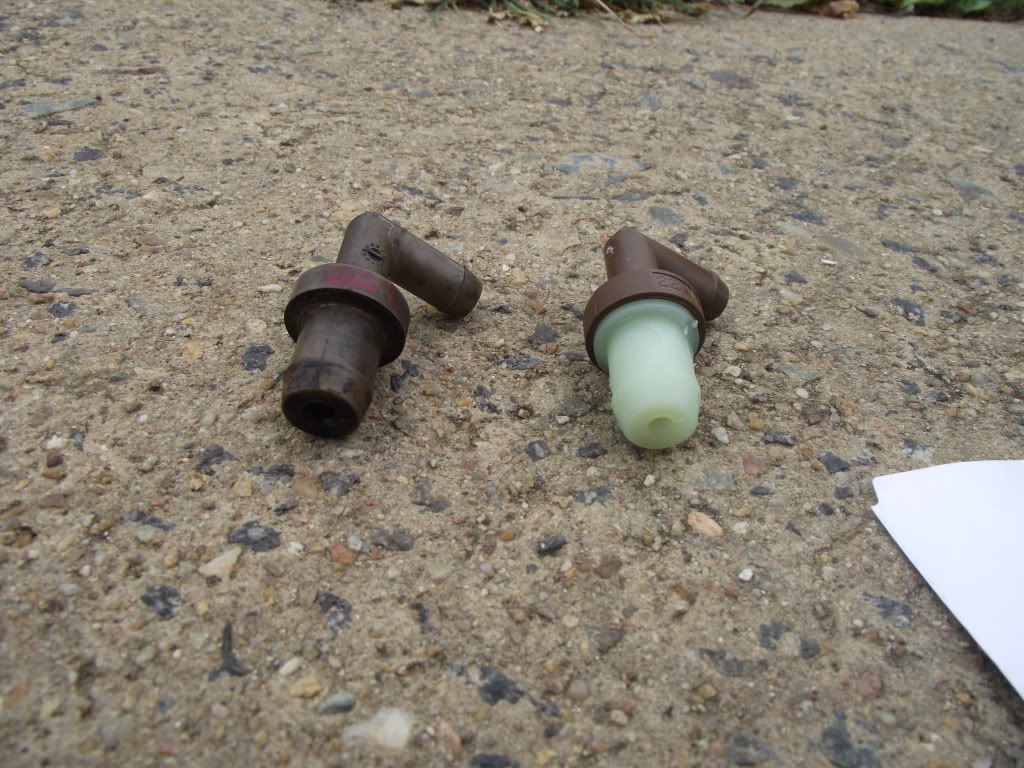
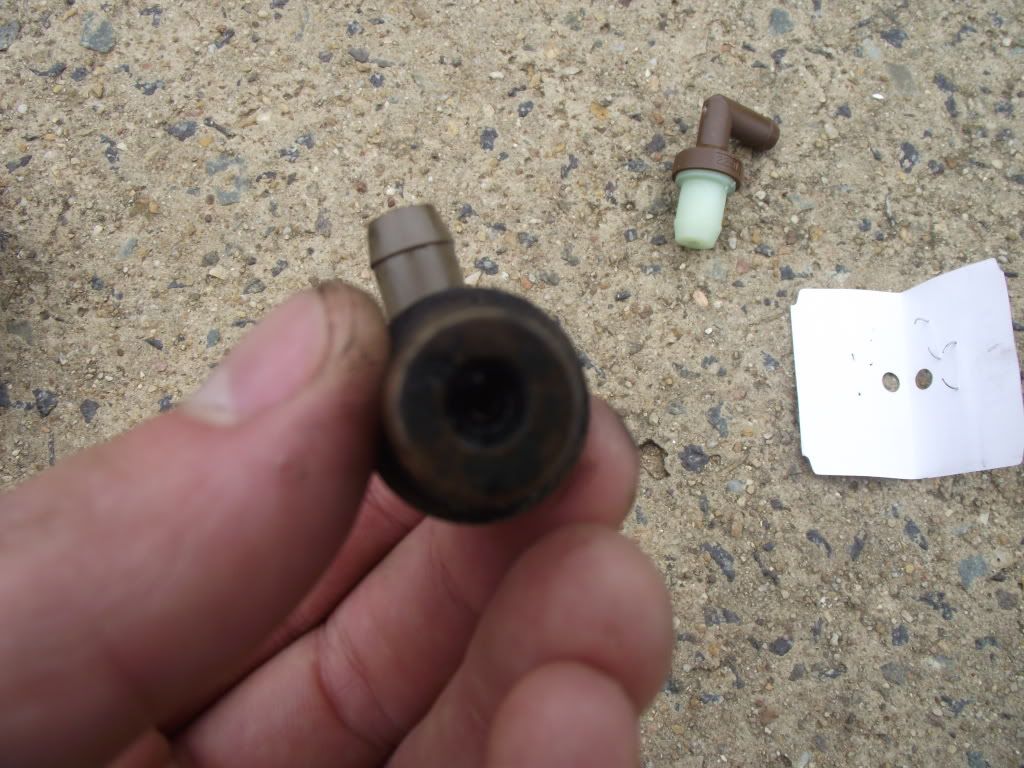
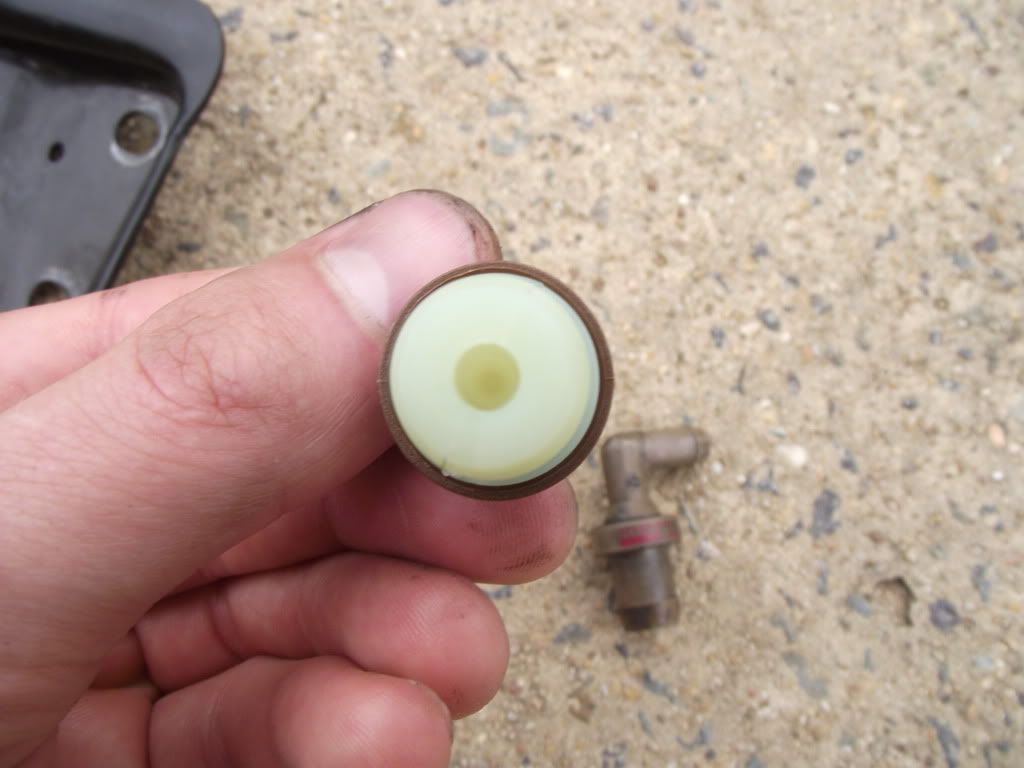
Here's a comparison of the dirty old valve and the new one.
Step 8: Stick the new valve in the hose and slide the hose clamp back to where it was before, then just try to get your fingers in under the manifold and simply push it back in!
Final Step: Reassemble everything in the reverse order to the way you took it out! This only really includes the breather line and the strut brace...
Done!! hope this was useful to anyone wanting to try this!
Other comments: Be prepared to get your hands pretty scratched up as you'll be working in a small space here. And when you're putting the new valve in, just be careful not to drop it!
I encourage anyone who's never done this to give it a go, PCV valve are cheap as chips.
And good Luck!


 Reply With Quote
Bookmarks