

Disclaimer: The following is provided as a GUIDE ONLY, and neither myself nor Ozhonda take any responsibility for the outcomes of someone else doing the following. You follow these steps at your own risk!.
Aim: To get Yellow/Cloudy Headlights back to near new. I am doing this to encourage a few out there (especially ep3 owners) to spruce up their headlights without having to purchase new ones.
Required: Headlight Restoration Kit. In my case from Repco as it has everything but a hair dryer.
Steps: I followed the steps from the instruction (very easy to follow) but i thought i might help someone by putting a Human touch to instruction.
The Kit (No the bin doesn't come with it)
It comes with everything you need.
1 x Roll Masking Paper
1 x Masking Tape
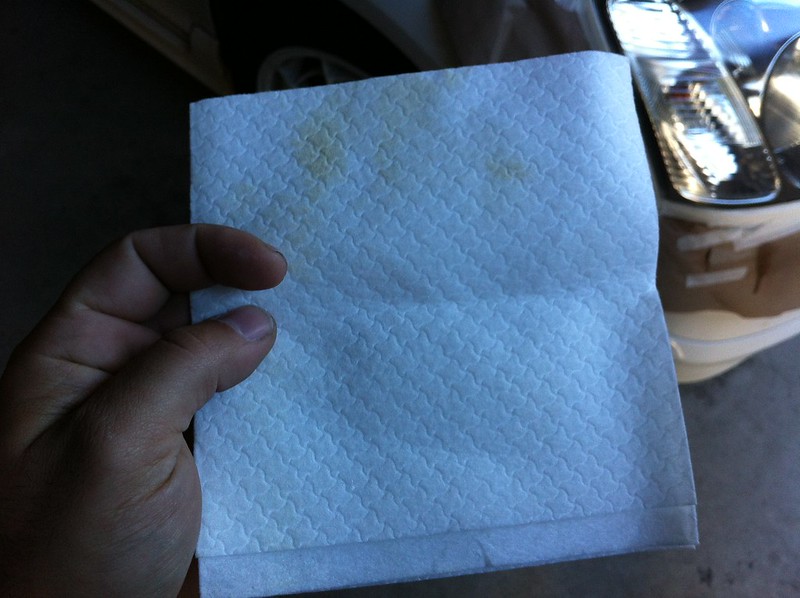
1 x White Paper Towel
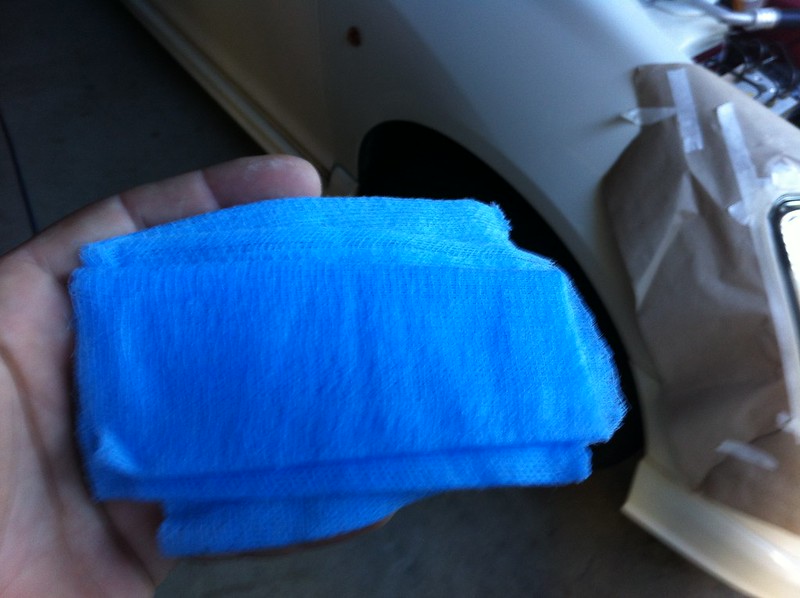
1 x Blue Tack Rag
3 x Sheet Fine Sanding Paper (seems 1000+ grit)
3 x Sanding blocks (seems 400 grit)
1 x Spray Can UV Protectant Sealant
You will also need a Hair dryer
Step 1:
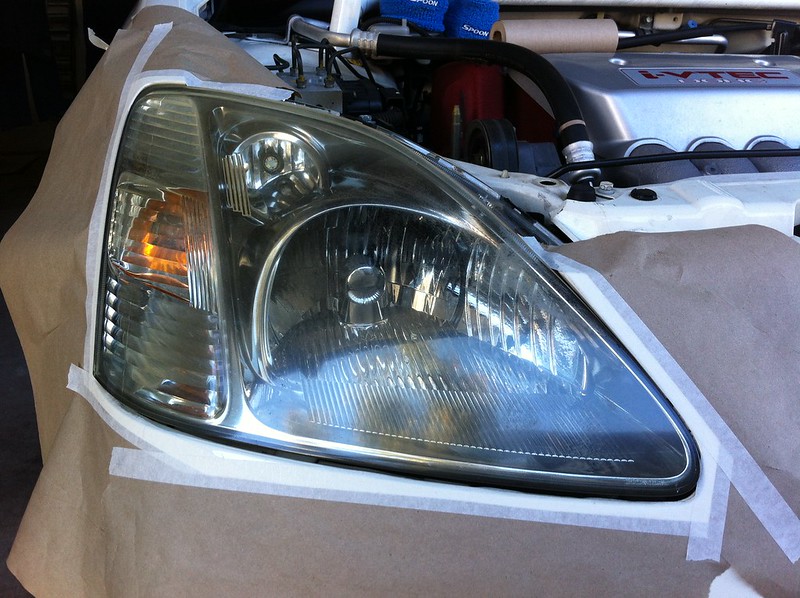
With the supplied paper and tape cover up the area around the headlight. Make sure once you put the paper to reapply more masking tape around the headlight as it will help not sanding your body panels.
As you can see in the above picture, my headlight has a yellow tinge and cloudiness/scratches.
Step 2:
Use the sanding block provided and sand the entire surface of the headlight. Put your elbow into it and make sure you remove the yellow tinge/cloudiness off. Step back to have a look if you have missed a spot. Don't worry your headlight will be fine. Make sure you sand it thoroughly as it is key to a good finish.
Once you finish with that, take the finer sanding paper and start sanding the headlight smooth until "balling up" on sand paper stops occurring.
I went in a linear motion but doesn't have to be that way.
Step 3:
Take the white paper towel supplied and wipe the entire headlight from dust, then take the blue tack rag and wipe off gently the dust/fibres.
Step 4:
Shake the Spray can supplied for 3-4 minutes (put on your favourite song and shake as long). Once done, spray a "dry coat" over entire headlight so it has a matt finish.
Let it dry for 3 minutes and this is where the hair dryer comes into it. You may notice slight cloudiness in different areas. If this occurs use your hair dryer to blow hot air on the headlight for up to 1 minute and the cloud will disappear.
You may want to practise spray on the paper as i have or somewhere else.
Once it has dried, apply the second coat over the entire headlight and follow the same procedure as above with the hair drier if required.
Remember 1st coat Matt, 2nd coat semi gloss.
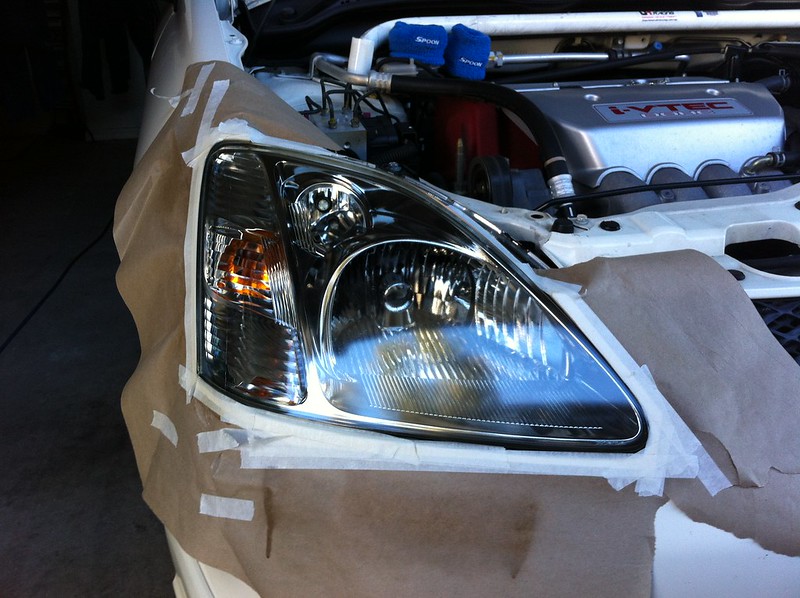
This is the end result (i must admit i did rush as i was between jobs and that was the only time i had) It should take about 10 minutes/headlight maybe more if you take extra care.
Before/After
I hope this helps you guys!


 Reply With Quote
Bookmarks