

FYI a few pictures to give an idea of how the SP2 mounts and the removal process.
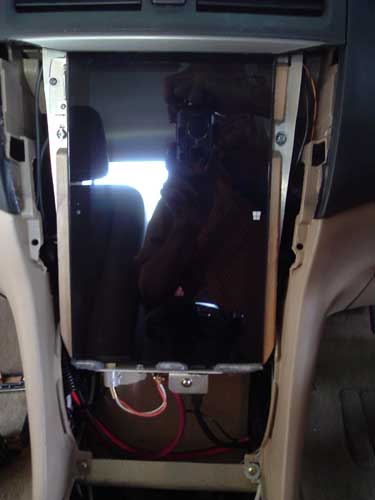
First a picture of the Tablet sitting on the Docking Cradle plate without the Dash Cover plate. The Dash cover plate will be fixed in place and fills and follows the shape of the existing dash.
The Docking slide is at the bottom of the Tablet, the opening below is part of the aluminium frame I have built that follows the inside cavity from top to bottom, it bolts in place using the existing bolt holes and attachment points as the OEM lower Pocket and upper Radio/CD/HVAC control unit. Behind the Tablet Cradle is a shelf that holds the 10 port USB2/3 HUB and at the top of the frame behind the top part of the tablet is the Charger/supply for the SP2.
Now a view of the SP2 sitting in the Cradle with the outer fixed Dash cover plate installed. At the bottom of the opening is the Docking slide that holds the USB plug and the Audio Line out plug.
I haven't made the cover trim insert as yet, it will sit over the outer fixed Dash cover plate and will clip in and hold the tablet against the Cradle plate and basically lock it in position.
When installing the Tablet, it is held by the lower edge and placed into the cradle, top first, and raised slightly, the tablet is then placed flat in the cradle and sits on the lower pedestal, it can't move as it's held in a frame, there is plenty of room to raise the docking slide with one finger and the tablet is ready to go. Place the (unmade) cover trim into the opening and the tablet is locked in place.
Removal is the opposite, remove cover trim, lower the slide (it can only move an inch) and lift the tablet out through the opening. This is a 5 second task.
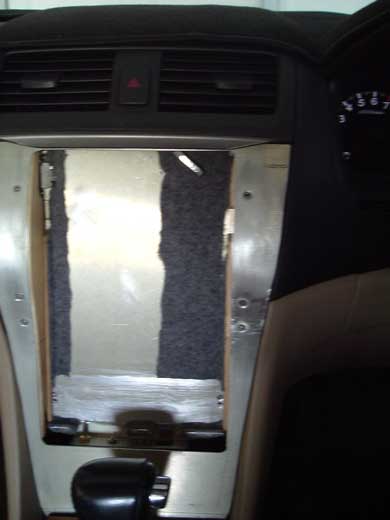
Below is the Tablet removed from the docking Cradle, the Docking slide is slightly out of view.
All of this has to cleaned up and parts of it redone, these were the prototypes to get everything fitted correctly, It all comes out like removing the OEM Radio/CD/HVAC unit and lower pocket, only a lot easier. I'd estimate a 5 minute job to remove it all.
Now on to the fun part - making everything look nice.
I've been doing a bit of driving with it and so far everything has been working perfectly.


Bookmarks