|
-
DIY - 22mm dc2 swaybar on da9
Disclaimer: The following is provided as a GUIDE ONLY, and neither myself nor Ozhonda take any responsibility for the outcomes of someone else doing the following. You follow these steps at your own risk!
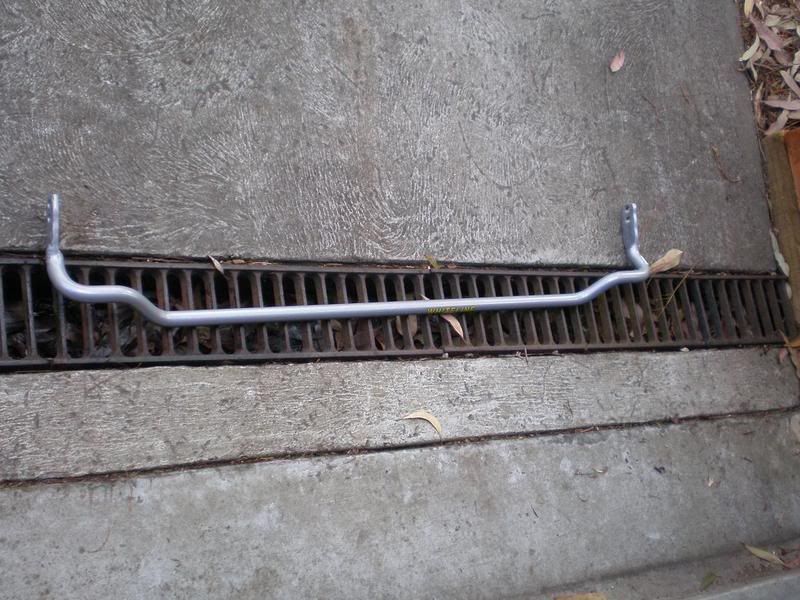
aim: to install something thicker than the 18mm swaybar that whiteline make specifically for da9 - ie the 22mm dc2 item
tools required:
socket set
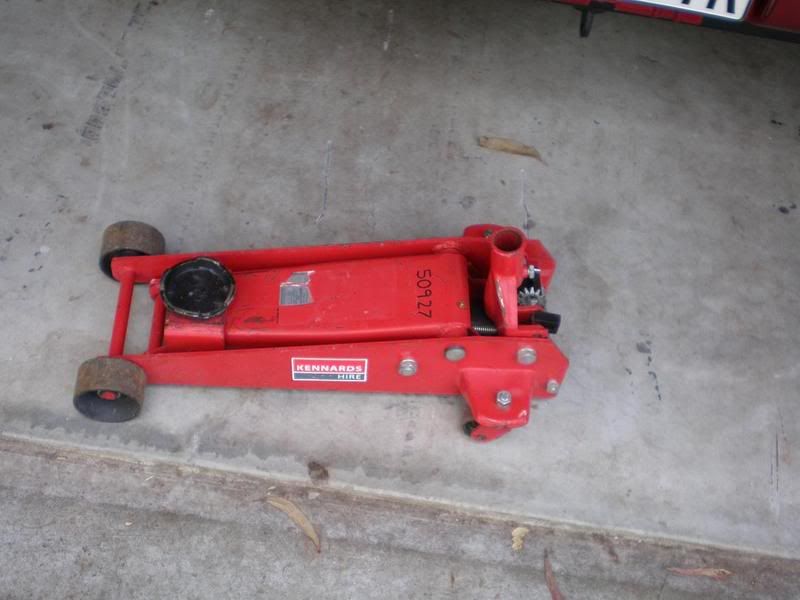
jackstands
jack
HEX KEY - DO NOT START THIS IF YOU DONT HAVE ONE!
packing grease
22mm whiteline swaybar kit for dc2 (der)
big mofo drill (ie not cordless)
steel drill bit
method:
1) loosen your wheel nuts when the car is on the ground
2) Jack your car up using the beam running from your tow hook
3) remove your wheels
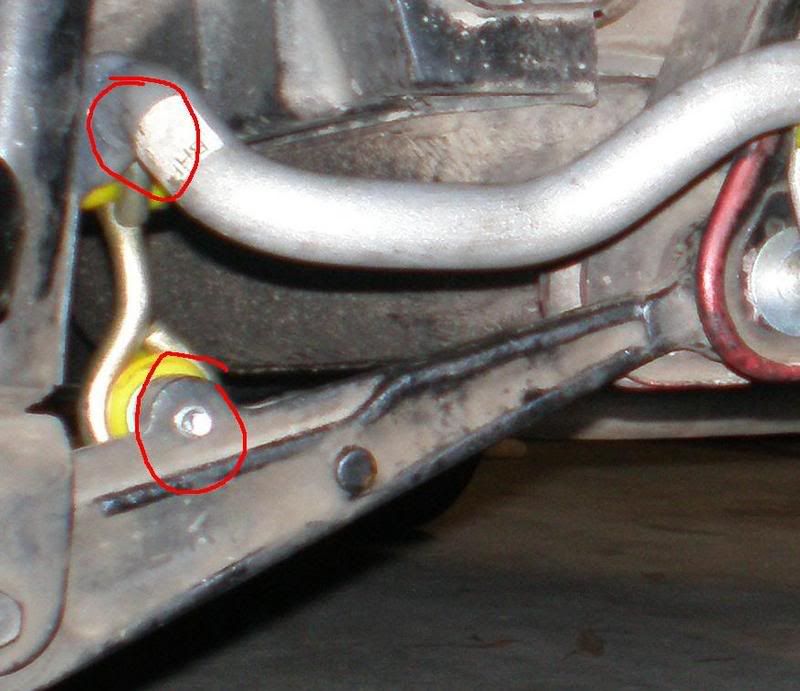
4) remove the mounts for the stock swaybar closest to the rear of the car - there are two bolts for each one, and they are the highest mounting points for the bar. unless you are planning to return the stock bar to the car, you'll never need these parts again. ever.
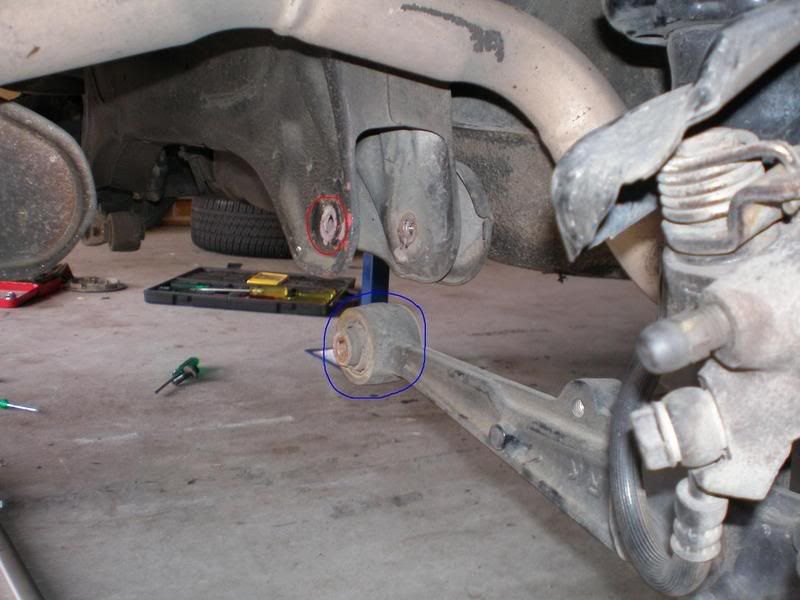
5) remove the bolts holding the swaybar to the lower control arms
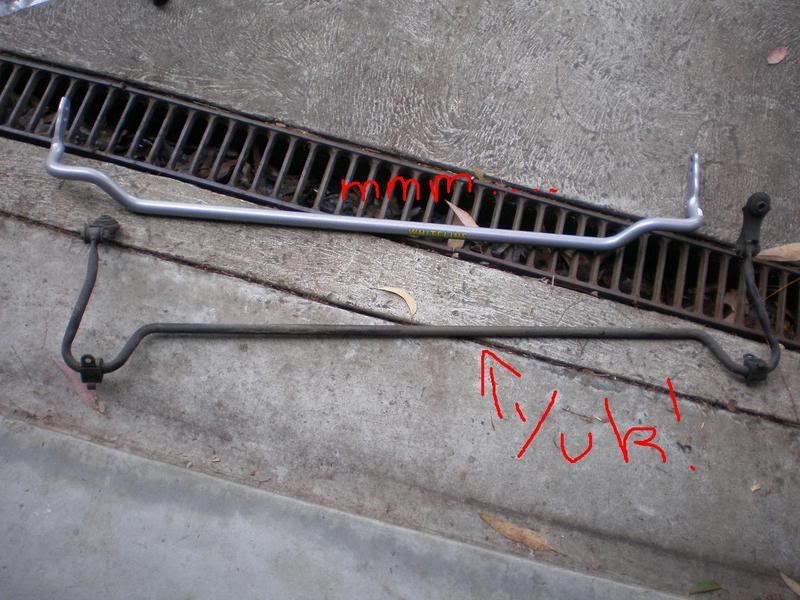
bit of a comparison...
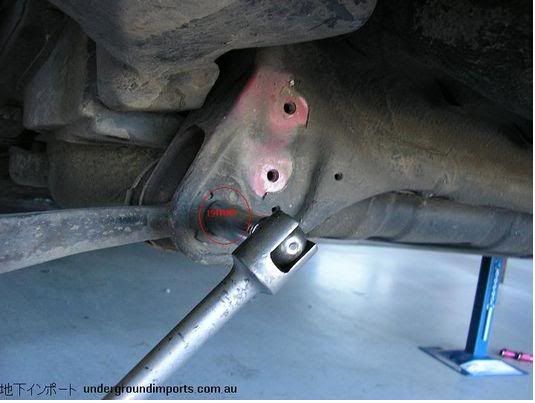
6) remove the lower control arm bolts. again, if you dont plan to restore the car to stock you wont be needing these again. they can be mofos to get out, and you will most likely find that you after unscrewing them you need to put a screwdriver in the other end and bash them out. if in doubt, hit harder
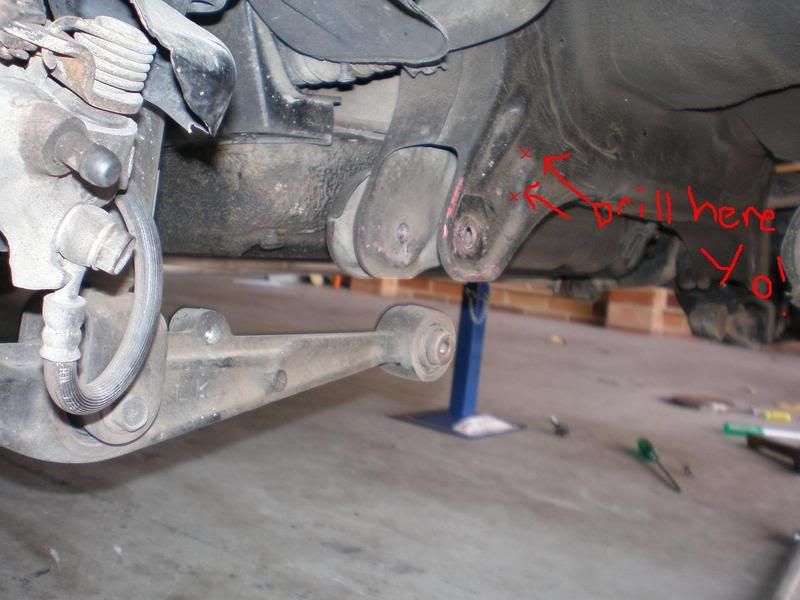
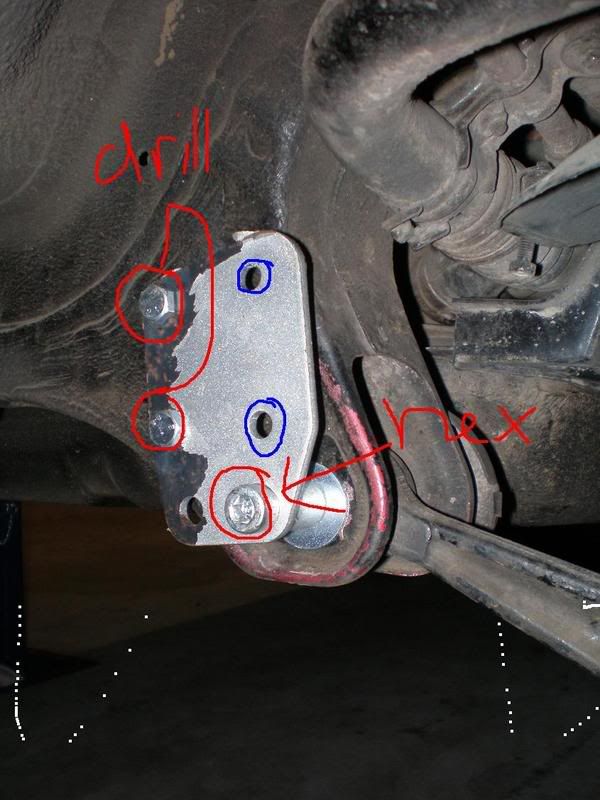
7) line up the mounting plate with the protrusions pointing towads the front of the car. mark the two spots where you have holes on the mounting plate, but not on the subframe. its about to get fun
8) i used an 8mm drill bit, but size up and use whateve ryou think is best, my holes were probly slightly too large, but hey. drill the two holes - this could take a while as its quite thick in places
this is what your new holes will look like - this is travs pic and i take no credit for it whatsoever
9) once youve drilled the holes, put the mounting plate on and just check that all the bolts slide in ok
10) using the new lca bolt ( the hex head one) install the mounting plate, then a washer, then through the subframe and lower control arm. when doing this its necessary to support the hub assembly with another jack, or similar so that the lca lines up and you can put the bolt through. i
initially, i put the jack under the very end of the lca, with the hole in it, then once i had the bolt in, i put it right over the other end, towards the brake disc, and bashed it in
now you'll need to put nuts on the end of the bolts which have gone into your brand spanking new holes (the ones you drilled). this is easier said than done, as their aint a lot of space up there. once i got them on, which took some sweet time, i held the nut with a spanner and rotated the bolt with a socket attachment
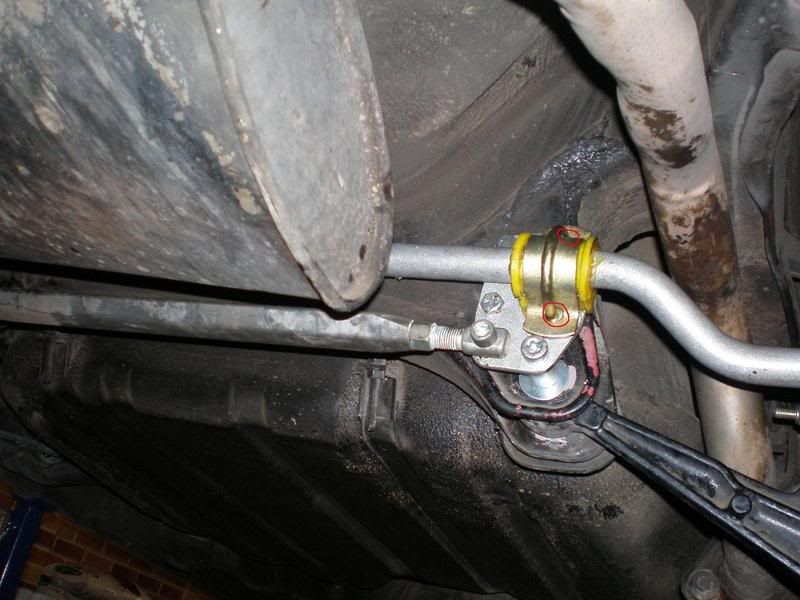
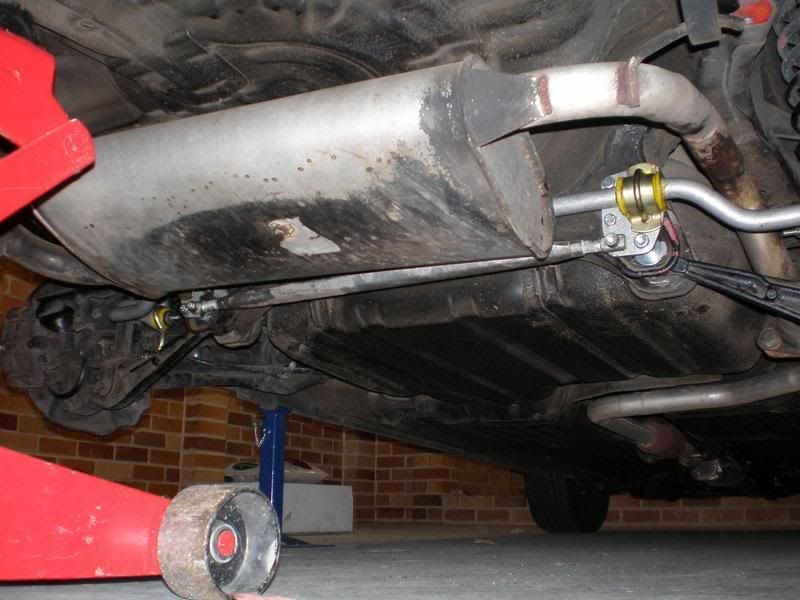
11) get out your packing grease, and smother the yellow bush with it
12) slip the bush around the swaybar, and grease the outside of it
13) put the gold bracket over the bush, and grease the outside of that too
14) put the gold U shaped bar over the bracket, and through the holes (with a washer before the holes
15) once youve done this, get a mate to support the swaybar while you push the U shaped bracket through the holes on the mounting bracket.

16) put the nuts on loosely
17) now its time to attach the ends of the swaybar. you will find two holes - ideally you want to attach the one which allows the gold bracket to sit as vertically as possible. the holes closest to the back of your car will give the stiffest feel, and better performance (marginally)
for the end attaching to the lca, you will not need a nut, as the bolt screws in. for the end attaching to the swaybar, you will, because it doesnt
18) easily the most time consuming part for me was doing up the nuts on the U brackets, going over the swaybar itself, because you just cant get a socket in there. i suppose you could install them first, but that would make things harder when tightening the mounting bolt nuts.
19) make sure everything is nice and firm, then lower your car and drive. feel the stiffness!
nb: due credit to string, without whom i would never have thought to try this
Last edited by Mr_will; 01-11-2006 at 10:46 AM.
 Posting Permissions
- You may not post new threads
- You may not post replies
- You may not post attachments
- You may not edit your posts
-
Forum Rules
|


 Reply With Quote
Bookmarks