|
-
[DIY] Removal & Refitting front Springs
DISCLAIMER: The following information is provided as a GUIDE ONLY, and should only be used as a reference. If you
do not have the skills required for such a task, please take your car to a professional. Neither myself or OzHonda
take responsibility for your actions and carry out these actions at your own risk.
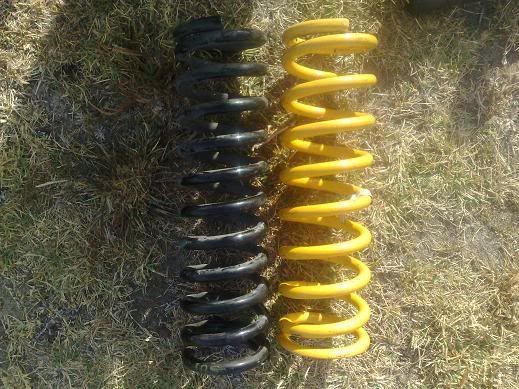
Aim: To replace front springs
Tools and parts: Hammer, ratchet, 10mm 12mm 14mm 17mm spanner, beer, jack stands, jack, and a lot of
swearing, spring compressor, patience and maybe some other little stuff.
Steps: have about 22 pics or so
Additional information: SAFETY FIRST! & Good to have a mate to be there to help if anything goes wrong.
THIS IS BEING PERFORMED ON MY ED9 '89 CRX
and also i don't know specific names on the parts but just trying my best 
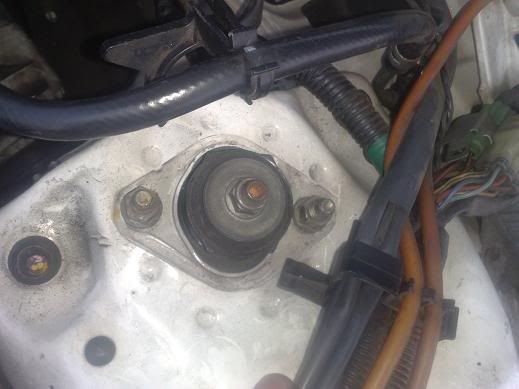
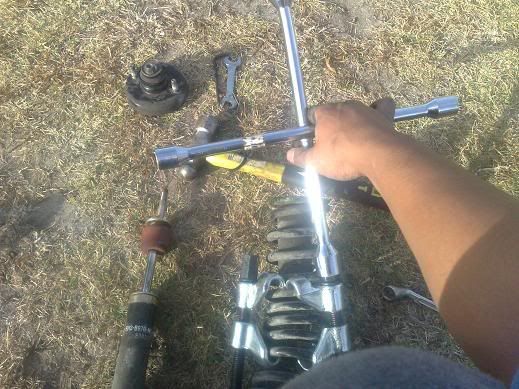
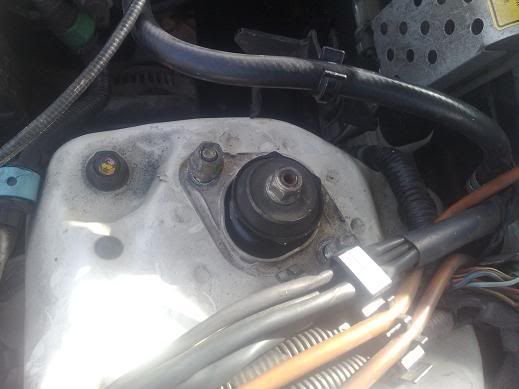
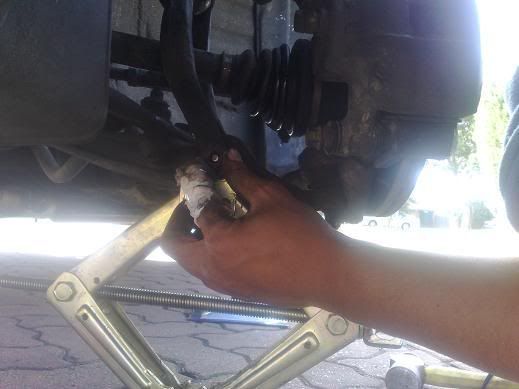
Pop the hood and locate the upper mounting bolts & nuts n stuf
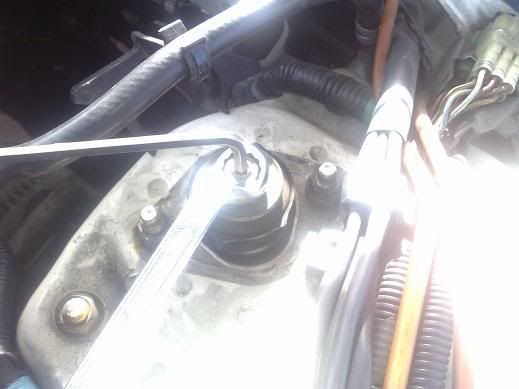
Use an allen key (don't know what size but i found one that exactly fit, from the shed) and spanner thing to loosen
up the spindle nut on the shocks. Just a couple turns will do fine. DO NOT UNDO IT ALL THE WAY!
Then move on to the nuts on the side and just loosen those up a bit too, but do not take it all the way off.
Jack the car up and support it on stands.
-
DISCLAIMER: The following information is provided as a GUIDE ONLY, and should only be used as a reference. If you
do not have the skills required for such a task, please take your car to a professional. Neither myself or OzHonda
take responsibility for your actions and carry out these actions at your own risk.
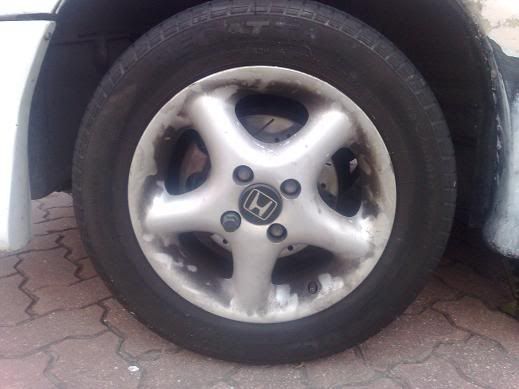
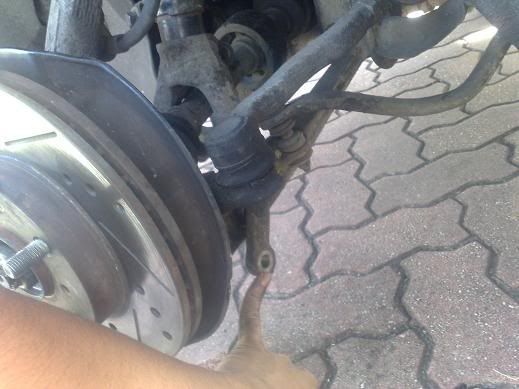
Undo the road wheel lug nuts
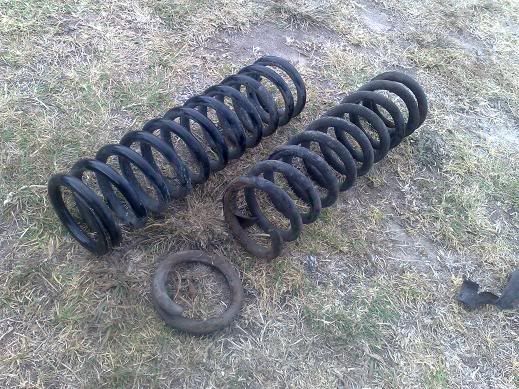
Pop the wheel off and this is what you should see

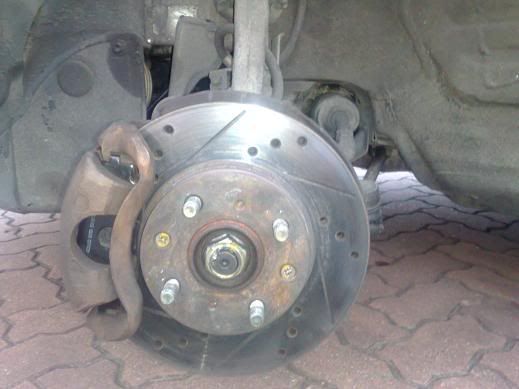
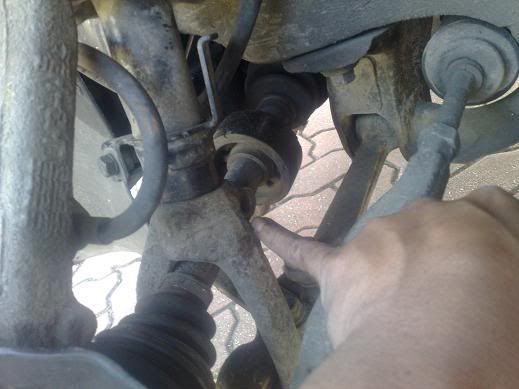
If you go round to the inside and take a look there's a bolt that's holding in the brake line to the shocks. Remove
that & be sure that the brake line is free from shock.
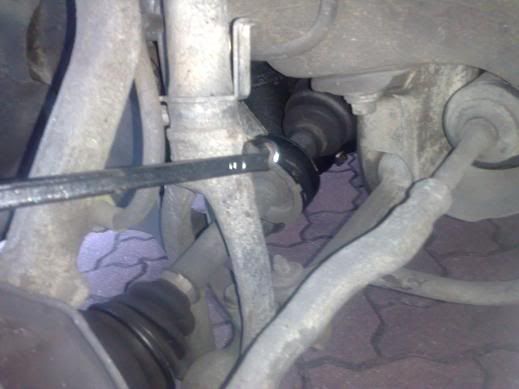
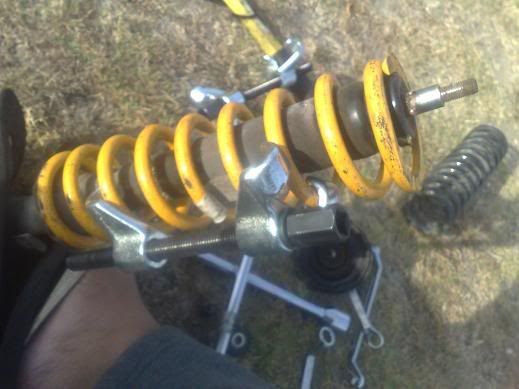
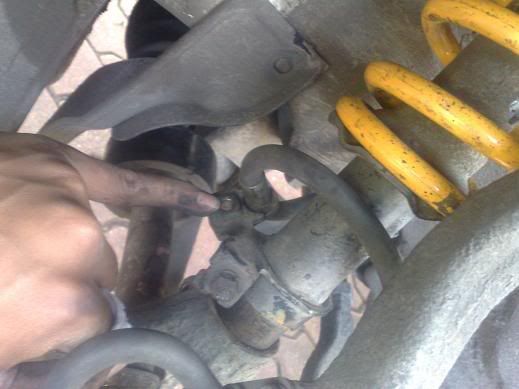
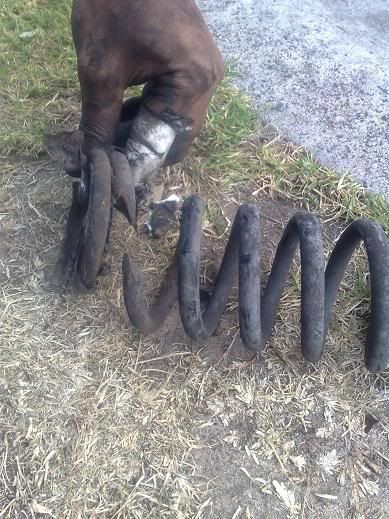
There's a bolt where the bottom of the shock meets the forks? Loosen that up a bit, don't take it off just yet.
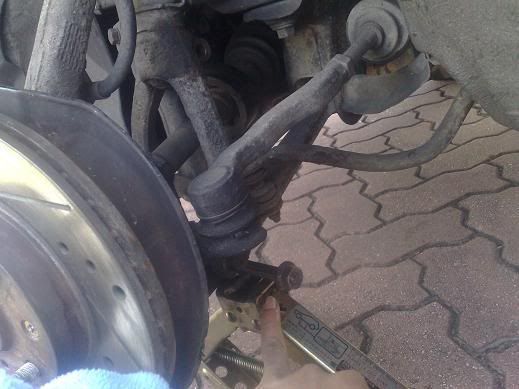
In this pic, you can see where my pinkie is pointing to show you where the next nut is, to remove. take that all the
way off. the long bold that it's screwed in to is sorta hard to take off. This is where I used a hammer and a piece
of metal to hit on the bolt to pop it out of the other end. This can take some time, just be patient and remember,
SAFETY FIRST!!
Once you manage to take the bolt out, proceed to take out the nut, from the previous pic, off.
-
-
-
-
good write up but it looks like u need first aid!
-
had a cut on my finger from a while ago. tissue paper and sticky take just helped made the finger stronger, was not cause of the spring change
-
ive never seen a stock spring break but i guess if its 20 years old, u can never know.
good stuff nonetheless - trying stuff out by yourself.
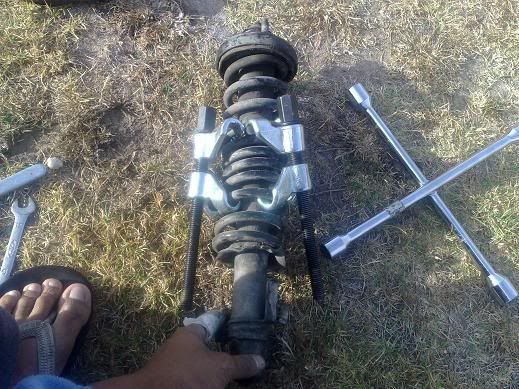
I found the most time consumer part in the several installs was the spring compressor.
-
excellent write up! This has come in handy thanks
WTB: EK oem JDM Visors
I love J-Cups
-
Installing springs
I've never had to resort to using spring compressors when installing/removing springs, either stock or aftermarket. Maybe I've been lucky!
Also can't believe you did this procedure using the OEM scissor jack. Whilst it obviously worked I only ever use a garage jack and jack stands.
Peter
-
^ hey? you can see his jack stands
he was using the oem jack to line up the front shock forks with the control arm
-
thanks alot for this man
I plan on getting removing the suspension next week
I guess you havnt done the rear yet ?
thx agian
needing a Rep xD !! 1point yo
 Posting Permissions
- You may not post new threads
- You may not post replies
- You may not post attachments
- You may not edit your posts
-
Forum Rules
|


 Reply With Quote
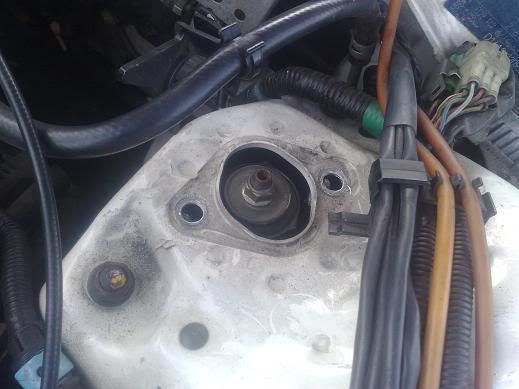


Bookmarks