

Disclaimer: The following are provided as a GUIDE ONLY, and neither myself. nor the original writer, nor Ozhonda take any responsibility for the outcomes of someone else doing the following. You follow these steps at your own risk!
Hello I've just got my FN2r which now comes standard with accent light. When i tried it out that night it was very dissapointingthere was next to no illumination to the footwell.
Put my head down to see the LED is capped by a blue plastic cap... Red light with blue cap? Honda must've gone and used the FD sedan interior light parts.
So i went and set out to remove the Blue cap and improve the lighting
It is only a short 15-20min job even faster if you have done it before.
Tools needed:
Flat Screwdriver
Philips Head screwdriver (not too long)
Large Towel
Small Cloth
Double sided foam tape (to absorb rattles)
1) Passanger Side
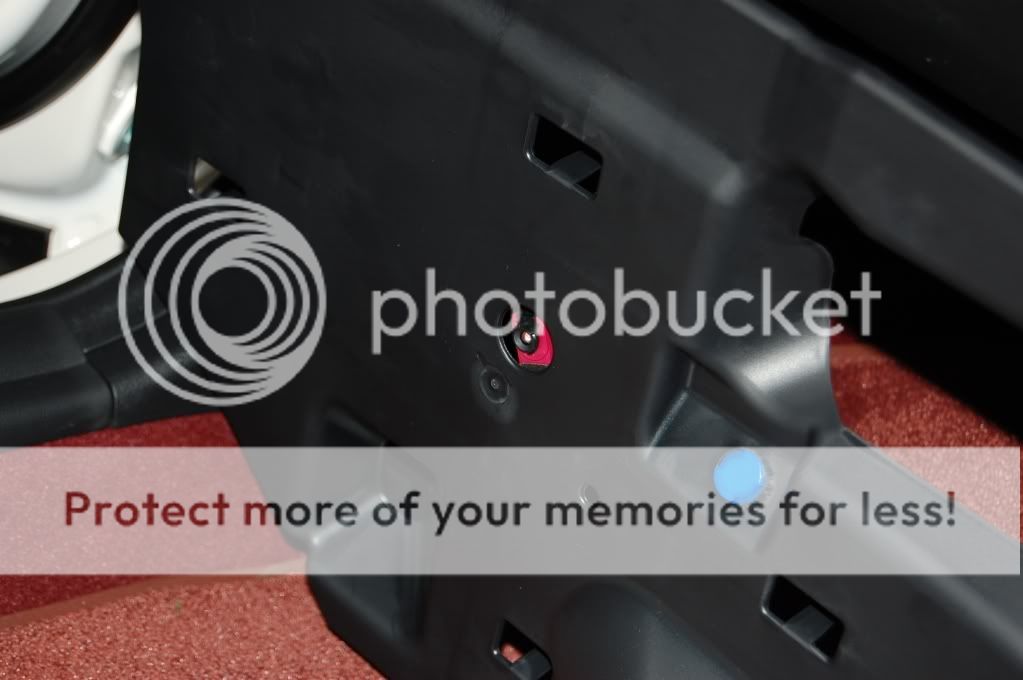
The passanger side is extremely easy to do. First put your large towel over your Door sil to prevent scratching. Peep your head below the passanger footwell. There you will see a panel behind your glove box with a small round blue plastic cap. just to the right of that cap is a large gap in the panel.
Using that gap to put your hand, slowly pull the plastic panel downwards, the whole panel is held together by several plastic clips. So tug harder if it does not budge. Remove the panel slowly 1 clip at at time from centre panel towards the passanger door. After whole front has been removed there will be 1 more clip up the very back that is slightly harder to remove. It will clip off as well after some tries.
Remove the Red LED clip from the blue cap. and using double sided foam tape secure the LED over a opening to the left of the panel. This will Make the footwell light more centre compared to the standard gap which will only illuminate the right foot of the passanger.
The panel will then clip back on very easily and the finished product will look like the first pic posted to illustrate the gap.
1/2 done!!! Test and behold!
2) Driver Side
Place your large towel over the door sil again to prevent any damages.
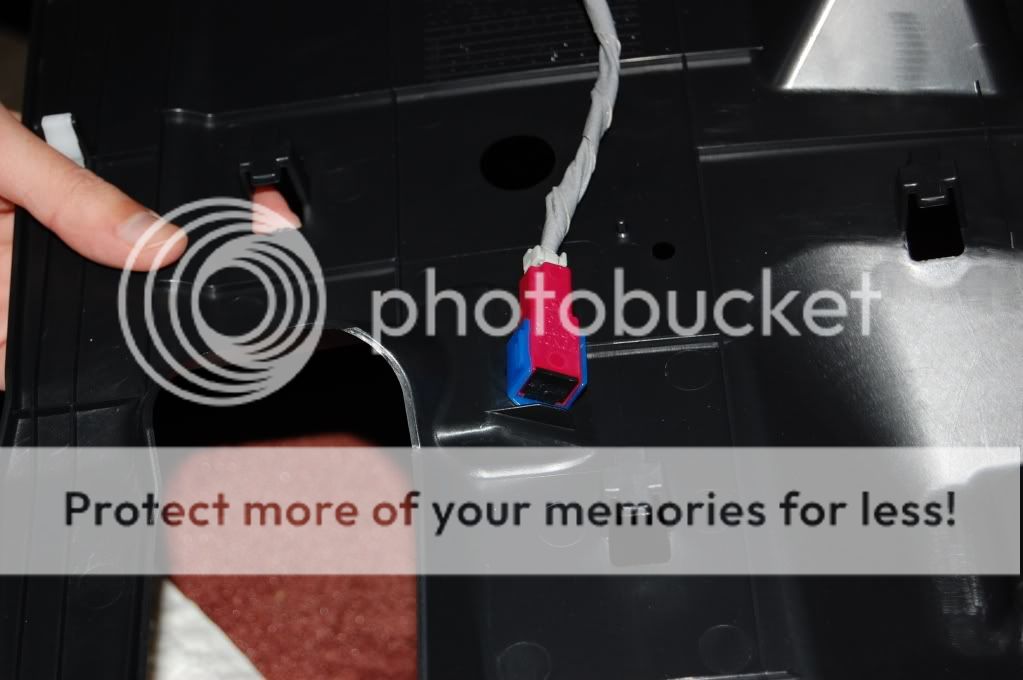
Using a flat screwdrive covered by a cloth slowly wedged the Triangular panel off the side panel of your dash. It is held by several clips like the passanger side. illustrated Below
There will be 1 screw which will need to be undone.
Now set the steering wheel to highest position then the panel can now be pulled towards the driver seat diagonally to remove the panel.
It is held on by clips similarly to the passanger side panel. There will be some clip on the left of the steering column as well.
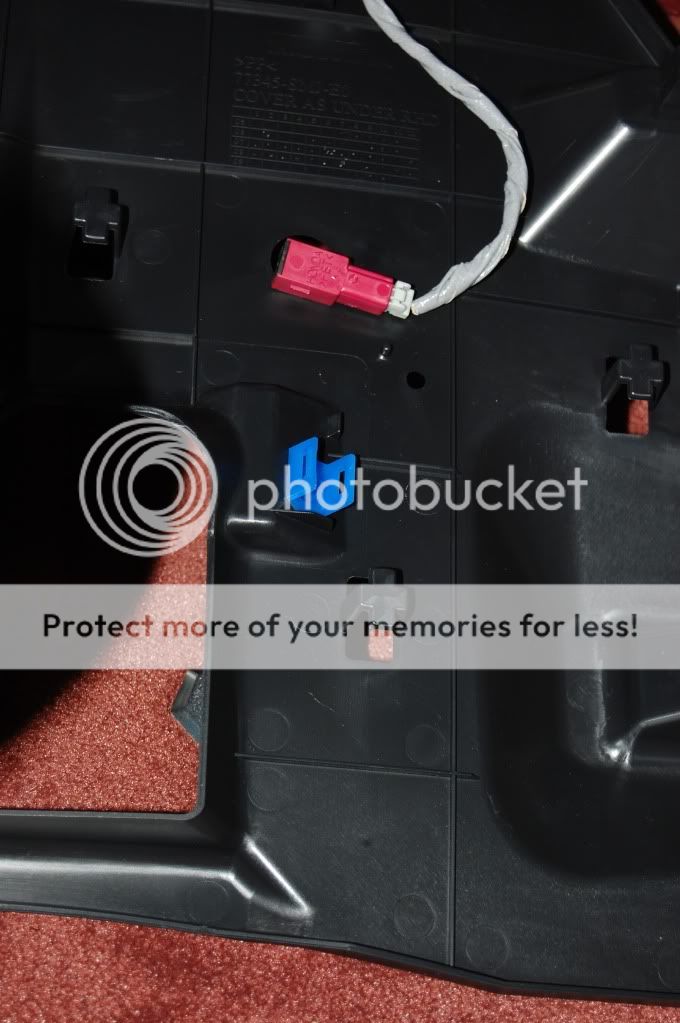
After that remove the LED from the blue cap. Twist the blue cap anti-clockwise to completely remove the cap from the panel. and Double side tape the LED over the original panel hole.
then it is a rather simple reversal of clipping the panel back, put the screw on, then finally triangular panel.!
then its time to enjoy your short hard work at night!
Hope this helps those who were dissapointed by the misleading advertising of honda's website and purchase the accent kit. now it geniunely looks like the picture on their website!
Dom


 Reply With Quote


Bookmarks