|
-
Installation of stainless steel braided brake lines
Disclaimer: The following is provided as a GUIDE ONLY, and neither myself nor Ozhonda take any responsibility for the outcomes of someone else doing the following. You follow these steps at your own risk!
Aim: To install stainless steel braided brake lines. While this DIY shows the install on a DA9, it is directly applicable to other models. On my car, the hoses were more than 20 years old. Rubber has a finite life, so I chose to replace the lines before they had the chance to fail. Some people advise that stainless steel lines should be replaced every few years too, it’s up to you to do research on this.
Note that the braking system in your car is absolutely critical, if you’re not comfortable working on it, I strongly recommend that you get the lines installed by an accredited mechanic.
Required: Note that these requirements are for installing a set of braided lines on a DA9. The size of spanners etc. that you will require is dependent on the car you are working on.
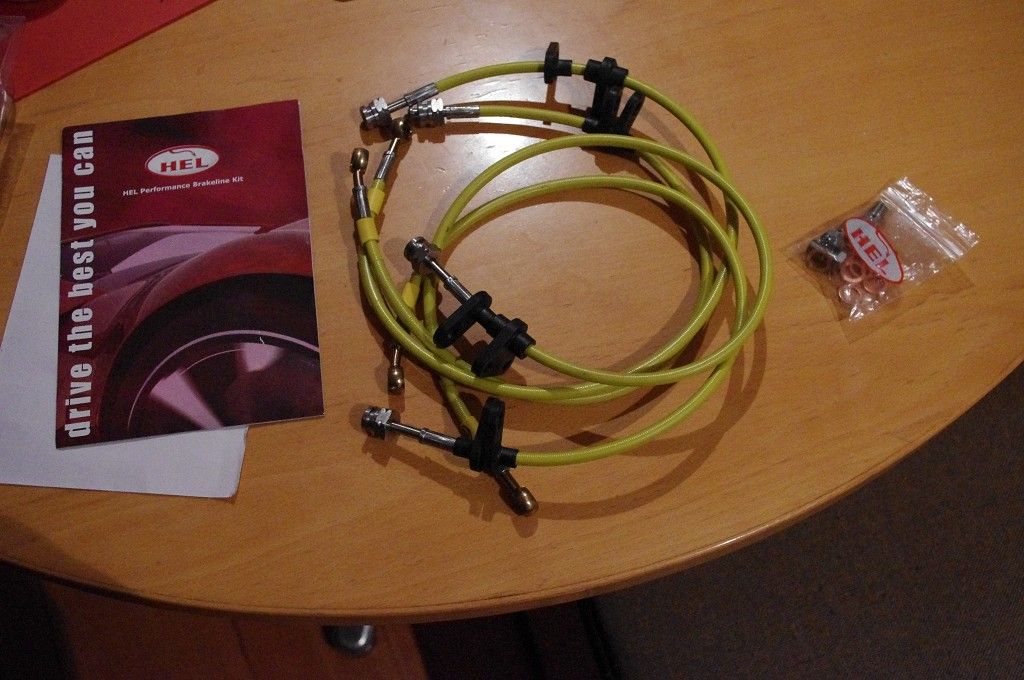
New braided brake lines. These are HEL branded, made in Australia to order and ADR approved. They also have a PVC cover that prevents dirt from getting into the braiding and then abrading the internal Teflon hose, which will cause your fluid to leak and you to lose the use of your brakes. They also have plastic brackets to mount to the original bracket locations.
- Jack and stands
- Socket set
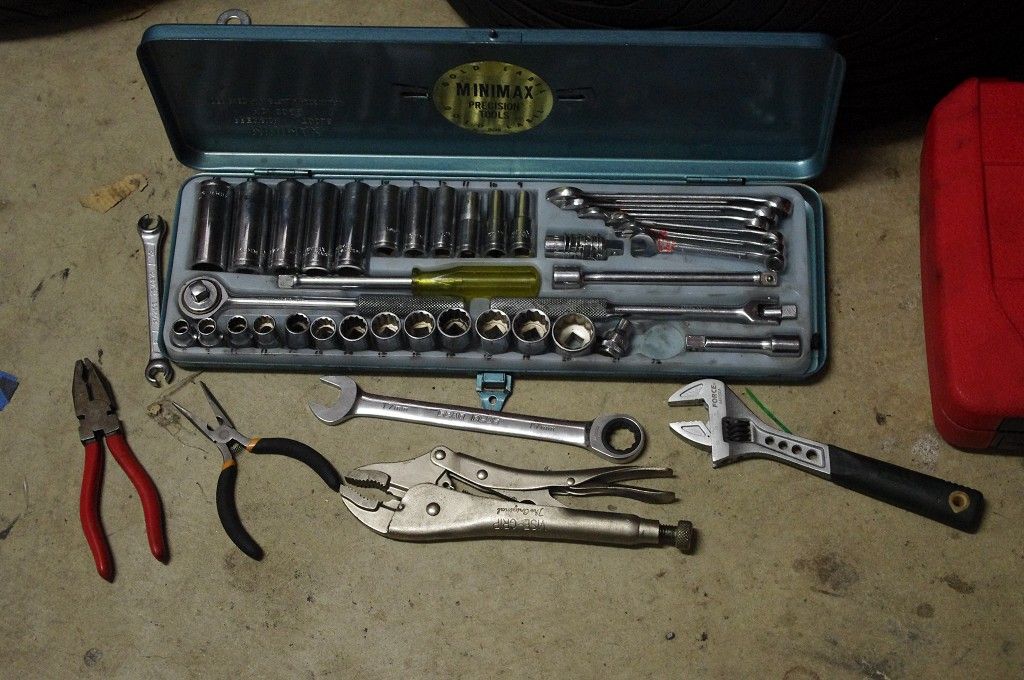
- 17mm open spanner
- 10mm flare nut spanner (VERY IMPORTANT! Get a good one, because if you round off the nut you’re in for a world of pain. Originally I bought a cheap SCA branded one and it was utter shit and rounded the nut. I required vice grips to get the nut off.
- Hammer
- New brake fluid
Optional:
- Vice grips for if you round the nut.
Steps:
1. First, jack up the car and put it onto jack stands. It’s easiest to put stands under all 4 corners, but if you only have 2 stands then you can do the front and rear separately.
2.
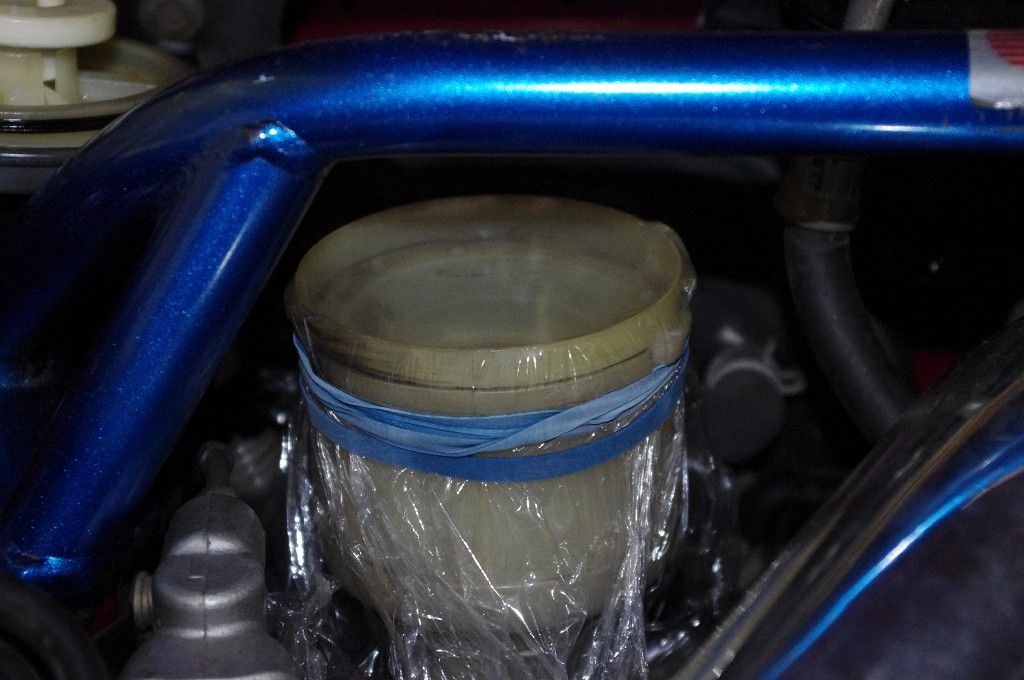
Take the cover off your brake master cylinder. Then, put a few layers of glad wrap over the top of the reservoir and use rubber bands to clamp it on. Make sure the seal here is airtight, the surface of the glad wrap should be nice and taut. This will prevent excessive brake fluid from leaking when you disconnect the hoses due to the vacuum that develops when the fluid starts to leak.
3.
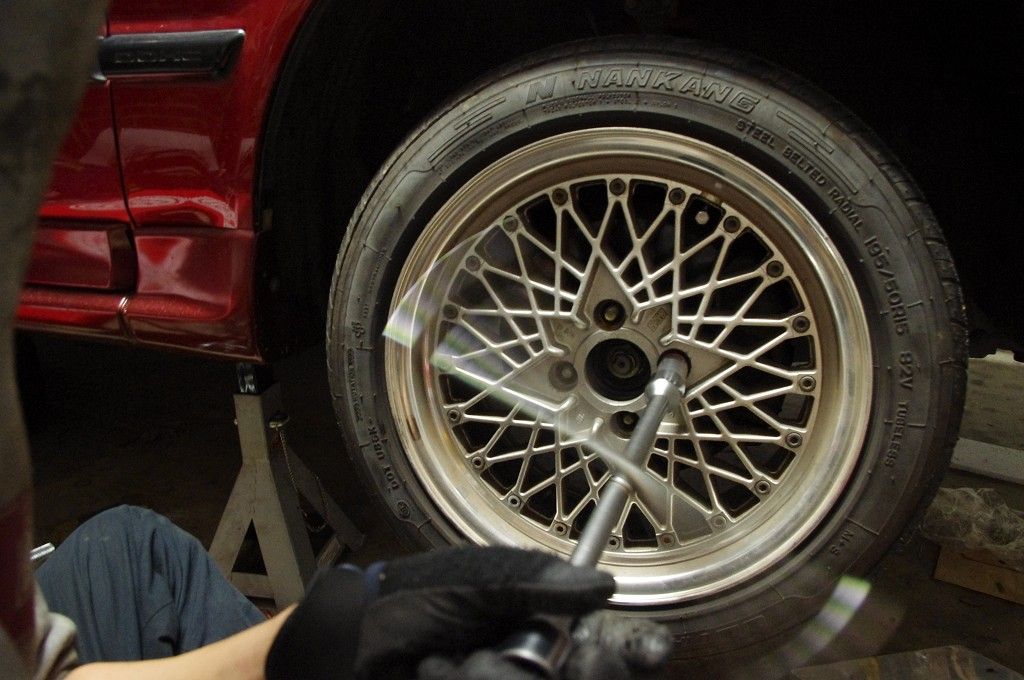
Remove wheels.
4.
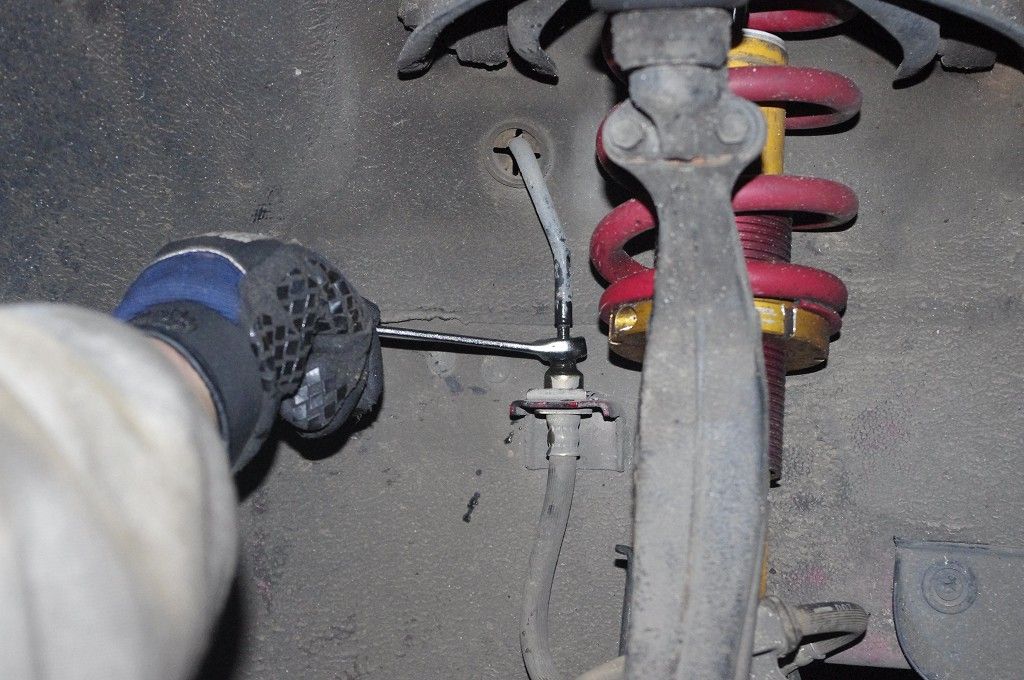
Get your flare nut spanner and loosen the hard brake line nut. If it begins to slip, stop and get a better flare nut spanner. You really do not want to round these nuts, or you’ll have to use vice grips to remove and put it back on. I also have no idea how you’d go about replacing the nut if you need to.
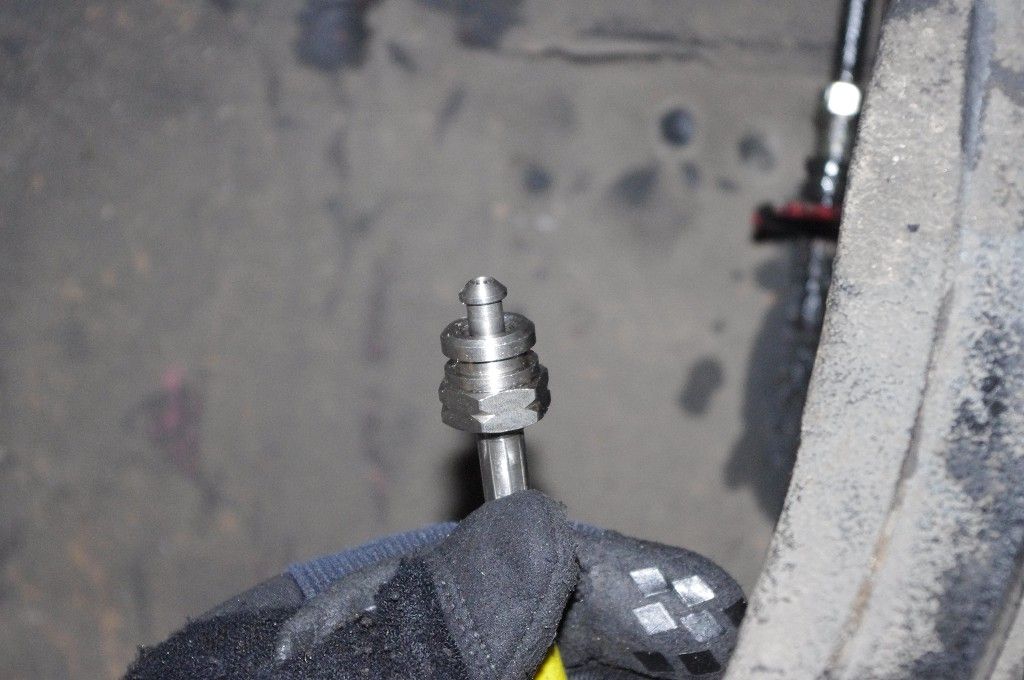
5.
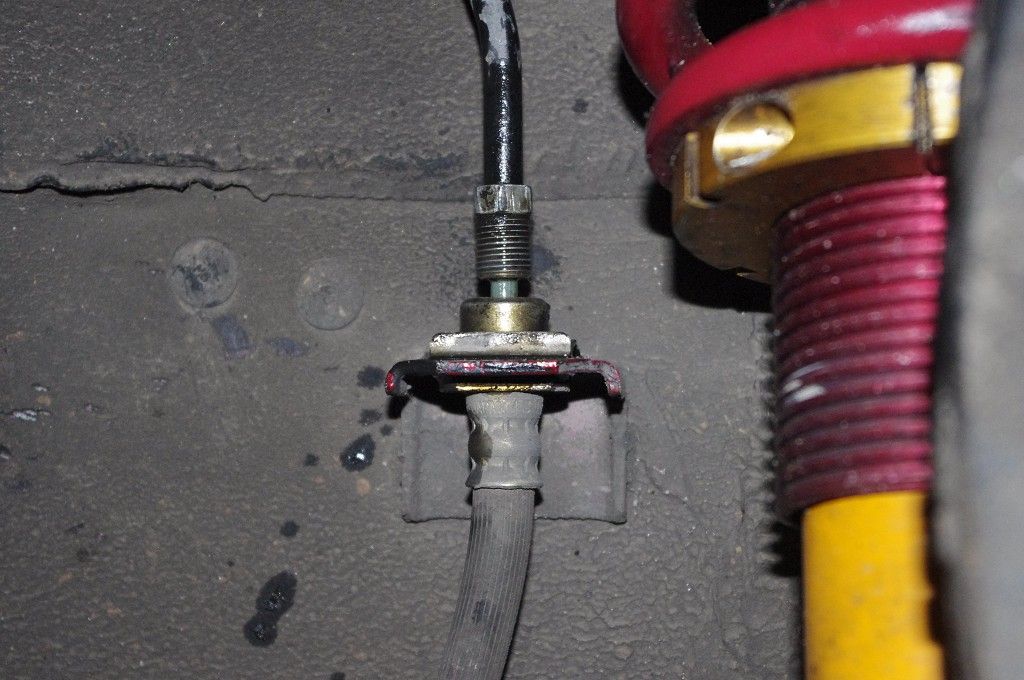
The nut is now off. The fluid won’t leak just yet since the hose is still connected.
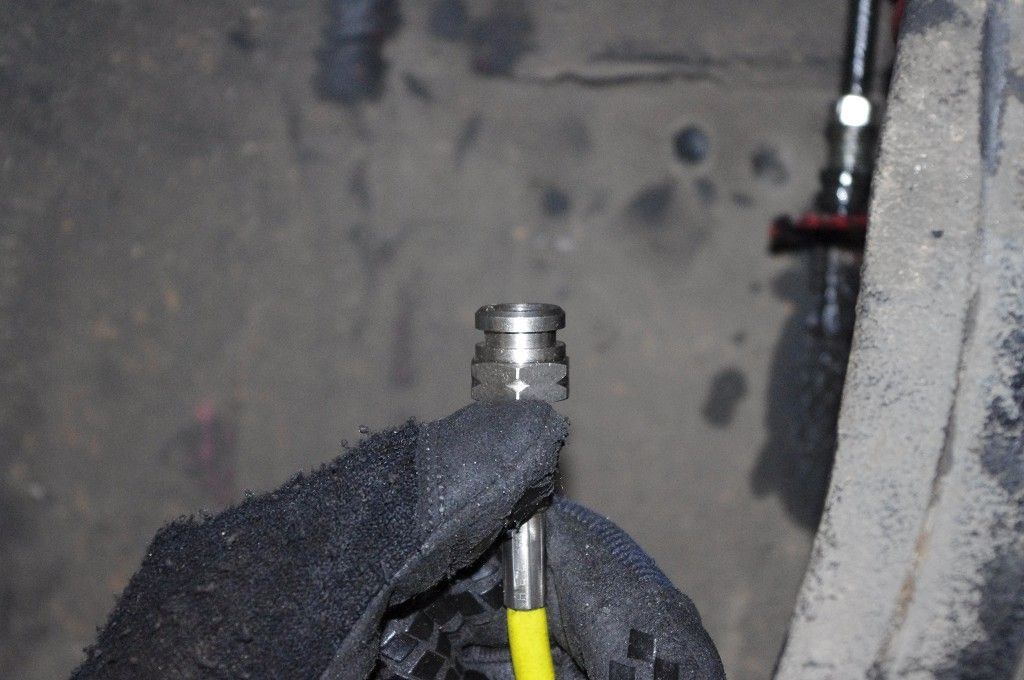
6.
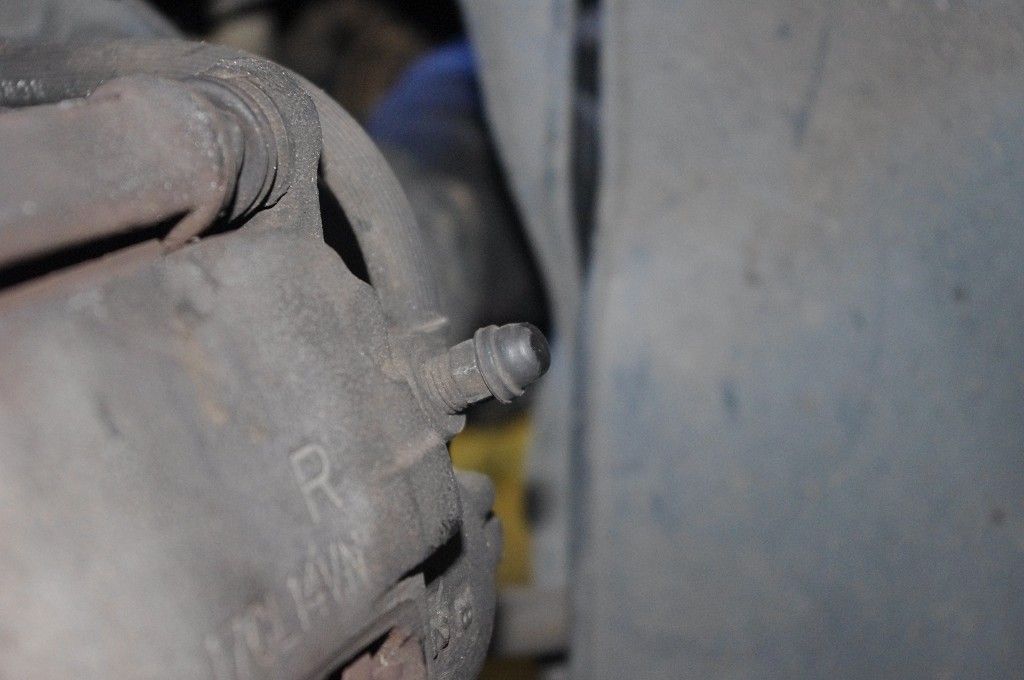
Grab the bleed nipple cap off the nearby brake caliper.
7.
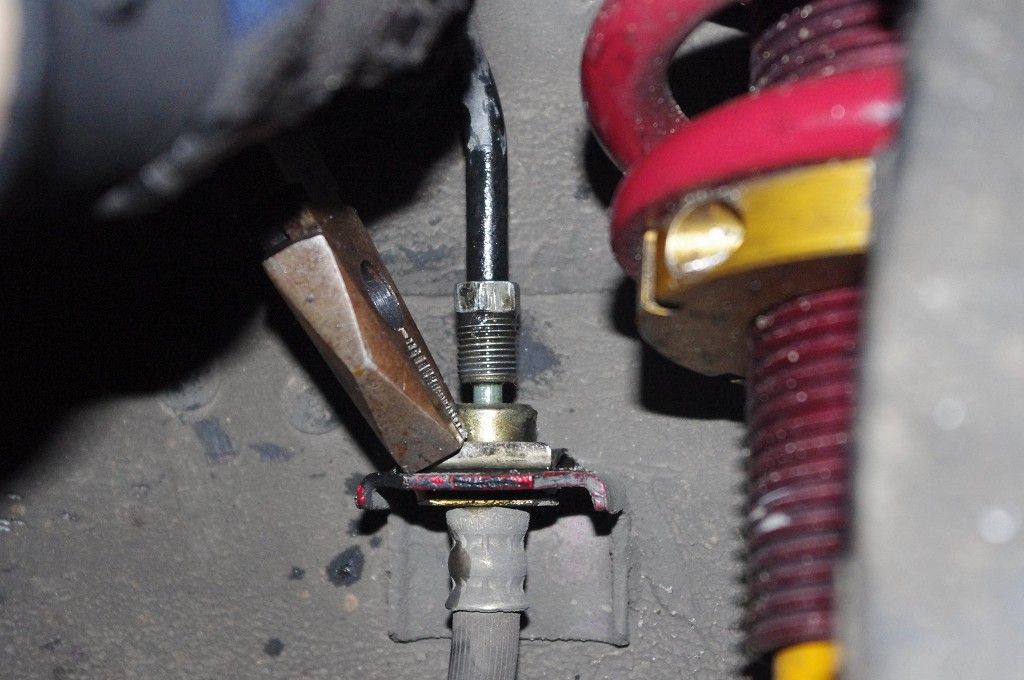
Now, use the pliers to remove the clip.
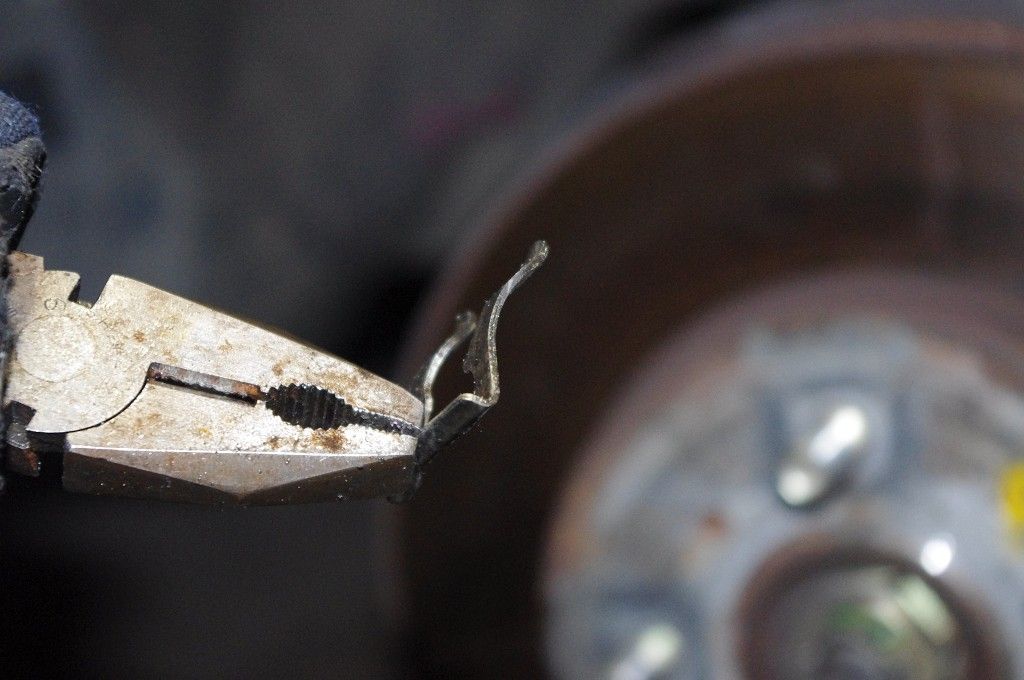
8.
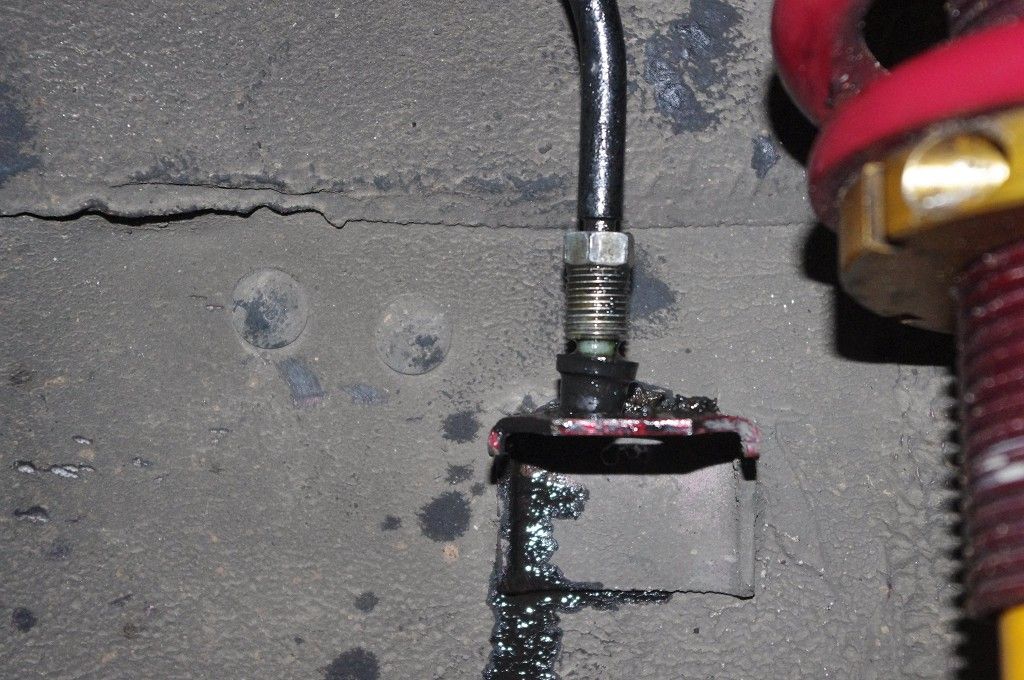
The hose will now fall away, and fluid will leak from the hard line. Use the bleed nipple cap to block the line, and then make it sit on the bracket as shown. This will prevent fluid from leaking out.
9.
It’s time to start removing the brake line brackets. At this stage it’s probably a good idea to drain what fluid you can from the hose.
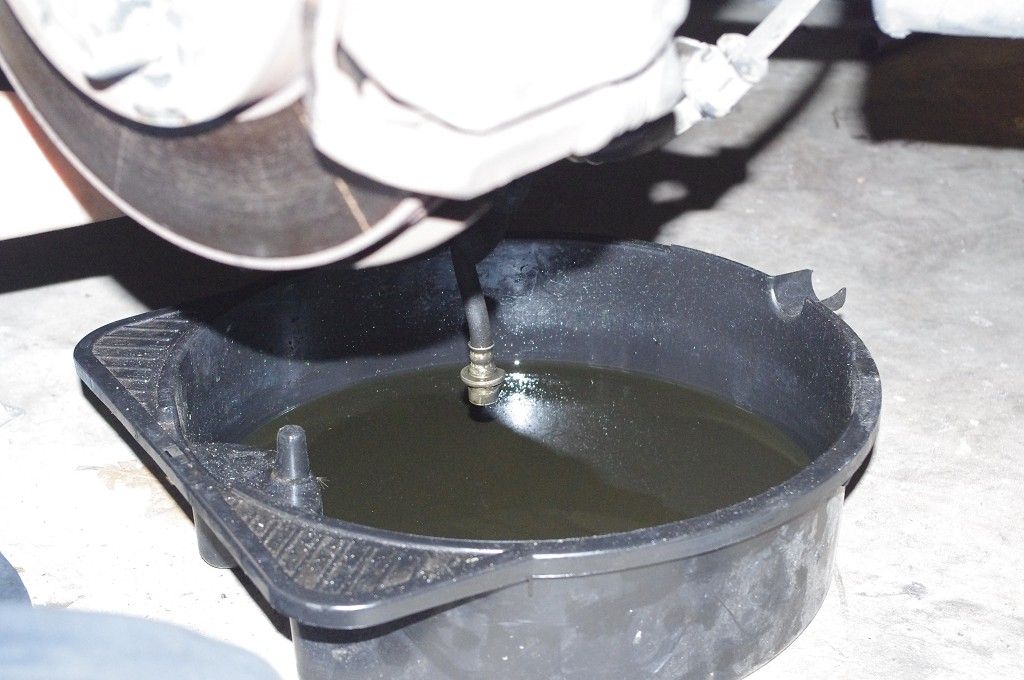
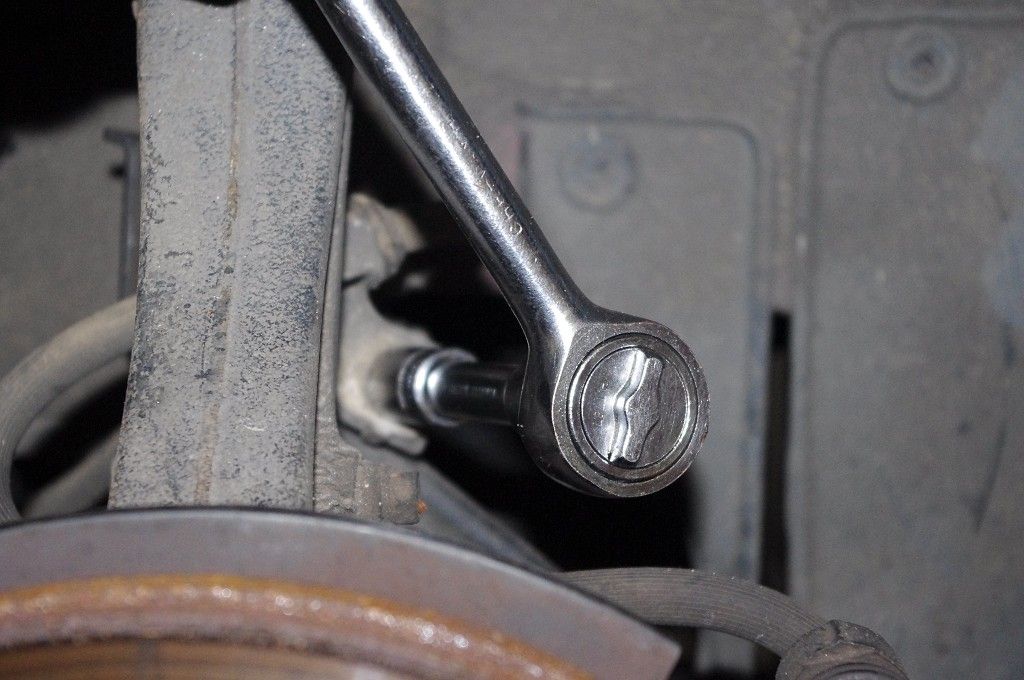
10.
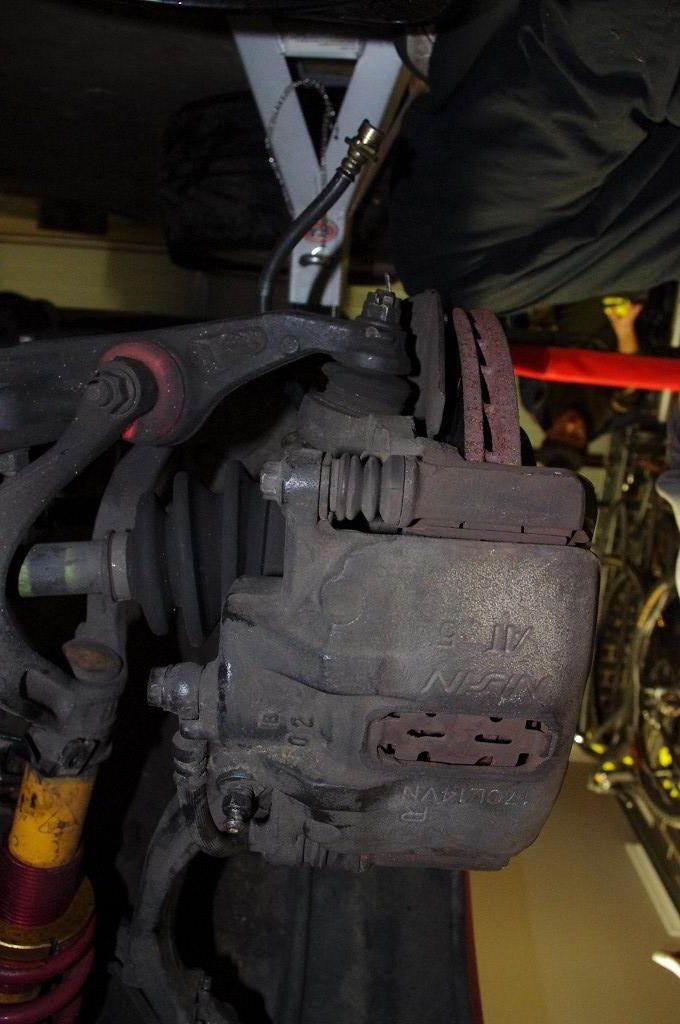
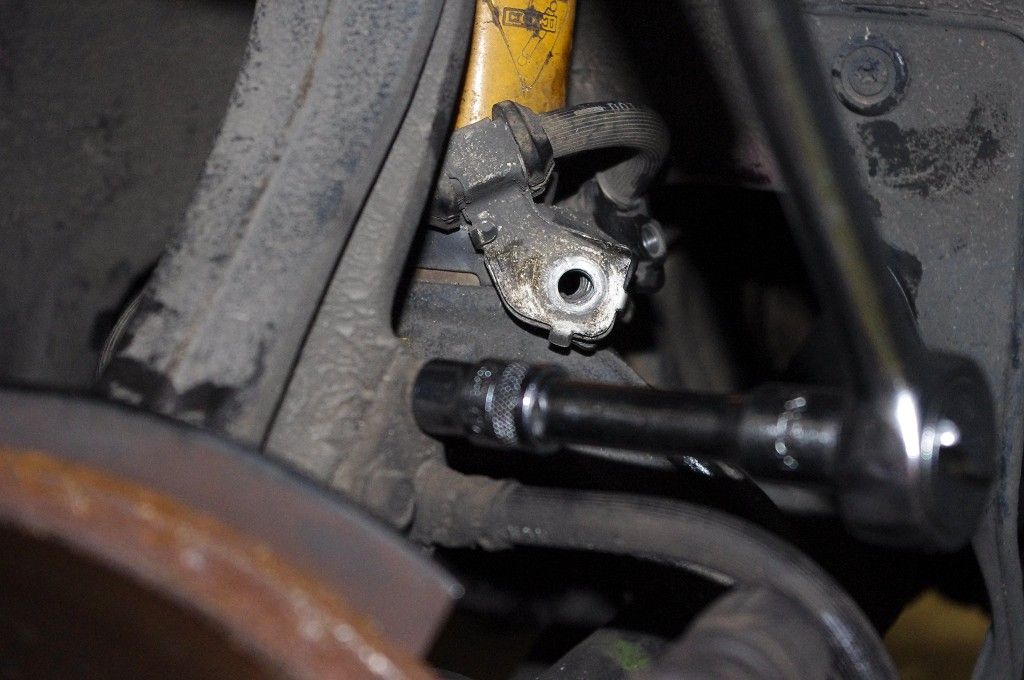
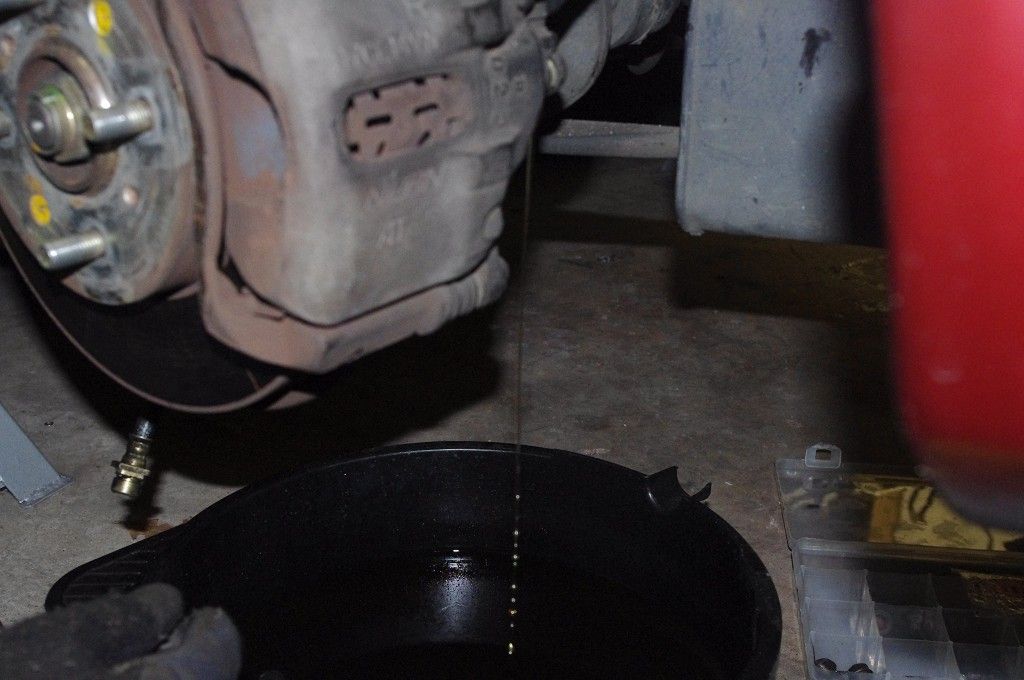
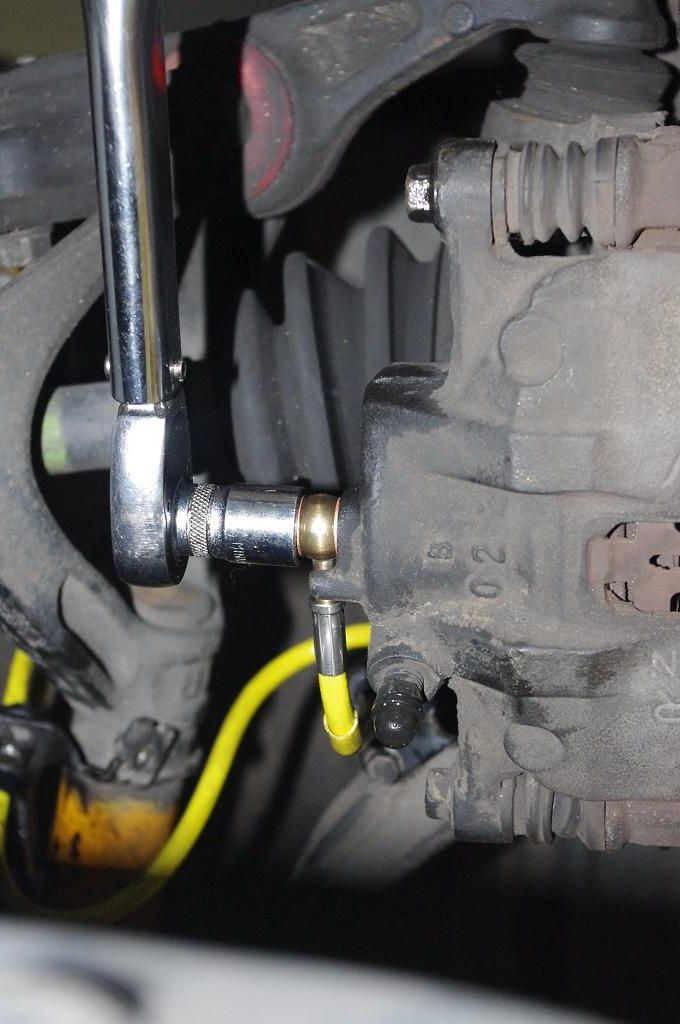
Now, the only thing attaching the rubber hose to the car is the bolt at the caliper.
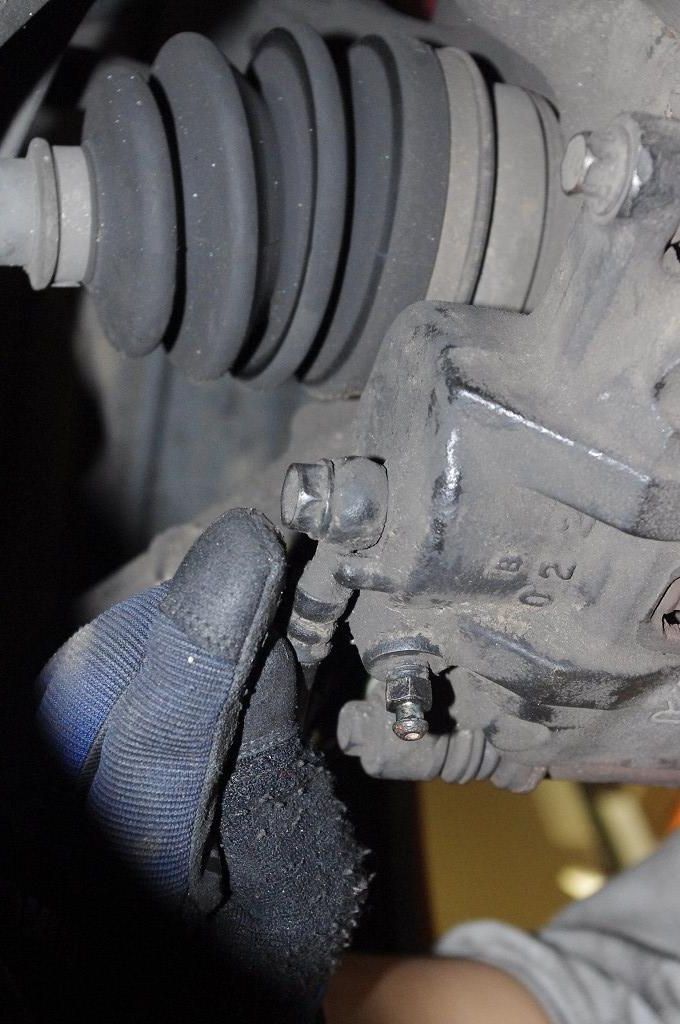
Remove this bolt, and make sure you have something to catch the fluid that will leak out of the caliper. The banjo fitting of the hose is kinked, so make sure to note which way it’s kinked! Here, I believe it’s kicked outwards away from the caliper.
11.
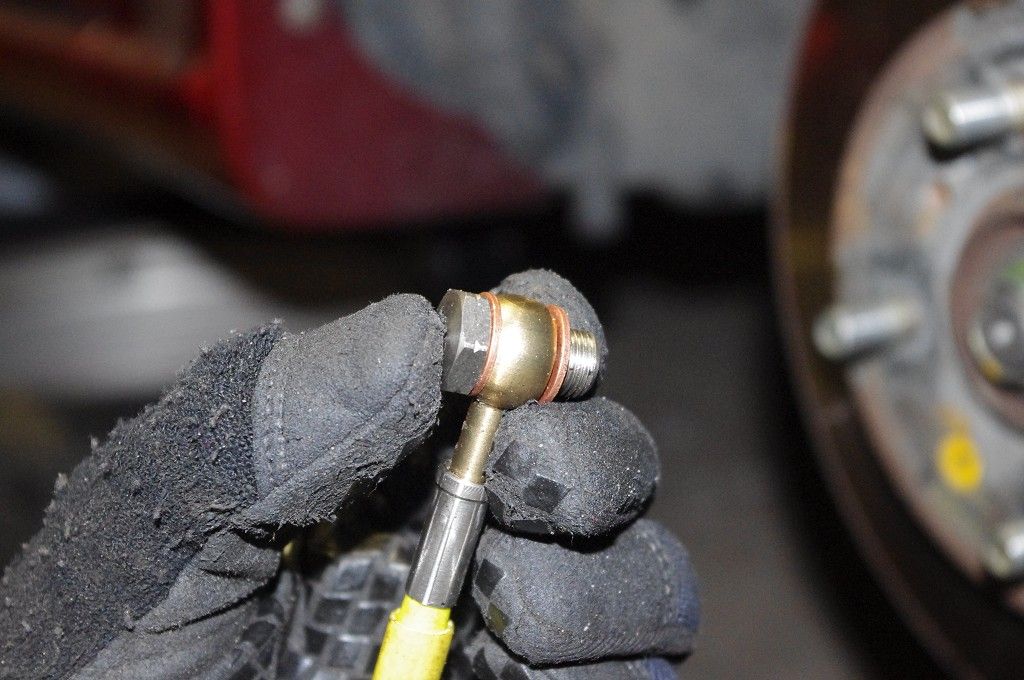
It’s time to install the new lines! Each line has a hard-line connecting end, and a caliper connecting end. In this case, the threaded end connected to the hard line, and the banjo end connects to the caliper. Assemble the banjo end of the line as shown. It should be washer, brake line banjo fitting, washer, bolt.
12.
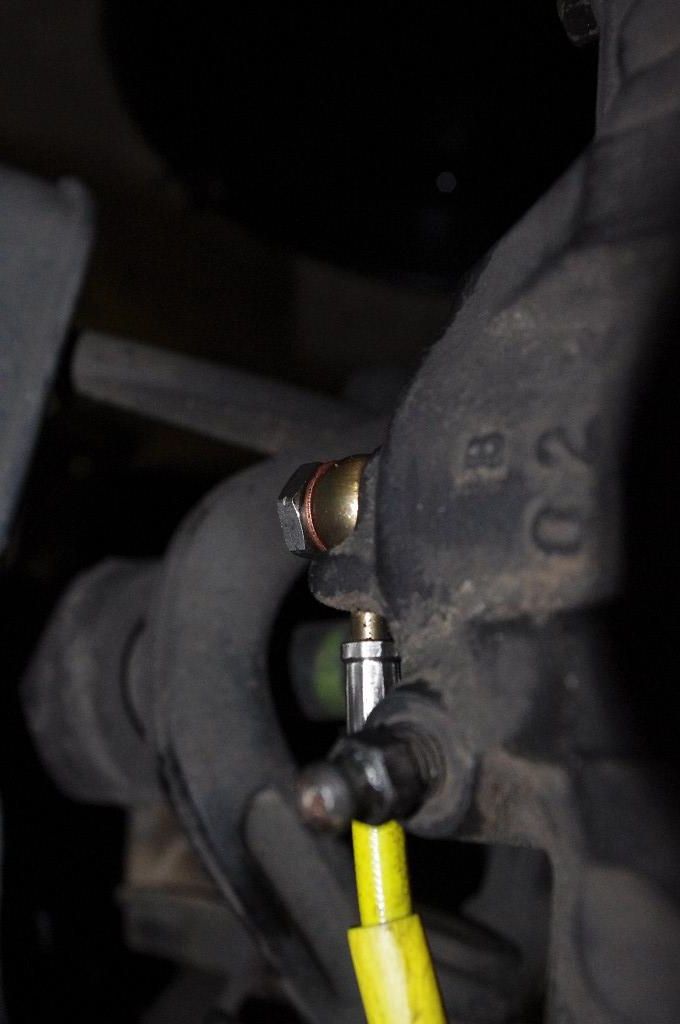
Attach the banjo end to the caliper, remembering to kink it the same way as you found the original hose. In this case, it was kinked outwards away from the caliper. I would recommend making the bolt just over hand-tight so that it doesn’t put too much stress on the line as you fit it. However, if it’s too loose then it will leak when we attach the other line. We’ll be tightening it to the correct torque spec at the end.
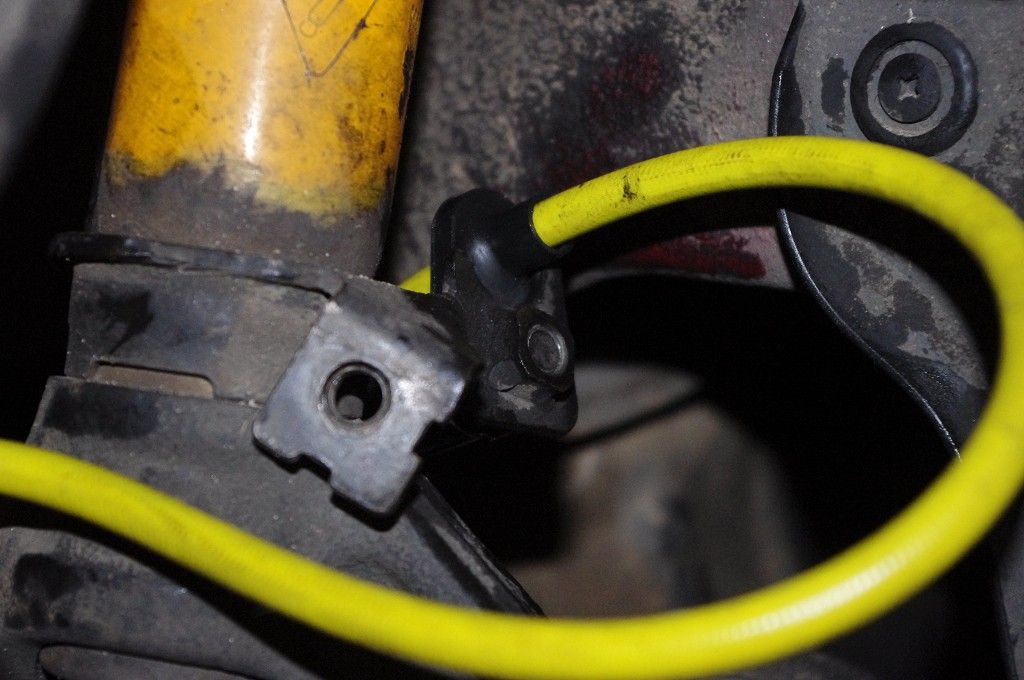
13.
These HEL lines have brackets that you attach to the stock mounting points. It’s important to use these so that the line is routed correctly and won’t catch on your suspension. If your lines don’t have bracket, it might be a good idea to use cable ties to secure it to good mounting points, to keep the line out of the way.
14.
Now that the brackets are all on, it’s time to connect the braided line to the hard line. The threaded end of the line slides up and down, you’ll need to slide it up.
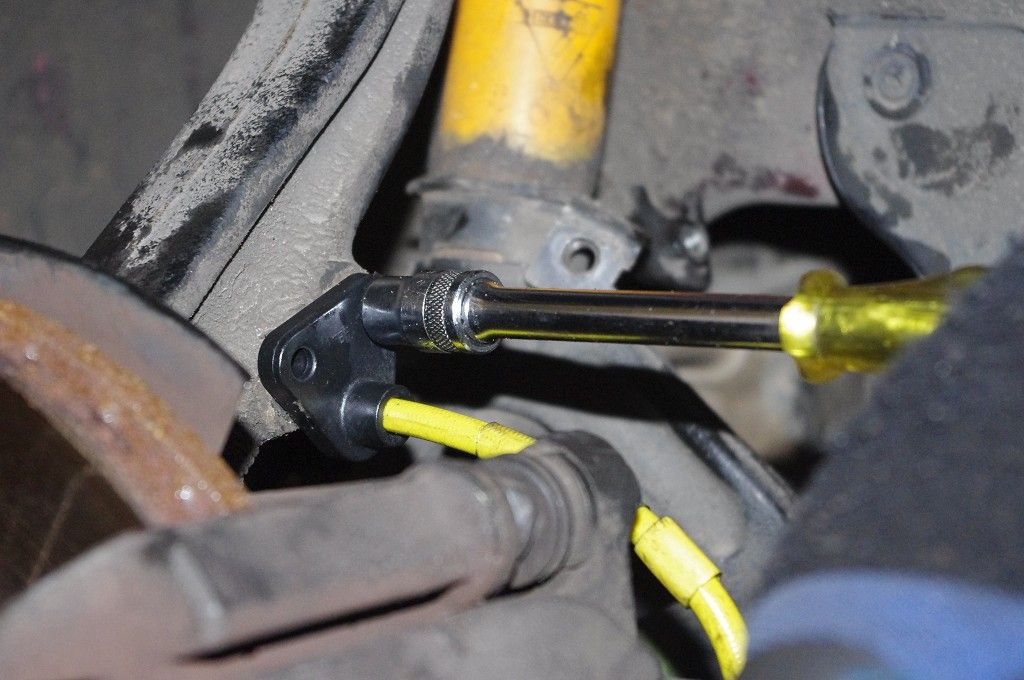
15.
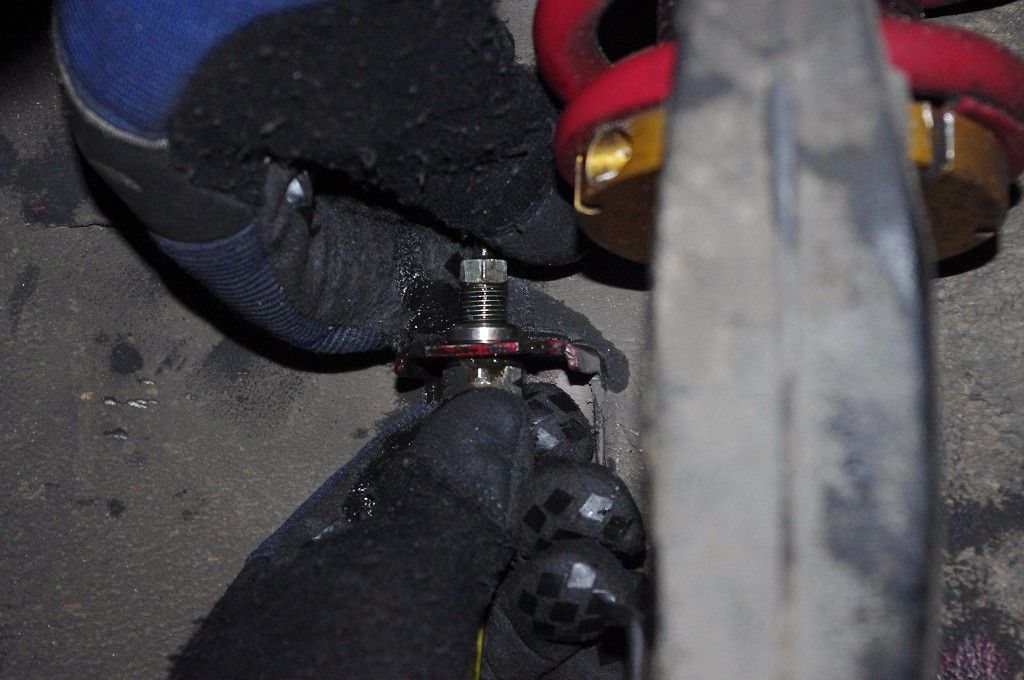
Now, put the threaded end of the new brake hose into the bracket, remove the cap on the end of the hard line and thread the hard line nut into the end of the new hose. This can get a bit finicky, but if the master cylinder is properly sealed then minimal fluid should leak out.
16.
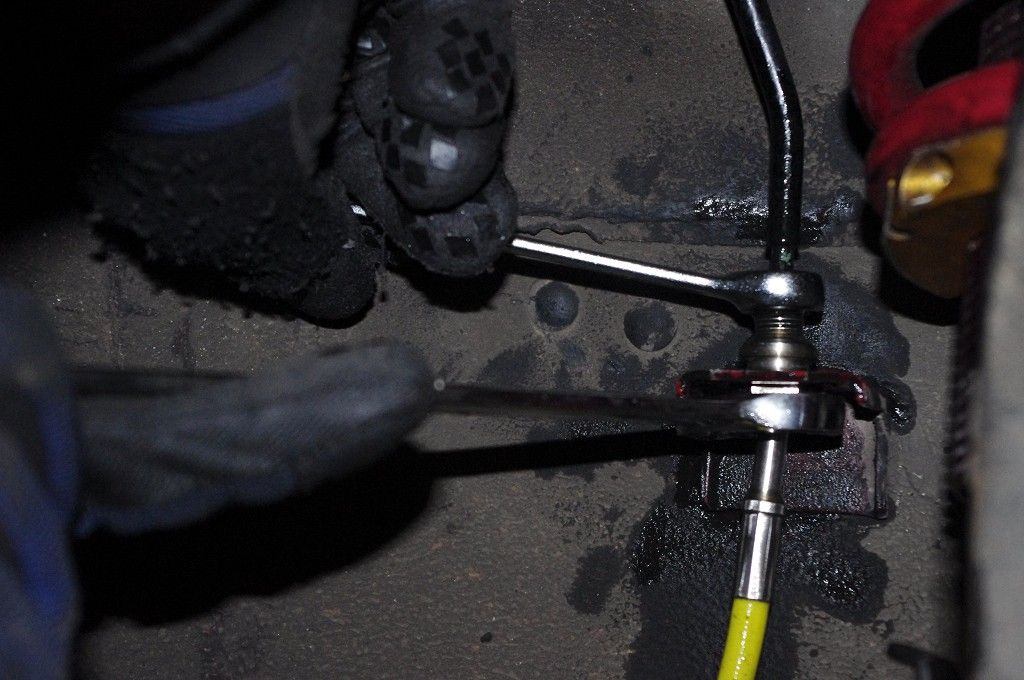
Tighten the nut down using the 10mm flare nut wrench on the nut of the hard line and the appropriate open spanner on the braided hose end. Make sure the nut is tight! You don’t want that coming loose while driving.
Continued below...
Last edited by Rayle; 14-11-2012 at 05:58 PM.
-
-
-
A+++ will read again
love your work rayle
S P A M | W O R K S
hehe.
PHC
-

Thanks guys!
-
awesome. may give it a shot if i find my brake lines starting to fail.
-
excellent DIY.
I did this to my DC2R over the weekend.
- the gladwrap trick worked great. Once I was done on all four corners, I could see the vacuum from gravity trying to drain the fluid, but the gladwrap retained as much as possible. Fluid was still in between min/max levels on the reservoir
- the bracket bolts are 10mm, and the banjo bolt is a 14mm
- If removing that retainer clip where the rubber hose meets the hard line is difficult. I sprayed some wd40 around it, and used an old flathead screwdriver and swivelled the retainer clip side to side to help remove it. I guess with an old car, they get stuck on there pretty good!
- first time doing this along with bleeding all four brakes, this took me around 3 hours at an easy pace FYI.
Tags for this Thread
 Posting Permissions
- You may not post new threads
- You may not post replies
- You may not post attachments
- You may not edit your posts
-
Forum Rules
|


 Reply With Quote
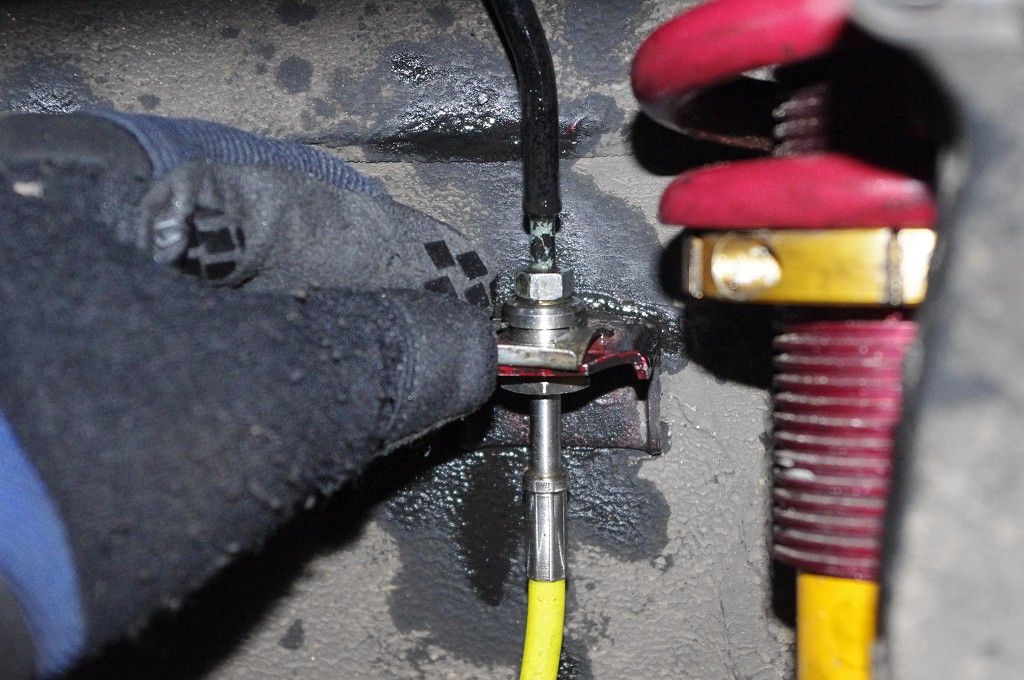

Bookmarks