Disclaimer:
User is presumed to have a fair level of mechanical or auto electrical skill in doing this DIY. The author shall not in any way be held responsible for any damage resulting from user’s fault or failure to follow the suggested steps proposed by the author. It’s the user’s responsibility to research thoroughly on the project and validate this DIY.
This DIY based on the three items that I repaired before so I presumed that once the AC blower on your EM/ES is not working the AC power transistor might be the cause of the problem. IF IT HAPPENS THAT THE REPAIR ISN'T SUCCESSFUL, THERE MIGHT BE ANOTHER PART THAT NEED TO BE FIXED. Please refer to your local dealer or reputable mechanic for further diagnosis.
Tools and Materials:
• Philips screwdriver
• a Tweezer
• Soldering iron and lead set.
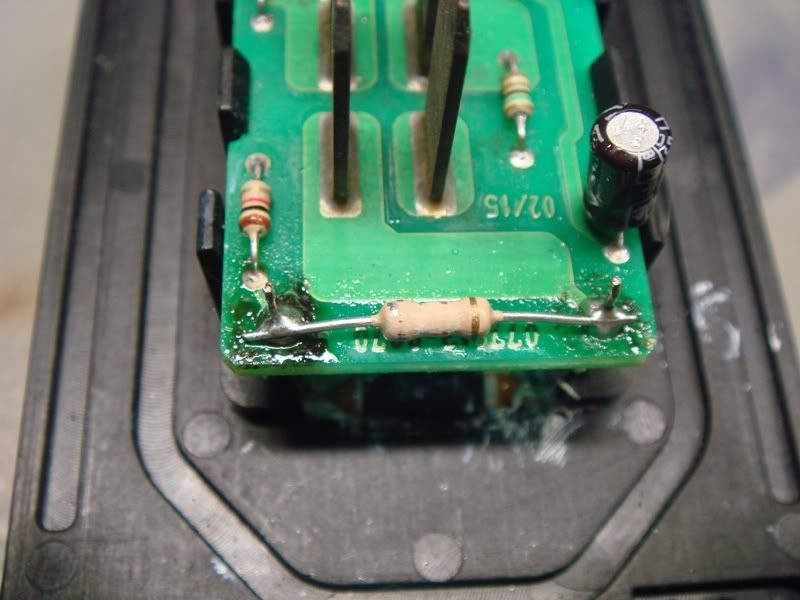
• 1ohm 1/4 watt resistor
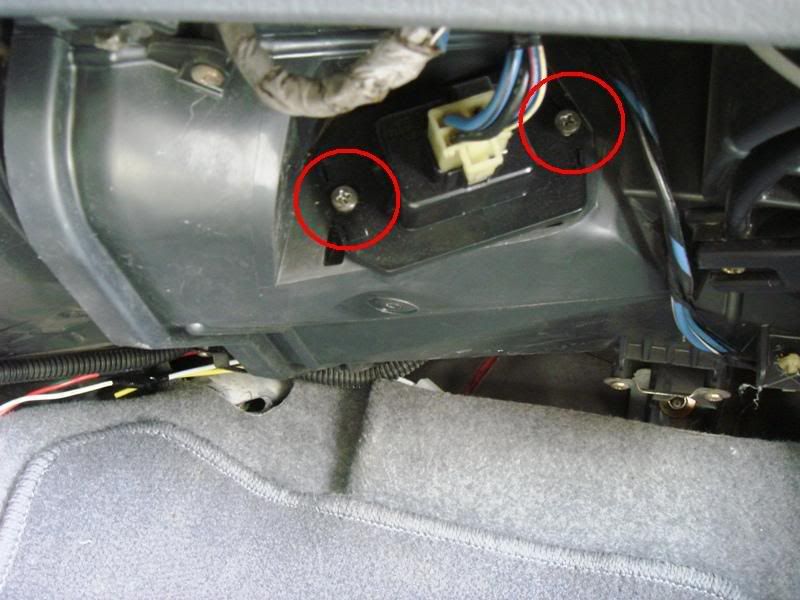
You will find the AC power transistor module here.
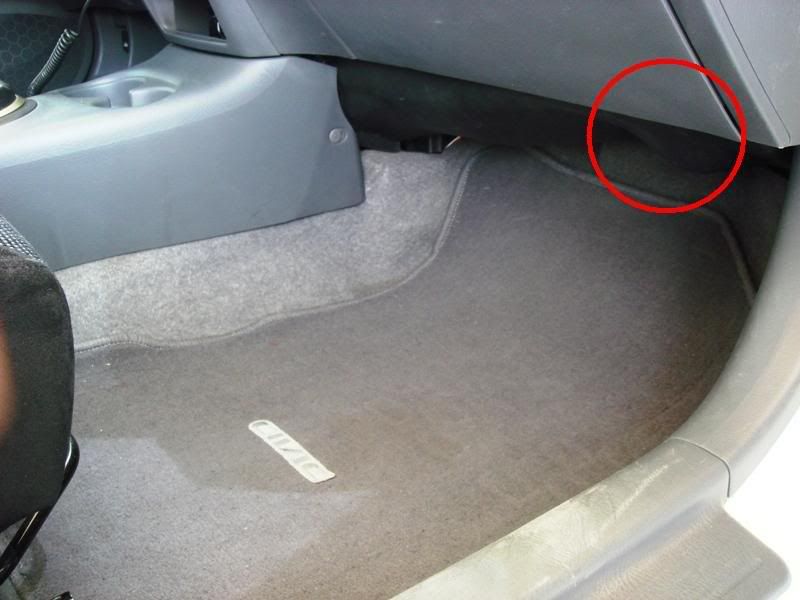
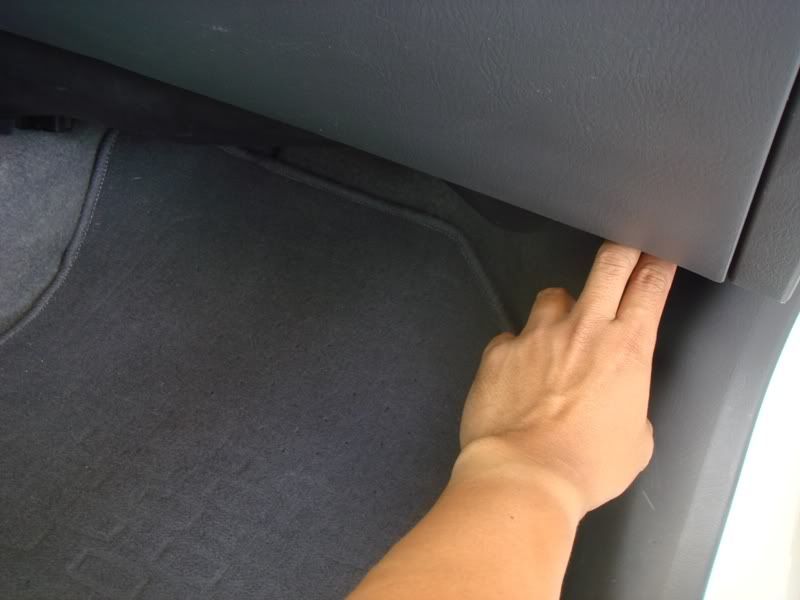
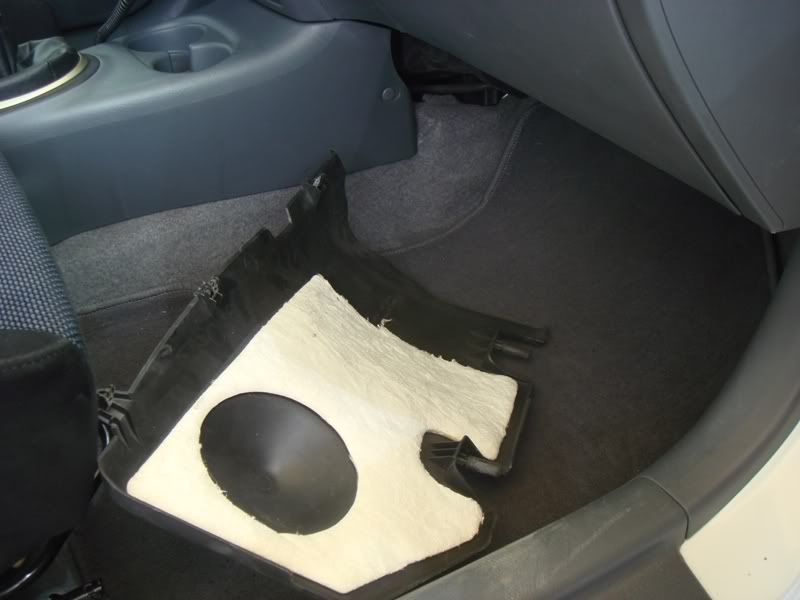
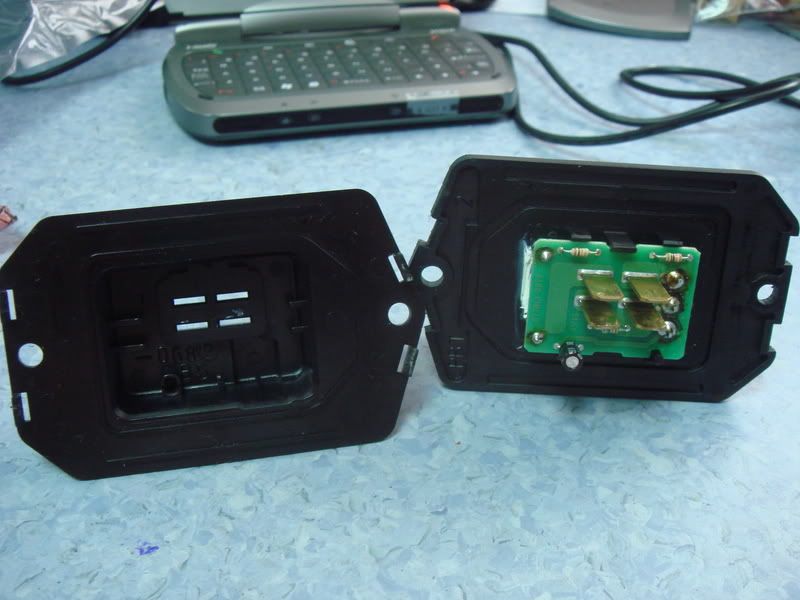
Removing the AC blower cover isn't that difficult, see the pics below.


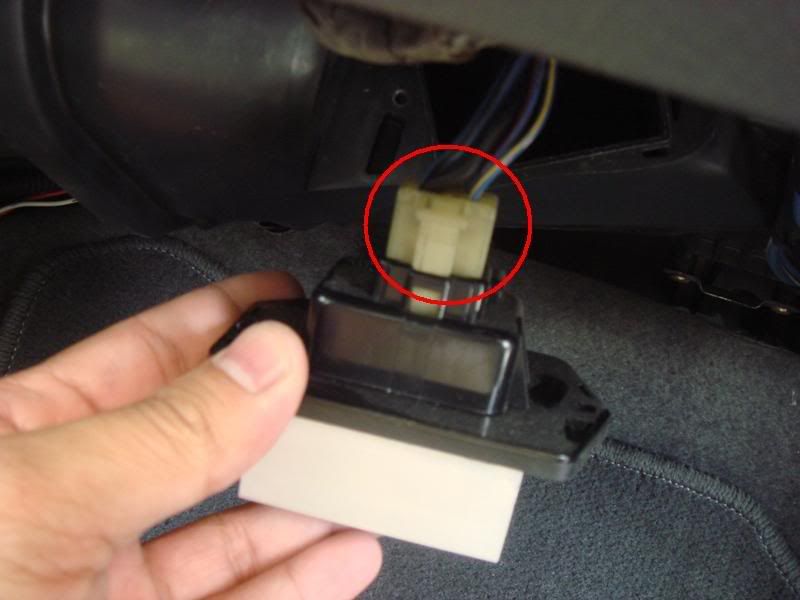
The defective part.
Remove two screws.
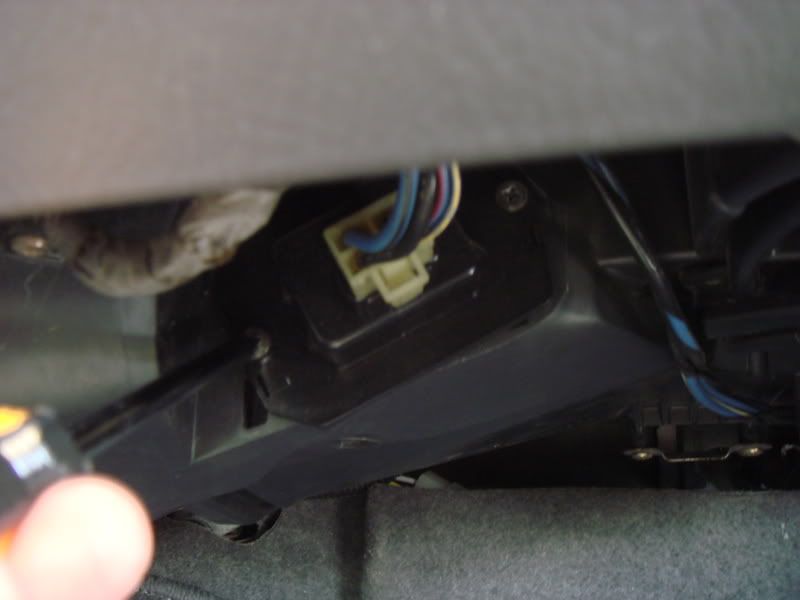
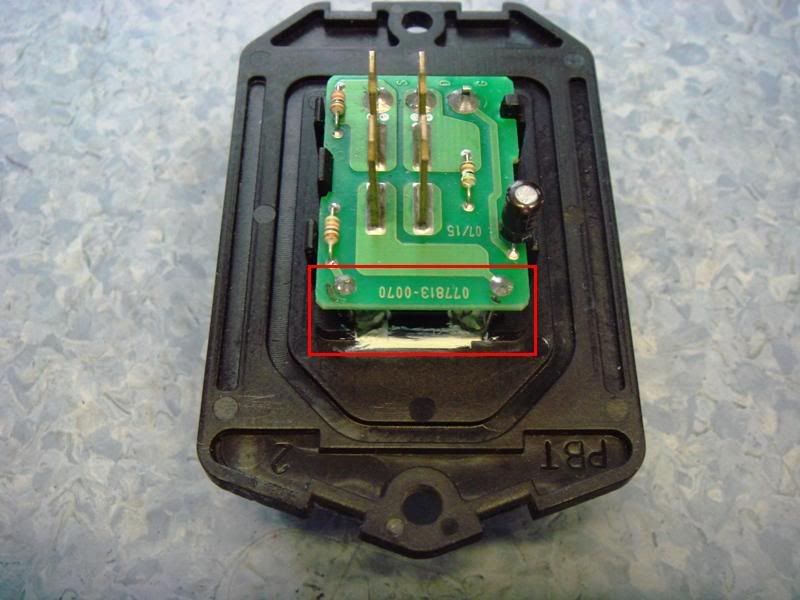
Now release the lock to remove the AC power transistor module from the connector.
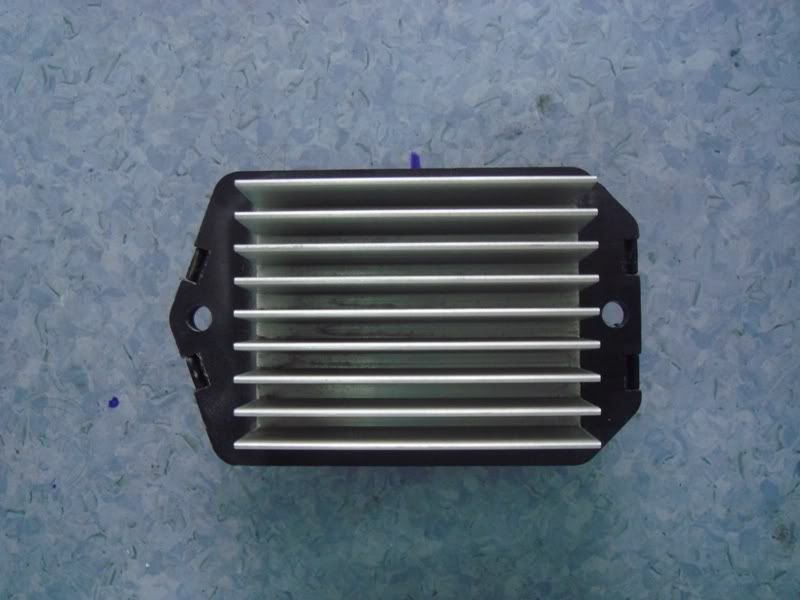
Notice the heatsink, the power transistor itself and the thermistor are attached to it.
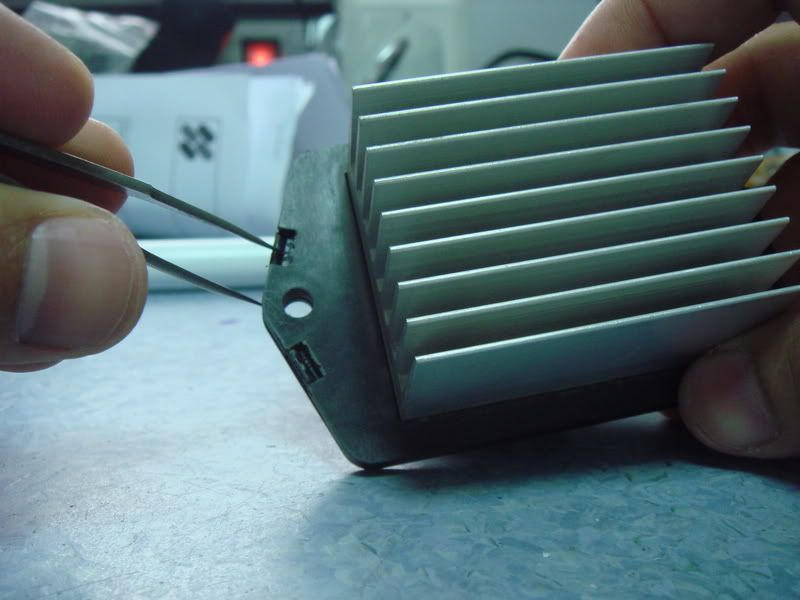
Using the tweezer release the hooks to open it. refer to below pics.
That's the thermistor its a PTC(positive temperature coefficient-the resistance increases with increasing temperature) check with DMM it must be shorted or have at least 0 to 2 ohm resistance depending on the temperature of the heatsink.
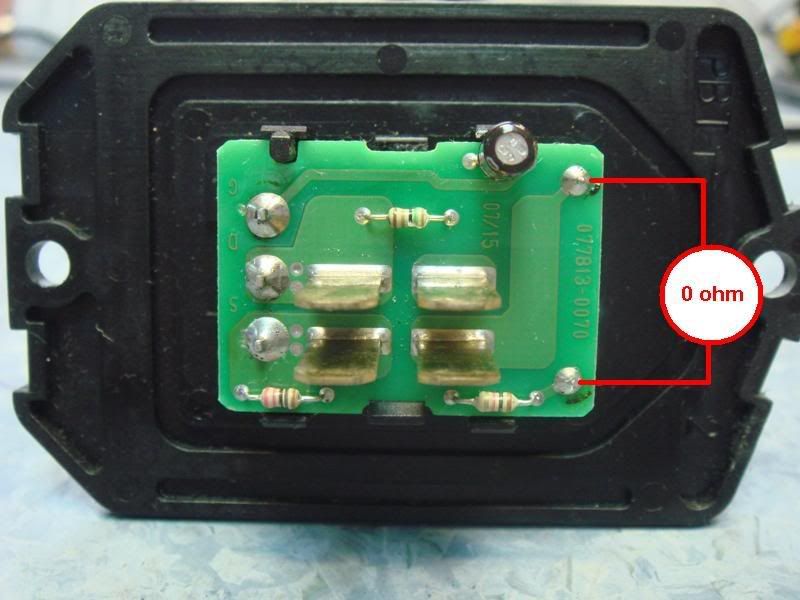
If it's open or no resistance at all, replace it with a new one, or solder a 1 ohm resistor in parallel with the thermistor as shown.
Assemble in the reverse order of removal and re-install the power transistor.
Hope you like it

.
One of a happy fella who tried already this DIY:
http://www.honda-tech.com/zerothread/2036600


 Reply With Quote

Bookmarks