Man, this thread needs moarr active actions!
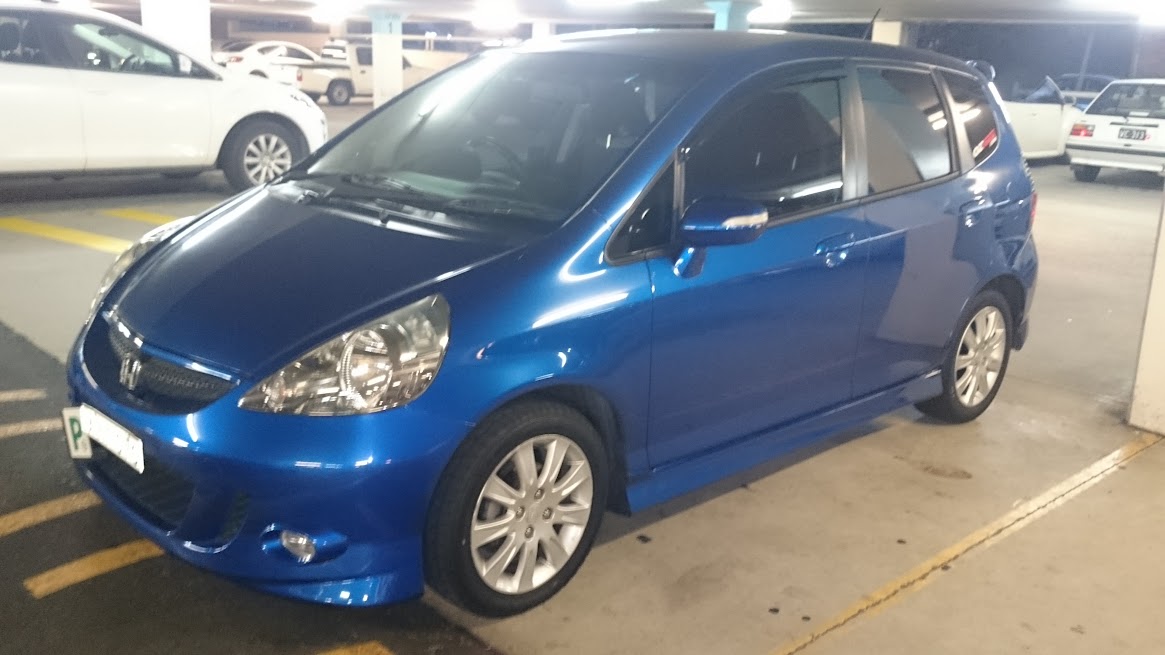
So, I was looking for a new daily. I wanted excellent fuel economy, within my budget, and had to be a Honda... to be the criterias. And so I acquired myself yesterday a '06 Honda Jazz VTi-S, as a daily, for a great price.
At a reasonable mileage of 110k kms, and as I'm the 2nd owner, I am satisfied!
The first owner is from HK, me too. He bought it new when he was 21. I'm 21 now, and it's my turn. Coincidence?
The only thing that I am bummed about is that it was made in Thailand. From my preliminary research, their manufacturing standards are as on par with factories in Japan.
Wanted that extra JDM credit. Oh well...

The only mods done are:
- JDM dash radio console
- Old model, flip-out DVD/CD/GPS player
- 17" wheels from Tempe Tyres apparently, with 205s, and aftermarket wheel nuts (to suit aftermarket wheels)
I ordered Ebay window visors as soon as came home from buying da Jazz yesterday. At $58 delivered for the set, I'll see how these held on by tape visors hold up.
So, as want absolute the best fuel consumption as possible, these 17"s wrapped in 205s aren't ideal, for cornering; yes, but for an underpowered car like the Jazz, it's not desirable.
So my to do mod list is:
- Light-weight 15" JDM rims with 175 or 185.
- A bit of weight reduction
- SRI for improved engine efficiency
- Lowering properly to about 3cm lower, for that recommended 2 finger gap.
... all this after I get my project EG finished. -.-
So I started weight reduction.
My aim is to reduce as much weight as possible, with a full interior look, you know what I'm sayin'.
With that said, there's nothing much to shed off.
First gen Jazz didn't come with a space saver wheel, instead a stock one, so I went hunting for one.
Found myself one from a 3rd gen Jazz owner who oppositely swapped the space saver with a stock wheel.
Stock Vti-s 15" alloy wheel approx. 90-95% tread =
16.1kg

Brand new unused 2015 Jazz Space Saver =
10.1kg

Saved 6kg right there, yea!
I have no use for the rear parcel tray, so I removed it =
-1.8kg

Also took of: 2 small rubber grommets from I dunno where, 1 centre wheel cap (off spare wheel), plastic rear boot trim handle and rear middle floor mat =
-4** grams
So as of now, I have taken off 8.2kgs.


 Reply With Quote


 Ahh, too embarrassing to show!
  I should of taped up the badge before hand!


Bookmarks