

Disclaimer: The following is provided as a GUIDE ONLY, and neither myself nor Ozhonda take any responsibility for the outcomes of someone else doing the following. You follow these steps at your own risk!
Aim: To get a stronger and stable voltage
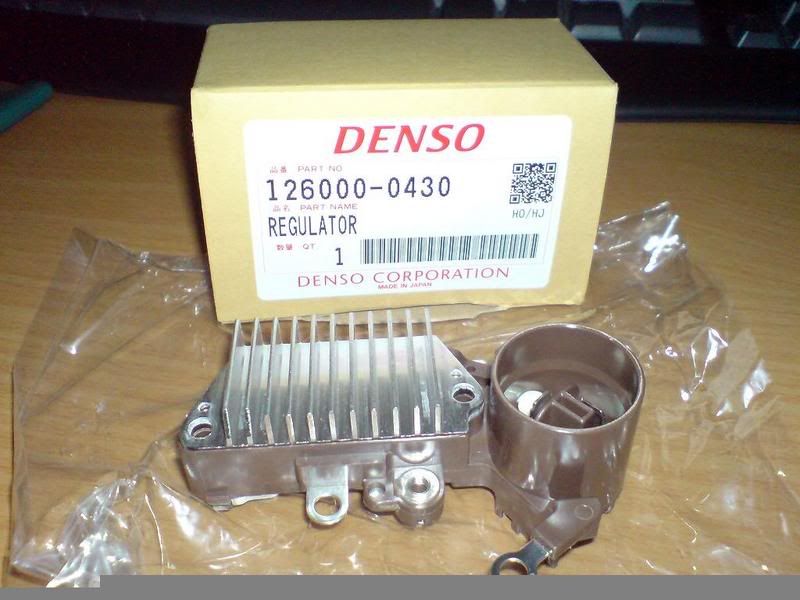
Required: Regulator and Brush Assembly
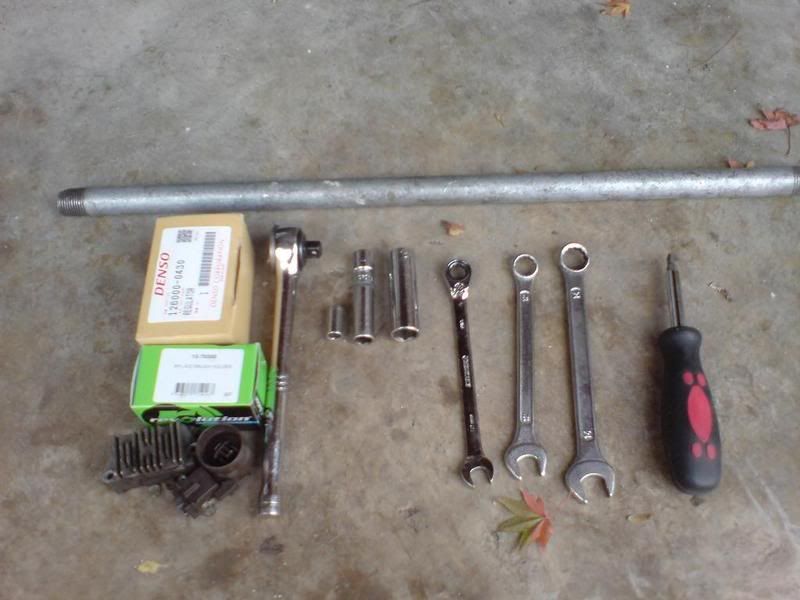
Tools: 8mm, 10mm, 14mm socket
10mm, 12mm, 14mm spanner
Philip head screw driver
Steps:
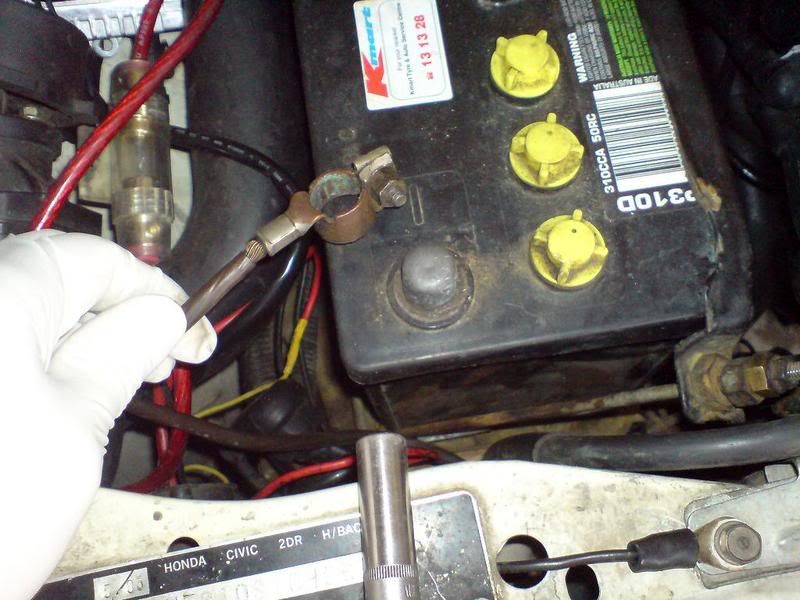
1. Disconnect the ground cable from battery negative(-) post.
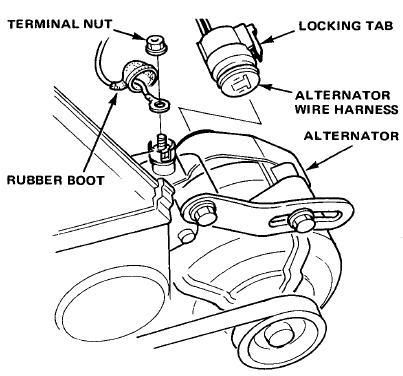
2. Disconnect the wires from the alternator as shown
3. Remove the alternator belt adjusting bolt and remove the alternator nut
4. Remove the alternator belt and remove the alternator
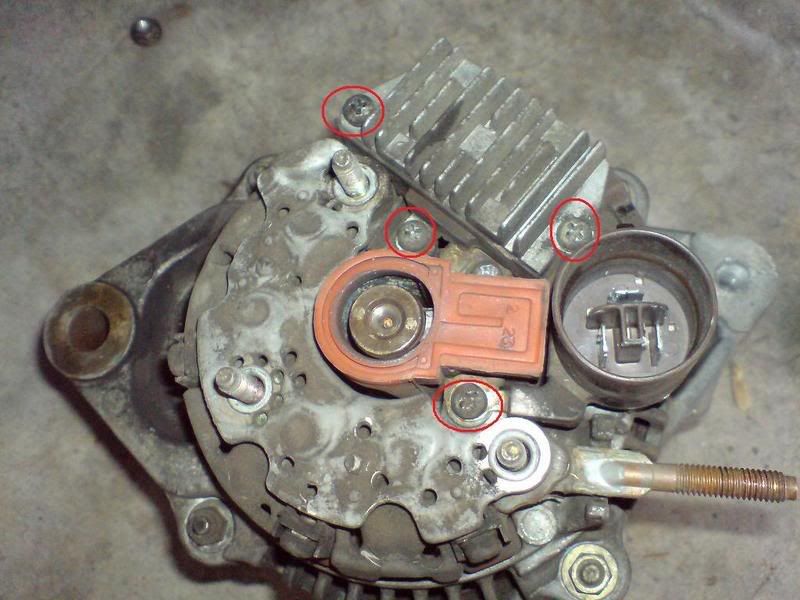
5. Remove the rear end cover us 8mm socket
6. Remove the regulator and brush
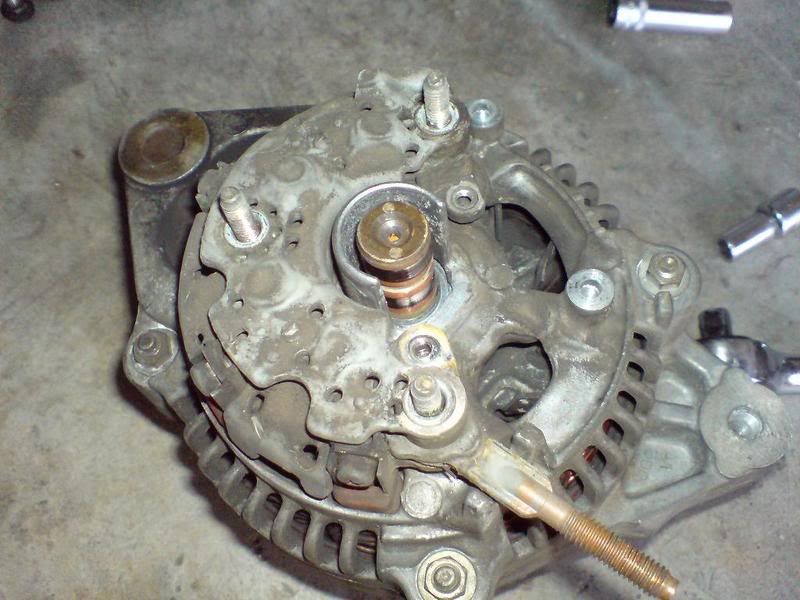
7. Use air gun to clean off the dust from the alternator
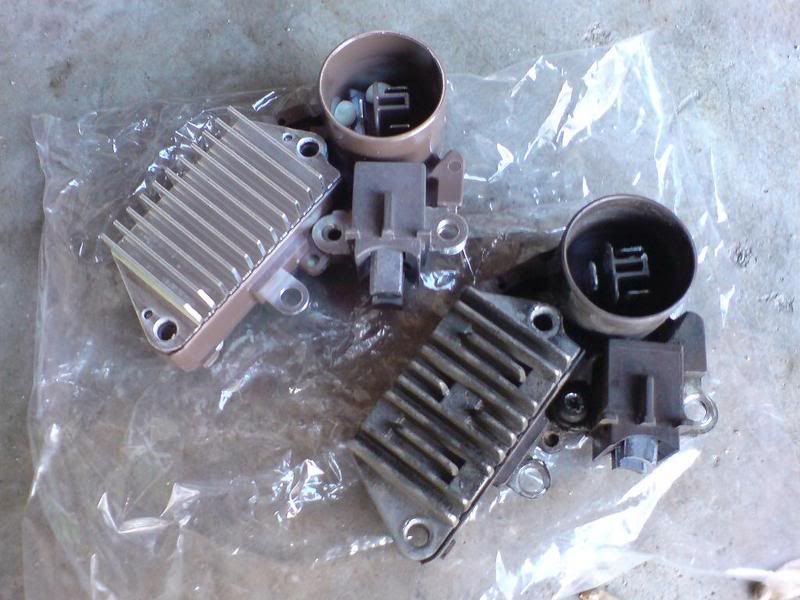
8. Compare of new and old regulator and brush
9. Install in reverse order of remove
10. Adjust alternator belt tension after installing
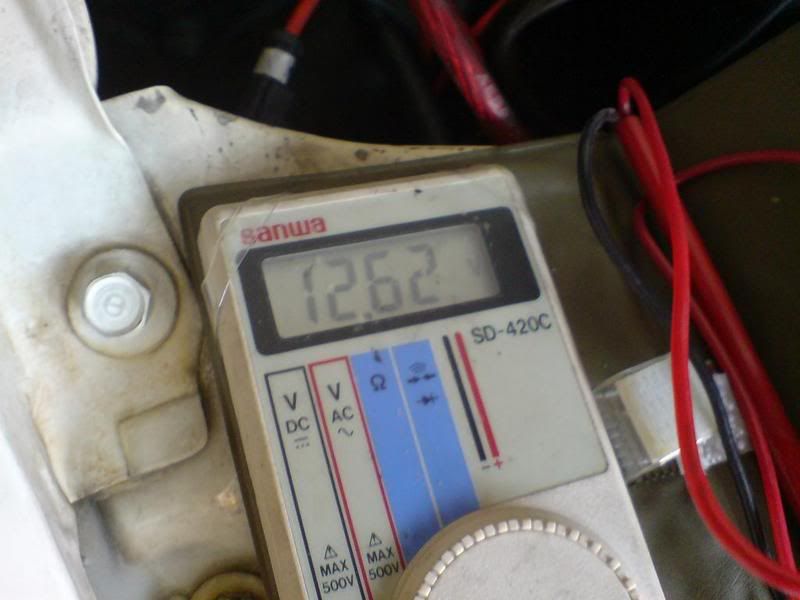
11. Voltage before with all the electronic on
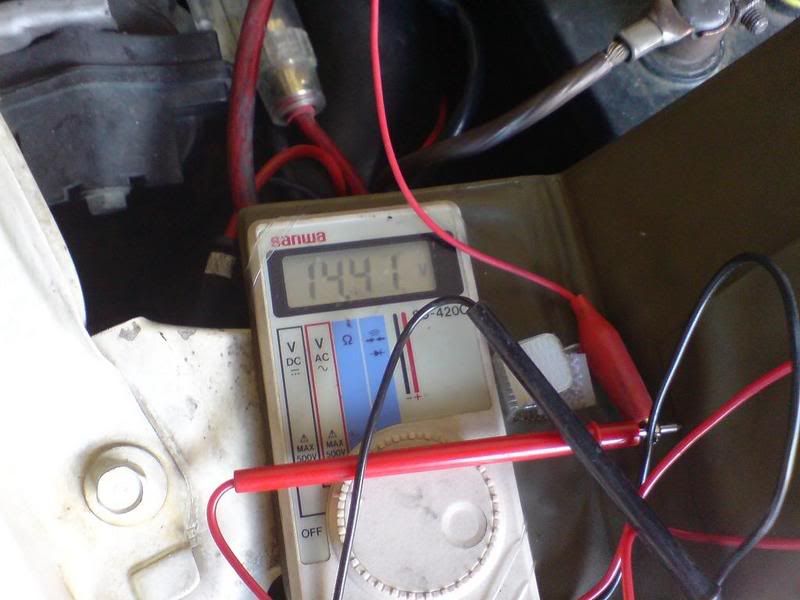
1. Voltage after with all the electronic on
Other comments:
I went to Honda parts to get a quote and they asked $485 for the regulator and $46 for the brush, I thought they were joking. Then I went to Ashdown in Sandown, got the regulator for $55 and the brush for $19.53. The conclusion is DONT BUY FROM HONDA PART they are crazy.


 Reply With Quote
Bookmarks