yep, got mine in and looking sexeh.
although i ****ed up the putting them back together lol. ah well. know what to do next time XD.
indicators are slightly less, but still perfectly visible
imo, oven was easier, as you could heat up the whole thing at once, made it easier to pry off the clear cover.
yeah looks pretty good ayy...
i was gonna buy black headlights off ebay for 180...
but bought 3dollar spray can instead and did it myself...
saved myself like 4 weeks of petrol moneys lol
yess im a titeasss
Cool Cool, I'll give this DIY a go right now, will post some pics to let you know how i went, thanks for writing this up man!
I (like mystic0l) was gonna be these black style headlights off ebay, so hopefully this will save me money to get a front lip and some other bits and pieces!
Ok guys, i've kinda just learnt how to post pics, so i hope it works... This DIY was awesome btw! Lovin the new look!
Some tips tho:
1. When using a heat gun place the light on something (careful if using a plastic stool or something) and warm up the joins all the way around. I did it by heating up sections at a time and trying to scrape off as much silicone as possible and was going no where fast. So much easier to get the entire lot warm and then having a good go.
2. If i could do it again I wouldn't really ad more silicone before sticking the pieces back together... I'd just warm up the original silicone and then put it together (bear hug it :P) if needed add some additional clear silicone around the edges, otherwise try to scrape off as much of the original silicone as possible.
3. There's some small black rubber strips on the lights (bout 15cm long) dont rip them off and if u do dont forget to replace them.
Thanks again for the write up!
Last edited by Sosa_85; 28-05-2009 at 09:05 PM.
Reason: forgot a part
Sorry bud, still learning... Before u know it I'll be cruising up in this! :P LoL
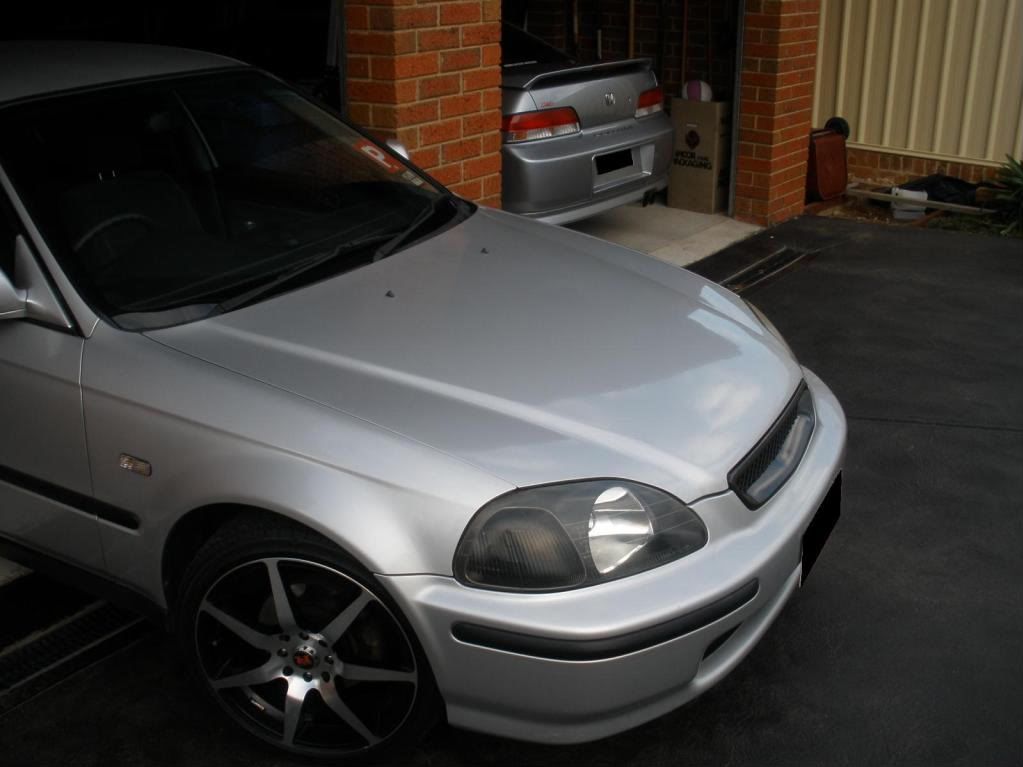
Before...
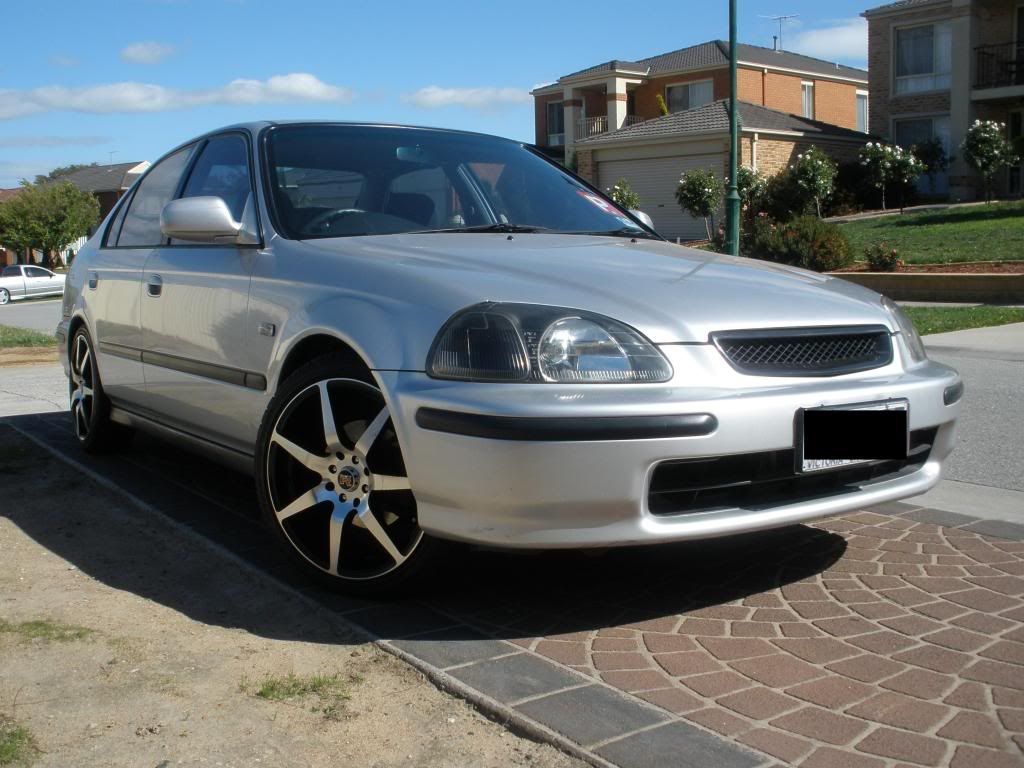
After...
...
I sprayed the whole thing, didn't remove the chrome and doesn't affect my indicators (see pic) if anything my advice is to spary one very very quick coat (leave it greyish, then one cover all coat, THATS IT) I sprayed one too many times. I used gloss black export brand (in case u were wondering )
Ok guys, i've kinda just learnt how to post
1. When using a heat gun place the light on something (careful if using a plastic stool or something) and warm up the joins all the way around. I did it by heating up sections at a time and trying to scrape off as much silicone as possible and was going no where fast. So much easier to get the entire lot warm and then having a good go.
It would be much much easier to use an oven, just need to be very careful... I checked at my local wreckers and a used pair of oem lights were 40 bucks for the pair anyway.
However, this thread is "DIY: CTR Headlight for EK (without oven)".


 Reply With Quote


 )
)

Bookmarks