|
-
Injen CAI Install for CL9 Accord Euro
Hi there guys and girls, this is my first time to do a DIY on this forum.
2 months ago I installed my Injen Air Intake System (CAI) and took photo's from my Iphone of every step and detailed pics (Sorry if picture quality is not as good). So hope this Install may help those who are planing on buying and installing a Injen CAI Kit on the Accord Euro CL9. Here goes...
-----------------------------------------------------------------------------
Disclaimer: The following is provided as a GUIDE ONLY, and neither myself nor Ozhonda take any responsibility for the outcomes of someone else doing the following. You follow these steps at your own risk!
Details: Removal of Stock Air intake system & Installing Aftermarket "Injen" Intake System. If you bought the Specific Model Kit, it will have installation instructions included for this specific car but does not show you how to remove bumper and stock intake. So I'll try and show you. Plenty of pictures are provided for more detailed instructions.
Suitable For: 2003-2007 Honda Accord Euro CL9 Models (This was installed on a 2004 model)
Tools & Equipment: Spanner/Ratchet (Size 8-10-12-14), Screw Drivers (Flat & Phillips), Pliers. Optional: Cordless/Corded Drill & Hammer.
Step By Step Process Includes: Removal of Front Bumper, Removal of Battery, Removal of factory intake system and installing aftermarket system.


----------------------------------------------------------------------------
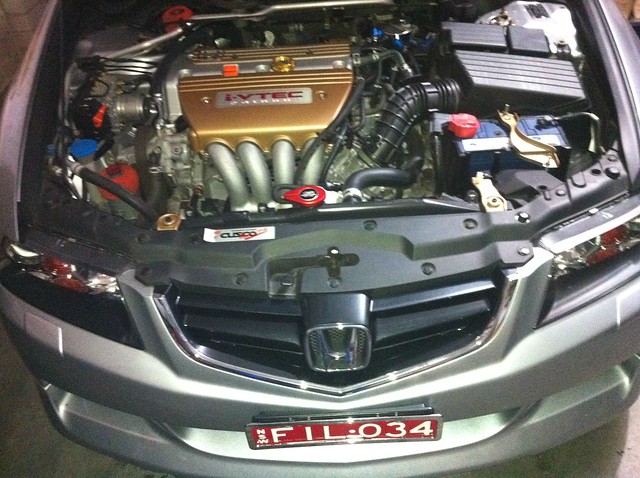
Step 1: Removal of Front bumper: I found that Jacking up the front end of the car would make removal of bumper easier. And Optional: Removal of Front two wheels.
(Reason for Bumper removal is so that you can access an air box witch is located under the battery and behind the bumper).
Start buy getting under the car and locate the bolts which are holding and connected to the under-body cover/diffuser. Only remove the bolts/screws that hold the bar not the diffuser cover bolts.
Now unscrew and remove screws in both wheel arches, you will need to turn your wheel one way which makes it easier to access if you have your wheels still on.
And now remove plastic push clips from the black cover above the headlights and grill. There are about 13 Clips to remove. Remove them by using a small flat head, inserting them through the flat openings of the clips. Slowly wedge it around untill it pops up and off. If its the first time removing it, you may find that some of those clips will snap and may not be useful anymore and will need to be replaced later. Note: Front Grill does not need to be removed off the bumper, leave it as is.
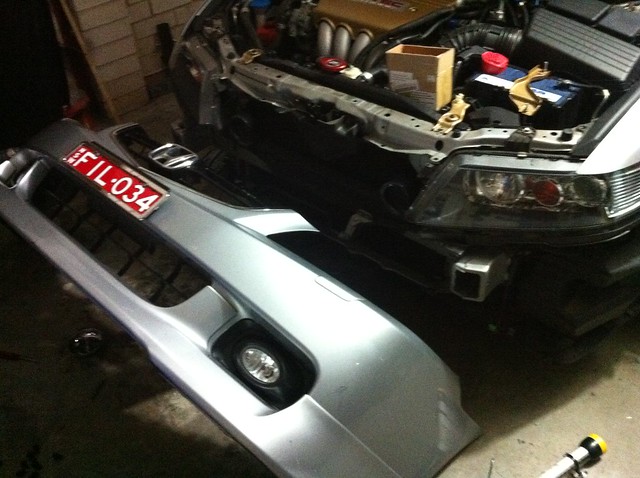
After all bolts, screws, plastic clips & cover are removed, now the tricky part, you will need to start at one of the ends of the bumper and just slowly lift and pull (& wiggle) the bar untill its lose, do that on the other end and the front area.
Note: There will be a few connected wires on the bumper that will need to be disconnected upon removing the bumper. (Optional on some models) 2x Fog Light Connections and 2x Headlight Washer Connection.
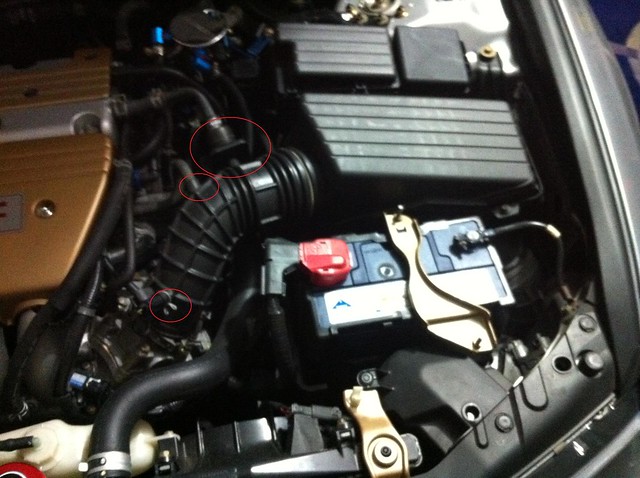
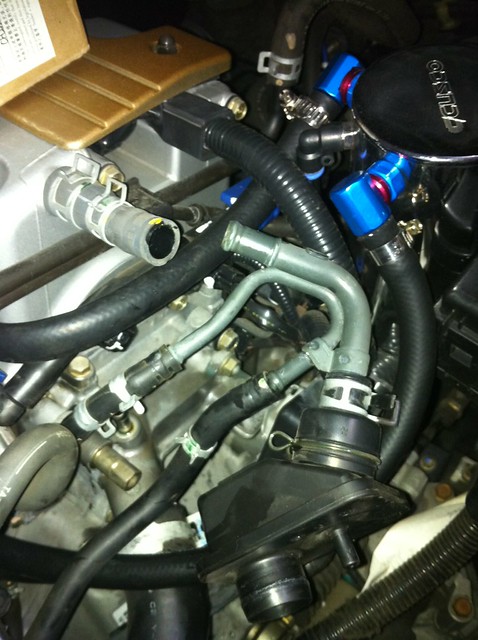
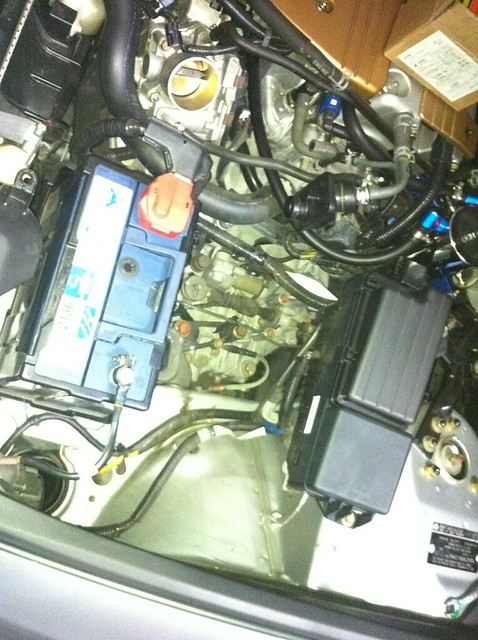
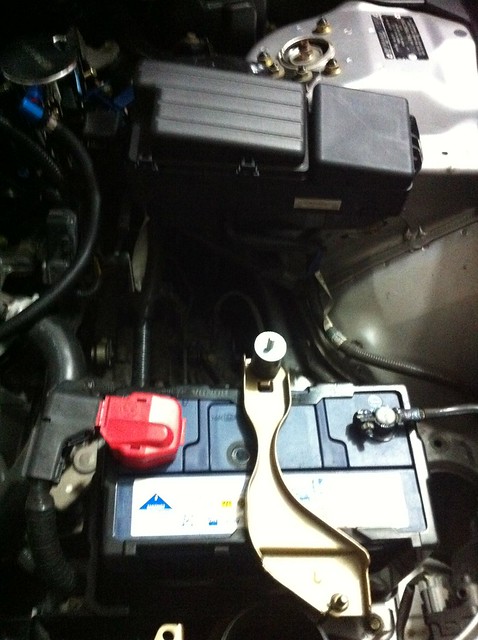
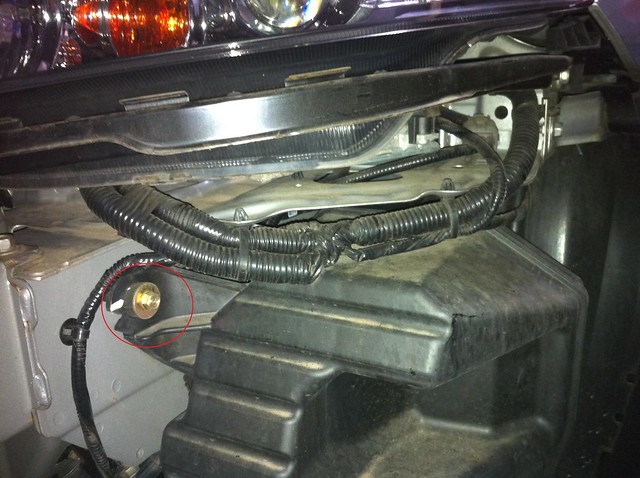
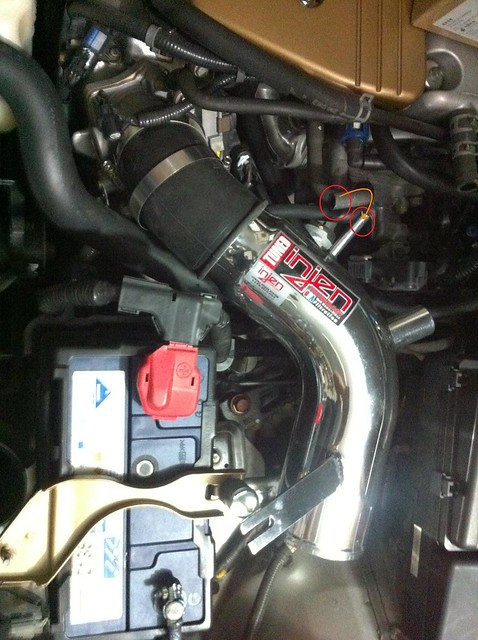
Step 2: After removal of front bumper you will need to Disconnect and remove the battery (or you can move it to the side like i did). Anyway, now we start on removing the intake piping and its connected connections.
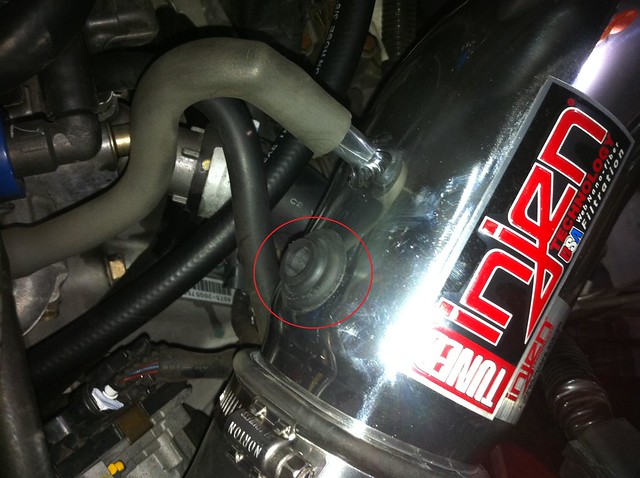
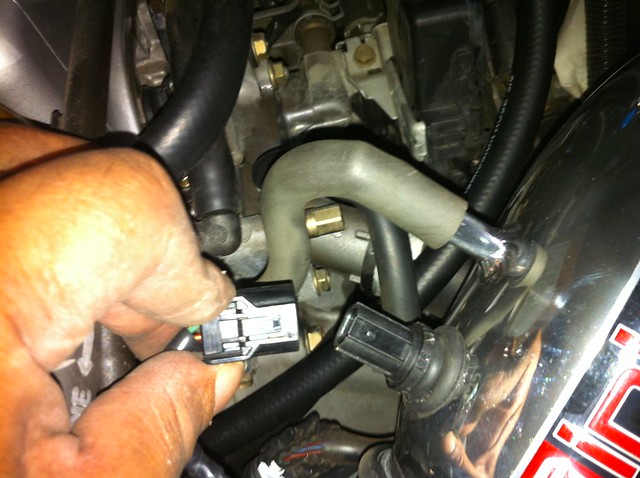
Remove the connections circled in pics below.
By using Pliers. Clamp & Slide out the metal hose clamps and remove hose.
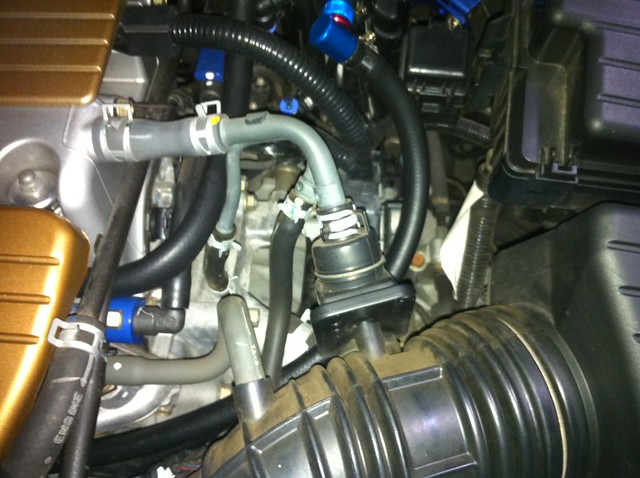

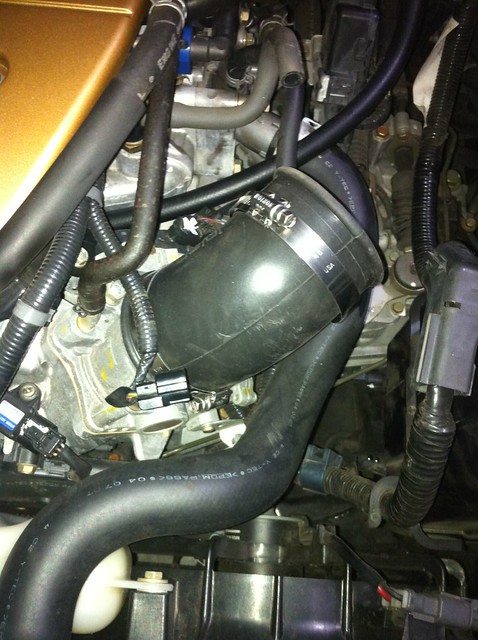
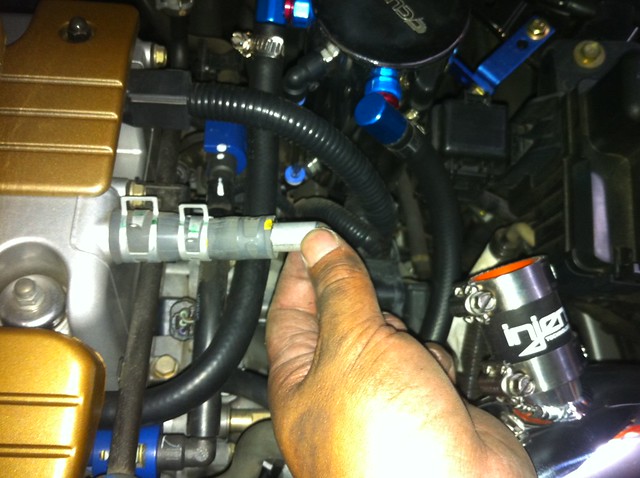
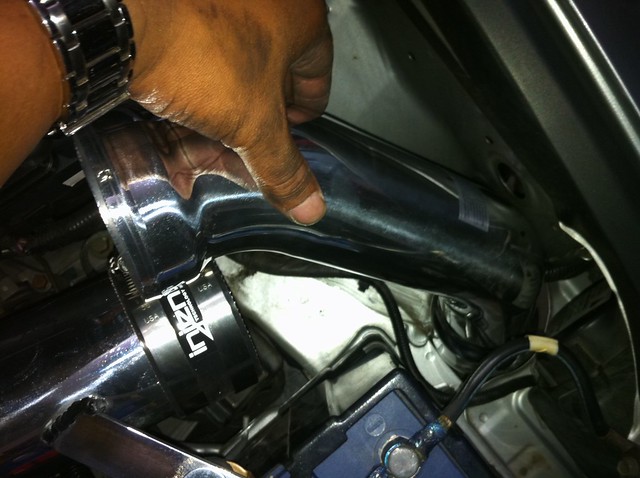
Loosen Hose Clamp on the Air Filter Box Connection Side and on the Throttle Body Side and remove Air Hose. Below.

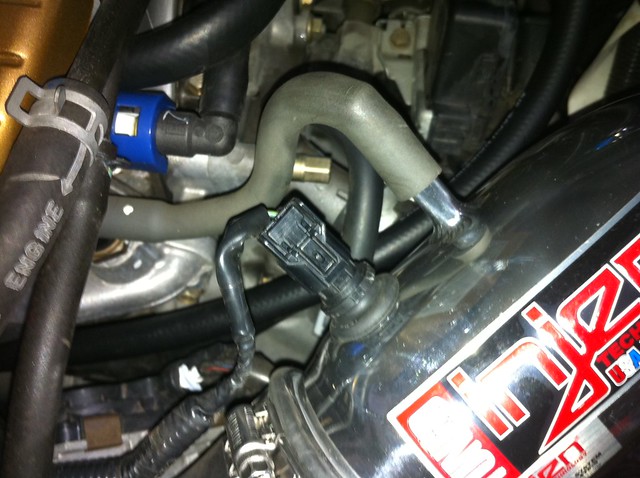
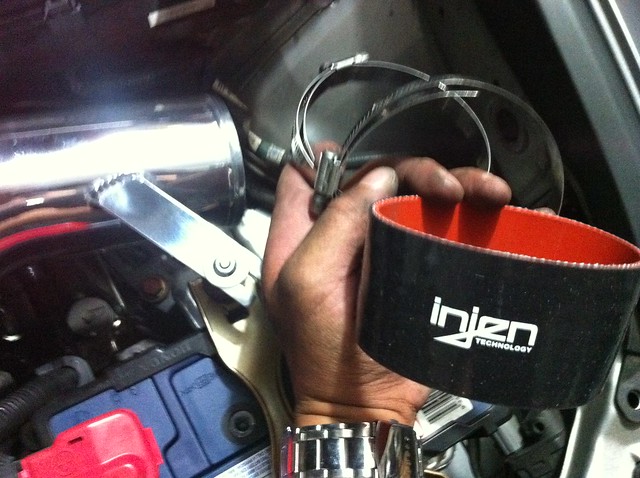
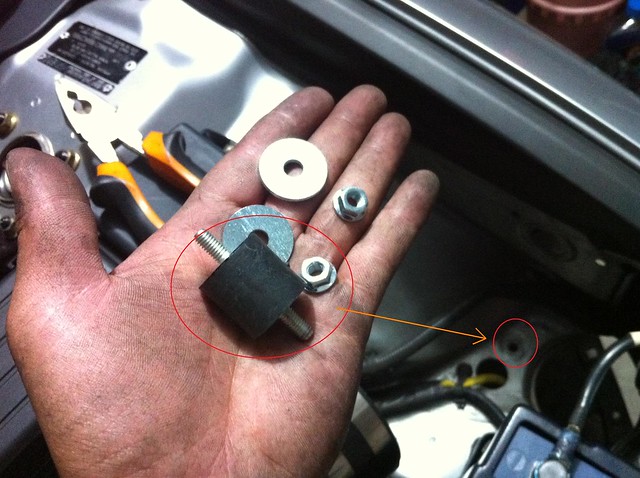
Disconnect and remove the following hoses/parts as seen in pics below.


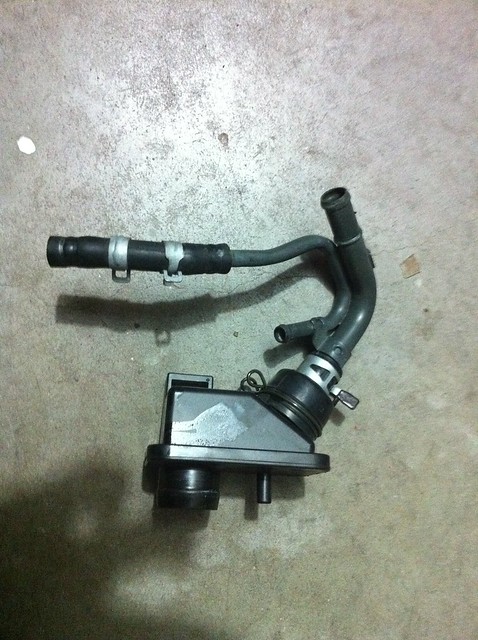
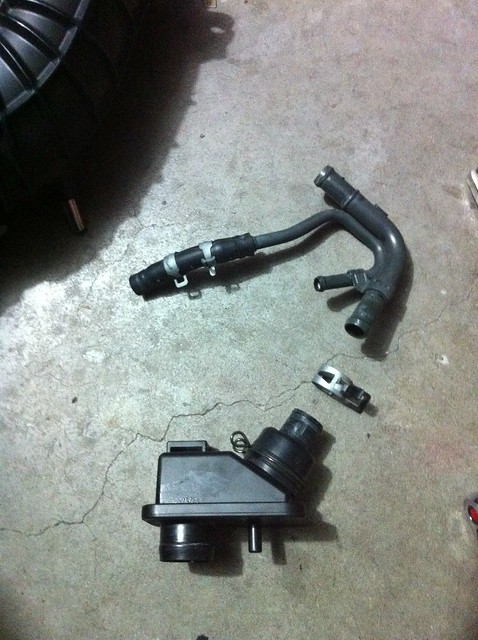
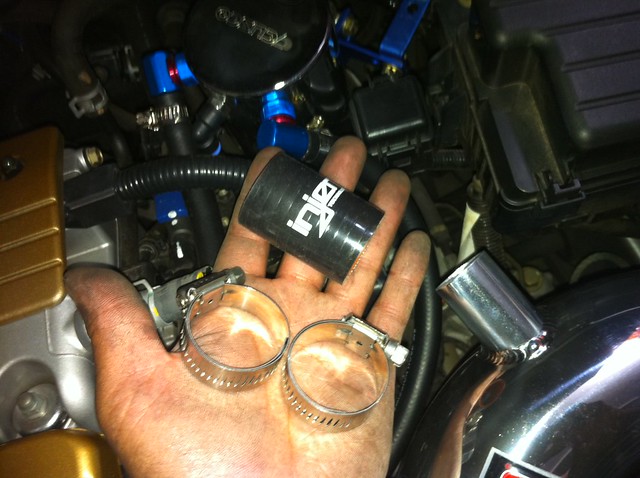
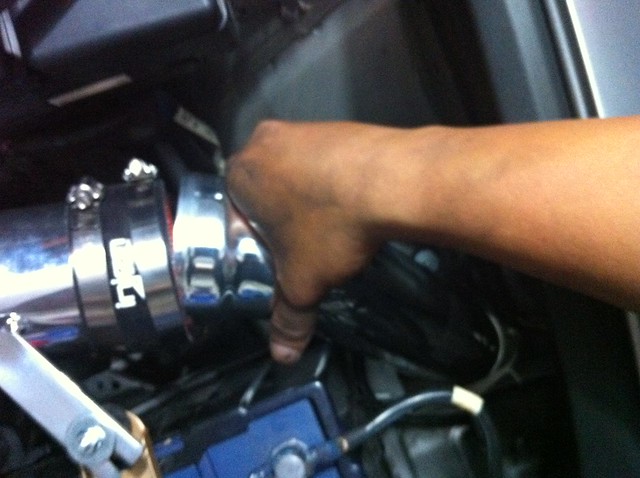
Disconnect the parts to make them separate items as seen in pic below.
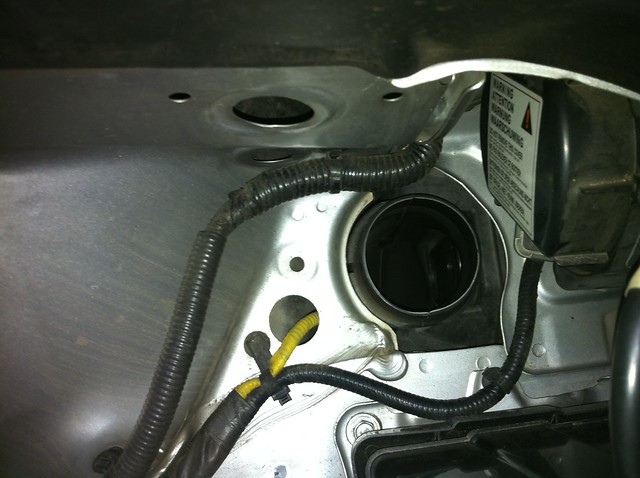
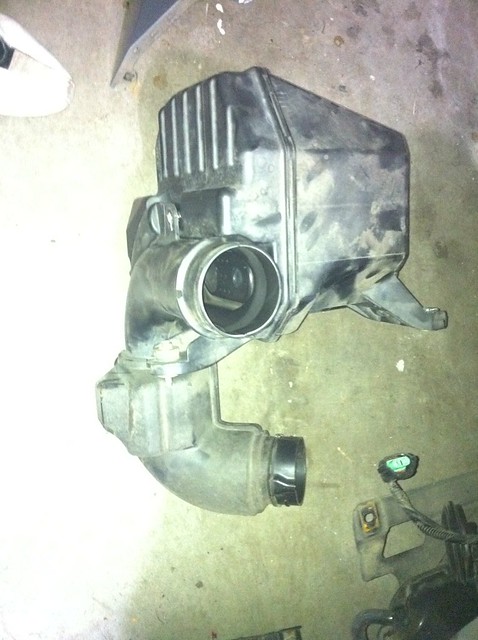
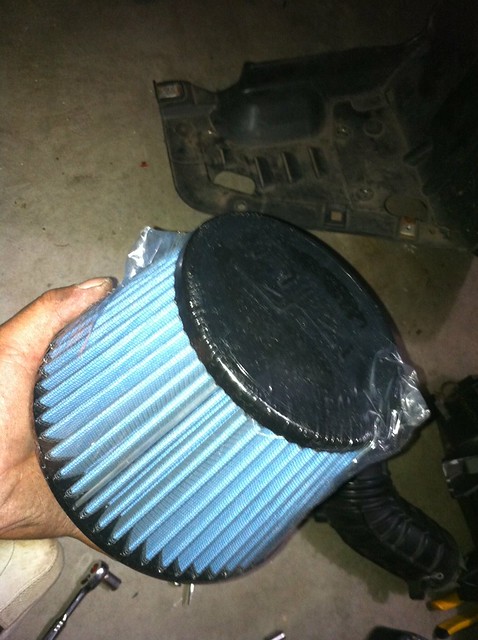
Step 2: Remove Air Filter Box & its Connected Hoses.
Start by unscrewing 3 or 4 bolts that is holding the box down. Sorry I don't really have pics of those other bolts that are needed to be removed.

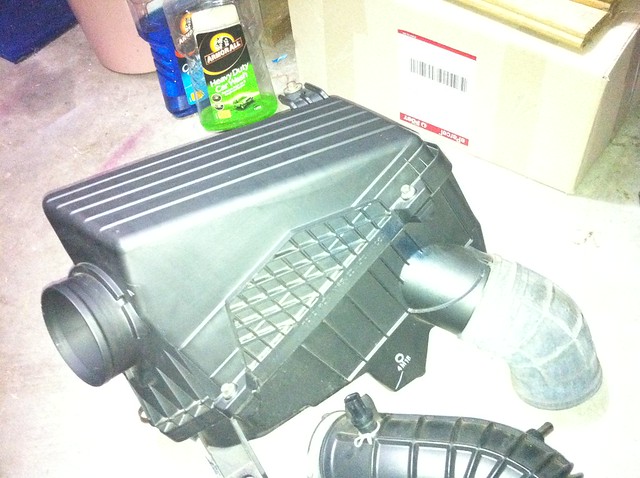
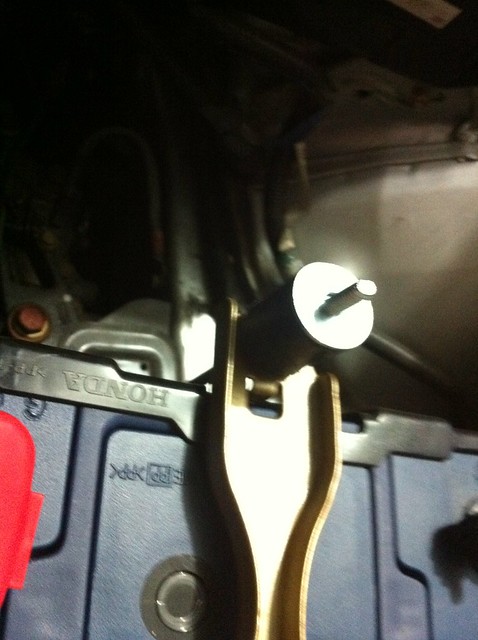
After Removing the the screws, wiggle the box off the bottom Hose that's connected to it. See Pic Below.

Box Removed (Pics Below)

More.....SCROLL DOWN.......
Last edited by gexter101; 24-01-2012 at 10:21 PM.
-
-
-
-
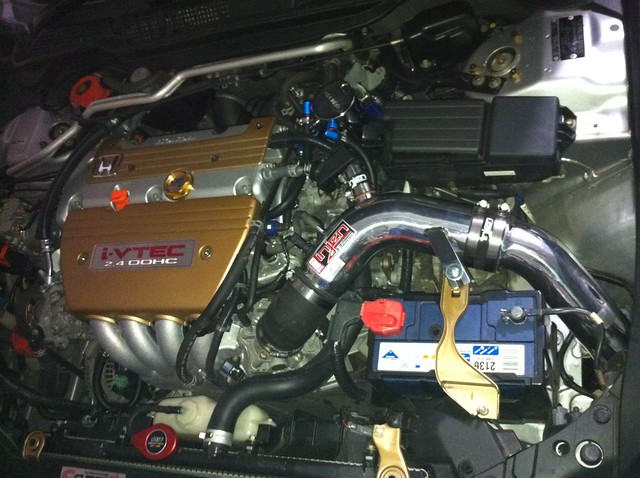
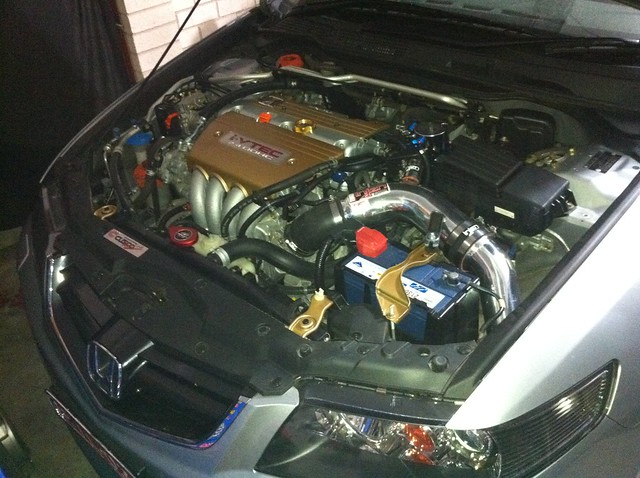
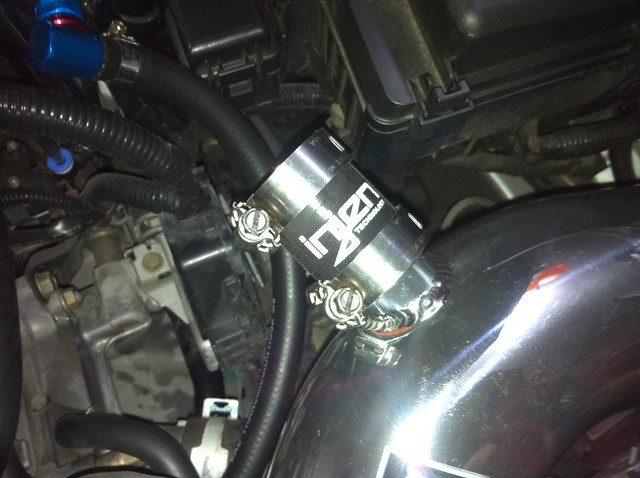
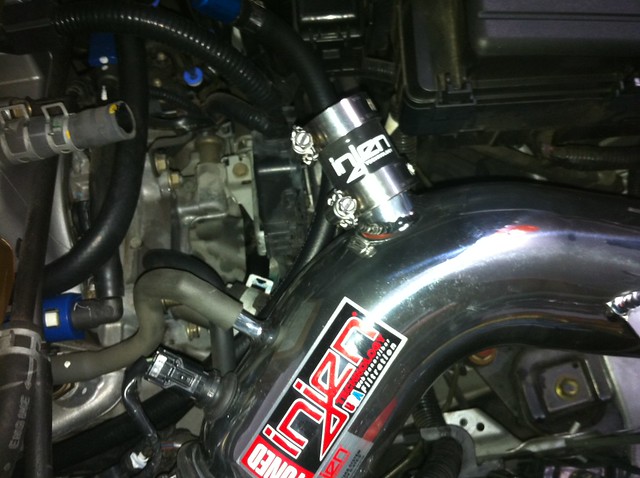
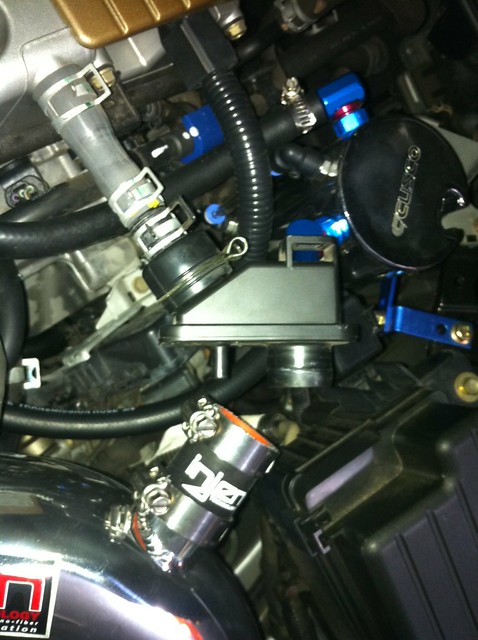
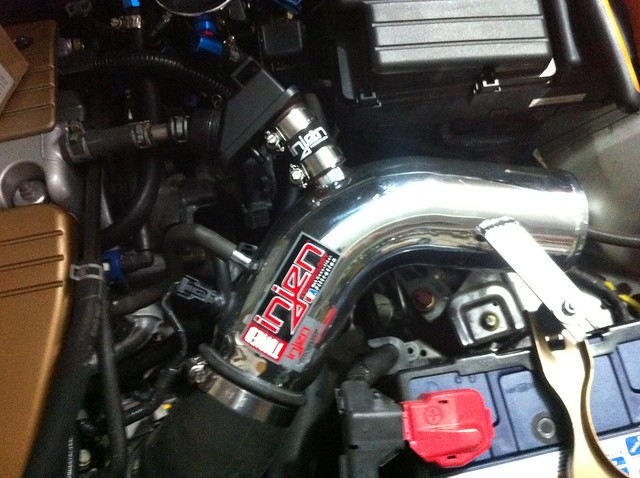
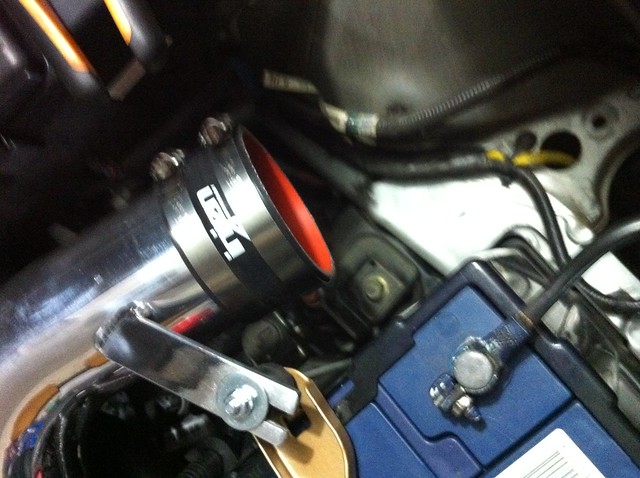
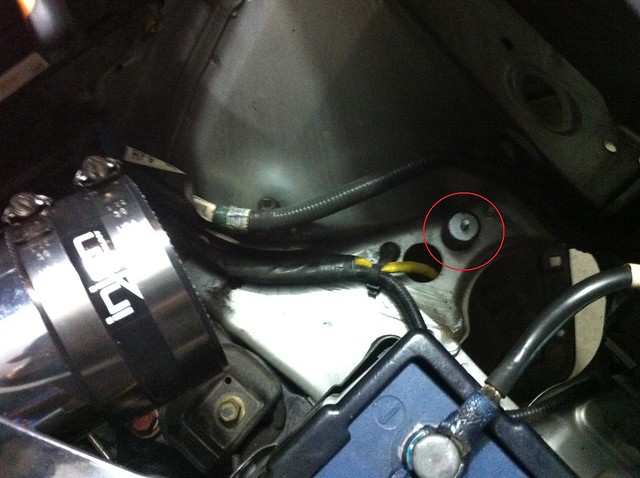
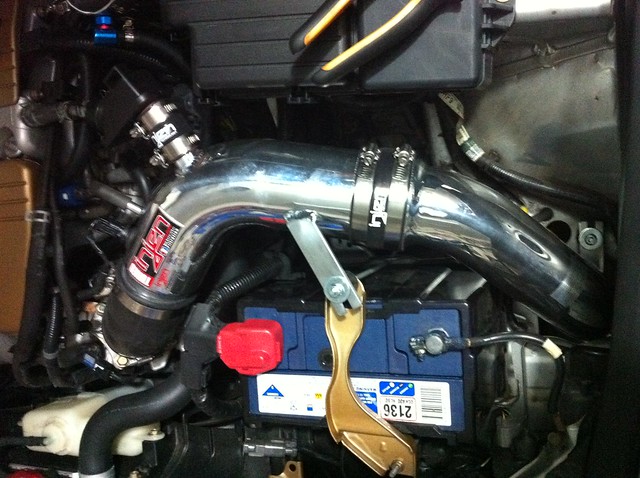
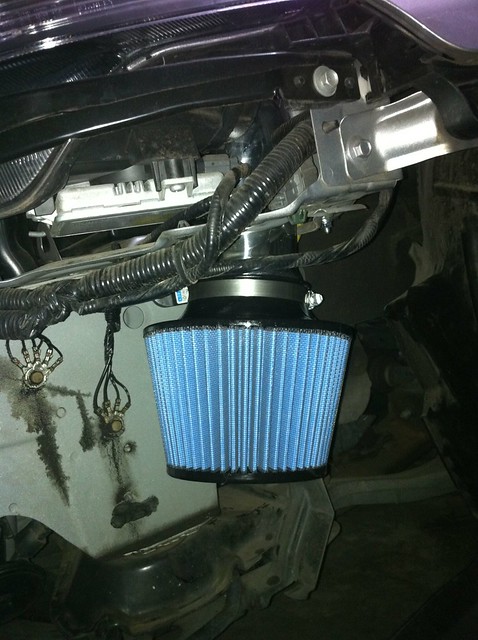
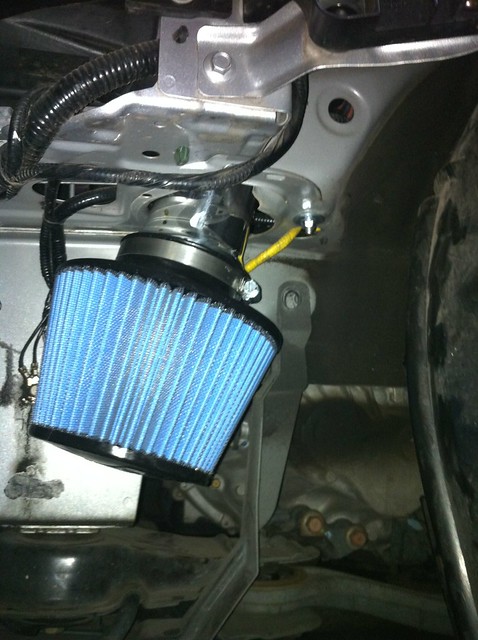
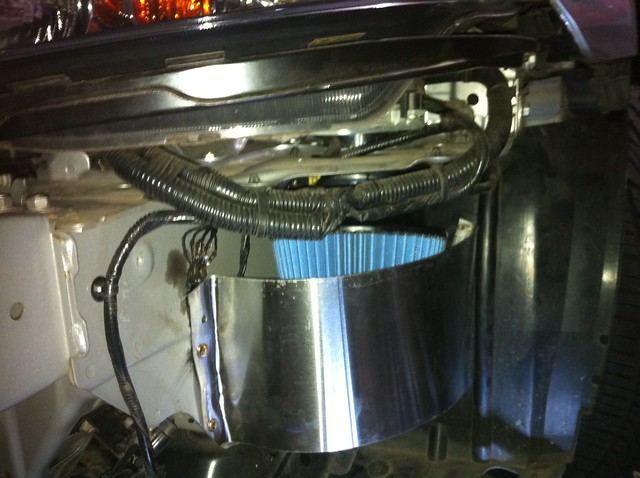
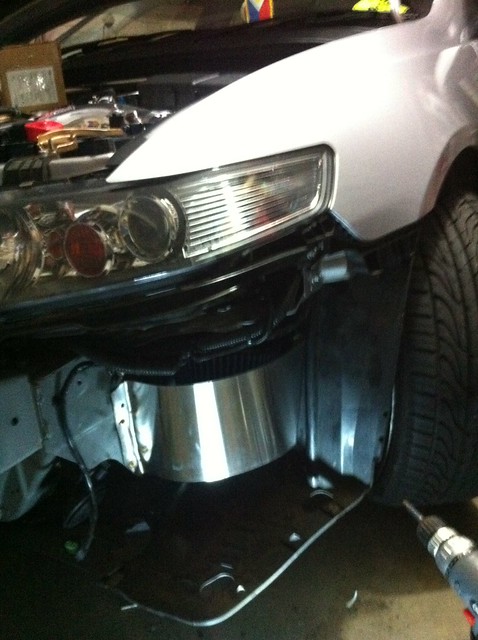
And this is how it all looks in the End.
-
well done! what a detailed write up
-
nice DIY seems really detailed. I got a question though, you said the system is suitable between '03 - '06 models. Mines 2007. Would I need to buy a specific injen cai to fit my car?
-
 Originally Posted by maikools

nice DIY seems really detailed. I got a question though, you said the system is suitable between '03 - '06 models. Mines 2007. Would I need to buy a specific injen cai to fit my car?
It'll fit. The 2007 CL9 is the same as the 2006 model.
--------------------------------------
Stocky CL9 - 1:17.2
-
Never thought how much more complicated the CL9 would be in a CAI ahah. Nice write up 1
-
Originally Posted by ergot
well done! what a detailed write up
Thanks mate, it took ages to write up but it's all worth it.
Originally Posted by maikools
nice DIY seems really detailed. I got a question though, you said the system is suitable between '03 - '06 models. Mines 2007. Would I need to buy a specific injen cai to fit my car?
Thanks mate, yes it will fit as to what aaronng mention, which I forgot to add is it will fit 2003-2007 CL9's. (Will edit first post)
Originally Posted by aaronng
It'll fit. The 2007 CL9 is the same as the 2006 model.
Cheers aaronng
Originally Posted by MIKO_OL
Never thought how much more complicated the CL9 would be in a CAI ahah. Nice write up 1
Thanks mate, yeah it was a little tricky
-
Repped!
I have just purchased one and will be installing it in a week or two when it arrives from the states.
Thanks for the DIY, this will come in handy when im installing mine in the 07' 
-
Damn, nice write up!
Will definitely keep this bookmarked!
 Posting Permissions
- You may not post new threads
- You may not post replies
- You may not post attachments
- You may not edit your posts
-
Forum Rules
|


 HONDA
HONDA
 Reply With Quote
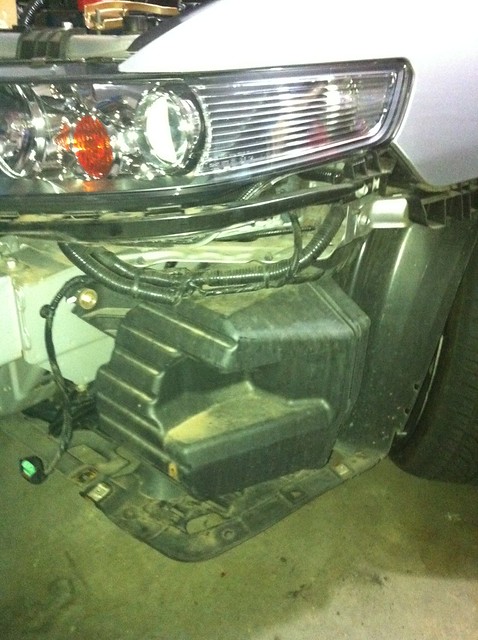


Bookmarks